|
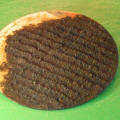
Bare Earth from Plaster
(Click thumbnails for
larger images) |
|
 |
Materials & Tools:
Plaster of Paris or other casting plaster
Base material
(a CD in this case)
Coarse grit
sandpaper
PVA glue
Atomizer or
spray bottle
Small piece of
card / plastic |
 |
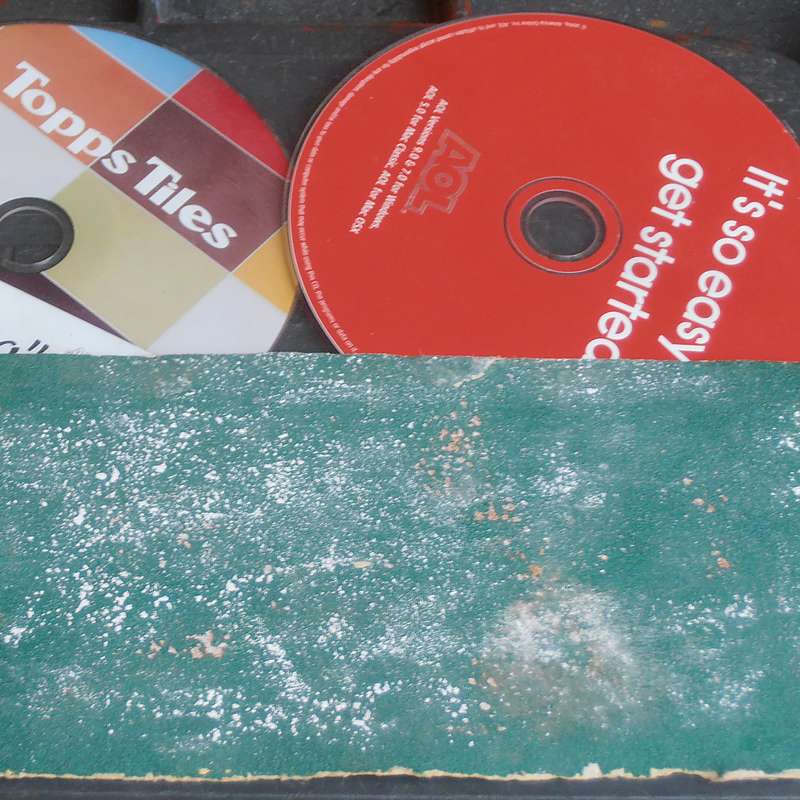
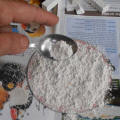
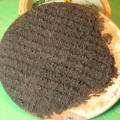
Stage 1
Use the
sandpaper to scuff the surface of the CD. This will provide a key for
the plaster to grip. Glue a piece of card or plastic over the hole with
PVA and leave to dry for a few minutes. |
 |
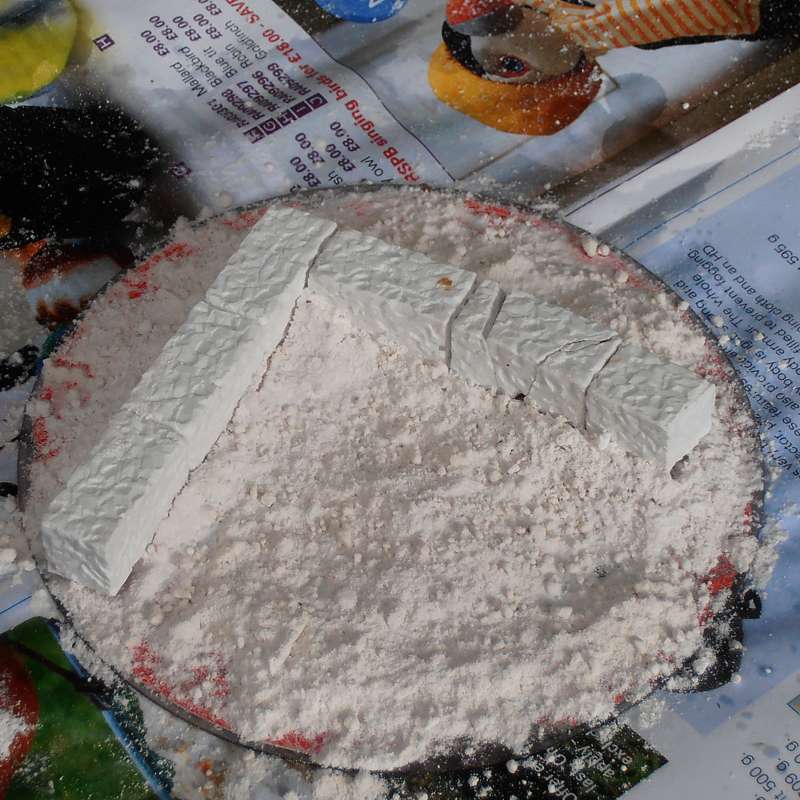
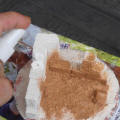
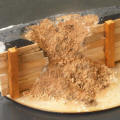
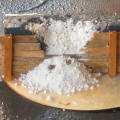
Stage 2
Take a
spoonful of plaster, hold it above the base, and tap the side of the
handle to get small quantities of powder to fall onto the base. This
should create a rough texture |
 |
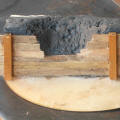
Stage 3
If you want a
structure on the base, add it now, or at least add the foundation layer
so you can build onto it later. Place it carefully onto the dry powder.
You can also add large pieces of rubble at this stage. |
 |
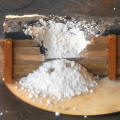
Stage 4
Add more
plaster around the base of the walls. Bear in mind that there will be
most build-up in any corners. |
 |
Stage 5
Fill the
atomizer with water, and GENTLY spray all the plaster from a distance of
about a foot / 30cm. The idea is just to dampen the surface at this
point.
Leave things
for a few minutes for the plaster to begin curing, then spray again -
this time more liberally.
Leave to dry overnight. |
 |
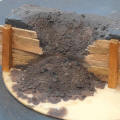
Stage 6
Mix PVA,
emulsion paint and water in roughly equal parts and liberally spray the whole model again using the atomizer. This should seal
things and provide a base-coat in one step.
Leave to dry. |
 |
Stage 7
To clean the
nozzle of the atomizer, invert it and spray a few times until no more
liquid comes out. Then wipe the top with kitchen roll to clean the hole.
If it won't be used for a while, remove the nozzle, stand the tube in
clean water, and squirt until clean water sprays out.
|
 |
Stage 8
Apply a first drybrush of the mid-tone on the walls.
Once this is
dry, paint the whole model with a "dirty wash" of a very
dilute dark brown & black mix, adding extra in some places to create
variety.
|
 |
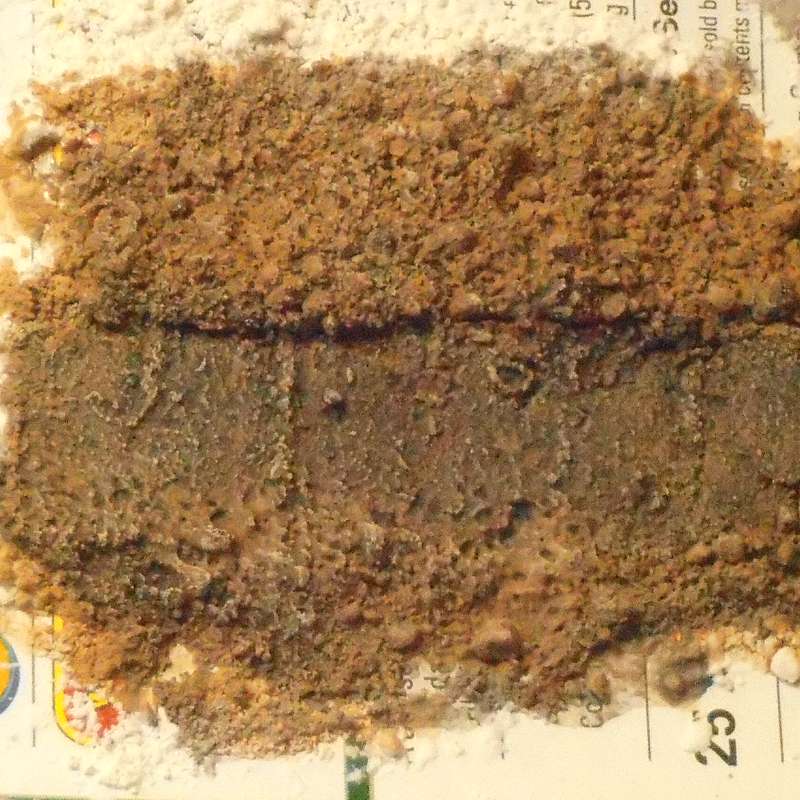
Stage 9
After a second
thin coat of dark brown & black on the ground it is a pretty good colour
for bare earth. If you are going to cover most of the base with flock or static
grass, I think it is good enough at this stage.
|
 |
Stage 10
If large areas
will be left as bare earth, a gentle drybrushing with a slightly lighter
shade will bring out the details.
|
|
|
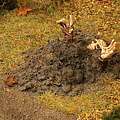
 |
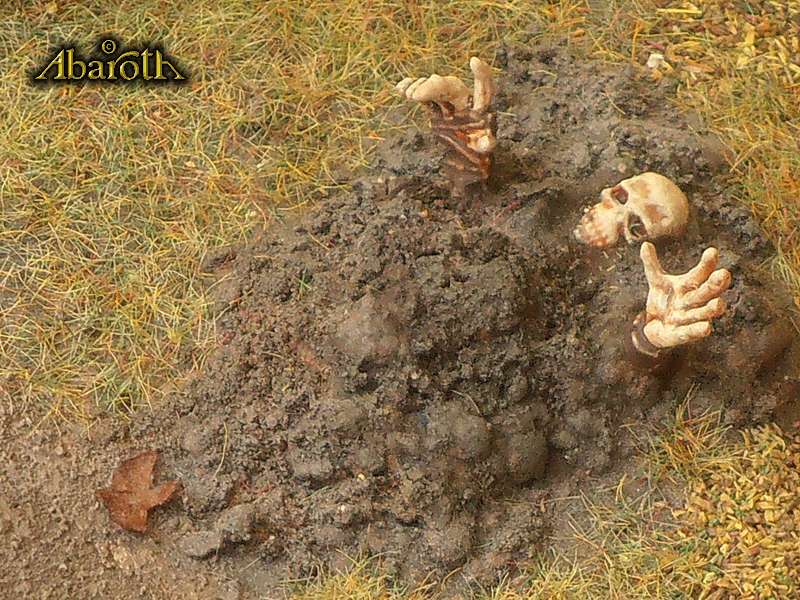
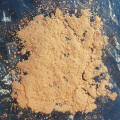
This pile of soil was made using the same technique. |
 |
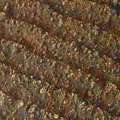
...and this ploughed field is nothing but plaster.
Ploughed Field Instructions |
 |
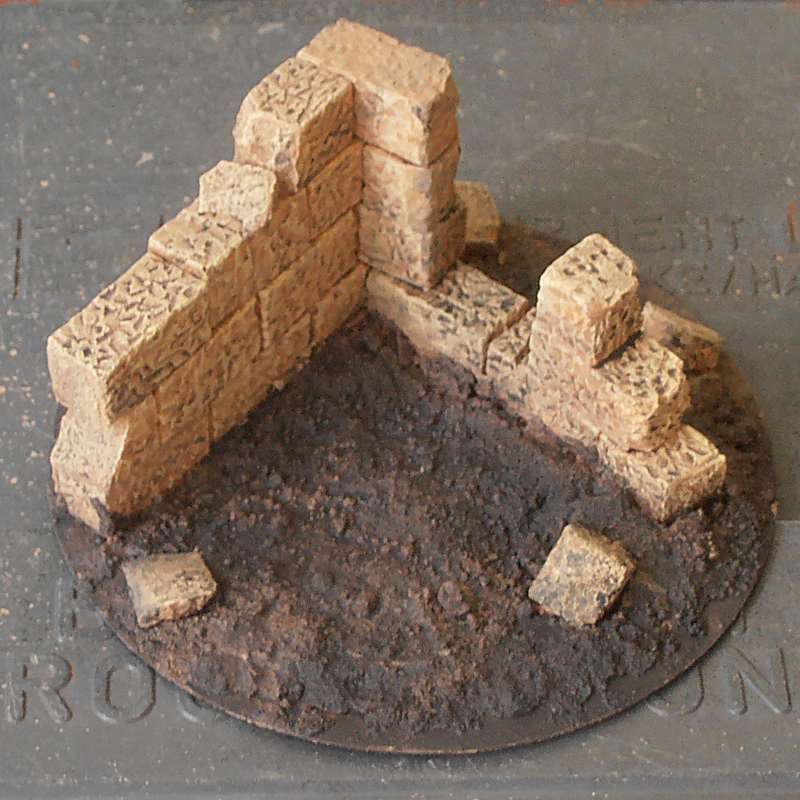
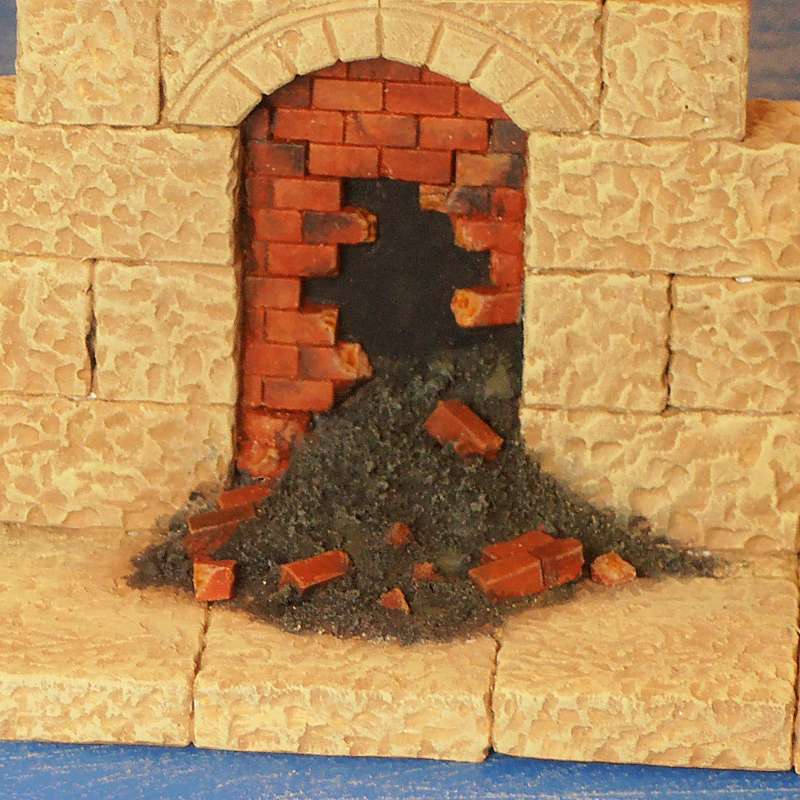
The collapse from this bricked-up doorway had a few
broken brick pieces added to the pile of plaster.
|
 |
A collapsed section of a trench or emplacement.
Collapsed Trench
Instructions |
 |
Test piece with tank-track impressions in the soil.
(Instructions to follow) |
|
|
|
Failed Retaining Walls
from Plaster
(Click thumbnails for
larger images) |
|
|
Materials & Tools:
Plaster of Paris or other casting plaster
PVA glue
Atomizer or
spray bottle
|
 |
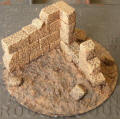
Stage 1
Create and
paint the model upon which you want to add the effect. This could be a
broken-down retaining wall, a damaged section of a trench or emplacement
or a collapsed section of sewer tunnel, to name but a few.
|
 |
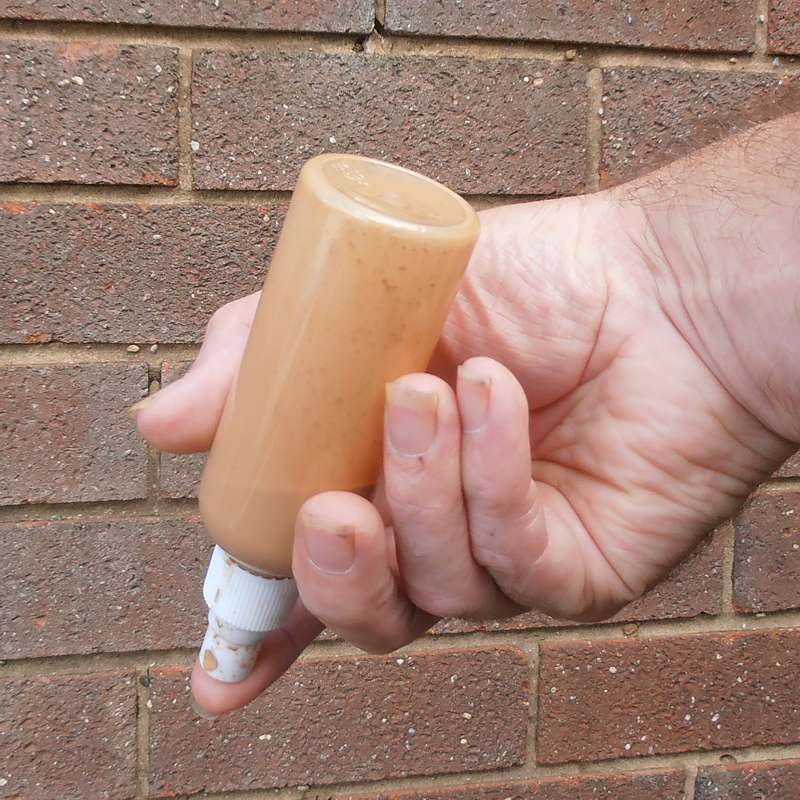
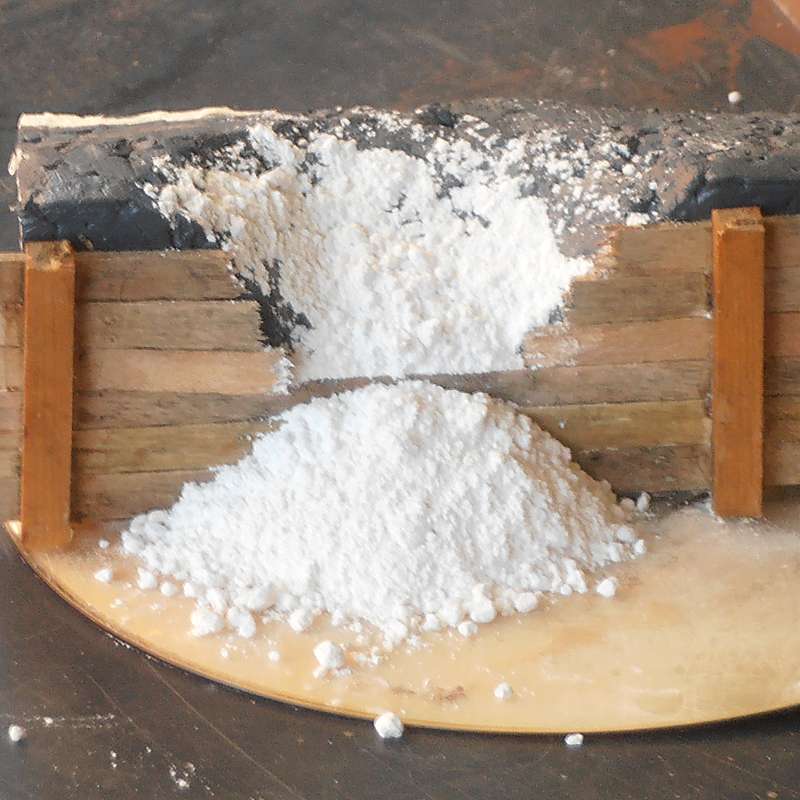
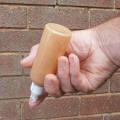
Stage 2
To add the
pile of dry plaster with some precision, I made an applicator from a
recycled plastic milk bottle, though you could use a teaspoon or folded
card.
How
to make a scenics applicator
(Opens in new window)
|
 |
Stage 3
Now add any
large debris like broken bricks or stones to the pile of dry plaster.
|
 |
Stage 4
Fill the
atomizer with water, and GENTLY spray all the plaster from a distance of
about a foot / 30cm. The idea is just to dampen the surface at this
point.
Leave things
for a few minutes for the plaster to begin curing, then spray again -
this time more liberally.
Leave to dry overnight. |
 |
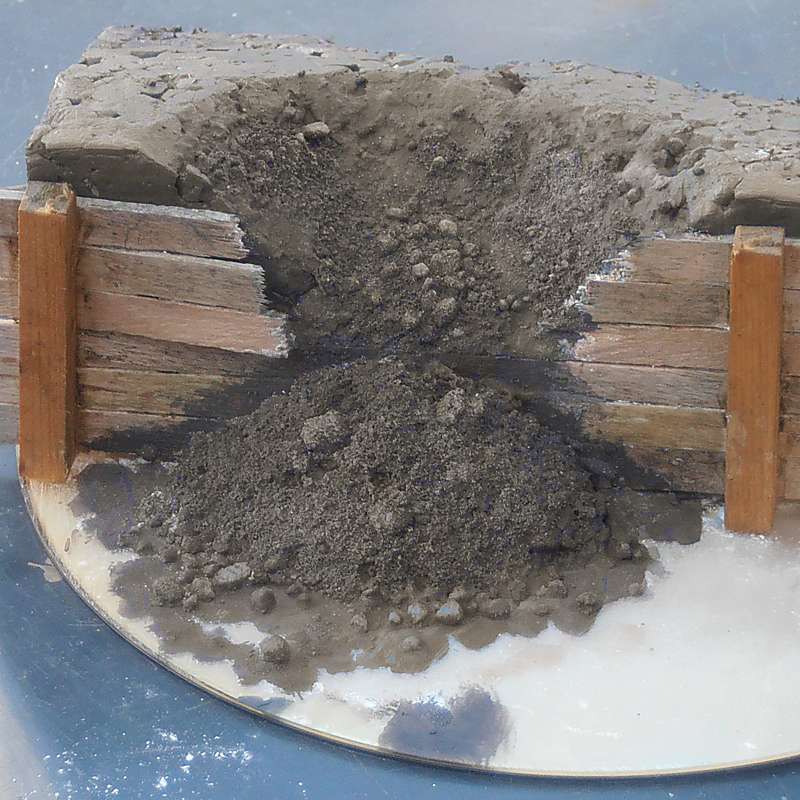
Stage 5
Apply a coat of dark brown & black onto the
bare plaster.
|
 |
Stage 6
Drybrush with
a lighter grey-brown colour to bring out the highlights, and the model
is ready for flock or static grass.
|
 |
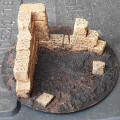
A collapsed section of a dungeon wall made using the same
techniques.
|
|
|
|
Ploughed Fields from
Plaster
(Click thumbnails for
larger images) |
|
|
Materials & Tools:
Plaster of Paris or other casting plaster
Base material
(a CD in this case)
Coarse grit
sandpaper
PVA glue
Atomizer or
spray bottle
Card / plastic
Large-toothed comb |
|
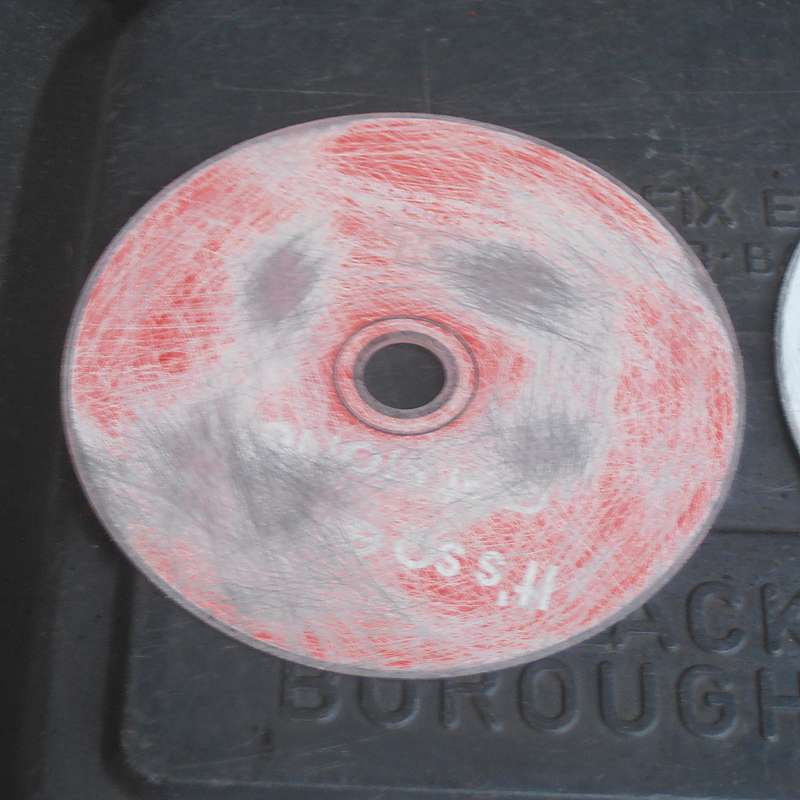
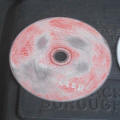
Stage 1
Use the
sandpaper to scuff the surface of the CD. This will provide a key for
the plaster to grip. Glue a piece of card or plastic over the hole with
PVA and leave to dry for a few minutes. |
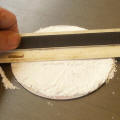 |
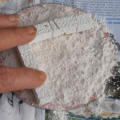
Stage 2
Add a layer of
dry plaster to the base, two or three millimetres deep. Use a piece of
card or a the edge of a ruler to get a nice even layer. |
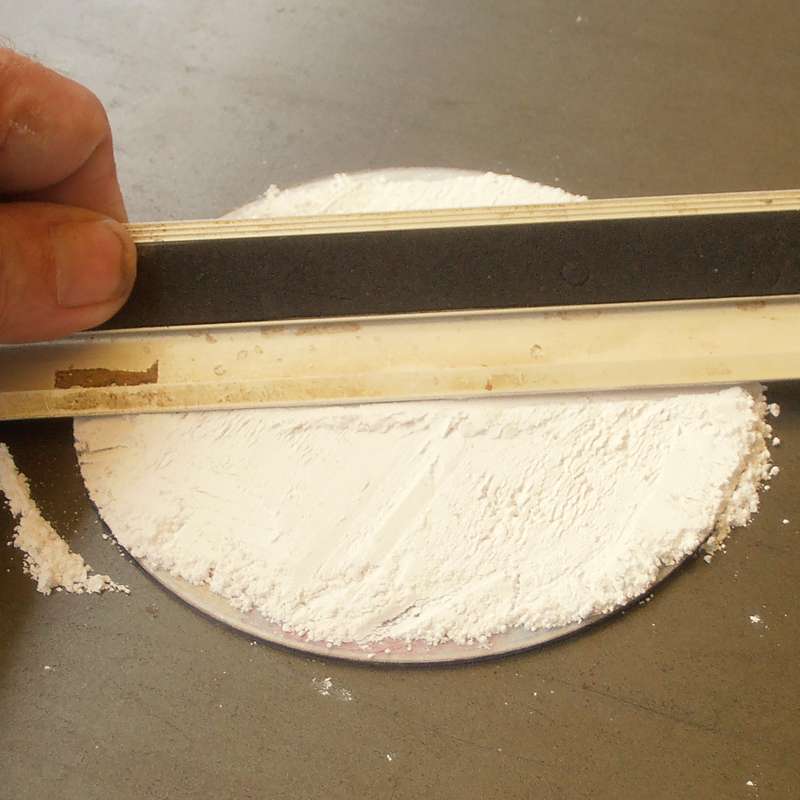
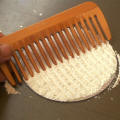 |
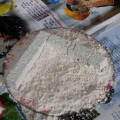
Stage 3
Keeping the
comb at an angle, slowly drag it through the powder to create the ruts
from the plough. |
|
Stage 4
Fill the
atomizer with water, and GENTLY spray all the plaster from a distance of
about a foot / 30cm. The idea is just to dampen the surface at this
point.
Leave things
for a few minutes for the plaster to begin curing, then spray again -
this time more liberally.
Leave to dry overnight. |
|
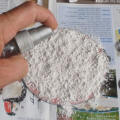
Stage 5
Mix PVA,
emulsion paint and water in roughly equal parts and liberally spray the whole model again using the atomizer. This should seal
things and provide a base-coat in one step.
Leave to dry.
(The image
shows this step being performed on a different model.) |
|
|
Stage 6
To clean the
nozzle of the atomizer, invert it and spray a few times until no more
liquid comes out. Then wipe the top with kitchen roll to clean the hole.
If it won't be used for a while, remove the nozzle, stand the tube in
clean water, and squirt until clean water sprays out.
|
|
Stage 7
Once fully cured, apply a second base coat if required.
|
 |
Stage 8
Drybrush
lighter colours to accentuate the texture.
|
|
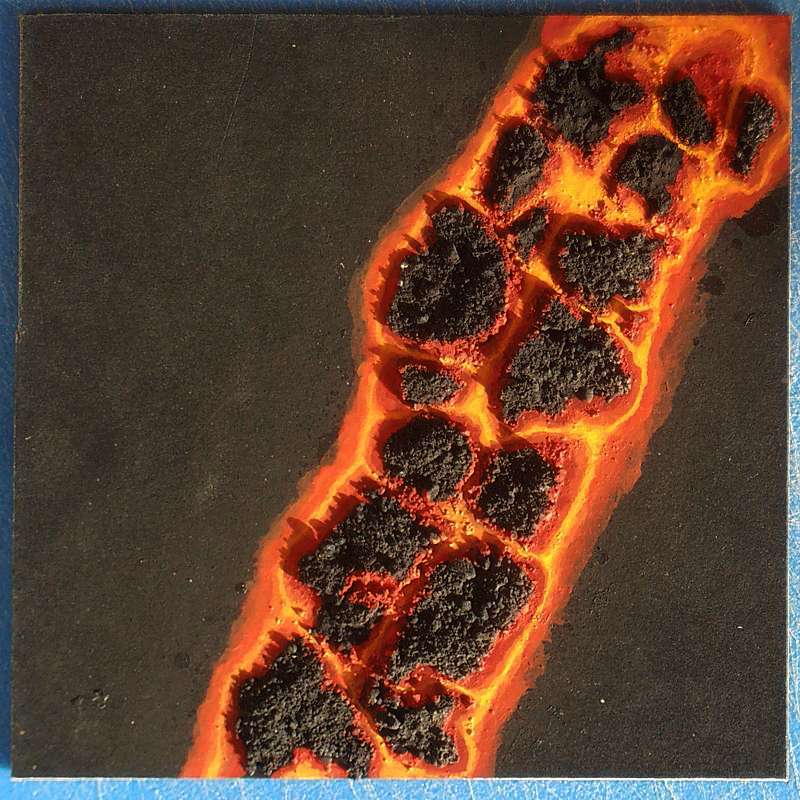
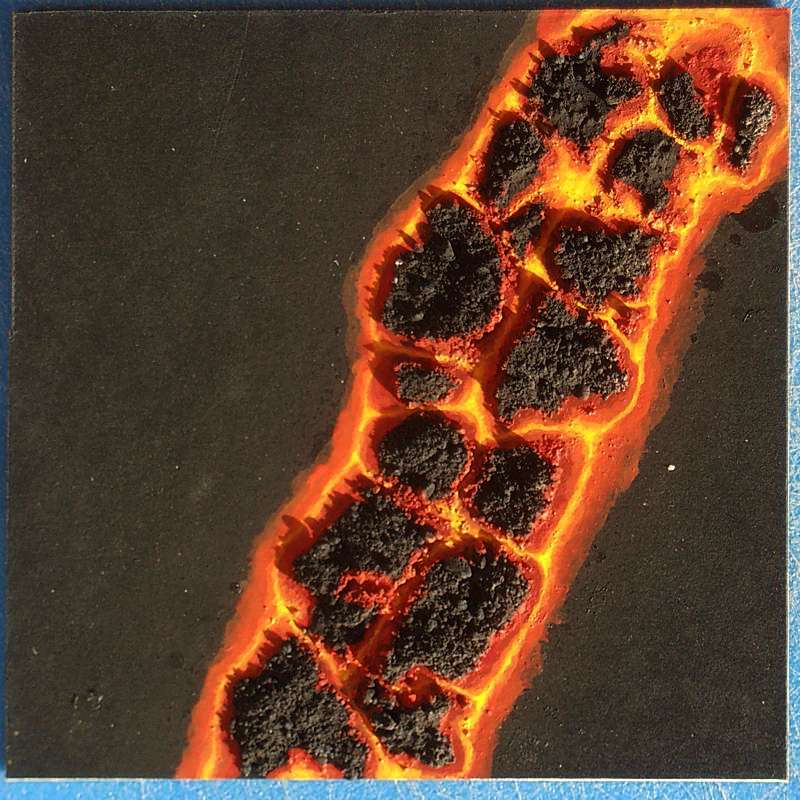
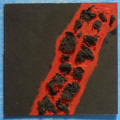
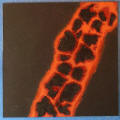
Lava Flows from Plaster
(Click thumbnails for
larger images) |
|
|
Materials & Tools:
Plaster of Paris or other casting plaster
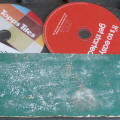
Base material
(matt board in this case)
Plastic bag or
film
PVA glue
Atomizer or
spray bottle
Paint &
brushes
|
 |
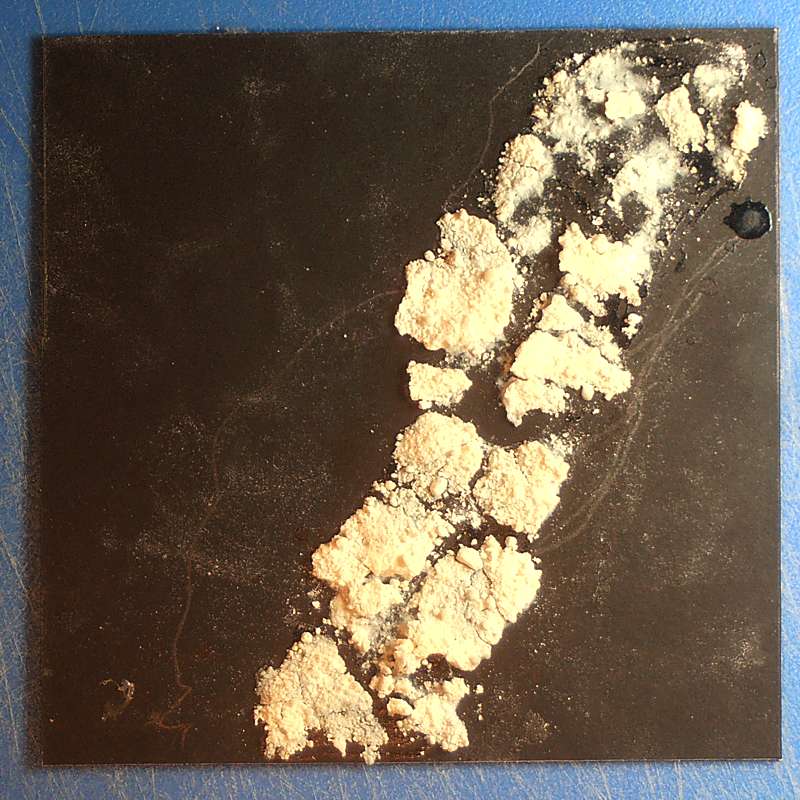
Stage 1
Using a
custom applicator
or teaspoon,
sprinkle a
2-3mm layer of plaster onto a flat sheet of plastic. Spray GENTLY with
water from the atomizer and leave to dry. |
 |
Stage 2
Apply PVA to
the base where you want the lava flow, and transfer sections of the dried
plaster "sheet". This will be very brittle, so care is needed, but if
pieces break when applying, simply slide them around a little, leaving a
gap. Leave to dry and paint everything black. |
 |
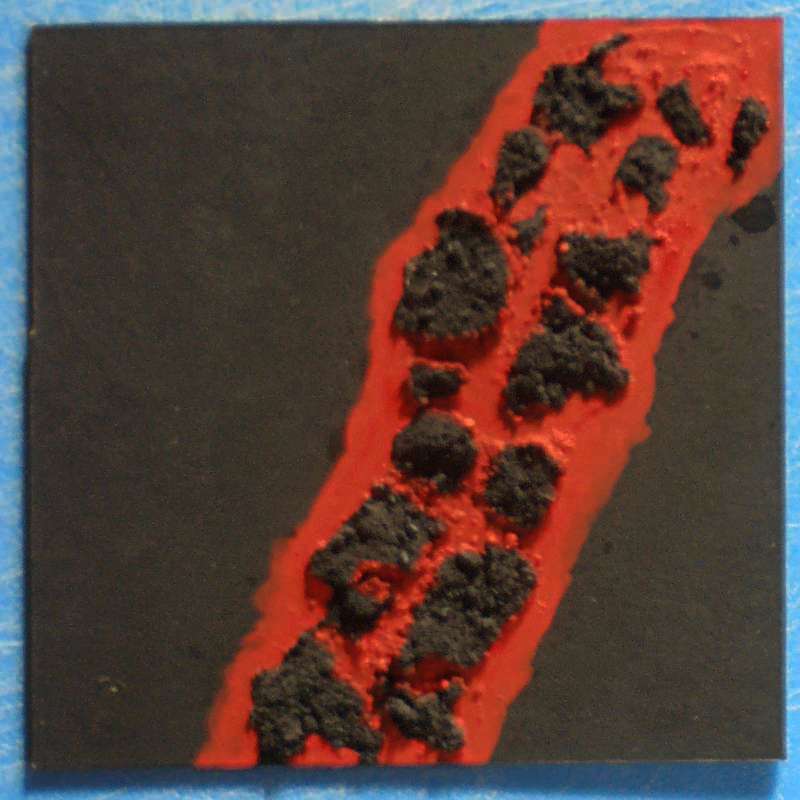
Stage 3
The rest of
the steps are all about building up the paintwork - to achieve the best
effect, apply many thin layers of paint.
Begin with red, coating all the exposed base material and
the sides of the slabs of plaster. |
 |
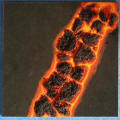
Stage 4
Add a LITTLE
yellow to the mix and paint over almost all of the red areas, leaving a
red band around the edges. |
 |
Stage 5
Add more
yellow, and paint this on top of the last coat, again leaving a thin
band showing. |
 |
Stage 6
Add a little
more yellow and repeat the last stage. |
 |
Stage 7
Add a little
more yellow and repeat. |
 |
Stage 8
Add a little
more yellow and repeat. |
 |
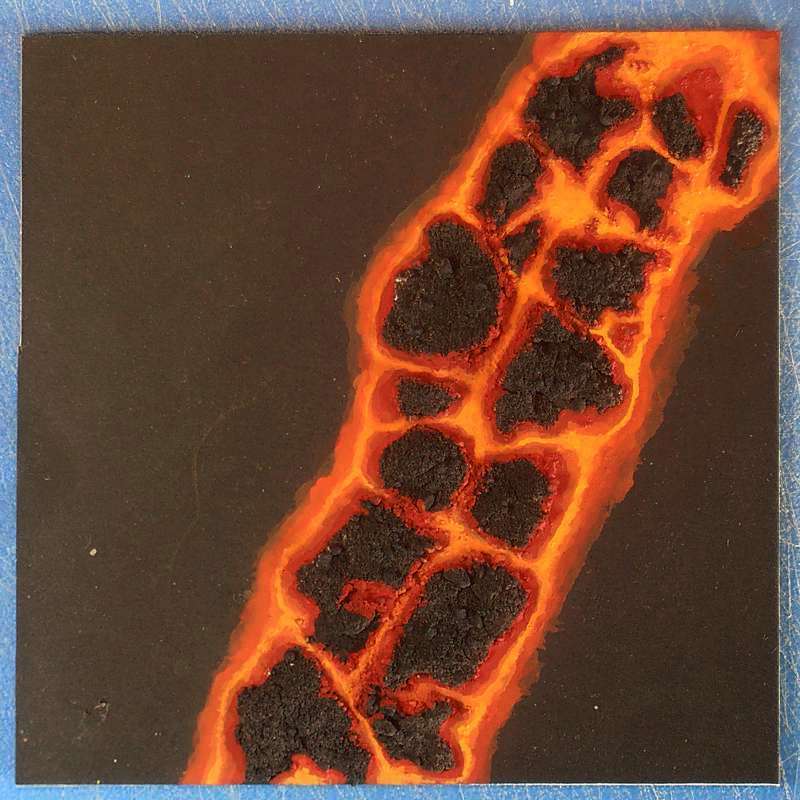
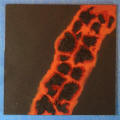
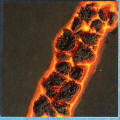
Stage 9
Now apply pure
yellow paint, concentrating on the hottest areas - the junctions of the
streams and a few other hot-spots. |
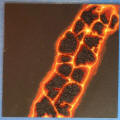 |
Stage 10
Mix white with
the yellow and highlight the areas from the last stage. |
 |
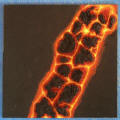
Stage 11
Add a pure
white highlight to the very hottest regions.
Finally,
drybrush a mid-grey colour on the tops of the plaster slabs. |