|
Domes
(Click thumbnails for
larger images) |
|
 |
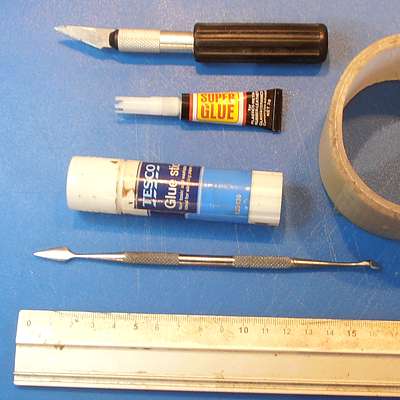
Materials & Tools:
Cereal pack or other card
2 buttons
Hirst Arts pinnacle piece
Superglue
Glue Stick
Craft knife
Metal ruler / straight edge |
 |
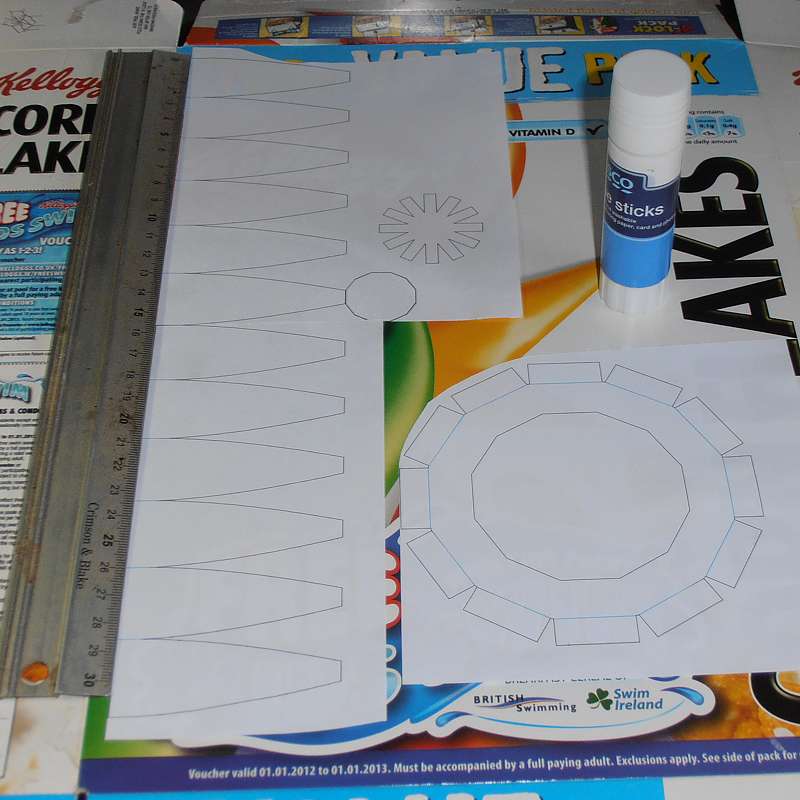
Stage 1
Click the
thumbnail to the left to open the .pdf file. Print out the appropriate
page. There are rectangles at the base of the strip pieces to allow you
to build a dome with an extra 1/4" or
1/2" in height. |
 |
Stage 2
Carefully
separate the 2 strip sections. Reposition them end-to-end and use the
glue stick to attach them to the printed side of the cereal pack, making
one long strip. Use a ruler to keep the pieces aligned correctly. Glue
on the other pieces in suitable positions. |
|
 |
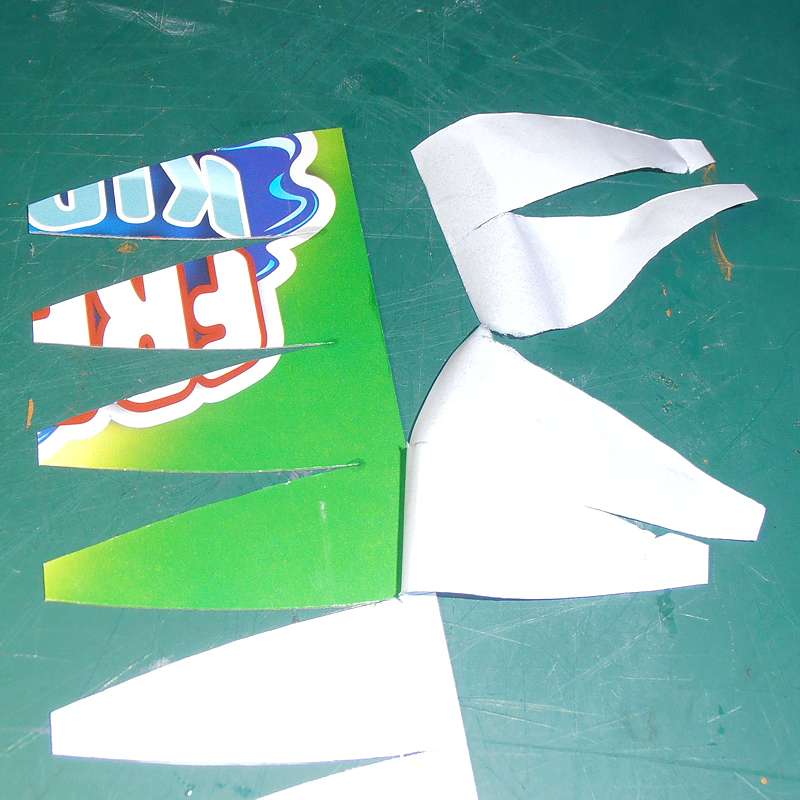
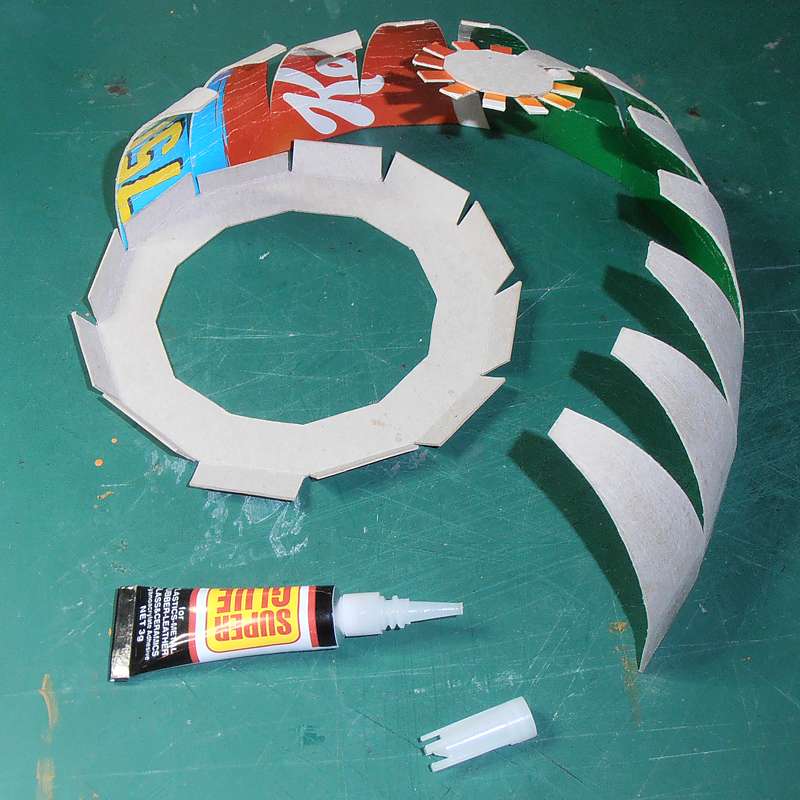
Stage 3
Carefully cut out the pieces with a sharp craft knife,
and score all the fold lines. Take special care cutting the curves on
the strip piece. |
 |
Stage 4
Paint a little
water onto the printed template, leave for a minute or so, then
carefully peel the paper off the card. |
 |
Stage 5
Fold the flaps
on the base section as shown, so the outer faces of the tabs are the
printed surface of the card. |
 |
Stage 6
Use superglue to attach the "star" piece to the centre of
the dome top, so that each side has a small tab protruding. Fold all the
score marks on the long strip. |
 |
Stage 7
Run the edge of a ruler along each section of the strip
to bend the card slightly. Be careful not to tear the wedges apart. |
 |
Stage 8
Use superglue to attach the strip to the base. Glue one tab
at a time, and be sure that the score marks align with the corners of
the base piece. It will help to keep everything square, if you keep the
base on a flat surface for this stage. |
 |
Stage 9
Superglue the top of each wedge to the tabs of the star
piece. Start next to the piece with the top part attached to it, and
work around. |
 |
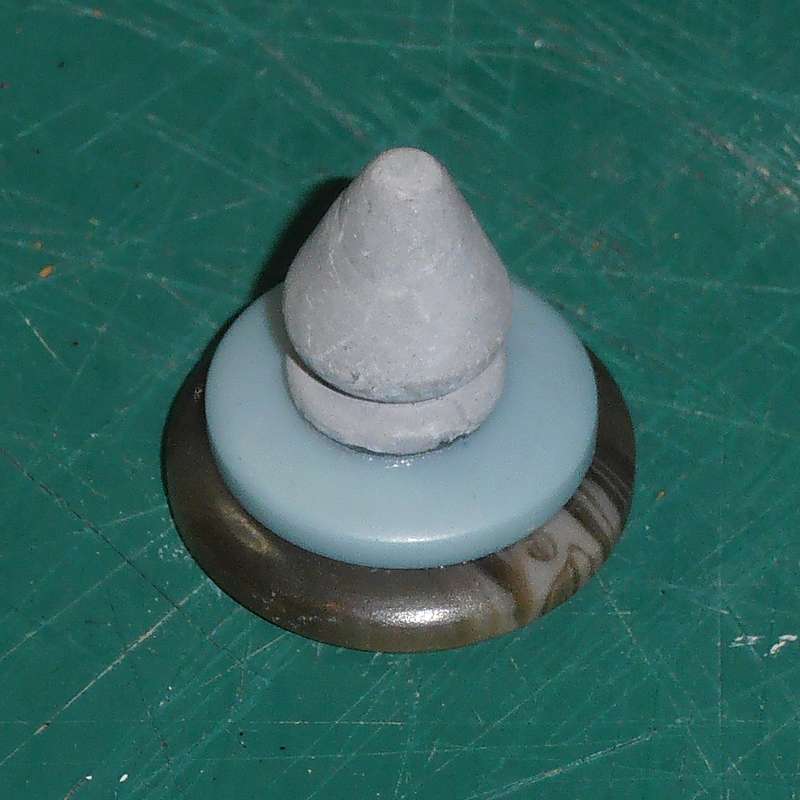
Stage 10
Use superglue to attach the pinnacle piece to the centre
of the smaller button. This gives you a handle to attach them to the
larger button. |
 |
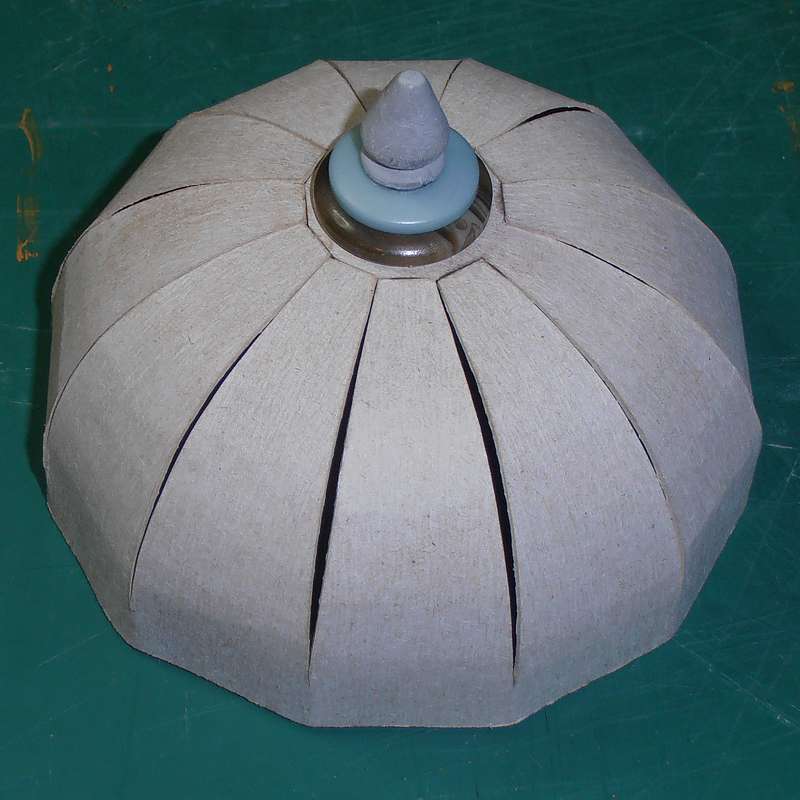
Stage 11
Then glue the finished pinnacle to the centre of the
dome. |
 |
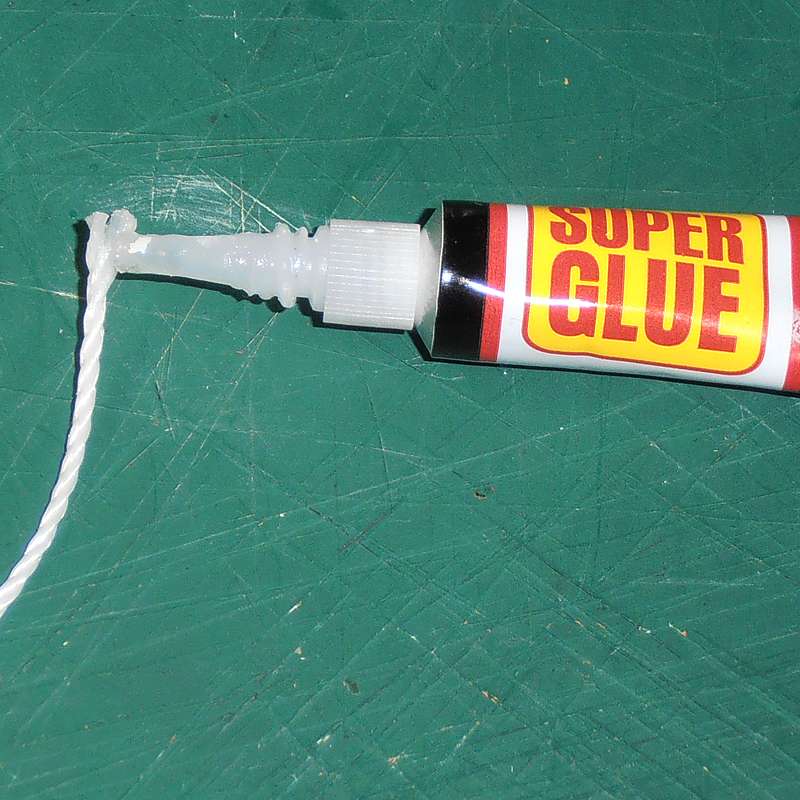
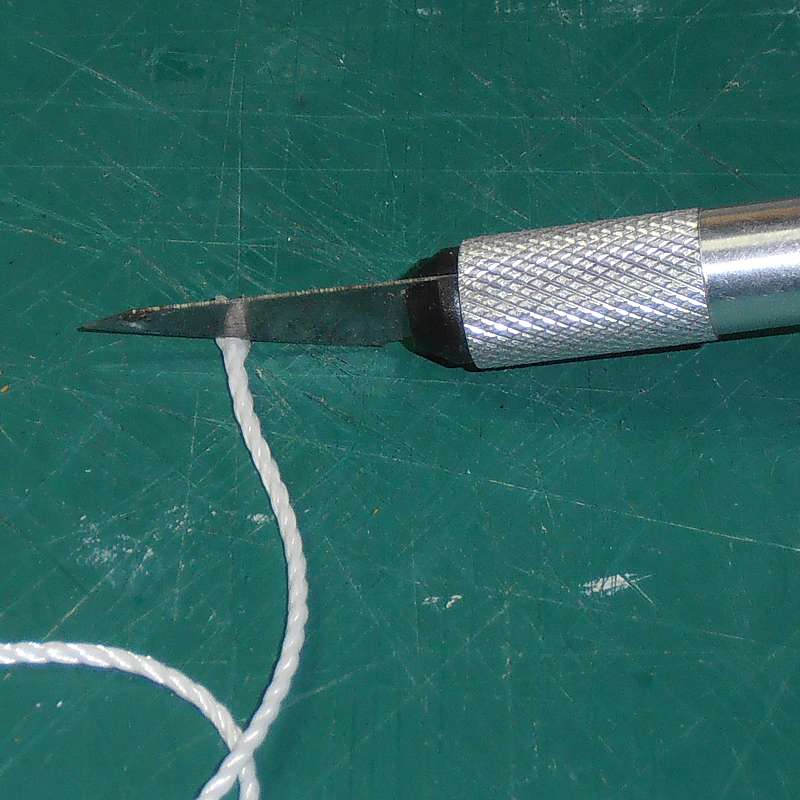
Stage 12
Add a drop of superglue to the end of the string to
prevent it fraying, and leave to dry.
|
 |
Stage 13
Trim the end of the string, cutting through the
superglued part. |
 |
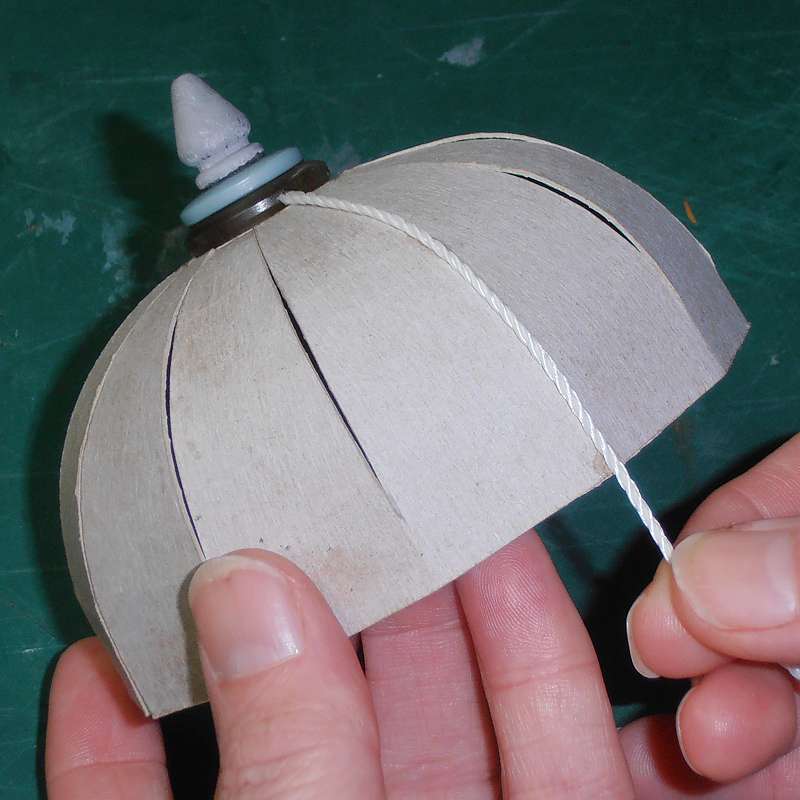
Stage 14
Attach the end of the string to the top of the dome in
line with one of the joints. |
 |
Stage 15
Place a drop of glue about halfway down the curve, and
another at the base. Pull the string into position as shown. |
 |
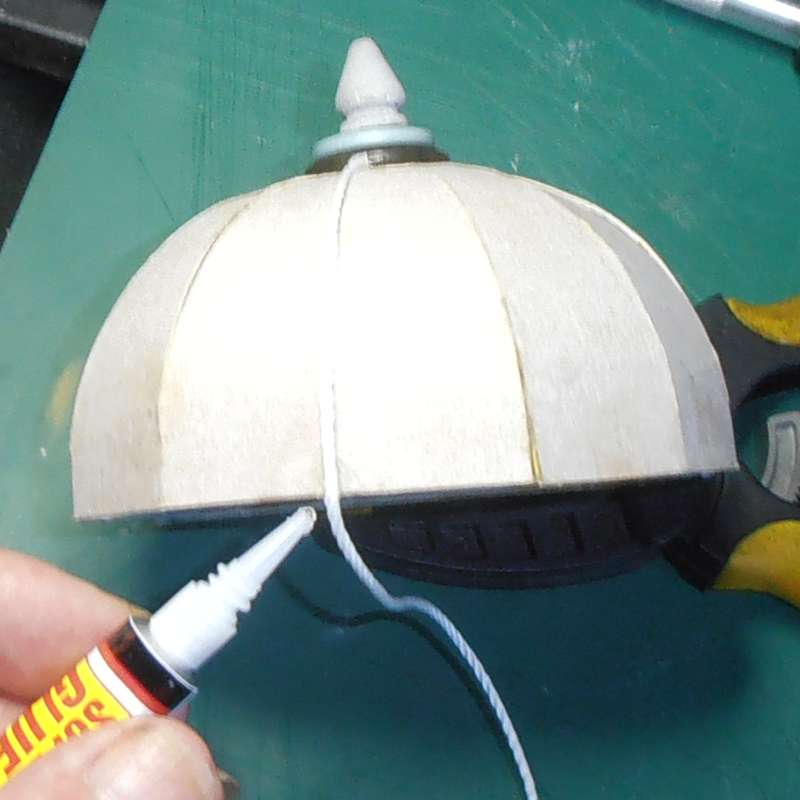
Stage 16
Add a drop of glue to the string where it meets the base.
Leave to dry and then trim the string level with the base. Continue this
process for each of the joints. |
 |
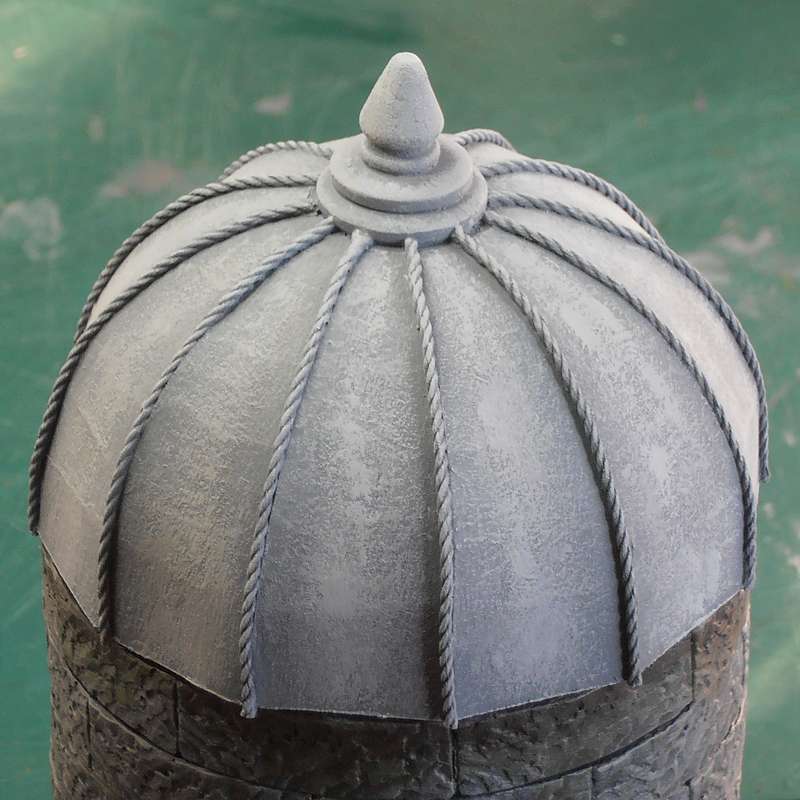
Stage 17
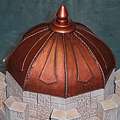
Add extra decorations if you wish, or simply paint the
model in the colours of your choice. This image shows the 12-sided
version of the dome on a 4" diameter Hirst Arts tower |
 |
This shows the 8-sided version of the dome crowning
pieces from the Hirst Arts octagonal tower mould. |
|
|
|
|
|
Hipped Roofs
(Click thumbnails for
larger images) |
|
|
Materials & Tools:
Cereal pack or other card
Hirst Arts roof tile pieces
Pin
Superglue
Glue Stick
Craft knife
Metal ruler / straight edge |
|
Stage 1
Click the
thumbnail to the left to open the .pdf file. There are some instructions on the sheet, which are reproduced
here along with some extra information. |
|
Stage 2
You can make multiple copes of the templates and use the
glue stick to attach the pieces to the card. Alternatively, use a pin
to mark the position of each corner on the card and simply join the dots
to duplicate the pieces.
|
 |
Stage 3
If the top of your building is square in plan, simply
make 4 copies of the appropriate size template. These should then fit
together to make a pyramid with a slope of 45°.
|
|
Stage 4
If the top of your building is rectangular in plan, make
4 copies of the appropriate size template for the shorter walls.
Cut 2 of these pieces in half along the pink centre-line. |
 |
Stage 5
Next make a rectangle to fit between the half-sections,
with a width that is the difference between the longer and shorter walls
of the building - e.g. for a 10" x 7" building, the rectangle would be
10-7 = 3" wide. |
 |
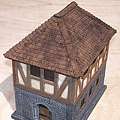
An example of a hipped roof made with pieces from the
Hirst Arts wood shingles mould. |
|
|
|
|
|
Making Moulds from Card
(Click thumbnails for
larger images) |
|
 |
Materials & Tools:
Cereal pack or other printed card
Superglue
Glue stick
Duct tape
Craft knife
Metal ruler / straight edge
Dental pick or similar carving tool
Optional:
Hirst Arts pinnacle piece and niches
|
|
Stage 1
Click the
thumbnail to the left to open the .pdf file. Print out the
page at 100%. The spire as printed will be 3" x 3" square at the base x
6" tall. |
 |
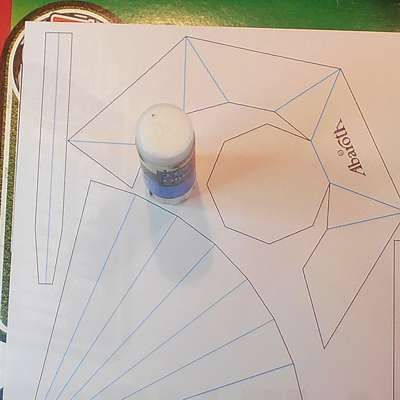
Stage 2
Use the
glue stick to attach the template to the printed side of the cereal pack.
The printed surface will form the inside of the mould, so it is
important that there are no damaged areas on the card or the plaster
could stick permanently to the mould. |
|
 |
Stage 3
Carefully cut out the pieces with a sharp craft knife,
and score all the blue fold lines. |
|
Stage 4
Paint a little
water onto the printed template, leave for a minute or so, then
carefully peel the paper off the card. Remove any remaining glue from
the card with moistened kitchen roll. |
 |
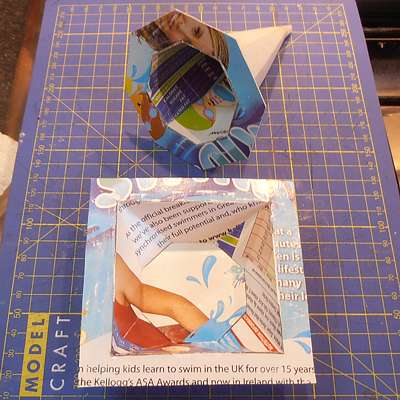
Stage 5
Carefully fold the
card along the score lines, keeping the printed surface on the inside.
Use duct tape to fix the pieces together. Run superglue into all the
joints to add strength and to waterproof the exposed edges of the card. |
 |
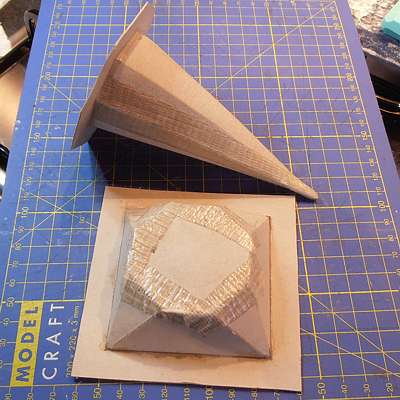
Stage 6
Attach the flanges to the open end of both pieces in the
same way, and slide the octagonal supports up the tall piece until they
are a snug fit. These will help to prevent any distortion when the
plaster is added. |
 |
Stage 7
The moulds are now ready to use. If you like, you can
spray the inner surface with oil to help release the plaster. |
 |
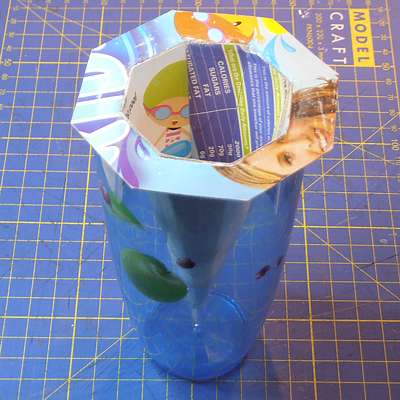
Stage 8
To fill the tall section with plaster, sit the mould
inside a drinking glass of a suitable size. Then fill and scrape both
moulds as usual.
|
 |
Stage 9
The plaster will take considerably longer to dry than the
small Hirst Arts blocks - you may have to leave the casts overnight
before they will slip out of the card moulds. You can speed up the
process by microwaving the plaster for 30 second bursts, leaving it to
cool before heating it again. |
 |
Stage 10
Mark and carve mortar lines into the plaster and add
texture if you want. If you wish to add Hirst Arts niche pieces, cut
appropriate slots with a hacksaw blade.
The pieces in the image are painted in order to show the
lines.
|
 |
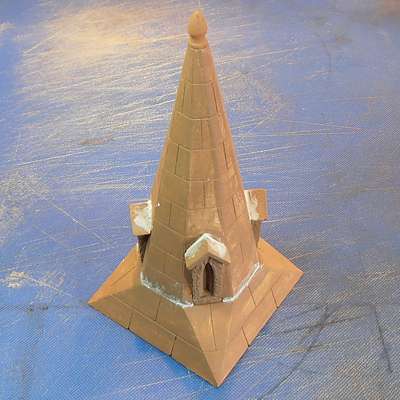
Stage 11
Join the pieces together, and undercoat the
plaster. Use decorators filler or caulk to fill any gaps. Once dry the
spire can be painted. |