| Contents | |||||||
 |
Printing Leaded Glass Print a variety of leaded glass panels in 16 styles. |
 |
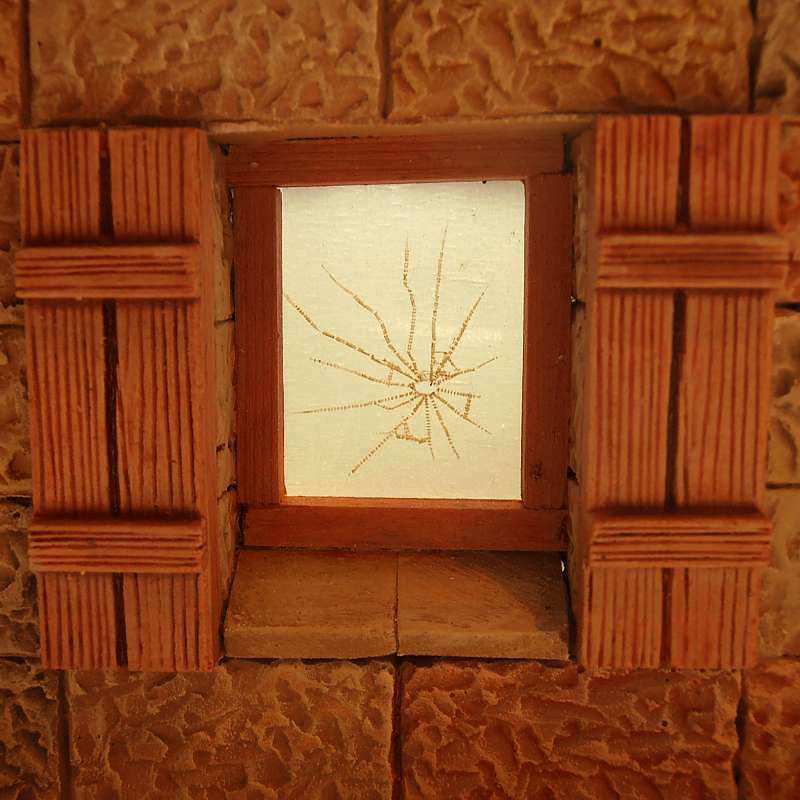
Cracked Glass Making damaged window panes with cracks. |
 |
Fine Frosted Glass How to make windows with a fine frosted glass effect. |
 |
Clear Designs on Frosted Glass Adding clear designs to frosted glass windows. |
 |
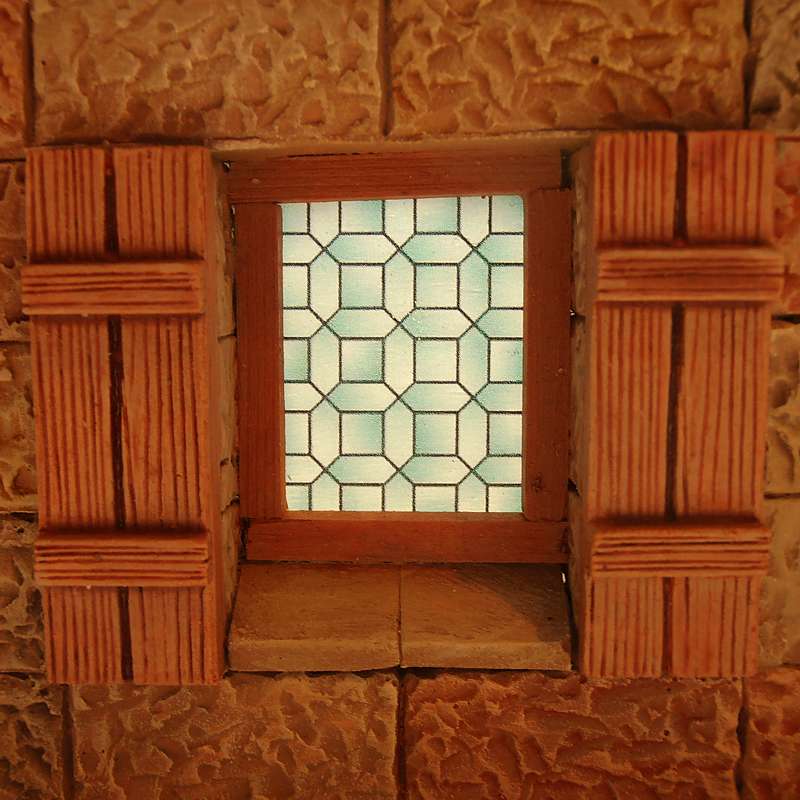
Antique Glass How to create the effect of antique glass on sheet plastic.
|
 |
Rain Glass Producing an effect that resembles rain glass.
|
 |
Leaded Glass from Packaging Simple leaded glass panes made from moulded packaging. |
 |
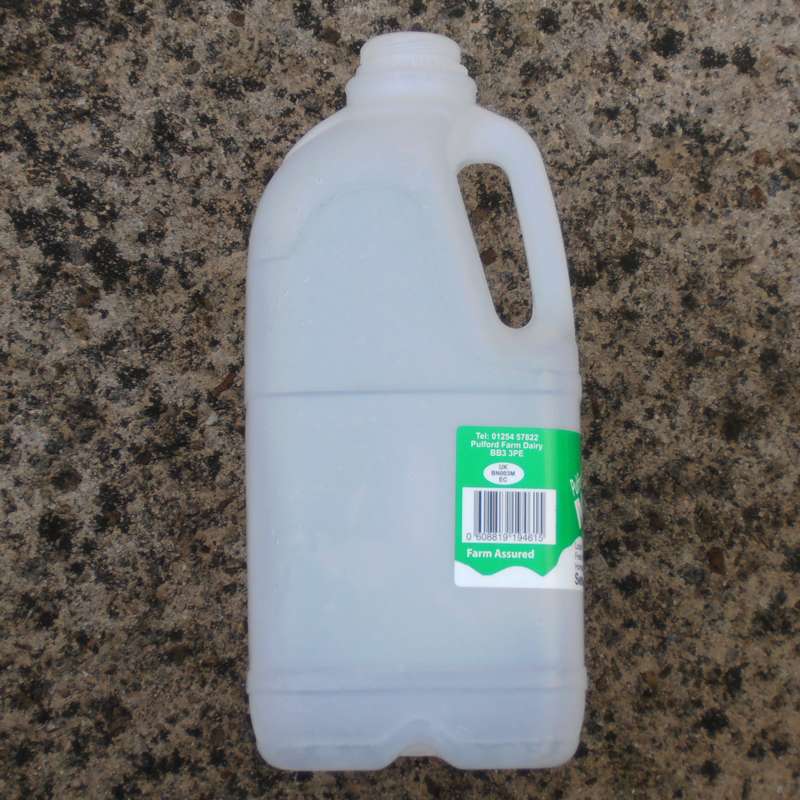
Milky Frosted Glass Milky glass panes from milk bottles. These also make great diffusers for back-lighting. |
 |
Mirrored Glass How to make mirrored glass. |
 |
Mirrors with Foxing Creating an old mirror with foxing. |
||||

|
Printing Leaded Glass (Click thumbnails for larger images) |
|||||
|
|
Materials & Equipment Acetate sheet suitable for printing (be sure to get the right type for your printer) Inkjet or laser printer |
|
Stage 1 Visit the Glass page to generate randomised images, and follow the instructions to print them
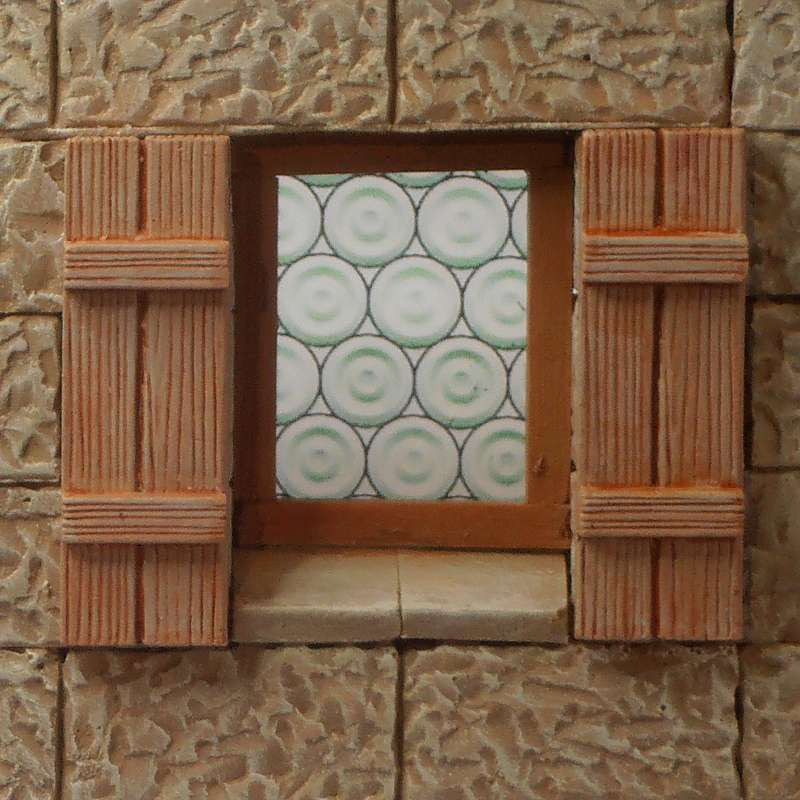
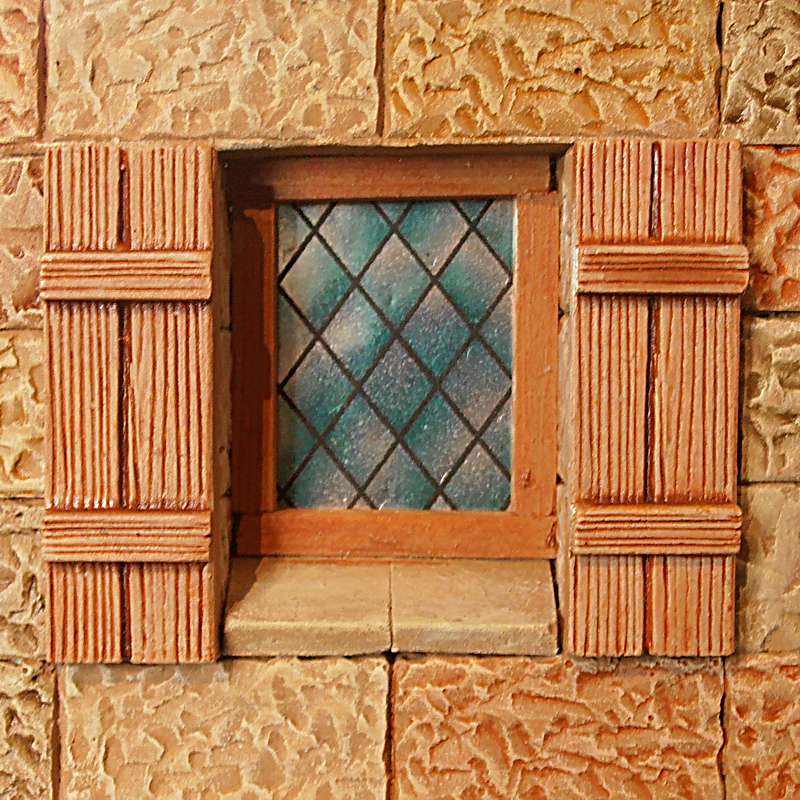
This example shows a window with a printed bullseye design. |
|
Example 2 Another window printed on acetate with a diamond leading pattern
|


|
Cracked Glass (Click thumbnails for larger images) |
|||||
|
|
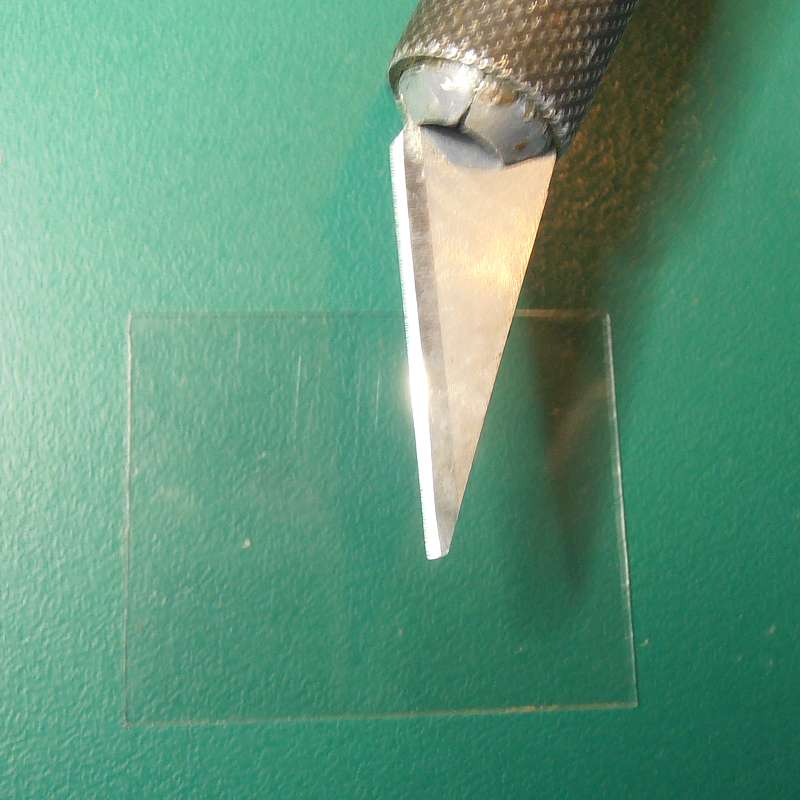
Materials & Equipment Clear plastic sheet (blister pack) Craft knife White acrylic paint Small paintbrush |
|
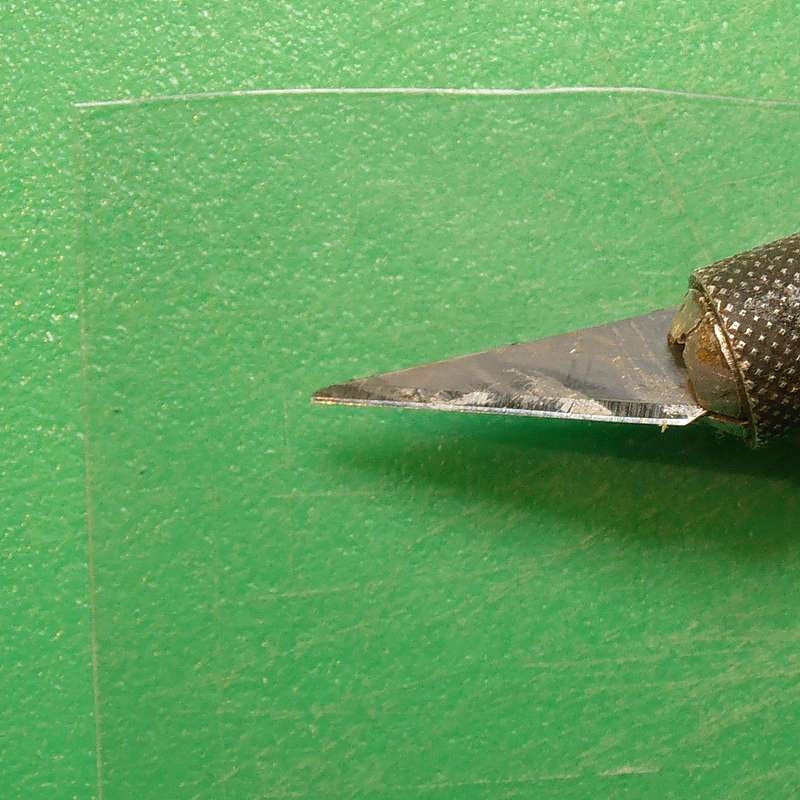
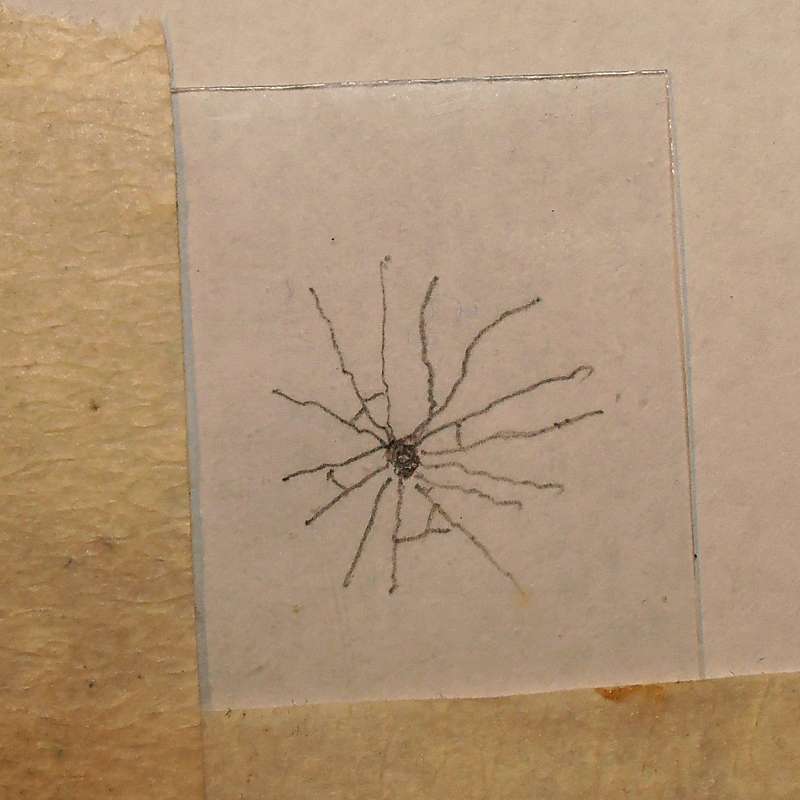
Stage 1 Using the point of a sharp craft knife, scratch a pattern of cracks into the surface of the plastic sheet. If you like you can draw out the design on paper first and then scratch over the lines. |
|
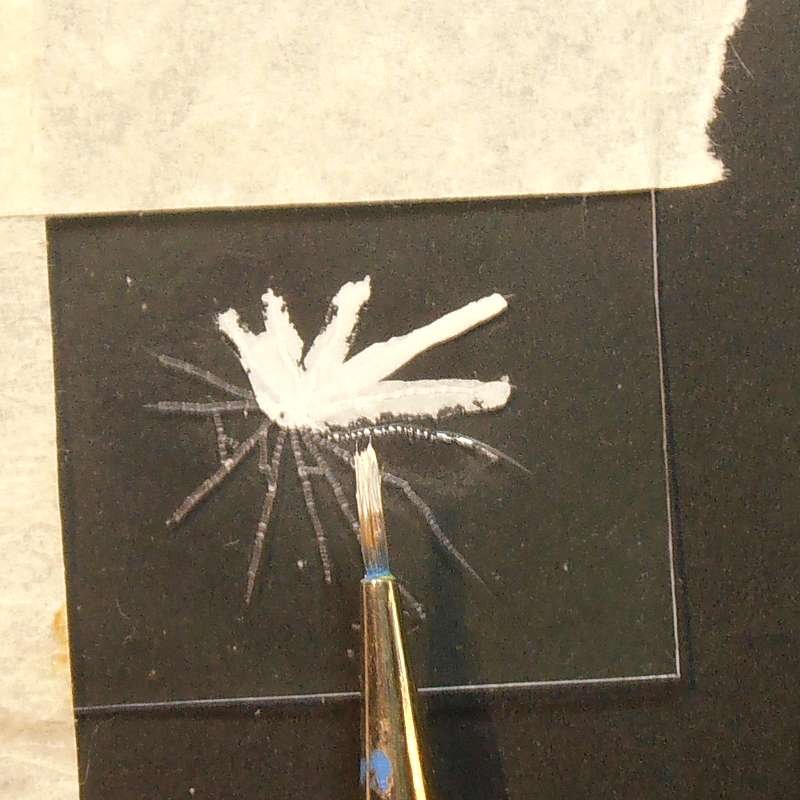
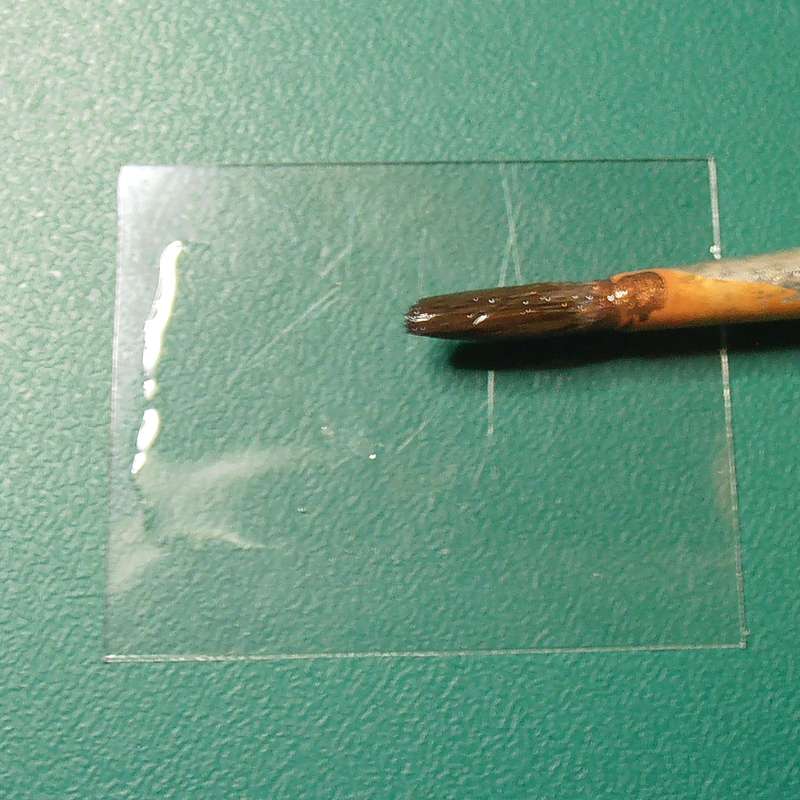
Stage 2 Paint the scratched area with the white acrylic paint. Be sure to get paint into all the cracks you made, and don't worry about any paint that goes outside the lines.
|
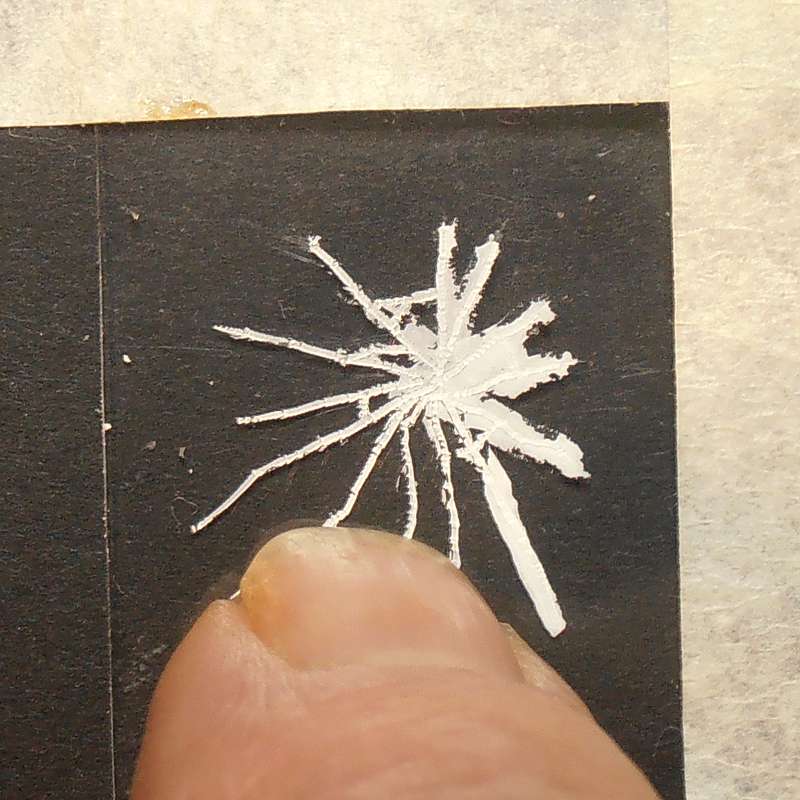 |
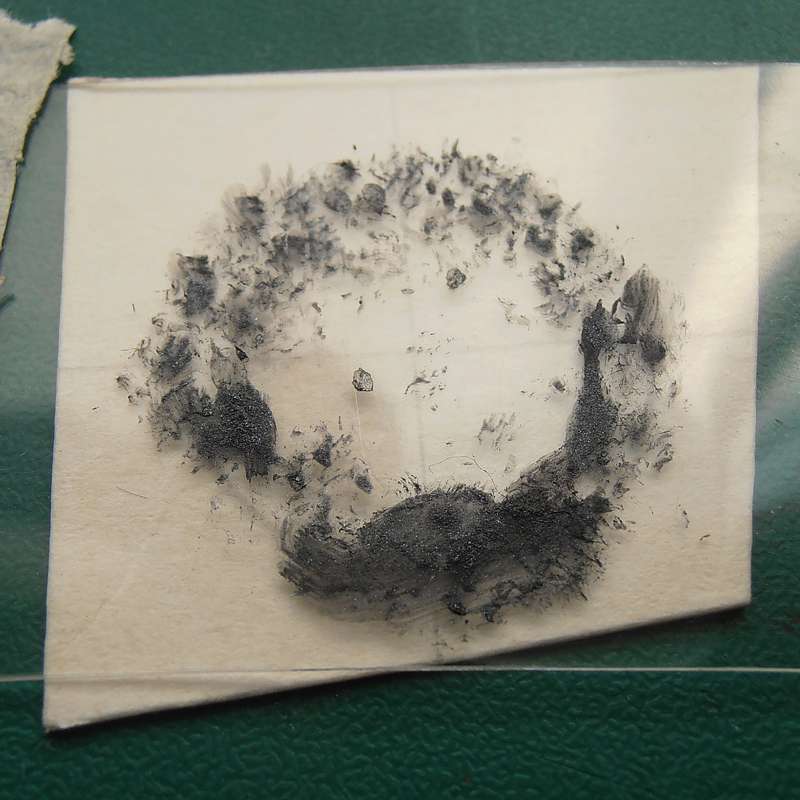
Stage 3 Allow the paint to dry, then scrape off the excess. I used my fingernail but you could use some kind of tool if you prefer - but be careful that it doesn't scratch the plastic.
|
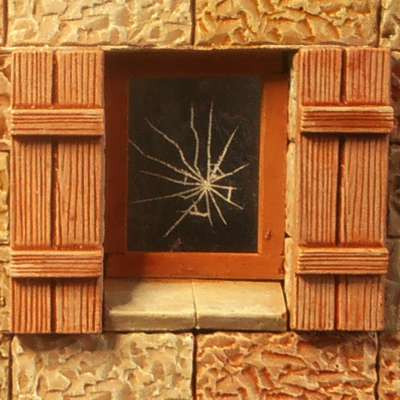 |
Stage 4 Cut the plastic sheet to size to fit into your window frame. |
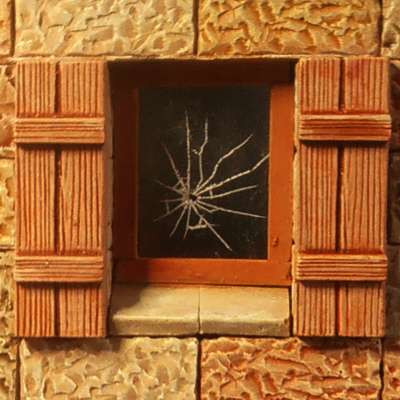 |
Stage 5 Cut a small hole in the centre of the damage if you want to add a little variation. |
|
Fine Frosted Glass (Click thumbnails for larger images) |
|||||
|
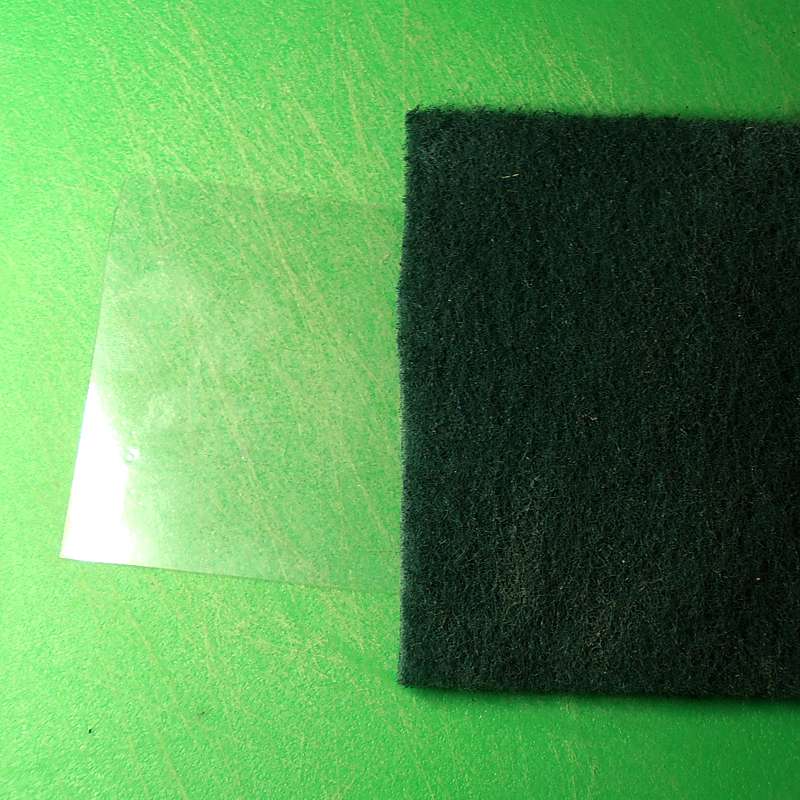
|
Materials & Equipment Clear plastic sheet (blister pack) Nylon pan scourer Craft knife or sharp scissors |
|
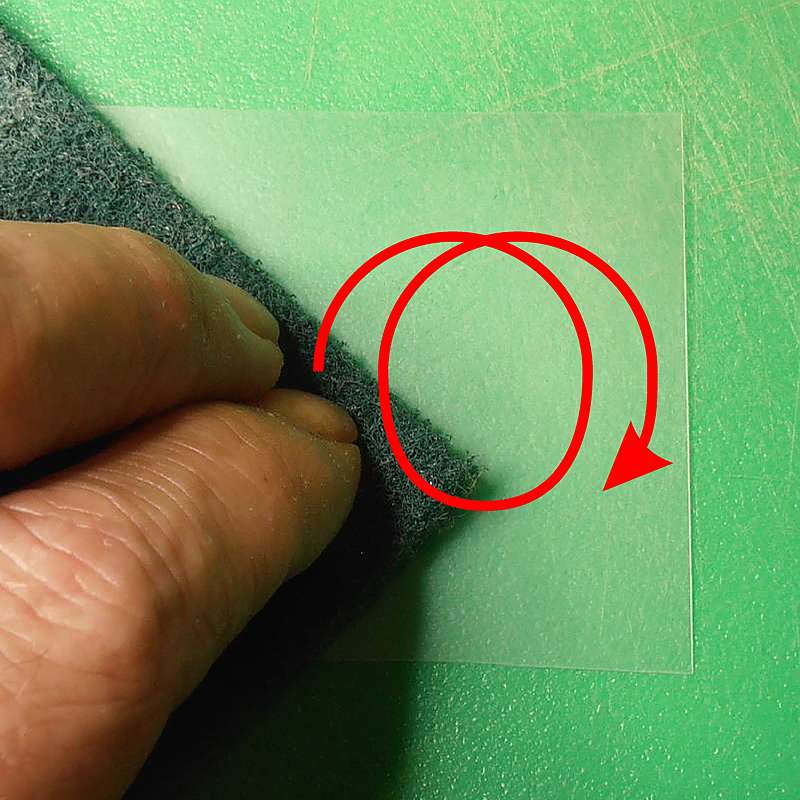
Stage 1 Using the pan scourer, thoroughly scrub one side of the clear plastic. |
|
Stage 2 The result is a sheet which is less transparent, like frosted glass. |
|
|
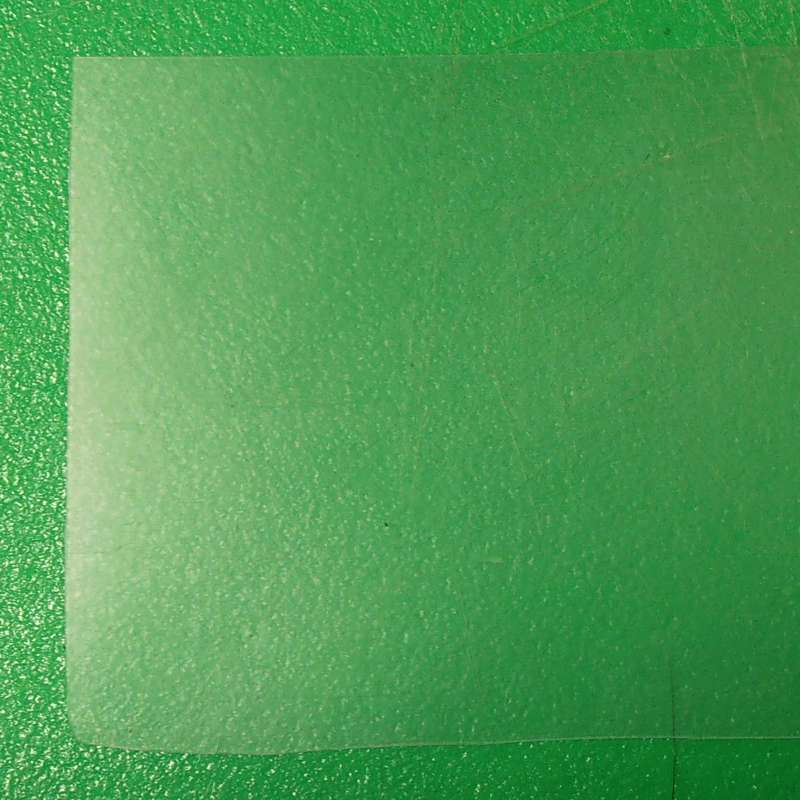
Stage 3 If you want to make the material even less transparent, turn over the sheet and scrub it on the other side too. |
 |
Results This plastic has been scrubbed all over on one side, and half of it has been scrubbed on both sides to show the different effects. |
 |
Stage 4 Cut the plastic sheet to size to fit into your window frame. |
|
Clear Designs on Frosted Glass (Click thumbnails for larger images) |
|||||
|
|
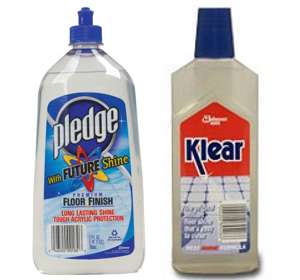
Materials & Equipment Frosted plastic packaging Pledge Floor Polish Fine Paintbrush Masking Tape Craft knife or sharp scissors |
|
Stage 1 Draw or print a design. Secure the plastic sheeting in position with masking tape.
|
|
Stage 2 Paint the area of the design with the floor polish and leave to dry.
|
 |
Stage 3 If you frosted both sides of the plastic you will need to repeat the painting process on the other side to make it transparent once again.
|
 |
Stage 4 Cut the plastic sheet to size to fit into your window frame. |
||
|
Antique Glass (Click thumbnails for larger images) |
|||||
|
|
Materials & Equipment Clear plastic sheet (blister pack) Pledge Floor Polish Paintbrush Craft knife or sharp scissors |
|
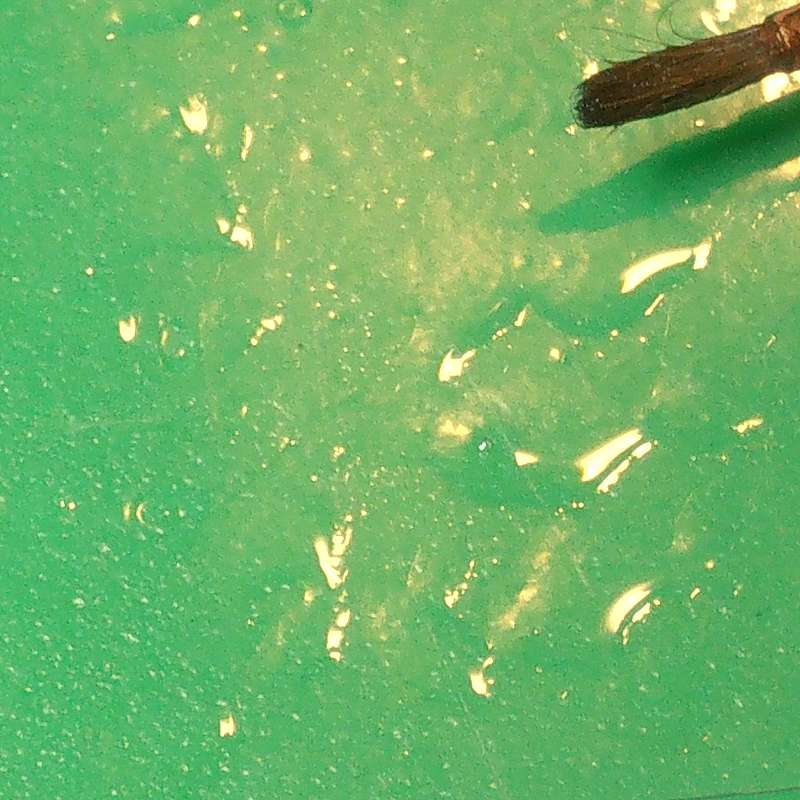
Stage 1 Add blobs of Pledge Floor Polish all over the plastic sheet using the paintbrush. For the best effect, vary the size and shape of the blobs, and leave some areas bare. |
|
Results Once the polish is dry, the effect is similar to looking through antique glass with its slight imperfections. The picture reminds me of a hall-of-mirrors reflection. |
 |
Stage 2 Cut the plastic sheet to size to fit into your window frame. |
||||

|
Rain Glass (Click thumbnails for larger images) |
|||||
|
|
Materials & Equipment Clear plastic sheet (blister pack) PVA Glue Bristle Paintbrush Craft knife or sharp scissors
|
|
Stage 1 Add some PVA to the plastic and spread it over the whole area using the paintbrush. |
|
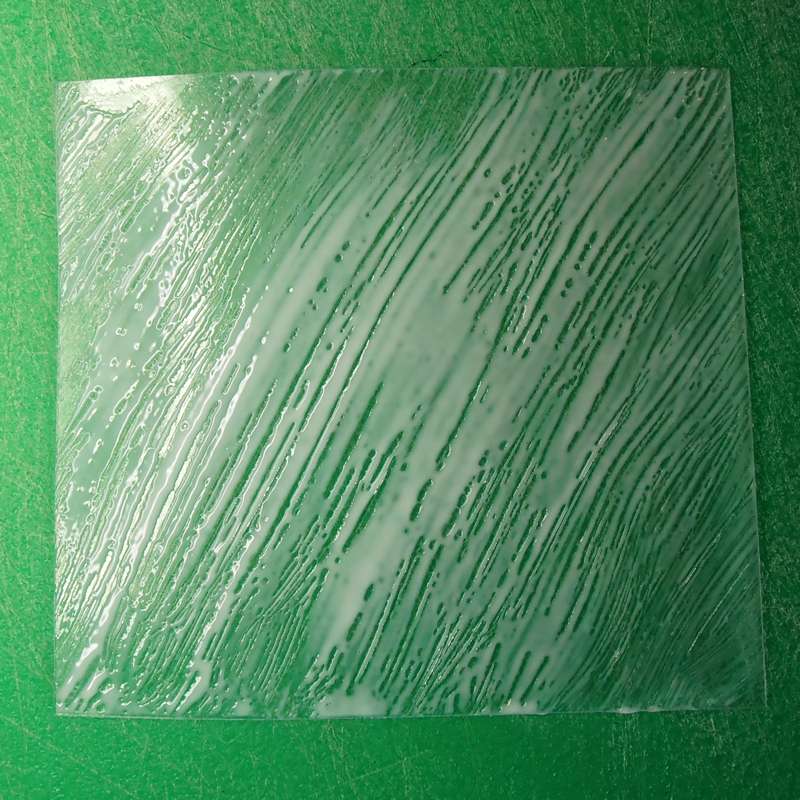
Stage 2 Continue brushing through the PVA keeping your brush strokes in the same direction. Ideally, you want to get a series of fine lines all over the area with no large even patches of PVA. |
|
|
Results Once the PVA has dried completely, it becomes transparent with a texture that resembles rain glass.
|
 |
Stage 3 If you want the glass to be more opaque, simply scrub the reverse side of the plastic with a nylon pan scourer as described in Fine Frosted Glass, above. The same sheet of plastic with the back scrubbed to reduce the transparency. |
 |
Stage 4 Cut the plastic sheet to size to fit into your window frame. |


|
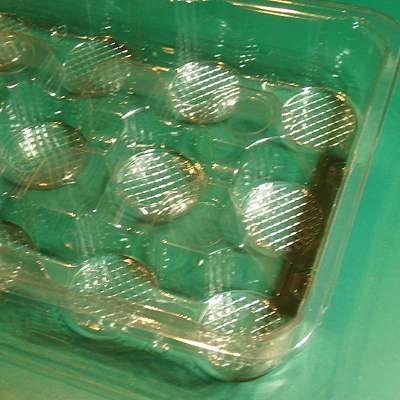
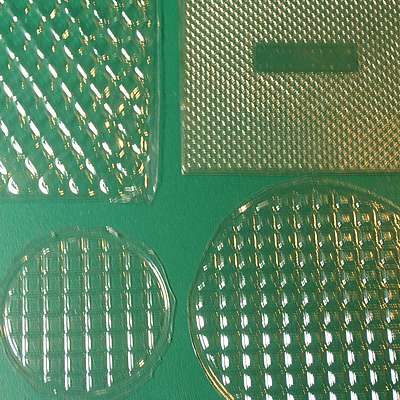
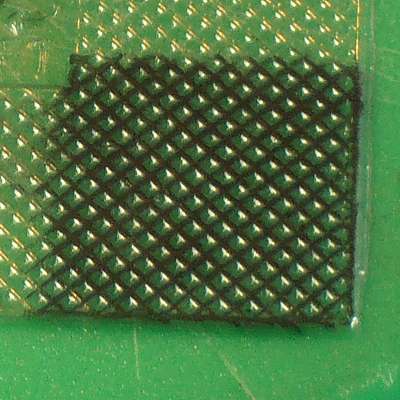
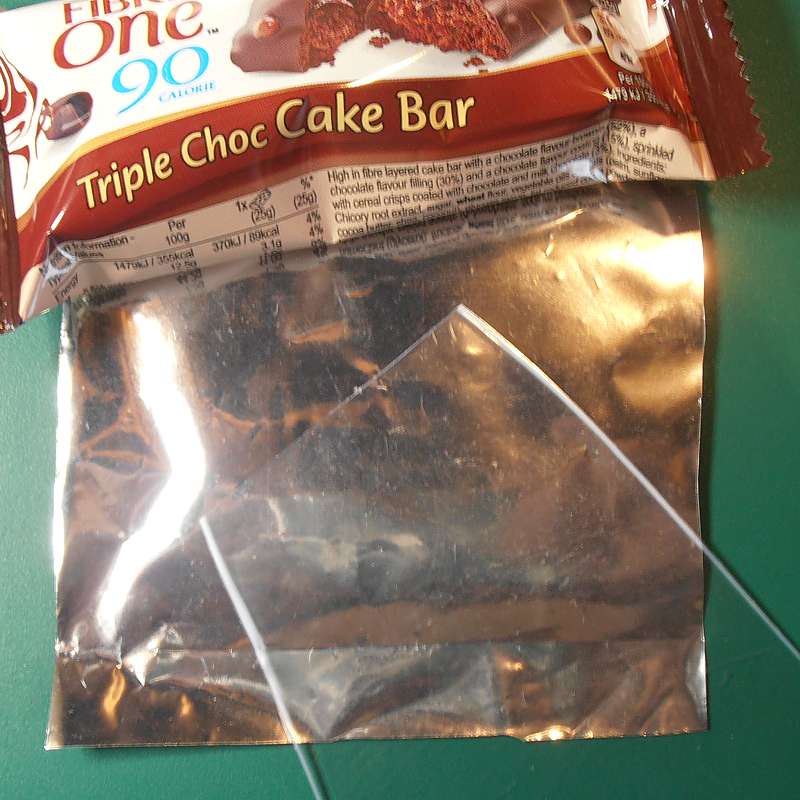
Leaded Glass from Packaging (Click thumbnails for larger images) |
|||||
|
|
Materials & Equipment Clear plastic packaging Black acrylic paint or Sharpie Gunmetal acrylic paint or silver Sharpie Paint brush Craft knife or sharp scissors
|
|
Here are some pieces of different plastic packaging with grid patterns moulded in. Check the crates filled with multiple tubs or bottles at the supermarket, and you can probably get a load for free. |
|
Stage 1 Turn the plastic so that the moulded lines are on the upper surface. Either drybrush with black paint or use a black Sharpie to colour the lines. Allow to dry. |
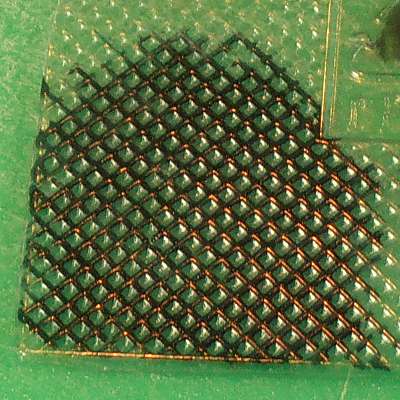 |
Stage 2 Drybrush gunmetal over the top of the black, or use a metallic silver Sharpie to add a highlight.
|
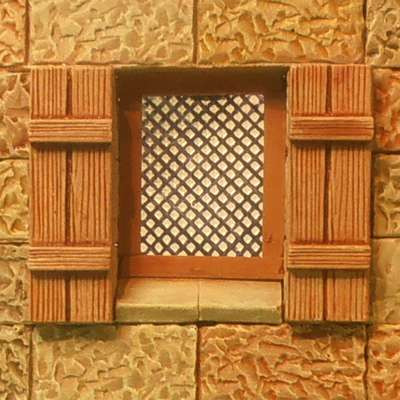 |
Stage 3 Cut the plastic sheet to size to fit into your window frame.
|
||
|
Milky Frosted Glass (Click thumbnails for larger images) |
|||||
|
|
Materials & Equipment Empty plastic milk bottle Craft knife / sharp scissors |
|
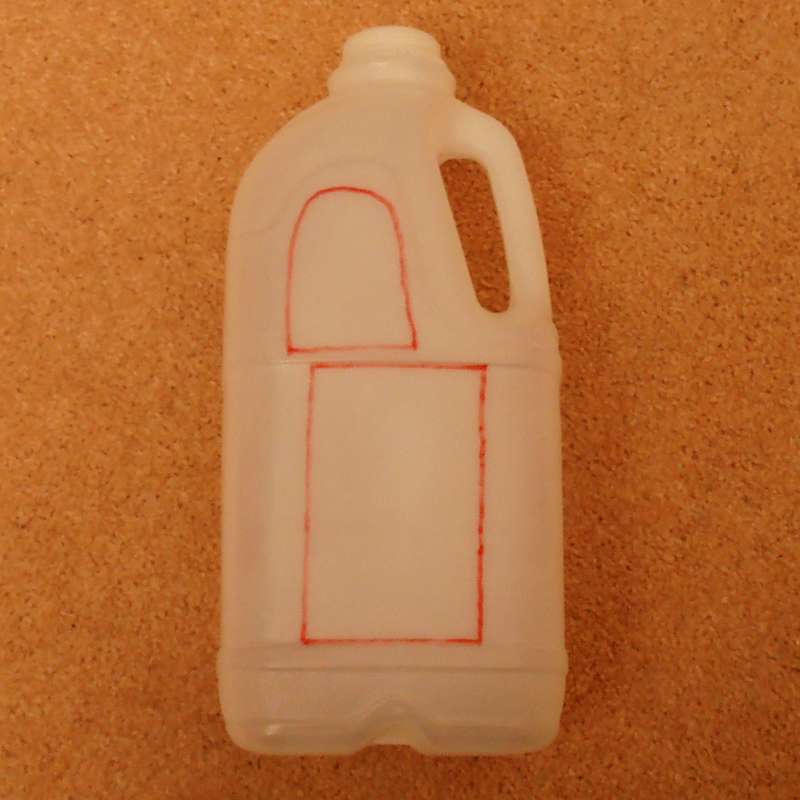
Stage 1 Wash and dry the milk bottle, and remove the label. Cut out one or more of the flat panels as shown. |
|
Stage 2 Cut the plastic to size to fit into your window frame. The result resembles heavily frosted glass.
|
 |
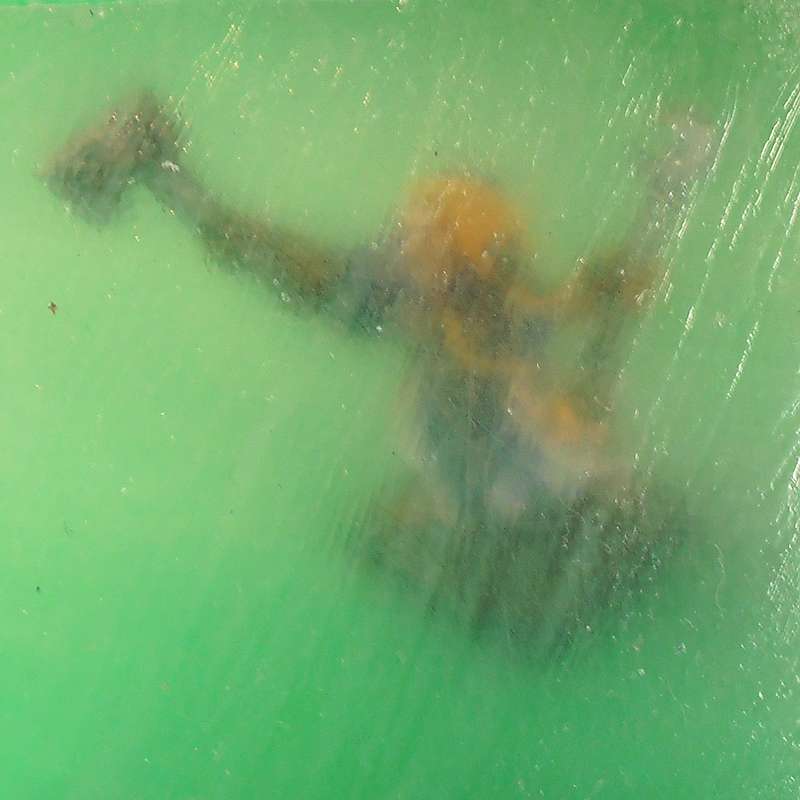
Example 1 These panels also make great diffusers for backlighting. Here is an example of a printed acetate window with a piece of milk bottle behind.
|
 |
Example 2 Backlit picture with the milk bottle plastic behind a leaded window from packaging plastic.
|
 |
Example 3 Backlit picture with the milk bottle plastic behind a cracked glass pane.
|

|
Mirrored Glass (Click thumbnails for larger images) |
|||||
|
|
Materials & Equipment Clear plastic sheet (blister pack) Mylar sheet or mirrored packaging Craft knife or sharp scissors Pledge Floor Polish Paint brush |
|
Stage 1 Cut the clear plastic to the right size to fit the mirror frame. The larger the piece, the longer it may take to dry. |
|
Stage 2 Using the paintbrush, apply an even coat of floor polish to the clear plastic sheet.
|
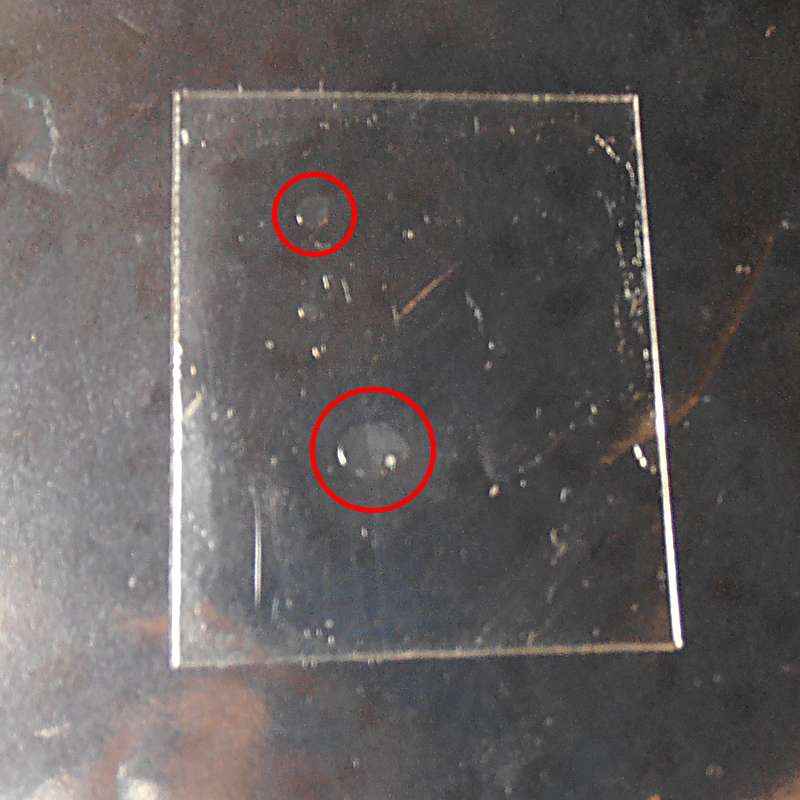 |
Stage 3 Press the wet side of the plastic onto the mirrored material. Apply pressure if needed to remove any air-bubbles (circled) between the two layers. Leave to dry - this could take several hours.
|
 |
Example 1 The resulting piece makes a pretty good mirror. |
 |
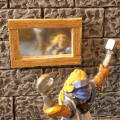
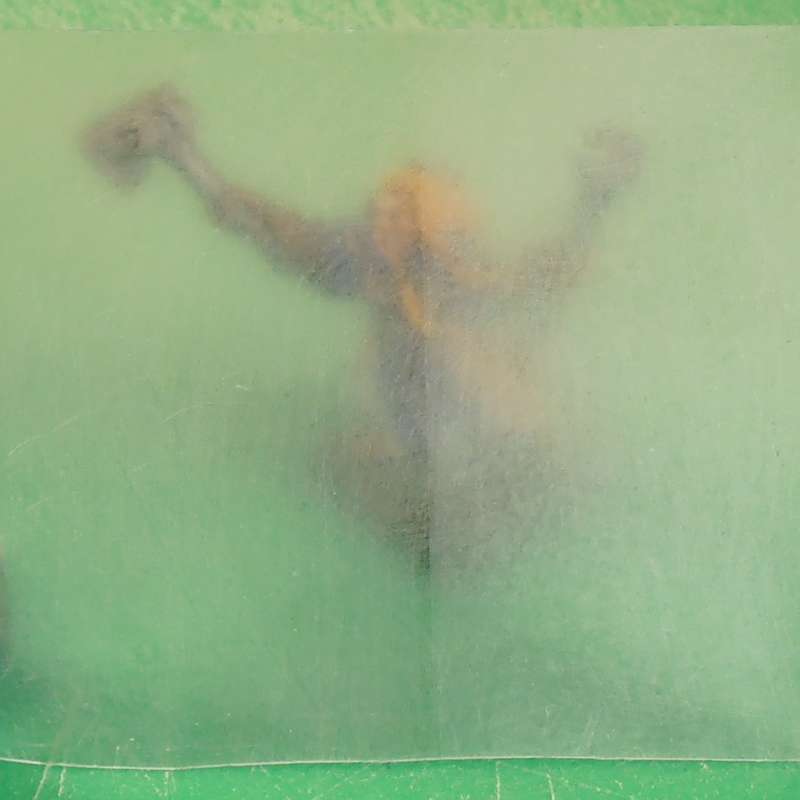
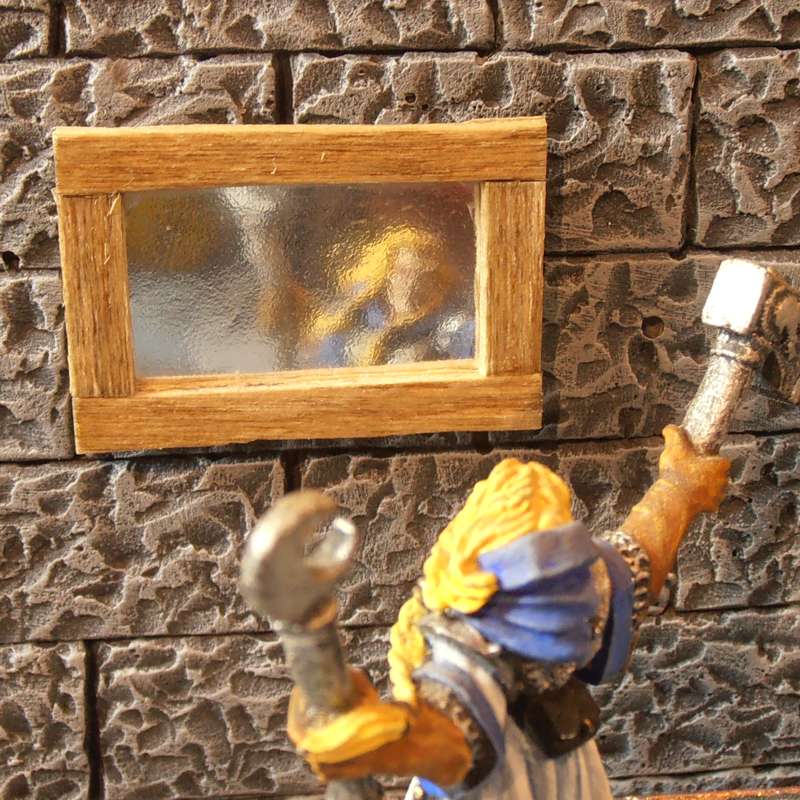
Example 2 The mirrored material can also be applied to the back of windows, to prevent any view through the glass and giving the illusion of depth.
|
|
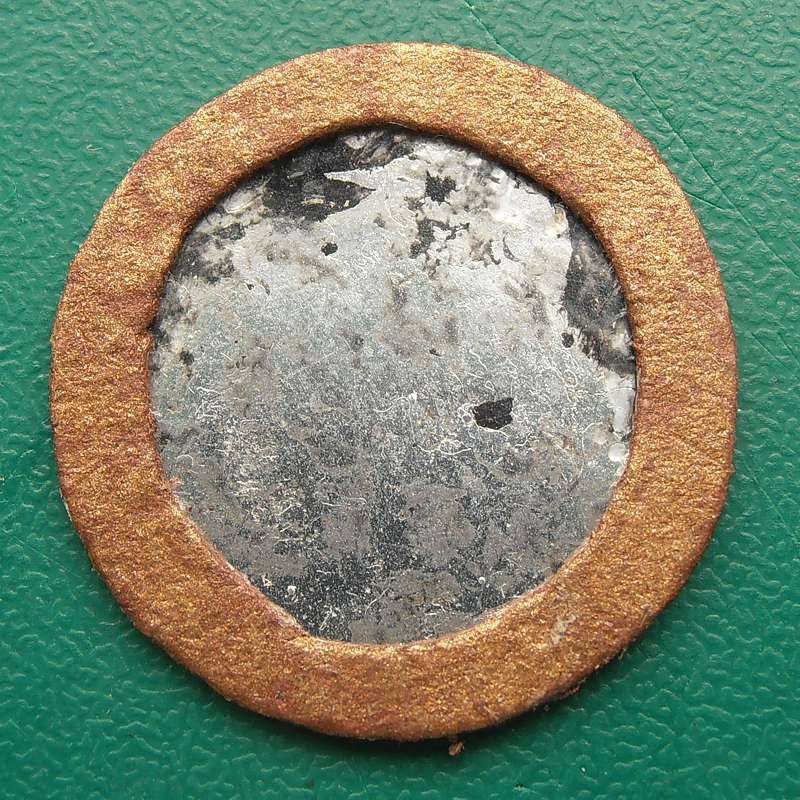
Mirrors with Foxing (Click thumbnails for larger images) Foxing occurs when a mirror's silvering reacts with the air, causing dark spots which no longer reflect. |
|||||
|
|
Materials & Tools: Clear plastic sheet (blister pack) Mylar sheet or mirrored packaging Craft knife Pledge Floor Polish Paint and brushes Card (cereal pack) PVA Masking tape |
|
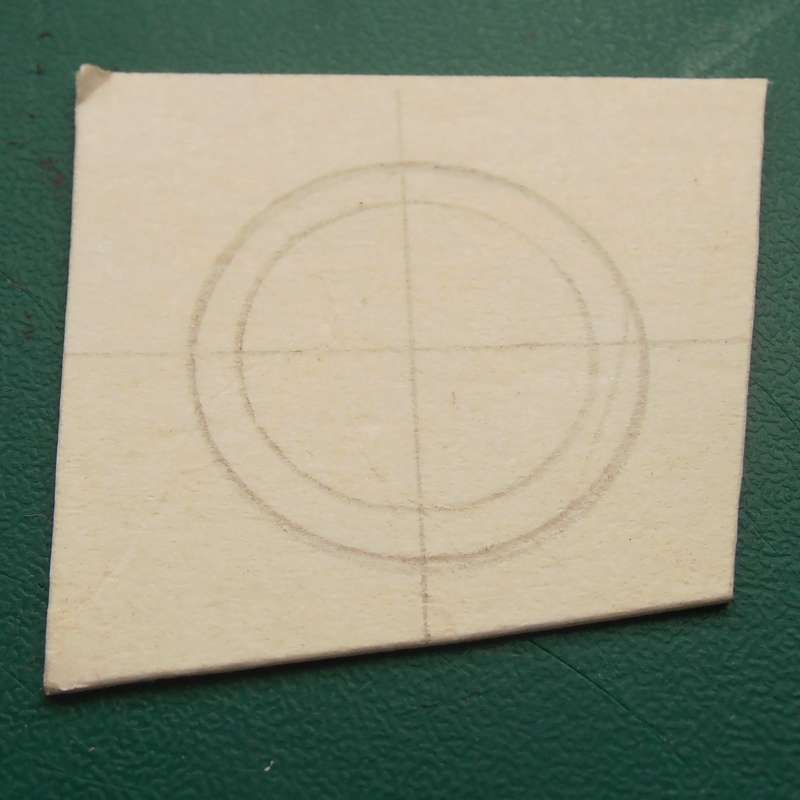
Stage 1 Draw the shape of the mirror frame onto a piece of card. |
|
Stage 2 Attach a piece of the clear plastic sheet on top of the card with masking tape. |
 |
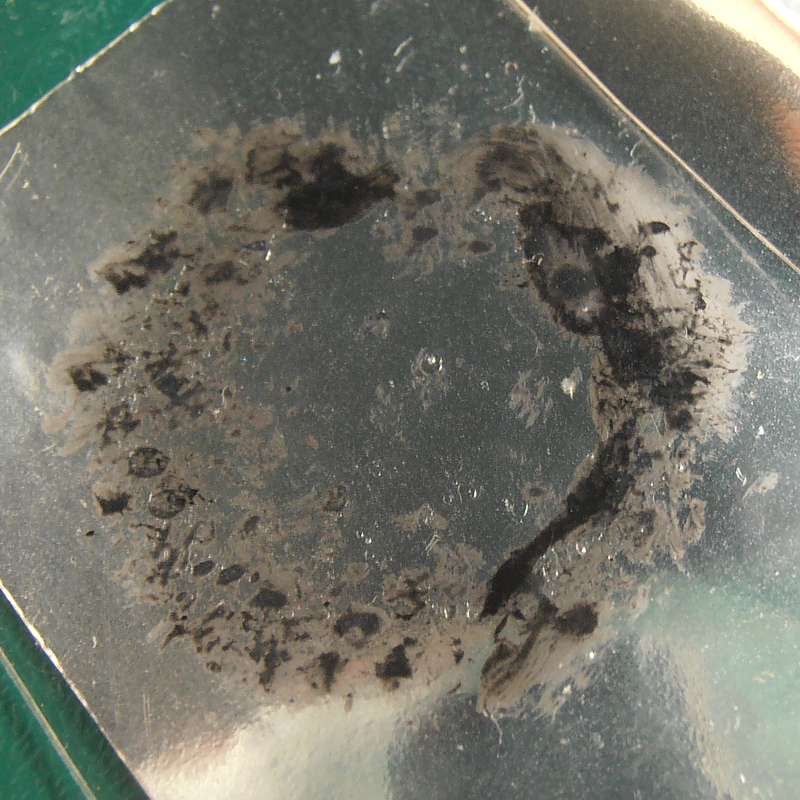
Stage 3 Stipple a mix of black and silver paint onto the clear plastic. Remember that the frame will cover everything but the innermost part. |
 |
Stage 4 You can have some more solid areas of paint at the outside edges, too. Allow the paint to dry thoroughly. |
 |
Stage 5 Use a small
drop of the floor polish to adhere the painted face of the plastic to a
piece of the mirrored packaging. |
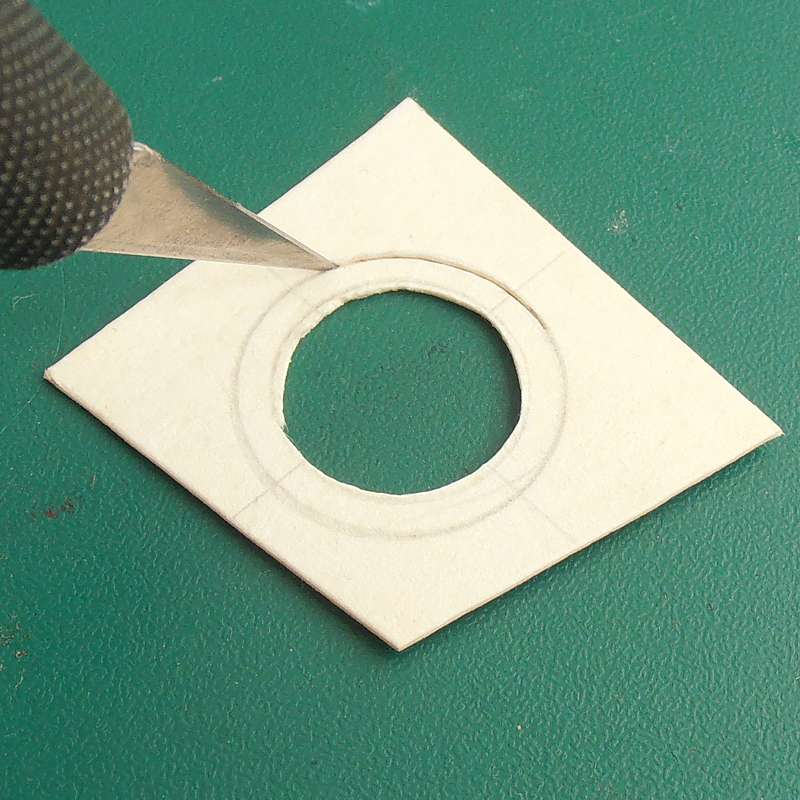 |
Stage 6 Cut out the frame you drew at the beginning with a sharp knife.
|
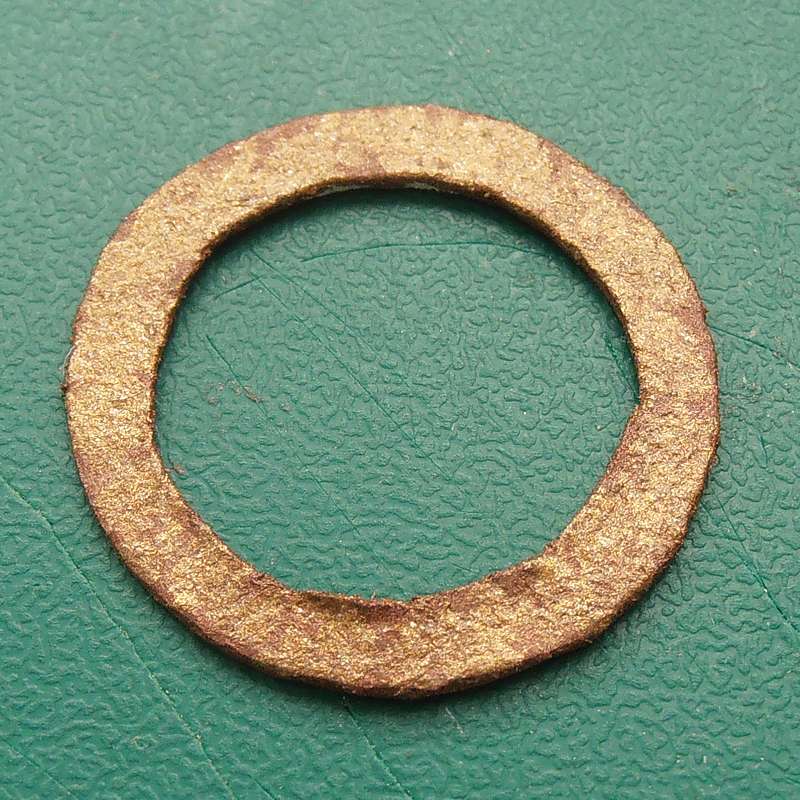 |
Stage 7 Paint the frame - I wanted it to look old so I opted for a bronze colour with a little gold stippled on top.
|
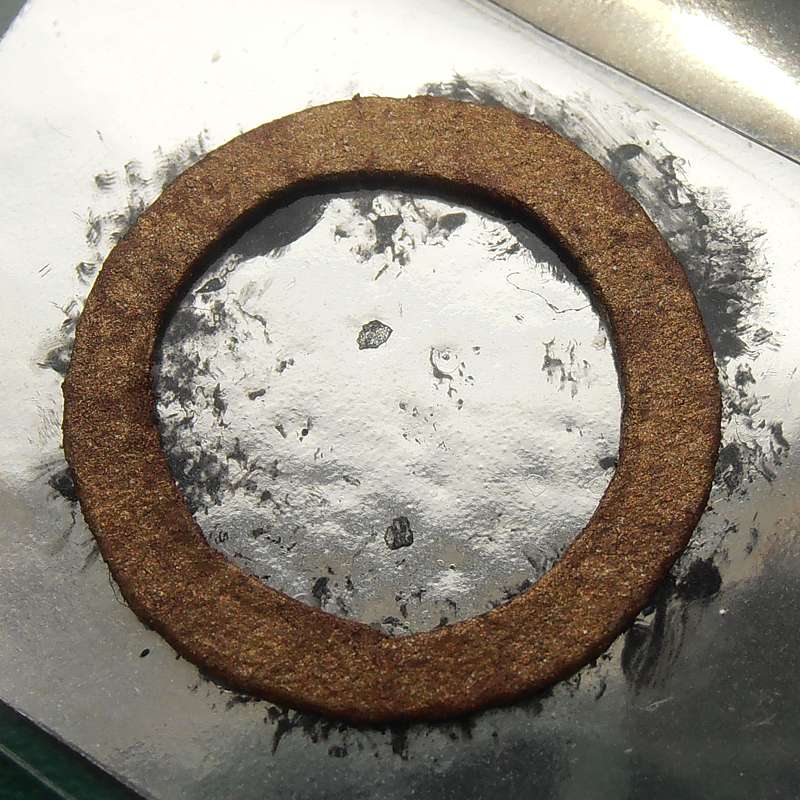 |
Stage 8 Once dry, attach the frame in place over the stippled area of the mirror with a very small amount of PVA glue. |
 |
Stage 9 Once everything has dried thoroughly, trim the plastic to the size of the mirror frame. |
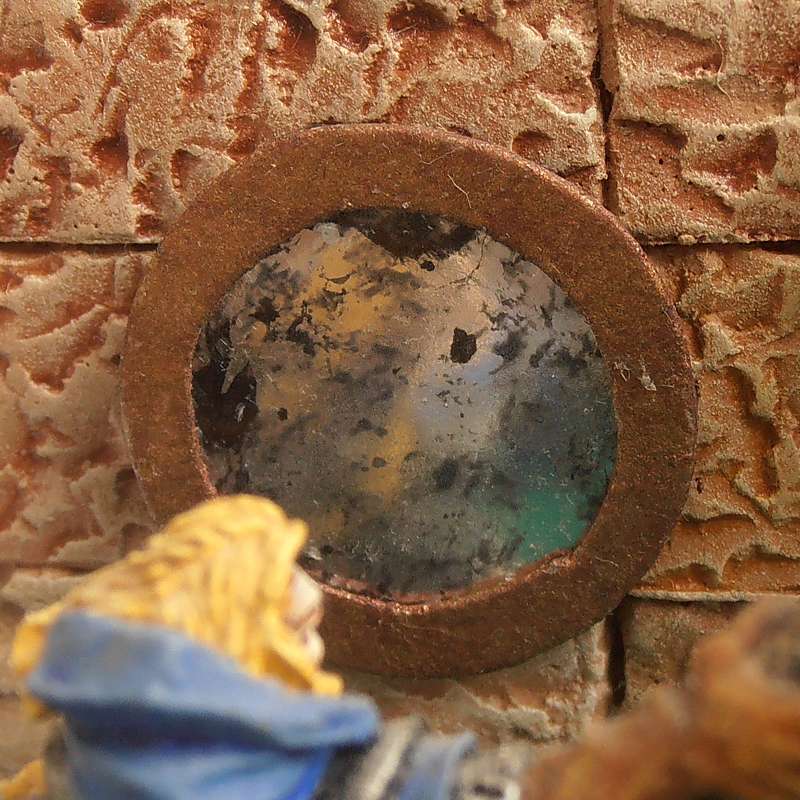 |
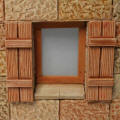
Example 1 The finished mirror with areas of foxing blocking the reflection. |
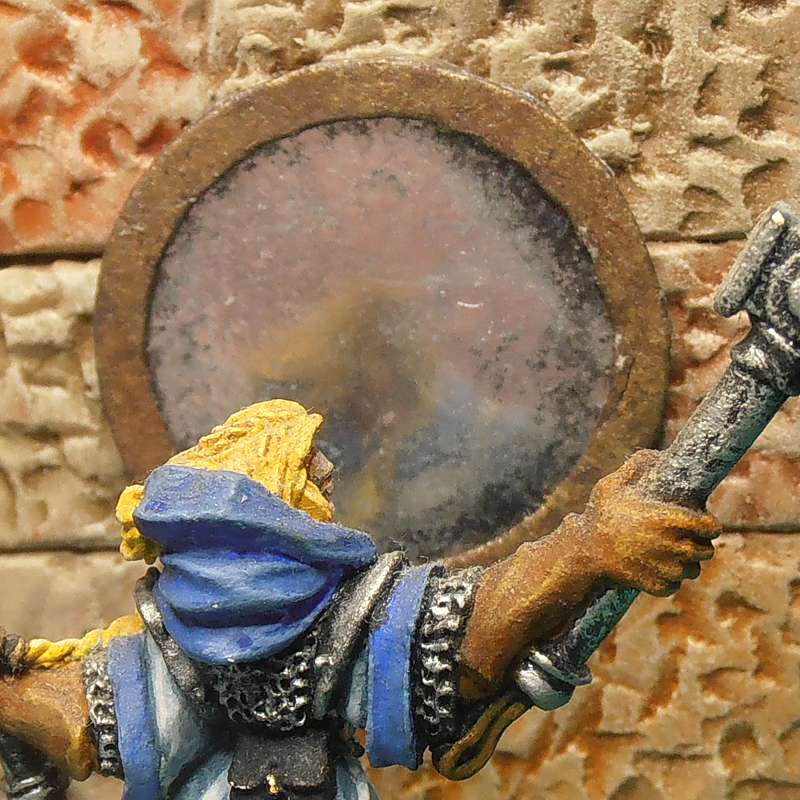 |
Example 2 A slightly larger mirror with a little less foxing.
|