|
Removable Hay Pile
(Click thumbnails for
larger images) |
|
 |
Materials & Tools:
Hay Cart Model
Polystyrene
Foam
Snap-off Knife
/ Box Cutter
Sharp Scissors
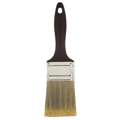
Old Household
Paintbrush (with natural fibre bristles)
PVA
Elastic Bands
or Bag-Tie Wire
Brown Paint |
 |
Stage 1
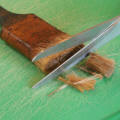
Cut the
bristles off the paintbrush about 19mm / 3/4" from the end using a sharp
pair of scissors. This brush had been previously used to apply fence
paint. |
 |
Stage 2
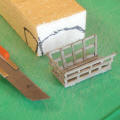
Measure the
cart, and cut a piece of polystyrene foam to fit inside, leaving a gap
of a few millimetres all around. Round off the upper edges to leave a
slight dome on the top. A snap-off knife is a good tool to use, for
those of us without hot-wire cutters. |
 |
Stage 3
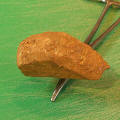
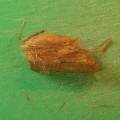
Test fit the
foam former piece and once you are satisfied with the size and shape,
undercoat the foam with a mid-brown paint. Leave to dry. |
 |
Stage 4
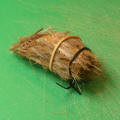
Apply a
generous coat of PVA glue to one side of the foam. Starting at the lower
edge, add bundles of the paintbrush fibres, pressing them firmly to
ensure they adhere. Once dry, repeat the process on the other side and
the back face. |
 |
Stage 5
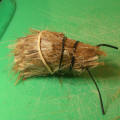
Once this is
dry, apply PVA to the front and back of the upper face, and add bundles
of fibres. I used elastic bands and wire bag-ties to hold things in
position whilst they dried. |
 |
Stage 6
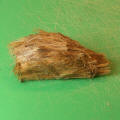
Apply PVA to
the remainder of the top face, add bundles of fibres, and secure them as
before. |
 |
Stage 7
This is the
finished pile of hay once it had been left overnight to dry. If you have
a lot of loose fibres, you can spray the model with a watered-down PVA
mix - about 20-25% PVA works well. |
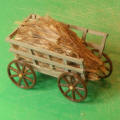 |
Stage 8
If you wish,
you can permanently attach the hay to the cart using PVA. I left mine as
a separate piece to allow for more varied use. |
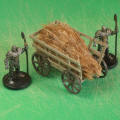 |
There are
absolutely no weapons, gold or Hobbits hidden in this cart. The
well-armed guards are merely decorative !
Although, they do serve to show the overall scale of the
finished model. |
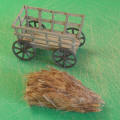 |
...and here is
the cart with the pile of hay removed.
|
|
|