Dealing with Flaws

Up   Home   Historic Sites   Models   Heraldry   Puzzles   Garden   Links

Contents
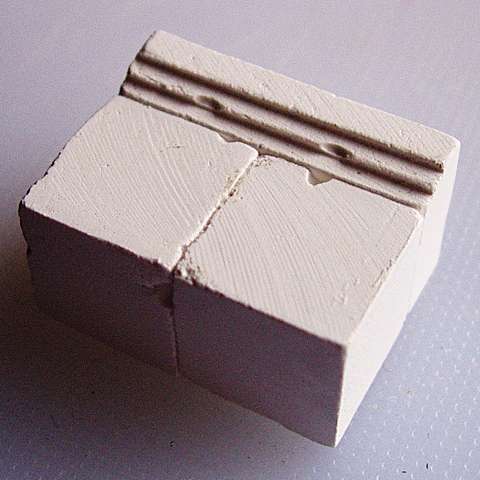
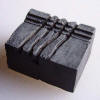
Battle Damage

Disguising flaws as battle damage.
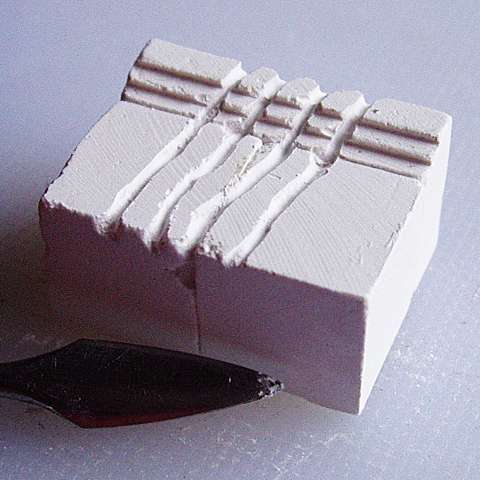
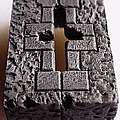
Laser Damage

Disguising flaws as laser damage.

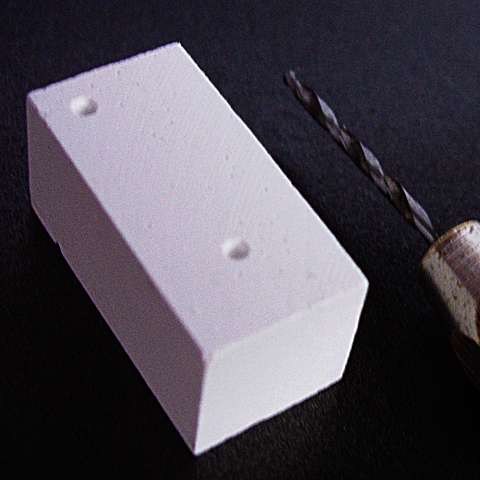
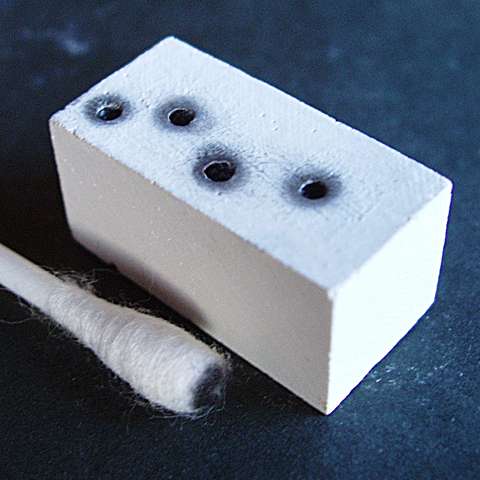
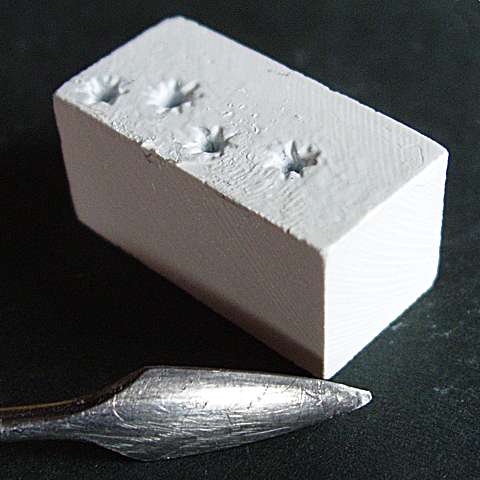
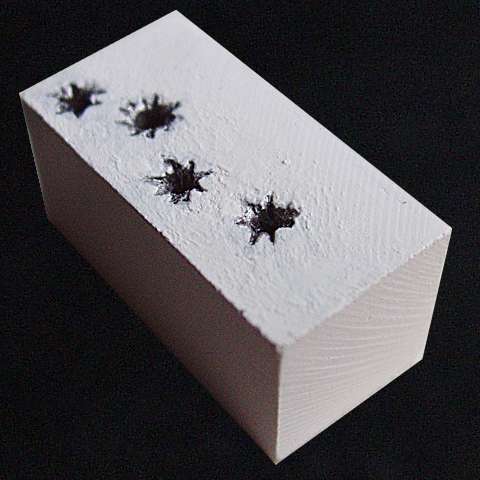
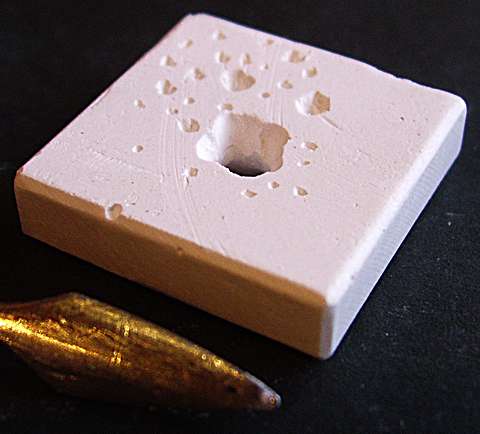
Bullet Holes

Disguising flaws as bullet holes.

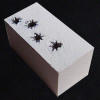
Monster Damage

Disguising flaws as monster damage.

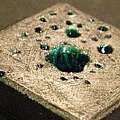
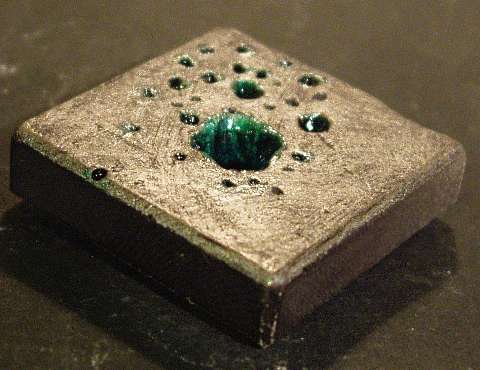
Acid Damage

Disguising flaws as acid damage.

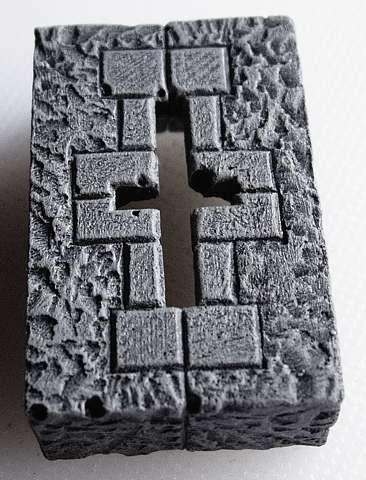
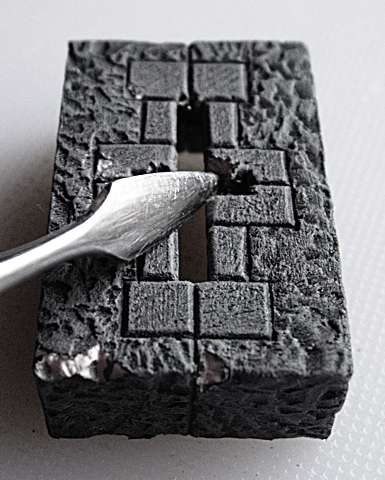
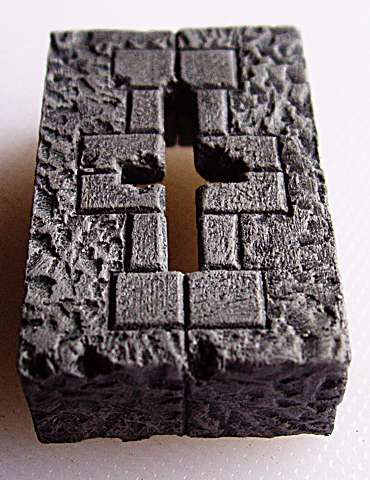
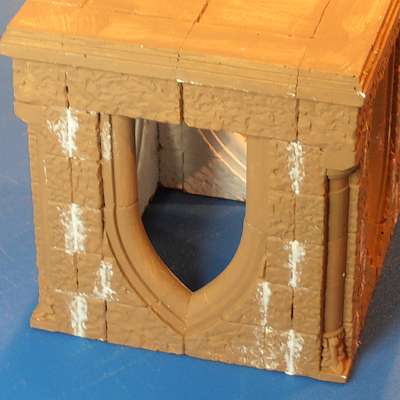
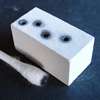
Filling Holes

Filling large air-bubbles in plaster casts.

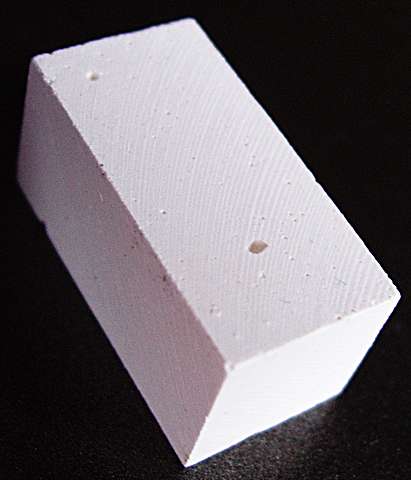
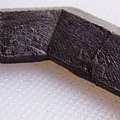
Filling Joints

Filling unwanted joints in models made from plaster blocks.


Battle Damage (Click thumbnails for larger images)


A sharp pointed tool is required for this, either a dental pick, or the tip of a needle file works well.

Note: painting the model first may show up the bubbles, but makes it slightly harder to carve the plaster.

Method

The technique is to make the bubbles larger using the pointed tool. Place the point inside the bubble, and scrape outwards to break up the smooth rounded edges of the air-bubbles.

Result

Having painted the model, the bubbles should now look more like realistic battle damage to the stonework.


Laser Damage (Click thumbnails for larger images)


This technique requires a small drill-bit, and a pin vice may help for tougher types of plaster. A cotton bud (Q-tip) is also needed for the finishing.

Obviously, this method is best suited to sci-fi projects.

Note: hard plasters WILL blunt your drill-bits.


Method

Using the drill, make the air-bubbles slightly larger. Making them equal in size and perfectly circular will make them look like laser damage. Notice that this has only been done to the larger bubbles, the many micro-bubbles will get mostly filled by paint and won't show prominently.


Result

A couple more holes were made in the block, to make it appear as if it has been strafed by repeating laser fire. Paint the inside of hole black. Scrape a little charcoal or chalk pastel to make fine dust. Dip the end of the cotton bud into the dust, then place it over the hole and twist a couple of times to make a scorch mark around the hole.


Bullet Holes (Click thumbnails for larger images)


Start this technique in the same way as making the laser damage, drilling holes where the air bubbles are, and adding more holes if desired.

Method

Using a dental pick or other pointed tool, carve short lines into the edges of the holes. This simulates the damage to the surrounding material around the bullet hole itself.

Result

The holes were first painted in black. Then the surface scratches were given a coat of chainmail to resemble holes in a painted metal surface. For holes in stone, just drybrush as usual.


Monster Damage (Click thumbnails for larger images)


This technique requires a sharp pointed tool, either a dental pick, or the tip of a needle file works well.

Method

Using the pointed tool, scratch three or four lines into the plaster, going through the air-bubbles. Try to keep the lines roughly parallel and evenly spaced.

Result

Once painted, the etched lines should resemble the marks made by the claws of a monster. As an alternative, you could try to make a hole which looks like the stone was bitten away by something with large teeth.


Acid Damage (Click thumbnails for larger images)

A dental pick and various drill-bits are needed for this technique.

Method

Drill a hole using a fairly big drill-bit. I used a 3mm (1/8") bit here. Tilt the drill and widen the hole into an uneven shape. Add other holes of various sizes using smaller drill-bits or a dental pick.

Result

This was undercoated in black, before being drybrushed in a metallic colour. Clear varnish was tinted with green ink, and applied liberally into all the holes to represent the acid. 


Filling the Holes (Click thumbnails for larger images)


This method is more time-consuming than any of the previous ones. Some kind of filler is needed, and the pieces should be undercoated first to prevent the filler setting too fast. I highlighted this piece simply to make the bubbles stand out better.


Method

Smear the holes with filler using a suitable tool. I use an artists palette knife as shown in the picture. Ensure the filler gets right to the back of the cavities. As the filler begins to harden, gently scrape off the worst of the excess and smooth the surface.


Result

If the filler still has a rough surface, gently sand it with an emery board or fine sandpaper to blend it with the original shape. Once painted the air-bubbles should have almost disappeared. 


Filling Unwanted Joints (Click thumbnails for larger images)

Materials and Equipment

Filler / spackle

Dental pick or small plastic spatula

Cocktail stick

Step 1

Undercoat or prime the model. This will seal the plaster and help to stop the filler drying on contact. The photograph shows part of a tower with several long vertical joint lines between blocks, which were unavoidable in this case.

Step 2

Put a small amount of filler on a plastic surface (I use an old ID card). Mix in a drop or two of water to thin the mixture.

Step 3

Work around the model forcing filler into any joints which you want to disguise. I filled a few air bubbles as I went. Run the point of the cocktail stick along the neighbouring joints to remove any stray filler.

Step 4

Apply more undercoat or primer to the model. As you can see in the photograph, the unwanted lines have almost disappeared completely.

Step 5

Here is the model after drybrushing.


free page counter

Contact me with suggestions, comments or questions.

These articles are provided under this Creative Commons Licence: