|
More Eggs
(Click thumbnails for
larger images) |
|
 |
Materials & Tools:
Modelling Clay
Peppercorns
Silica Gel
Beads |
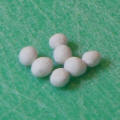 |
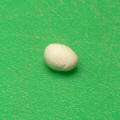
Type 1
Roll modelling
clay into small balls. |
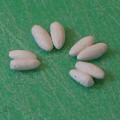 |
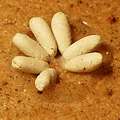
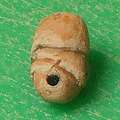
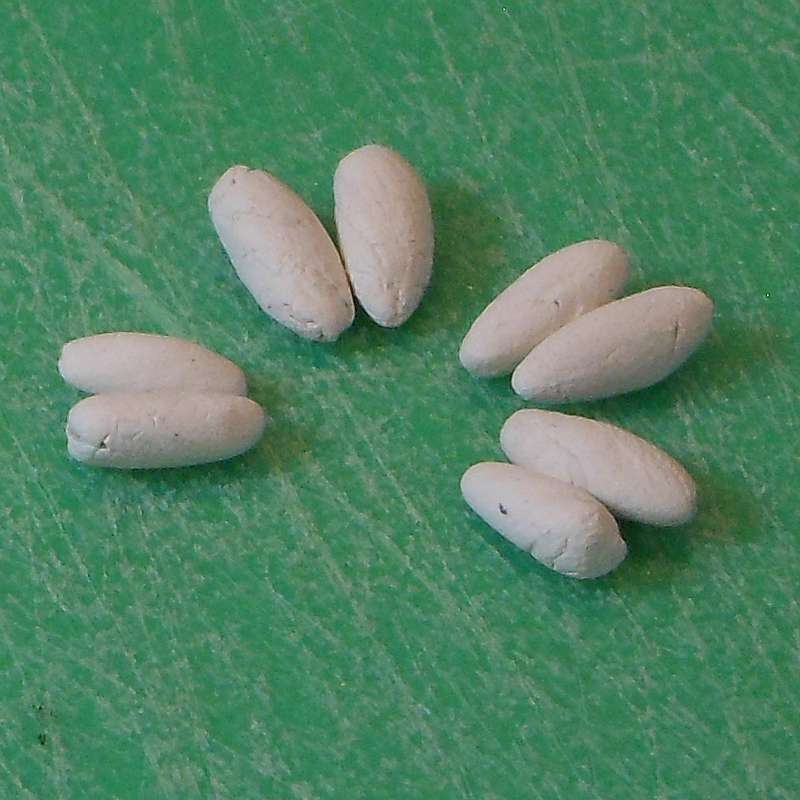
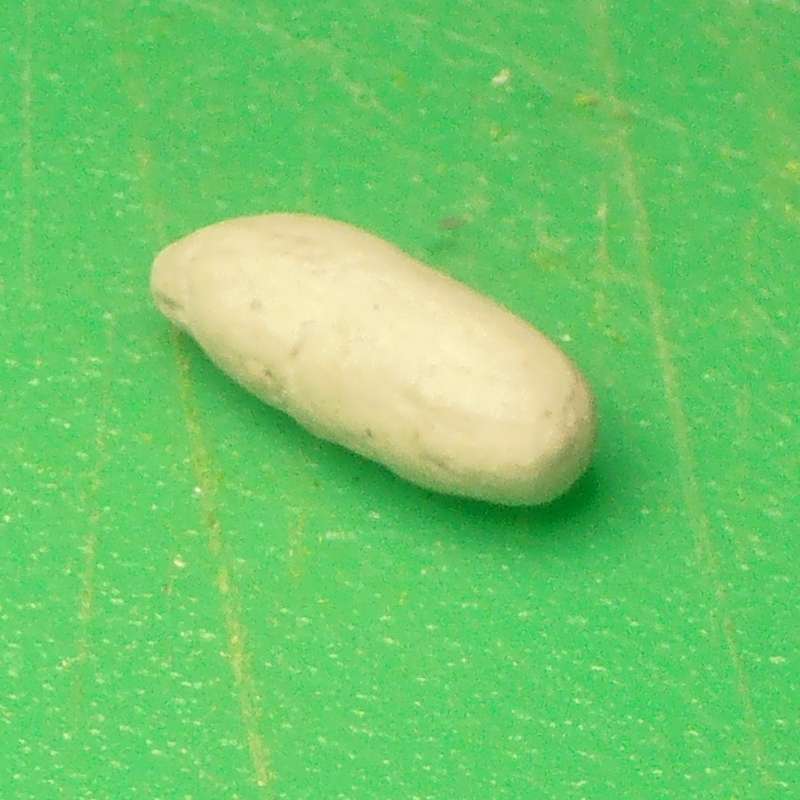
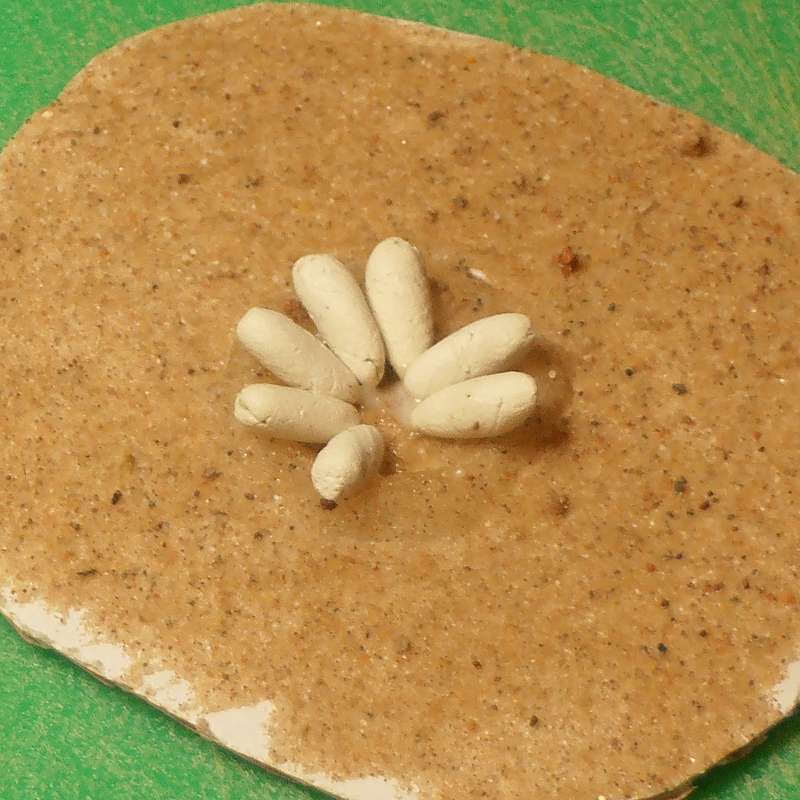
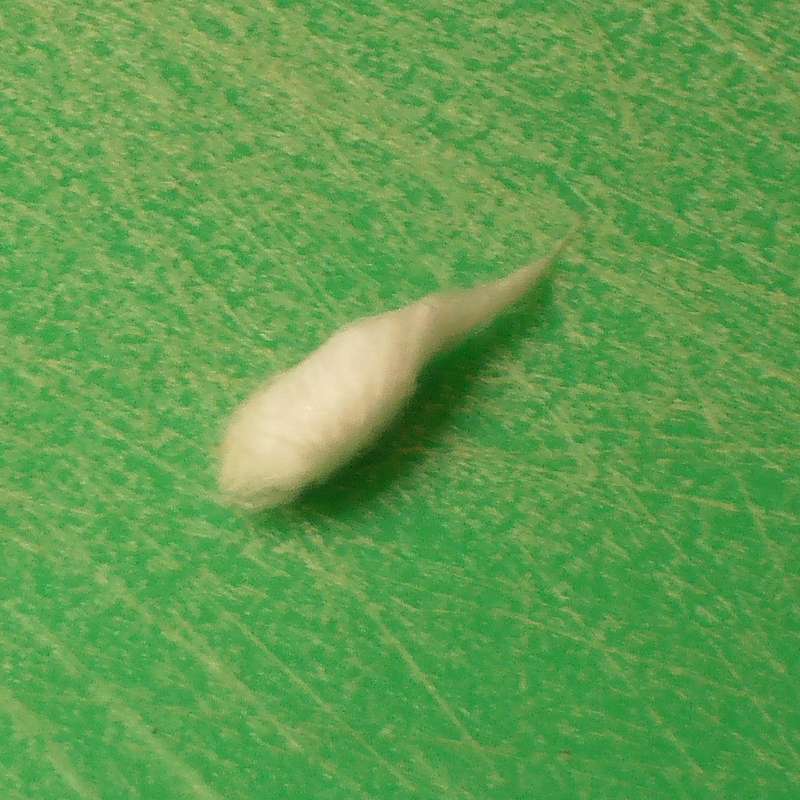
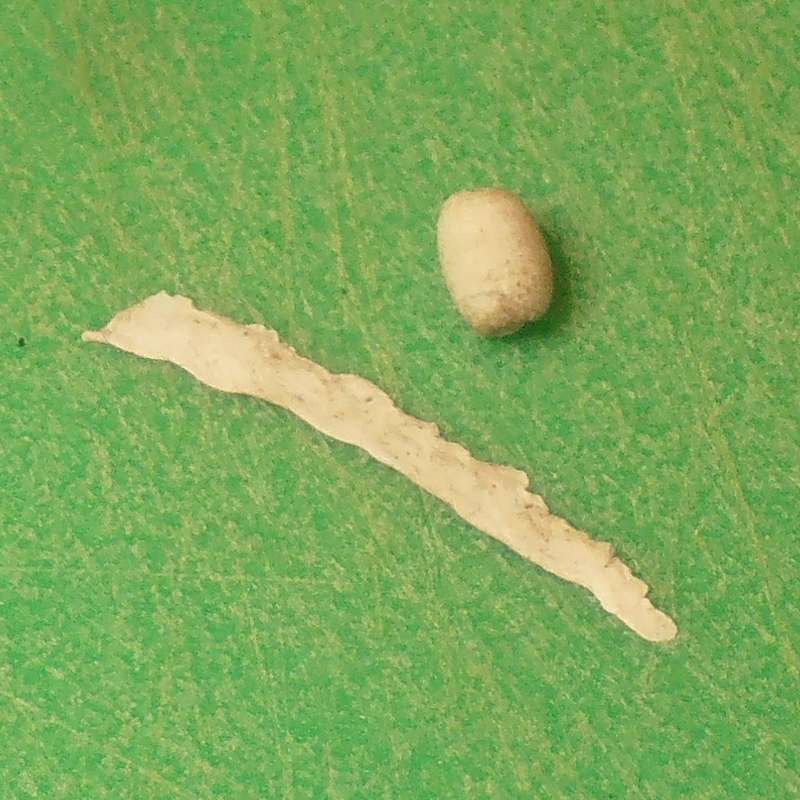
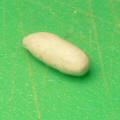
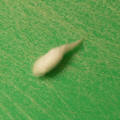
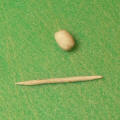
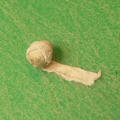
Type 2
Roll modelling
clay into tapered cylinders with rounded ends. These look like the eggs
of some dinosaurs - e.g. oviraptor. |
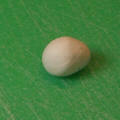 |
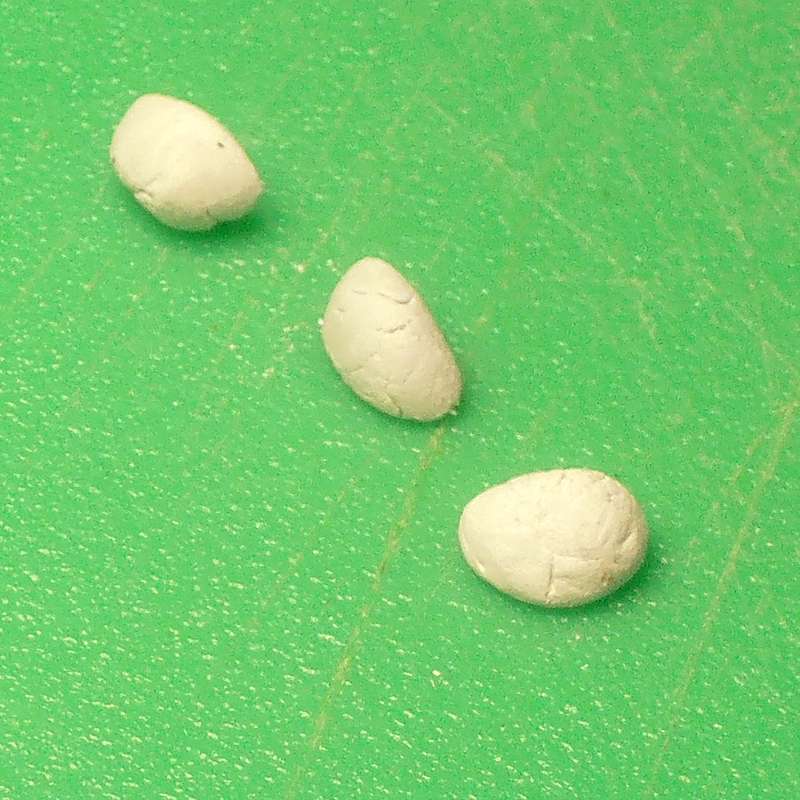
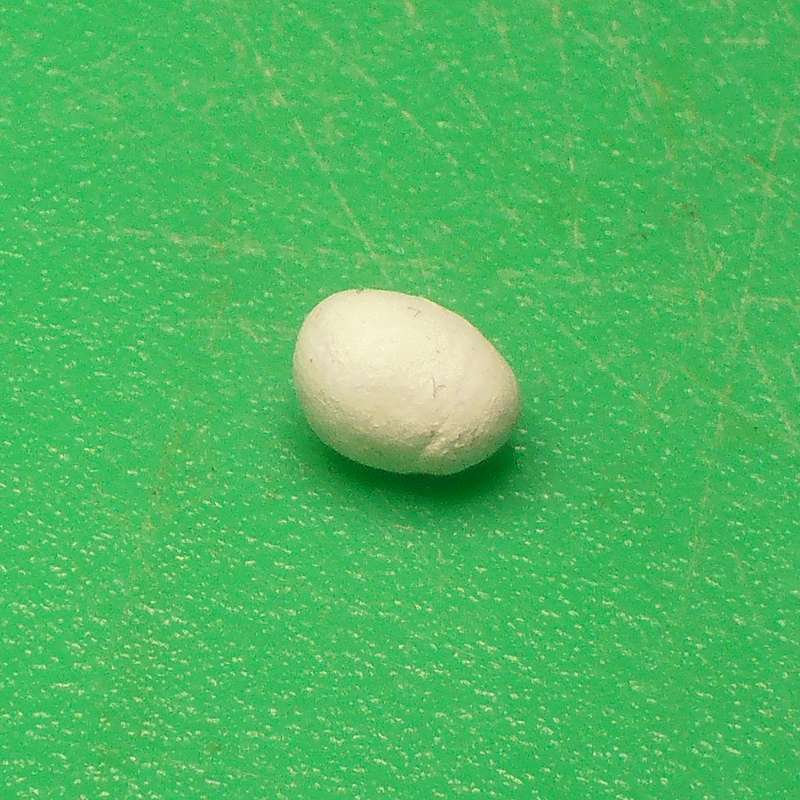
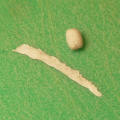
Type 3
Roll modelling
clay into a larger ball, then gently squash one end to form a shape like
a small chicken egg. This one is about the right size for a small dragon
egg. |
 |
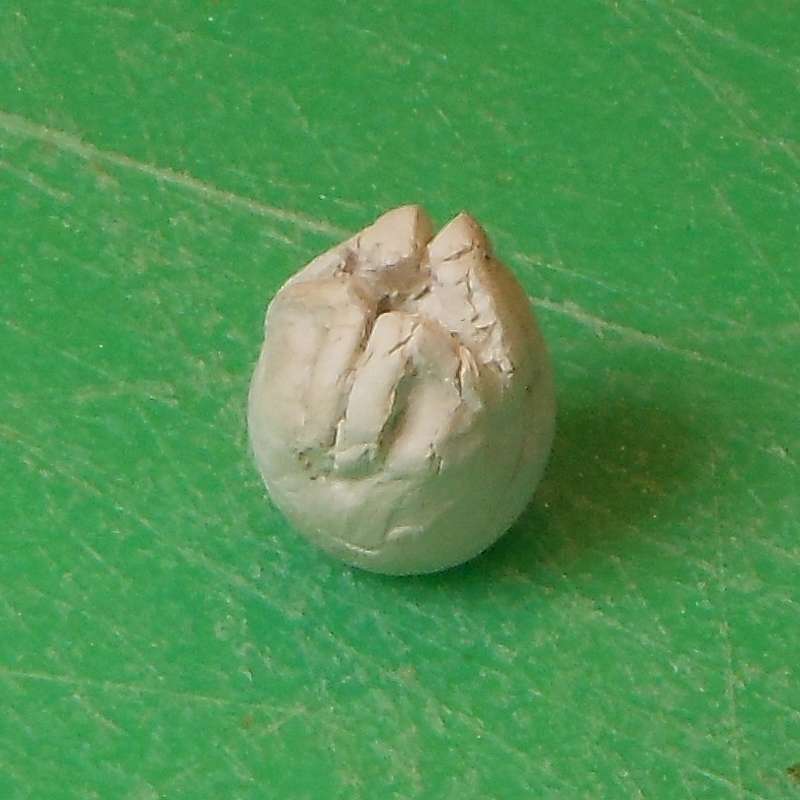
Type 4
I couldn't
resist attempting an Alien egg. |
 |
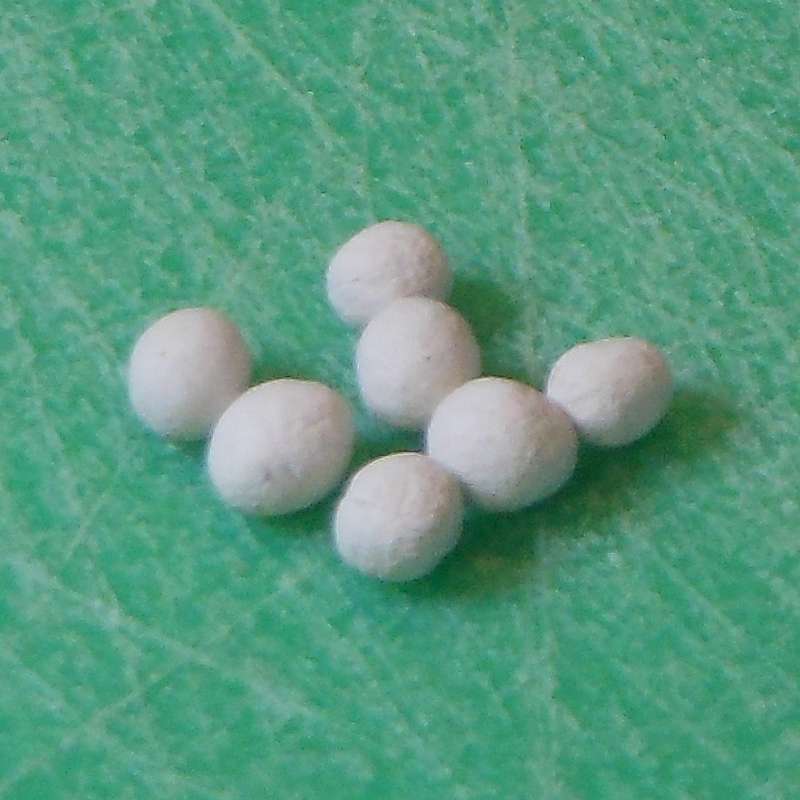
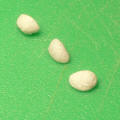
Type 5
White
peppercorns are smooth, and are a pretty good size for eggs. |
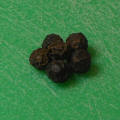 |
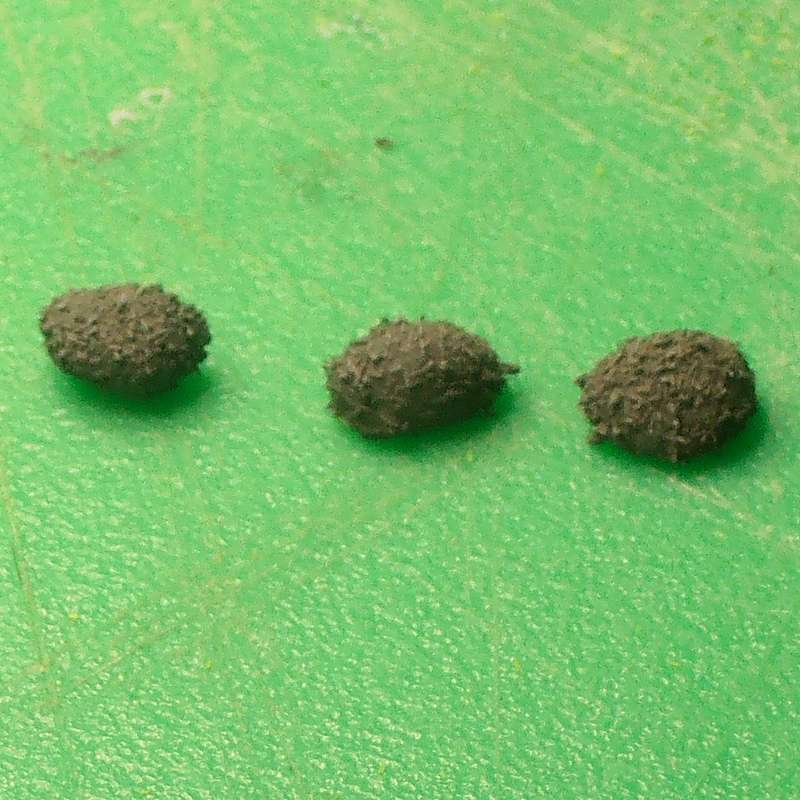
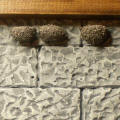
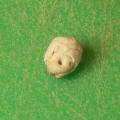
Type 6
Dried black
peppercorns make more unusual-looking eggs with their rough surface
patterns. |
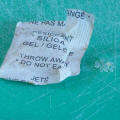 |
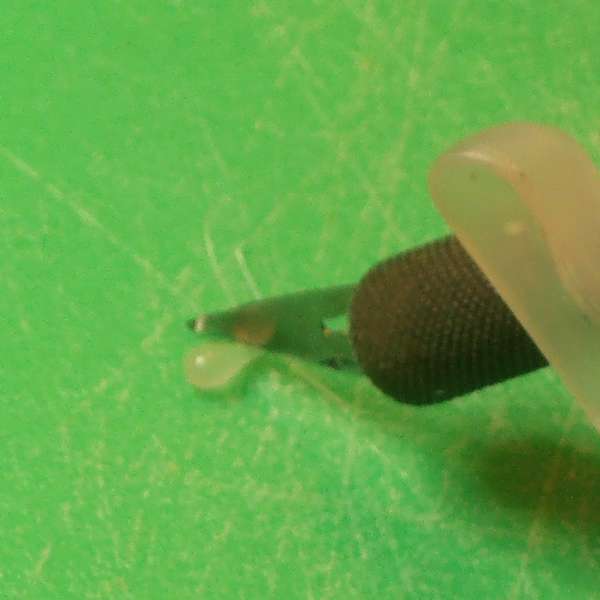
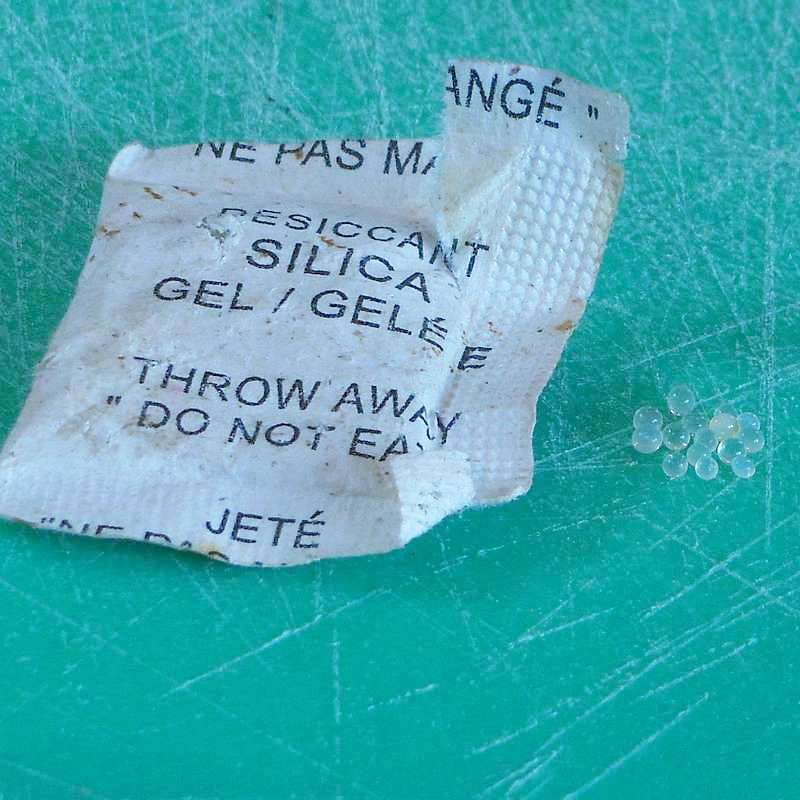
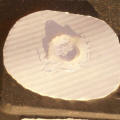
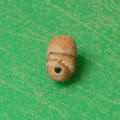
Type 7
Silica gel
beads are commonly found in small packets added to electrical items to
absorb moisture. They make great translucent eggs, but don't get them
wet! |
|
|
|
Nests from Old Brushes
(Click thumbnails for
larger images) |
|
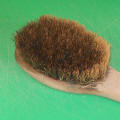 |
Materials & Tools:
Old
paintbrush, back brush or similar
Painted Base
PVA
Sharp scissors
Cocktail Stick
Eggs
(optional) |
 |
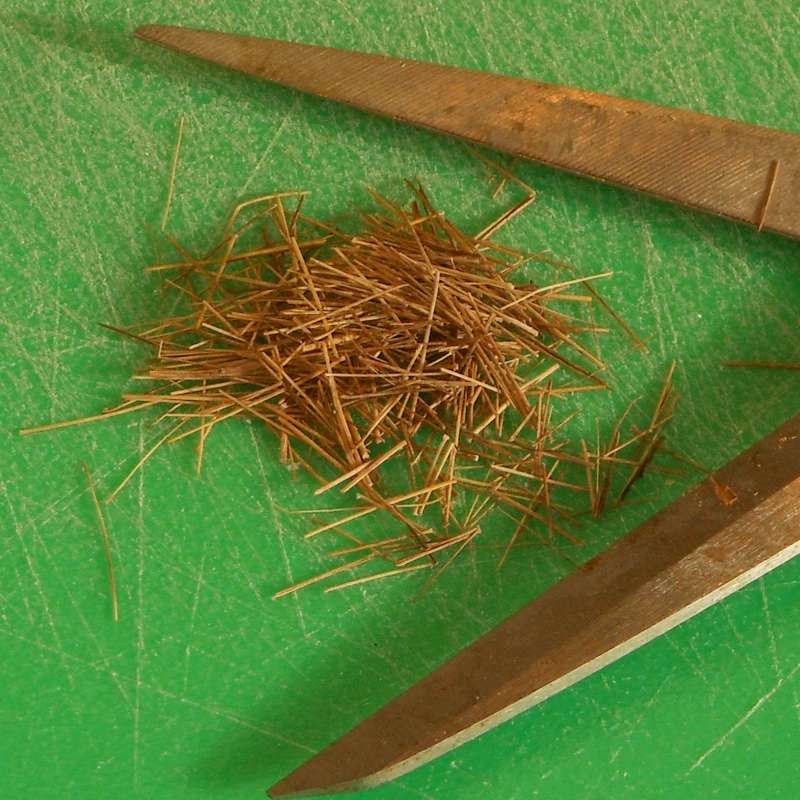
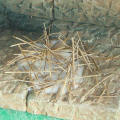
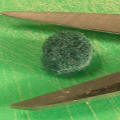
Stage 1
Using the
scissors, chop short lengths of fibres from the head of the brush. The
length of the fibres will determine how small the finished nest can be -
about half the width of the nest seems to work. |
 |
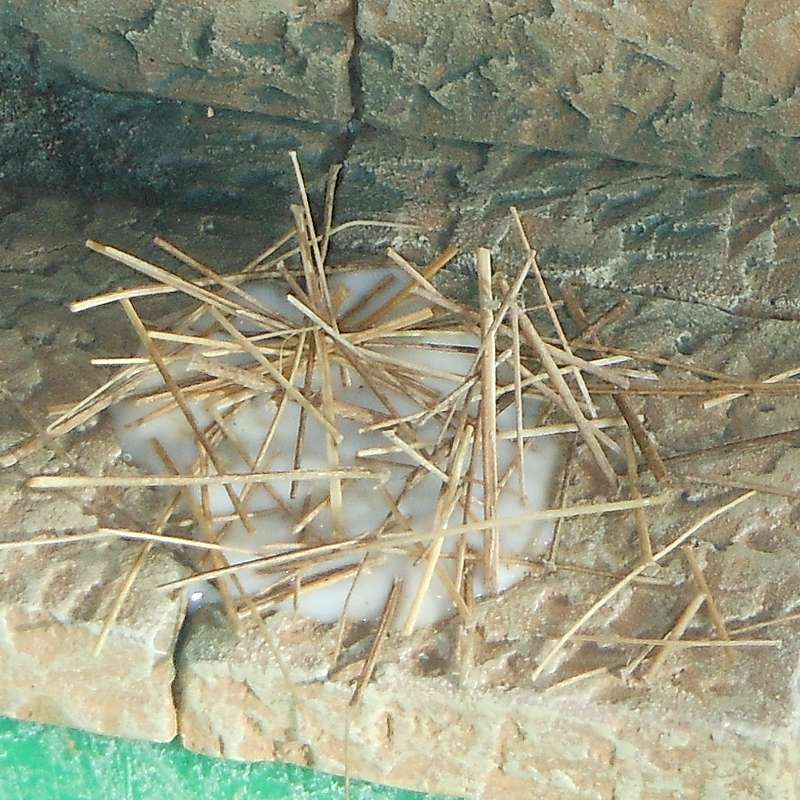
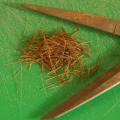
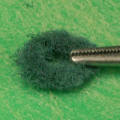
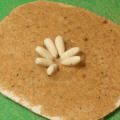
Stage 2
Add a liberal
coating of PVA to a roughly circular patch of the base, and drop bunches
of the brush fibres into the glue. |
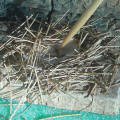 |
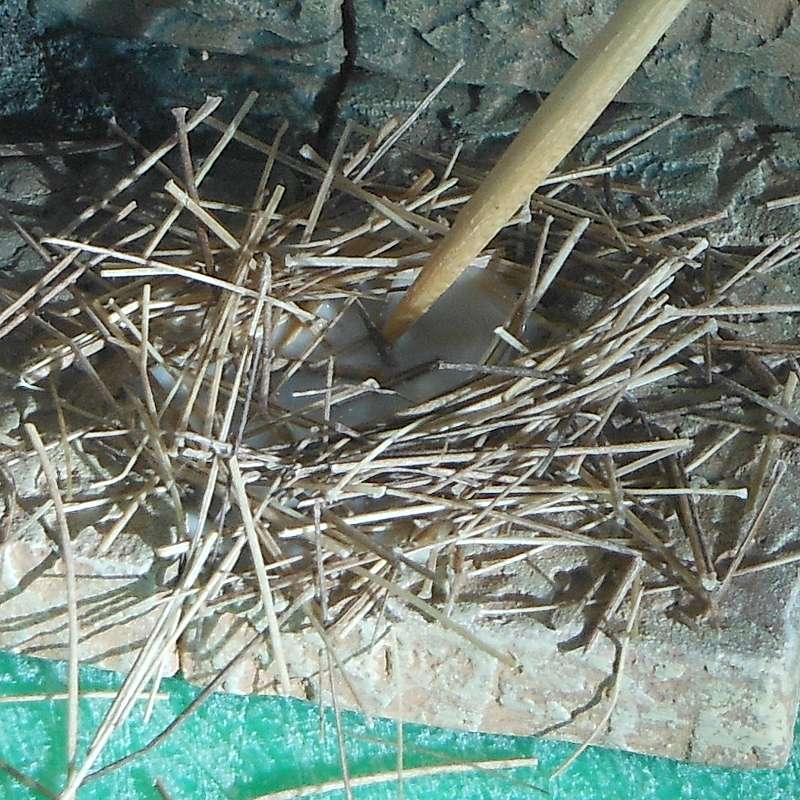
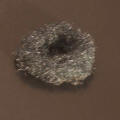
Stage 3
Use the
cocktail stick to press the brush fibres into the glue, then move most
of the fibres from the middle of the nest, leaving a hollow in the
centre. Once you are happy with the shape of the nest, allow the glue to
dry. Then tap off any loose fibres. |
 |
Stage 4
If you wish,
you can now add eggs to the nest.
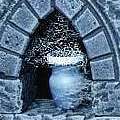
You can make
opaque eggs from modelling clay or peppercorns, or translucent eggs from hot glue or silica gel
beads.
(Instructions here) |
 |
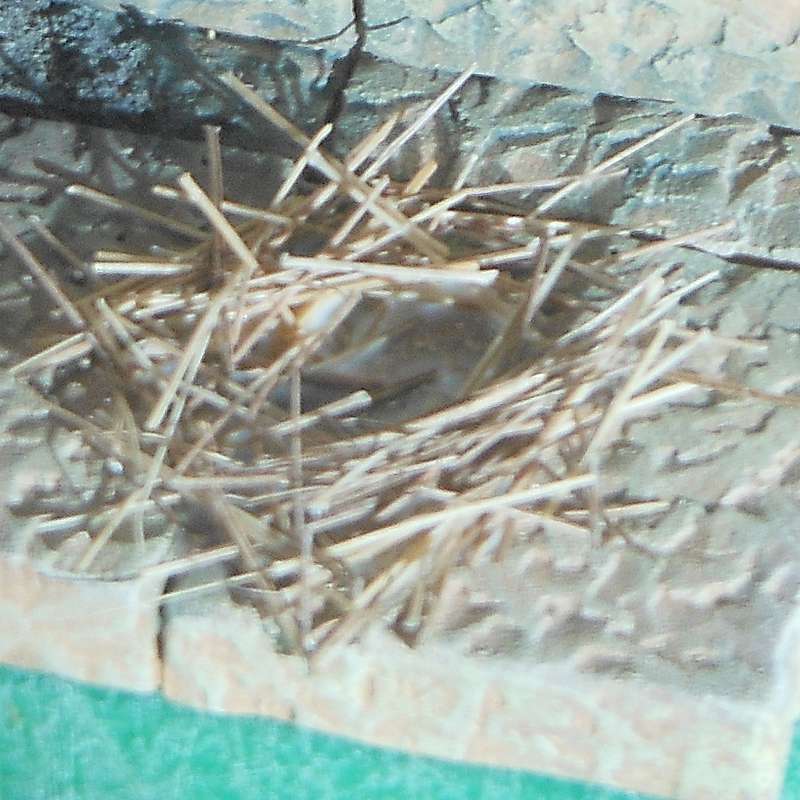
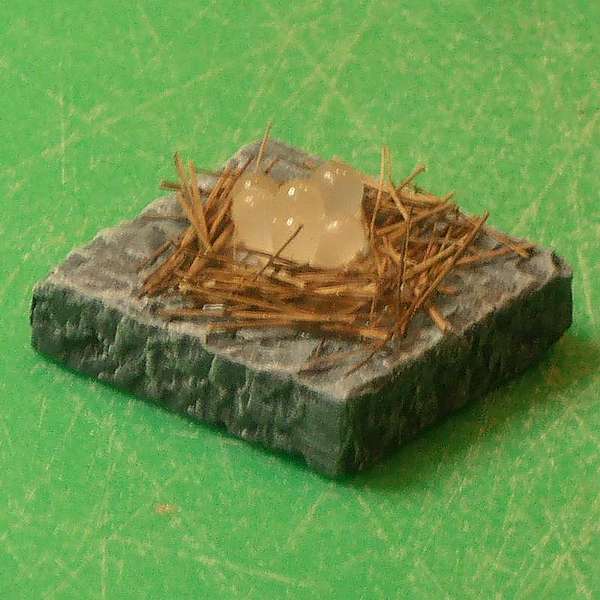
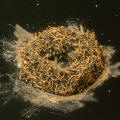
Here is a finished nest with translucent eggs made from hot glue. |
|
Nests from Scouring
Pads
(Click thumbnails for
larger images) |
|
 |
Materials & Tools:
Scouring pad
PVA
Sharp scissors
Needle-nose
Pliers or Forceps
Eggs
(optional) |
 |
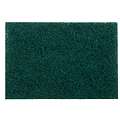
Stage 1
Using the
scissors, cut a rough circle from the scouring pad to the size you want
your nest. |
 |
Stage 2
Using the
pliers or forceps, pluck bits from the centre of the circle, and also
around the outside edge to leave a rough finish. |
 |
Stage 3
Spray the
piece black. |
 |
Stage 4
Drybrush a mid
brown colour to bring out the texture of the pad. |
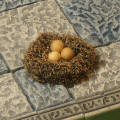 |
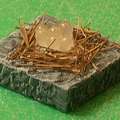
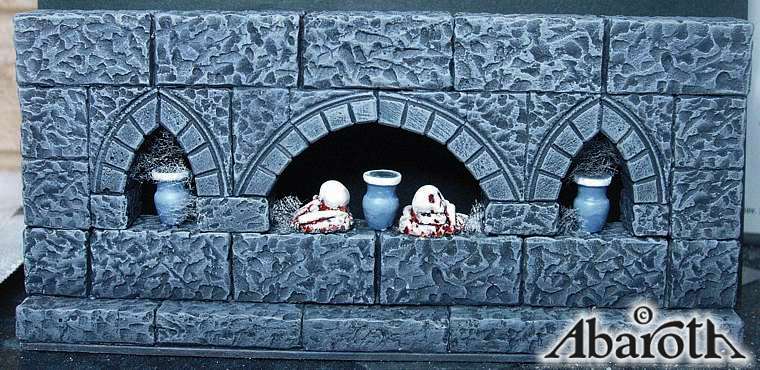
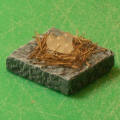
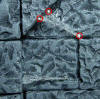
Stage 5
Here is the finished nest with white peppercorns added
for eggs. You can glue the nest to the model, or leave it as a separate
feature. |
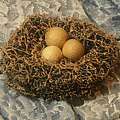
 |
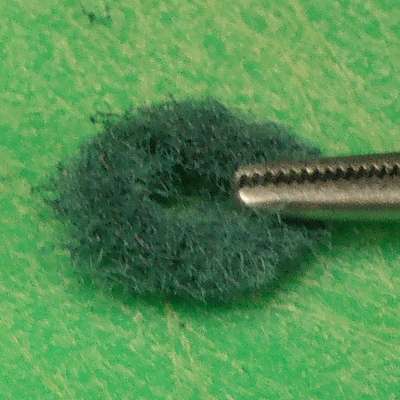
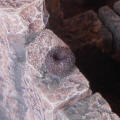
Here is a much smaller nest made using the same
techniques, but the central hole doesn't go so deep. |
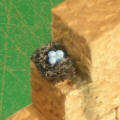 |
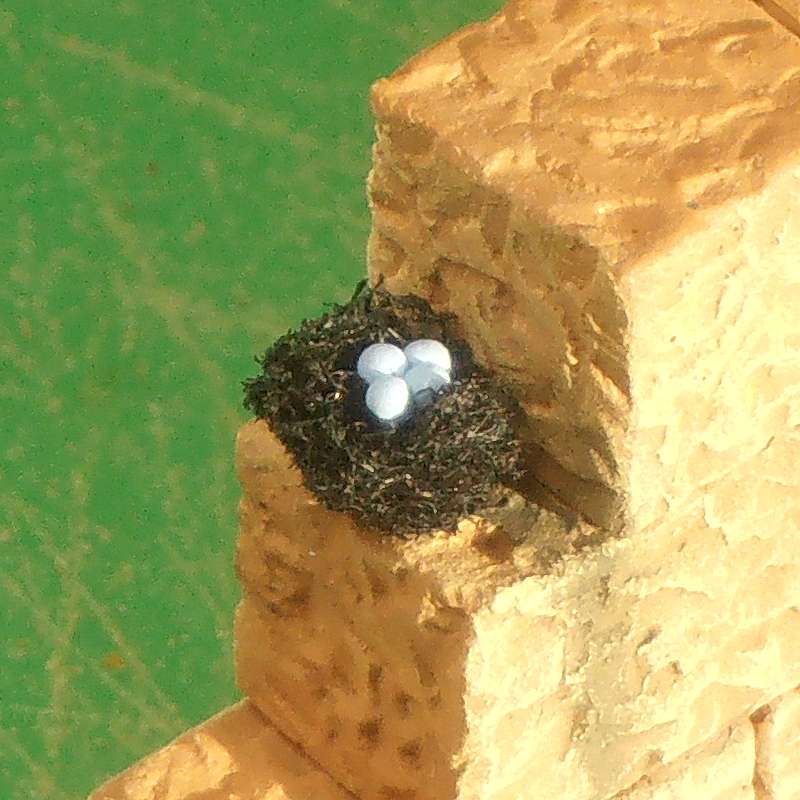
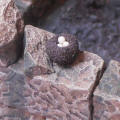
A rough drybrush on the scourer brings out the texture.
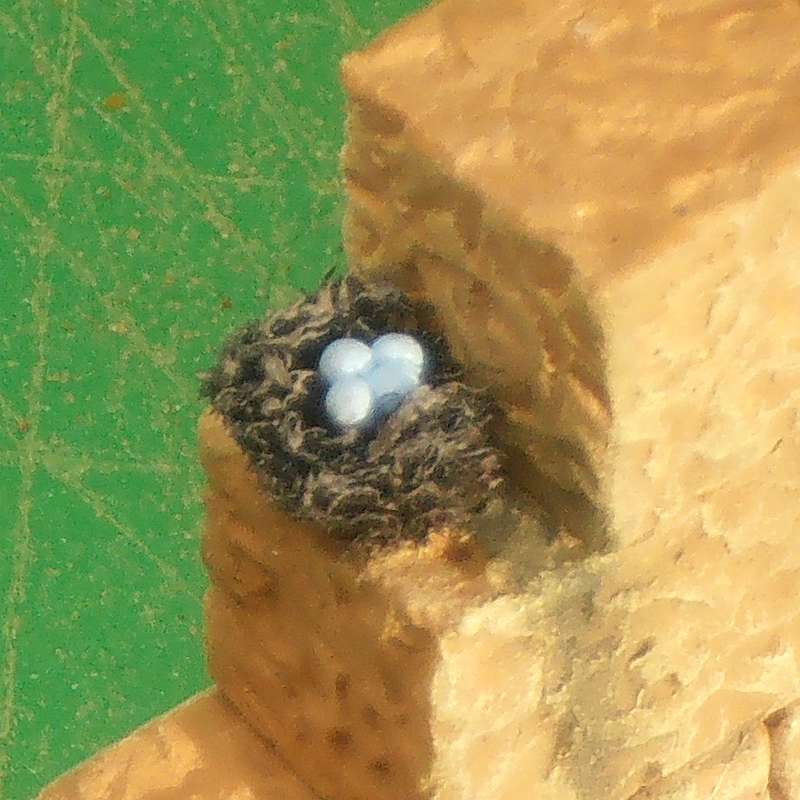
The eggs are tiny silica gel beads painted in a light blue colour. |
|
|
|
Swallows' Nests
(Click thumbnails for
larger images) |
|
|
Materials & Tools:
Modelling Clay
Craft Knife
Flock
PVA
Paint &
Brushes |
 |
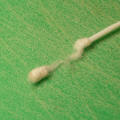
Stage 1
Roll out a
cylinder of modelling clay about 6mm or 1/4" in diameter. Round off one
end of the cylinder, and flatten one side of it against a base-board.
|
 |
Stage 2
Cut the end
from the clay with a knife.
You should end
up with a shape that is slightly larger than a quarter sphere. You can
indent the top of the nest slightly if it will be seen. Allow the clay
to harden and dry. |
 |
Stage 3
Paint PVA over
the outside of the nests and sprinkle fine flock all over. This is to
add a fine texture to the surface, so the colour is unimportant. Leave to dry
thoroughly. |
 |
Stage 4
Paint all the
exposed surfaces of the nest in an earth-brown colour, and highlight if
you like. |
 |
Stage 5
Fix the nests
to your model with PVA. Swallows usually nest beneath the eaves, or high
in the rafters of a building with an open doorway or broken window. |
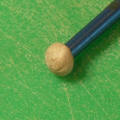 |
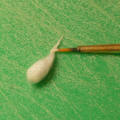
As an
alternative, mould a small ball of clay around the end of a fine
paintbrush to form a bowl shape. Once dry, paint with PVA and add flock
as above. |
 |
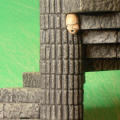
The new nest
painted and highlighted. |
 |
The nest with
eggs added. |
|
Scrape Nests
(Click thumbnails for
larger images) |
|
 |
Materials & Tools:
Hot Glue Gun &
Glue
Base material
PVA
Paint Brush
Sand
Eggs
(optional) |
 |
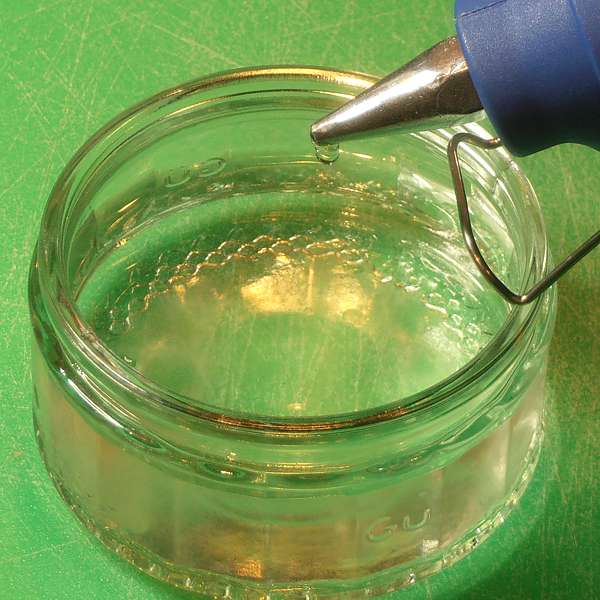
Stage 1
Apply hot glue
to the base in a rough circle. Build up a couple of layers to create a
doughnut shape. |
 |
Stage 2
Paint the
whole base with PVA glue, and then cover it in sand. Weigh down the
edges of the base and leave to dry. |
|
|
Stage 3
If you wish,
you can prime and paint the sand to match other terrain pieces - I left
mine unpainted. |
 |
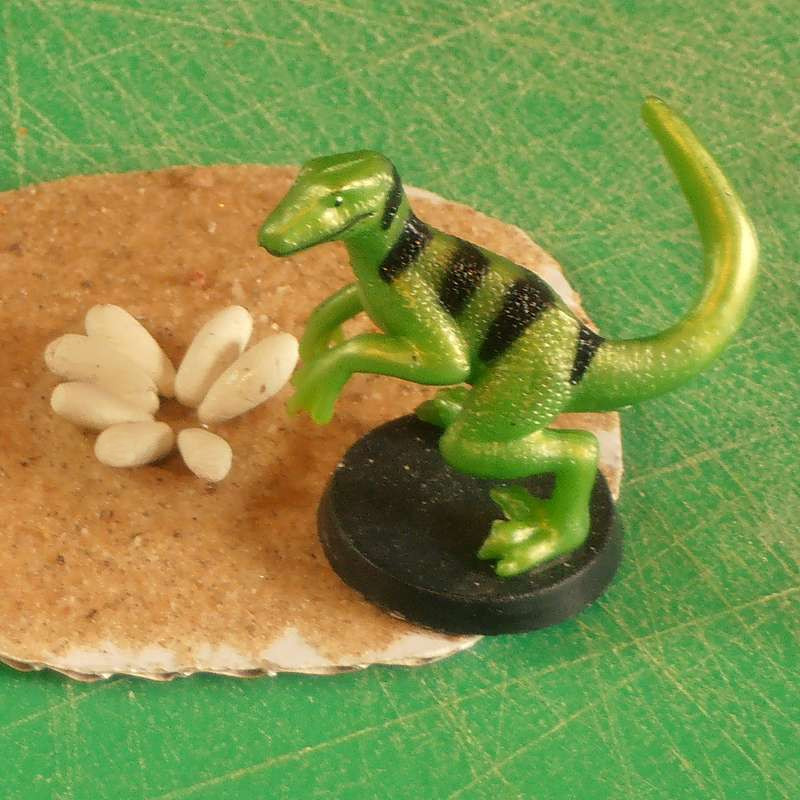
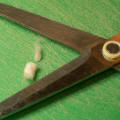
Stage 4
Carefully glue
eggs into position in the nest using PVA. These ones are modelling clay
rolled into tapered cylinders to resemble some type of dinosaur eggs. |
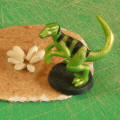 |
Is this the
mother returning to tend the nest, or an egg thief looking for an easy
meal? |
|
Spiders' Webs
(Click thumbnails for
larger images) |
|
|
Materials:
Iron-on
Hemming Tape
PVA / White
Glue |
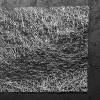 |
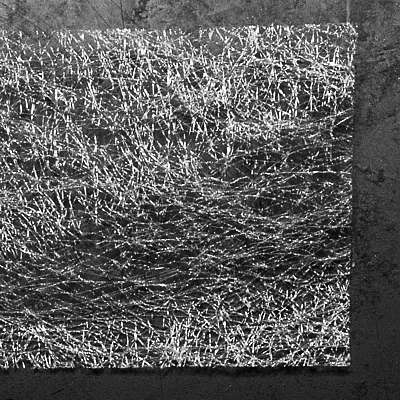
Stage 1
This is a
close-up of the iron-on hemming tape. The strip is 20mm (¾ inch)
wide |
 |
Stage 2
Mark a piece
to fit into a corner of the model. It is easiest to cut this material
with a sharp pair of scissors. |
|
 |
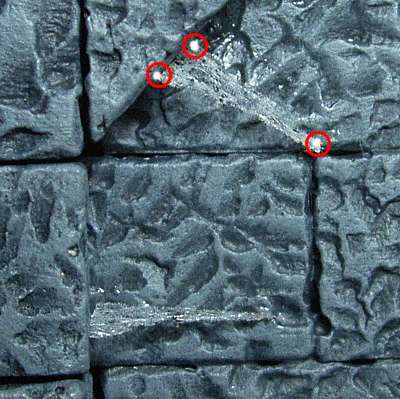
Stage 3
Place three or more small spots of PVA glue in
appropriate positions on the model. Using a pair of tweezers, carefully
place the hemming tape in position. |
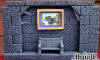 |
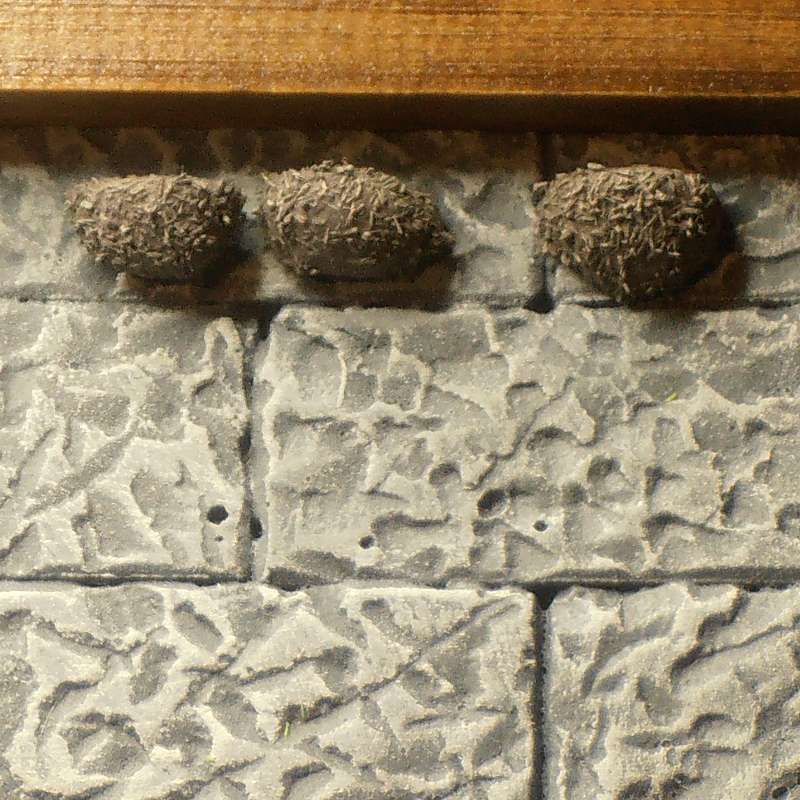
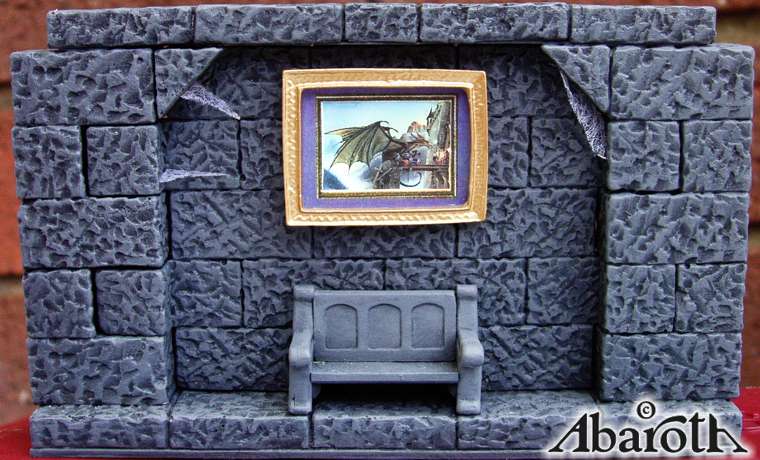
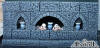
Stage 4
Here is a picture of the finished dungeon wall section,
with three pieces of web. |
 |
Stage 5
To make this
example, I tore the edges of the tape, rather than cutting it with
scissors. |
|
Wolf Spider Nests
(Click thumbnails for
larger images) |
|
 |
Materials & Tools:
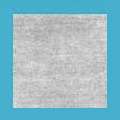
Wet Wipe
PVA
Paint Brush
Pencil
Drill & Drill
Bits (optional)
|
 |
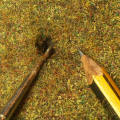
Stage 1
Wash the wet
wipe in soapy water and rinse, then leave to dry. |
 |
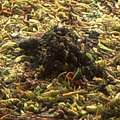
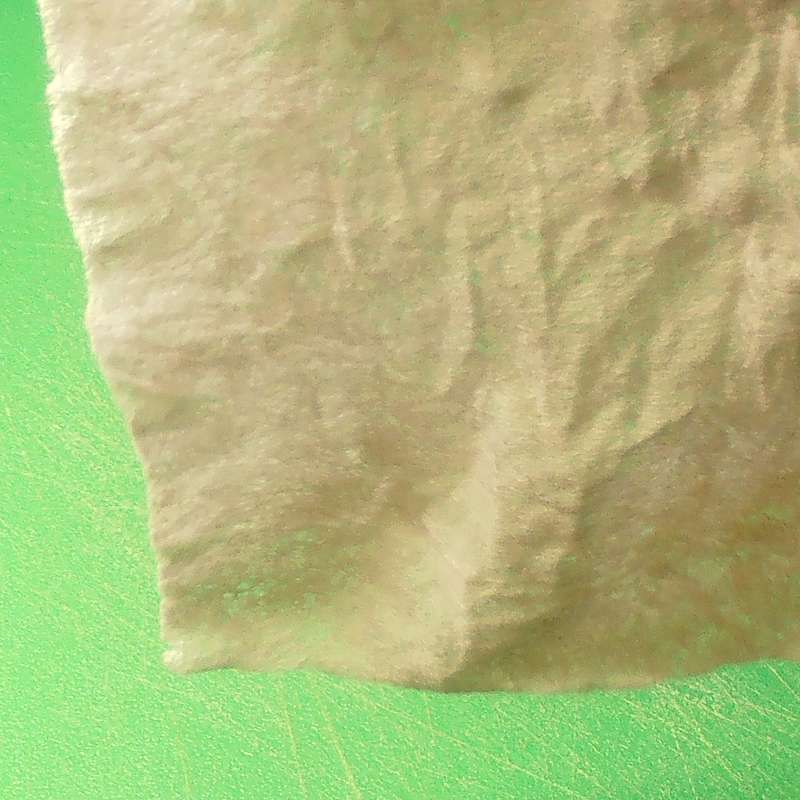
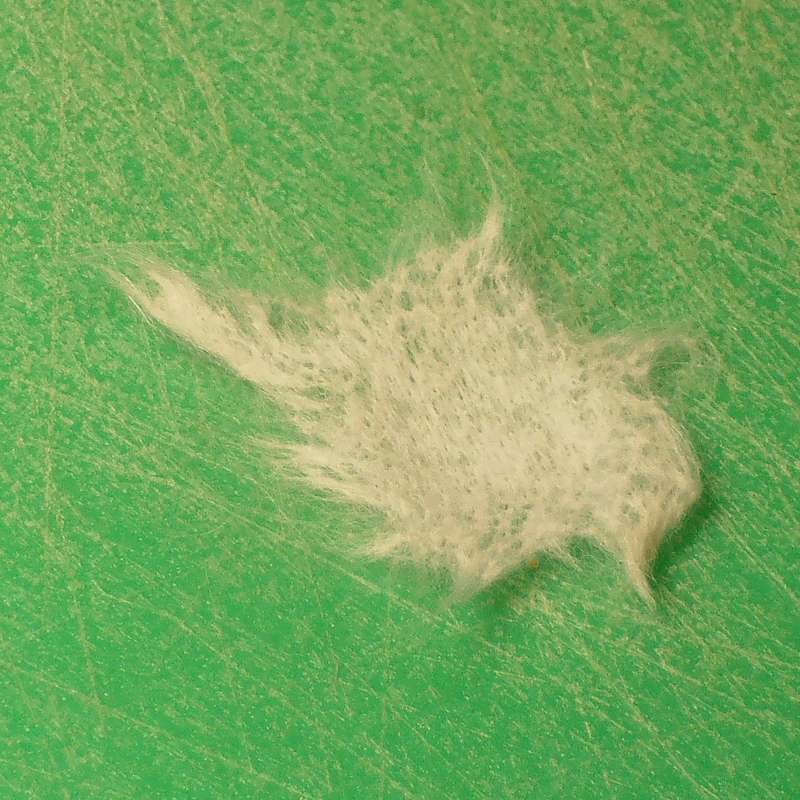
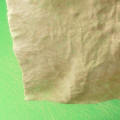
Stage 2
Pull a section
of material from the sheet, a little larger than you want to make the
nest. |
 |
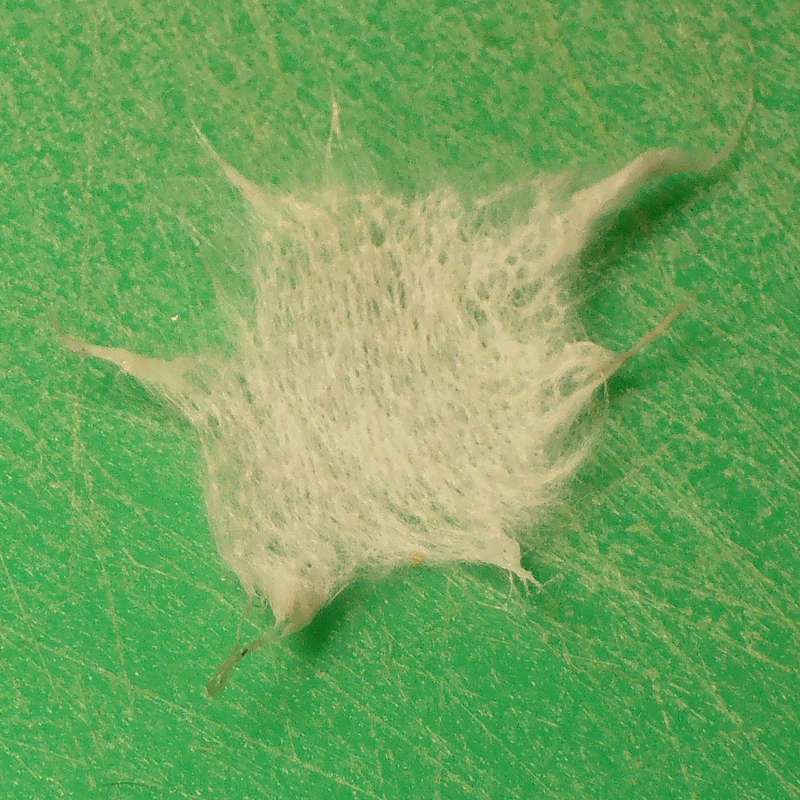
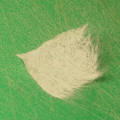
Stage 3
Turn the piece
of material in your hand and pull a small amount off the edges all the
way around, especially on any straight sections. You should end up with
a fairly random shape with trailing strands all around the edges. |
 |
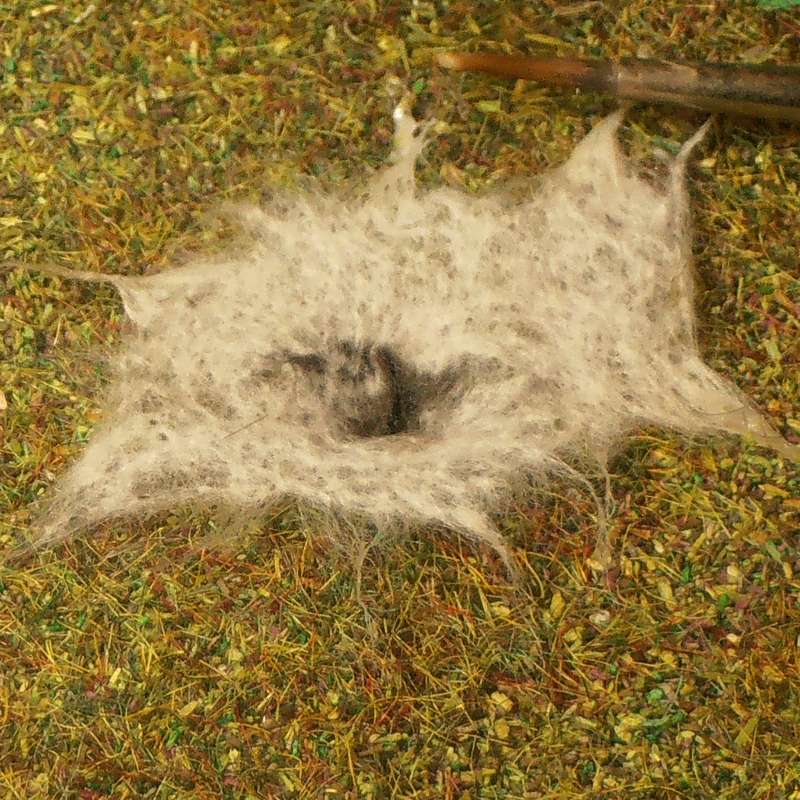
Stage 4
If you are
modelling on foam, make a hole with the point of the pencil, otherwise
drill a suitable hole in your base. Paint a dark colour inside the hole
and allow this to dry. |
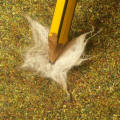 |
Stage 5
Place the wet
wipe material in place, and push the pencil into the hole through the
material. You will probably have to remove the piece in order to push
the pencil right through. |
 |
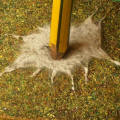
Stage 6
Replace the
material over the hole, and apply PVA to each of the trailing strands,
attaching them to the base. Work your way all around the piece.
|
 |
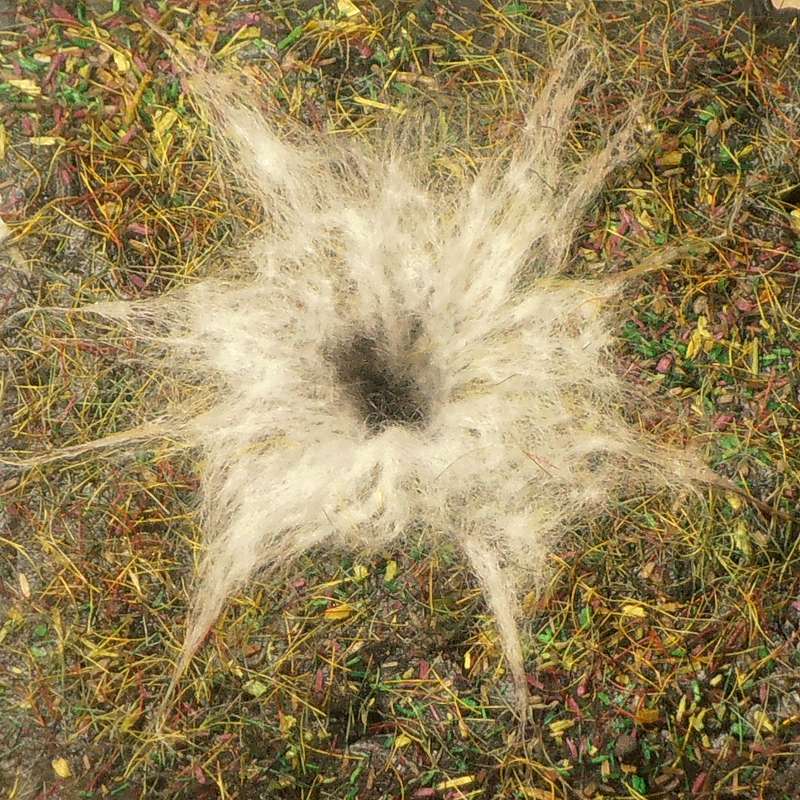
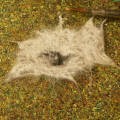
Stage 7
Press the
pencil gently into the hole once more, forcing the material down, then
twist and carefully remove it.
|
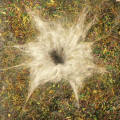 |
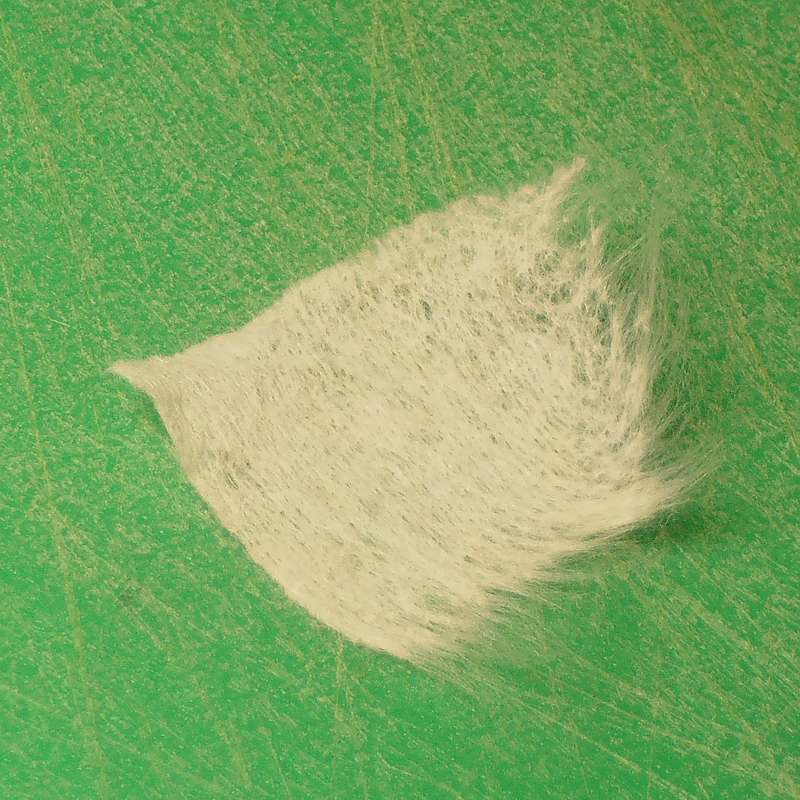
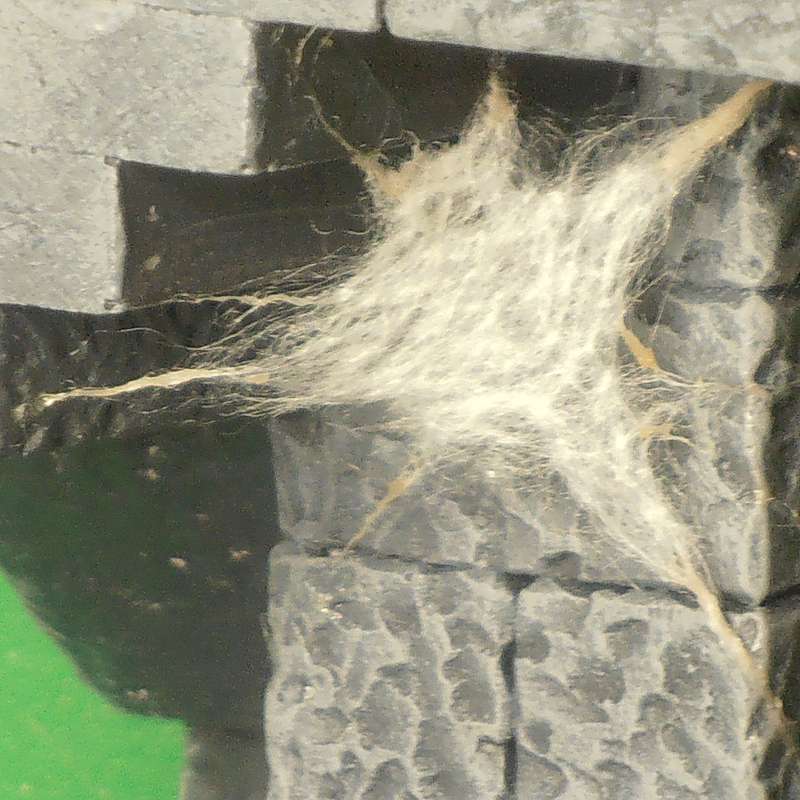
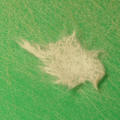
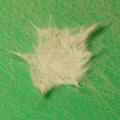
The finished
result.
|
|
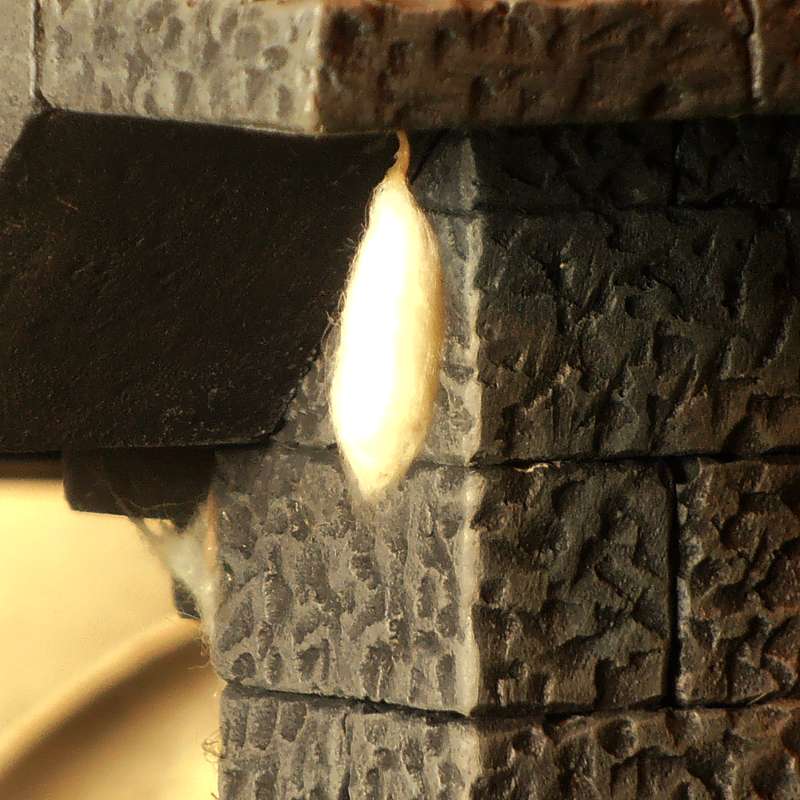
Spider Nests / Cocoons
(Click thumbnails for
larger images) |
|
 |
Materials & Tools:
Cotton Bud
PVA
Paint Brush
Scissors
|
 |
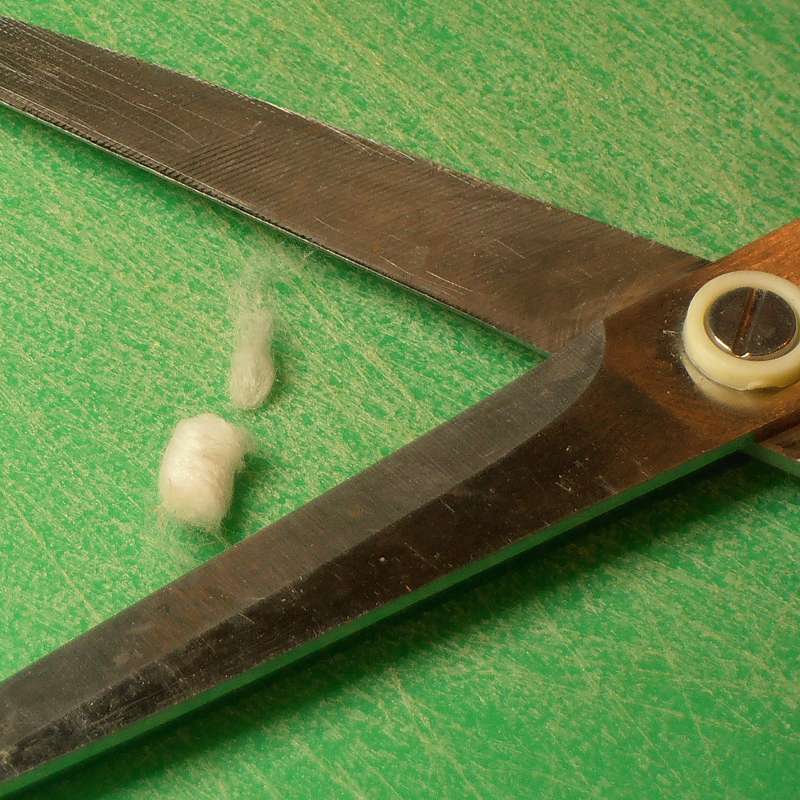
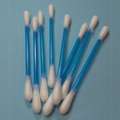
Stage 1
Pull the ball
of cotton wool from the plastic shaft of the cotton bud. A cotton bud is
a good size and has a nice rounded end, so it is much simpler than
starting with a cotton ball. |
 |
Stage 2
Cut the cotton
ball to the length you require. |
 |
Stage 3
Twist the end
of the cotton ball which was attached to the plastic, and pull out a
strand of cotton. |
 |
Stage 4
Apply some PVA
glue to the trailing strand of cotton. |
 |
Stage 5
Apply a blob
of PVA to the model where you want the nest to hang and secure the end
of the strand of cotton in place. |
|
Spider Nests #2
(Click thumbnails for
larger images) |
|
|
Materials & Tools:
Wet Wipe
PVA
Paint Brush
Scissors
|
|
Stage 1
Wash the wet
wipe in soapy water and rinse, then leave to dry. |
|
Stage 2
Pull a section
of material from the sheet, a little larger than you want to make the
nest. |
|
|
Stage 3
Turn the piece
of material in your hand and pull a small amount off the edges all the
way around, especially on any straight sections. You should end up with
a fairly random shape with trailing strands all around the edges. |
 |
Stage 4
Apply some PVA
glue to the trailing strands of cotton. |
 |
Stage 5
Hold the nest
roughly in place where you want to attach it, and brush more PVA onto
the ends of the strands to attach them. Work around the nest and try to
keep a little tension in each of the strands. |
|
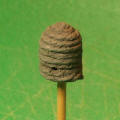
Beehives
(Click thumbnails for
larger images) |
|
 |
Materials & Tools:
String
Plastic Rawl-Plug
/ Wall Anchor Plug
Scissors
Clothes Peg
Razor Saw /
Hacksaw
Tacky Glue /
PVA
Superglue
Paint &
brushes |
 |
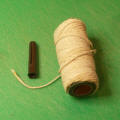
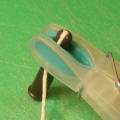
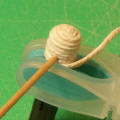
Stage 1
Cut a length
of string from the ball or reel. For this model I cut a length about
30cm / 12 inches. Using a small drop of superglue, attach the end of the
string between the two "leaves" at the rounded end of the rawl-plug.
Allow to dry. |
 |
Stage 2
Place a small
blob of tacky glue next to the emerging string. (Ignore the position of
the glue in the picture and put the glue in the centre of one of the
"leaves".) |
 |
Stage 3
Pull the
string over the glue, hold it taut and attach a clothes peg to clamp it
in place until it dries. |
 |
Stage 4
Once dry, run
a small line of tacky glue all around the top of the plug. Gently
pull the string around to form a spiral ensuring it makes good contact
with the glue, and secure the loose end with the clothes peg again. |
 |
Stage 5
Once the glue
is dry, repeat the last step making a second, larger ring around the
top. Depending of the sizes of the rawl-plug and string, continue adding
one ring at a time until you have covered the end of the rawl-plug.
|
 |
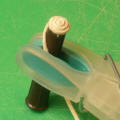
Stage 6
Now apply glue
down the sides of the rawl-plug, then wrap the string around until you
reach the size you want. Push the coils of string together filling any
gaps. |
 |
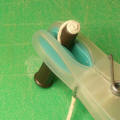
Stage 7
Insert the
point of a cocktail stick between the coils near the base of the string
- a couple of layers up is about right. If you line up the cocktail
stick with the split in the plug, you can push it further in. |
 |
Stage 8
Allow the glue
to set for a few minutes, then twist the cocktail stick out of the hole.
Trim the end of the string to length and glue it in place. |
 |
Stage 9
Once the glue
has set, trim the excess part of the rawl-plug with a razor saw. If you
end up catching some of the string, glue it back into place. |
 |
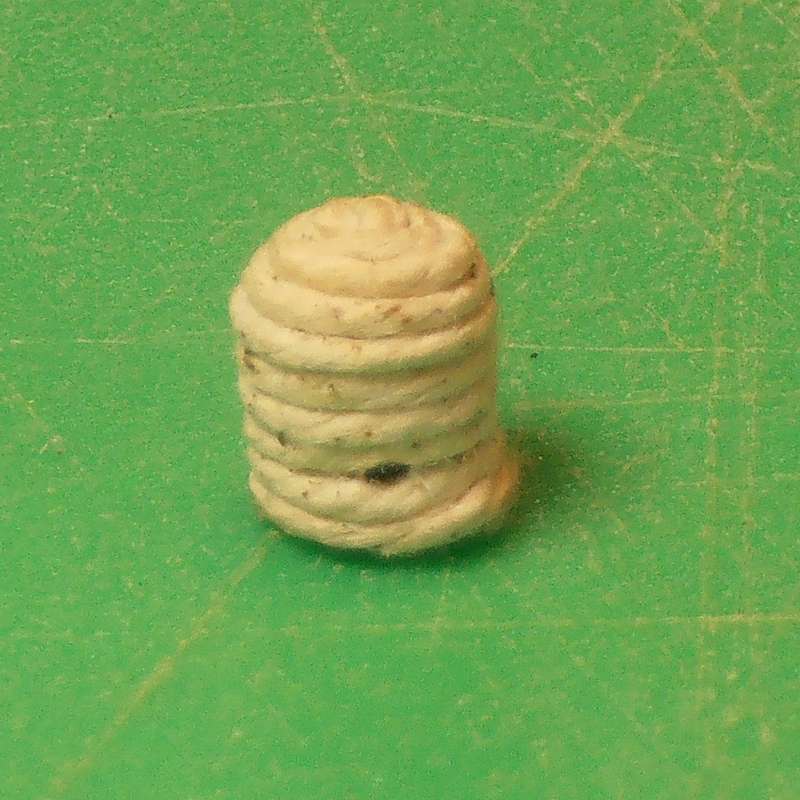
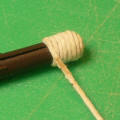
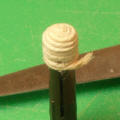
Stage 10
After drying,
the beehive should look something like this. |
 |
Stage 11
Push the point
of the cocktail stick into the base of the rawl-plug to hold the model
whilst you apply a base-coat of mid-brown paint. You may need to re-open
the entrance hole after this step. |
 |
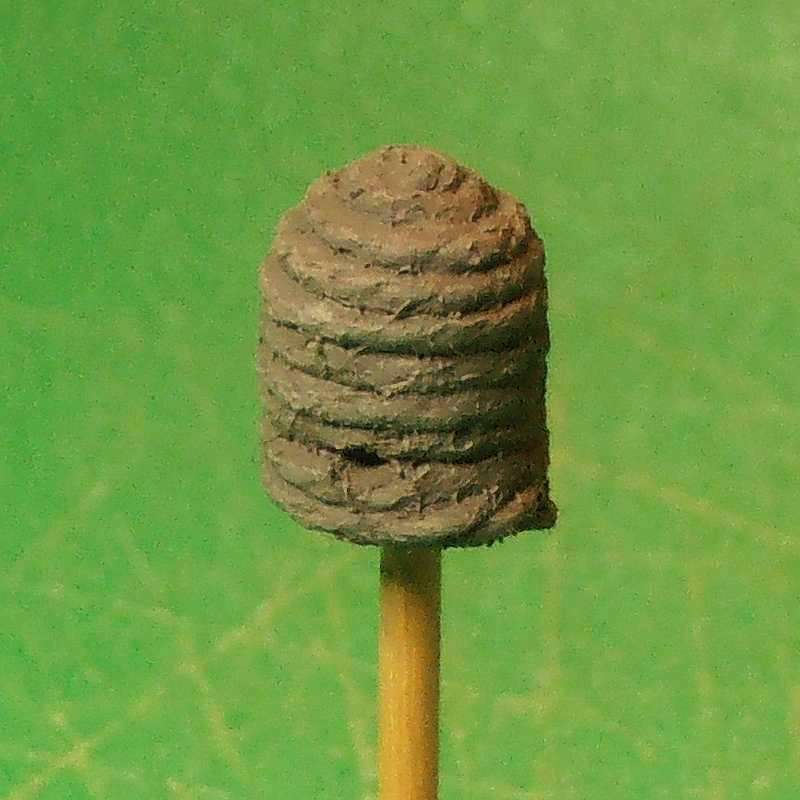
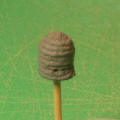
Stage 12
Drybrush a
slightly lighter colour to highlight the model. |
 |
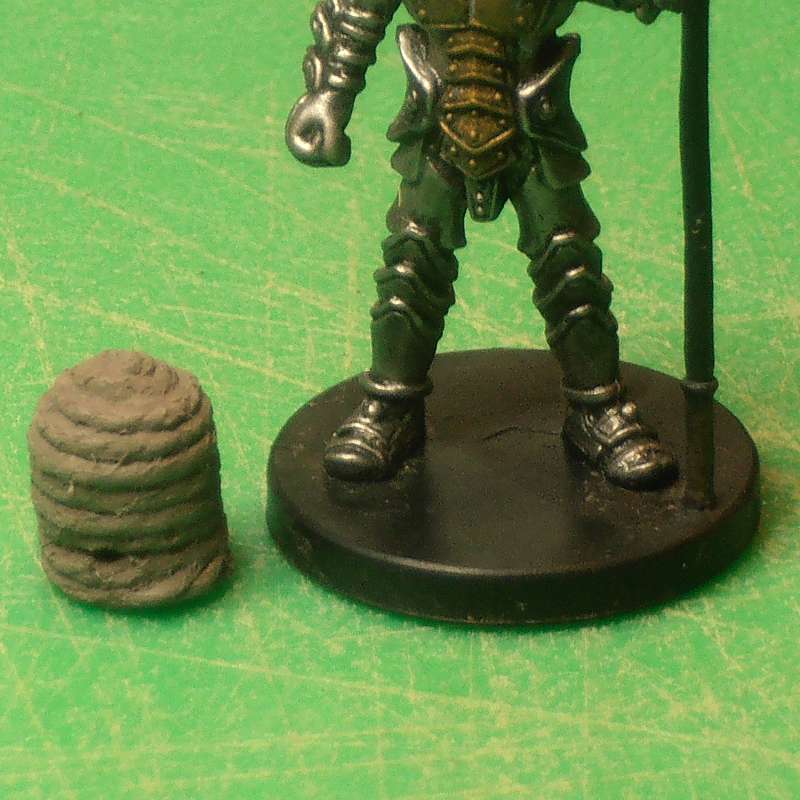
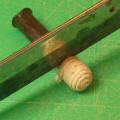
A finished
beehive beside a miniature for scale. You can make different sizes of
hive using different sizes of rawl-plugs and string. |
|
|
|
Wasps' Nests
(Click thumbnails for
larger images) |
|
|
Materials & Tools:
Modelling Clay
Cocktail Stick
or similar
PVA
Paint &
Brushes |
 |
Stage 1
Roll a piece
of modelling clay into an egg shape. Real wasps nests can get about as
big as a basketball, but fantasy ones could be much larger. |
 |
Stage 2
Roll out a
thin sausage from a second piece of clay. |
 |
Stage 3
Press the
sausage flat with your finger, leaving a rough edge at one side. Use the
cocktail stick to further roughen this edge if necessary. |
 |
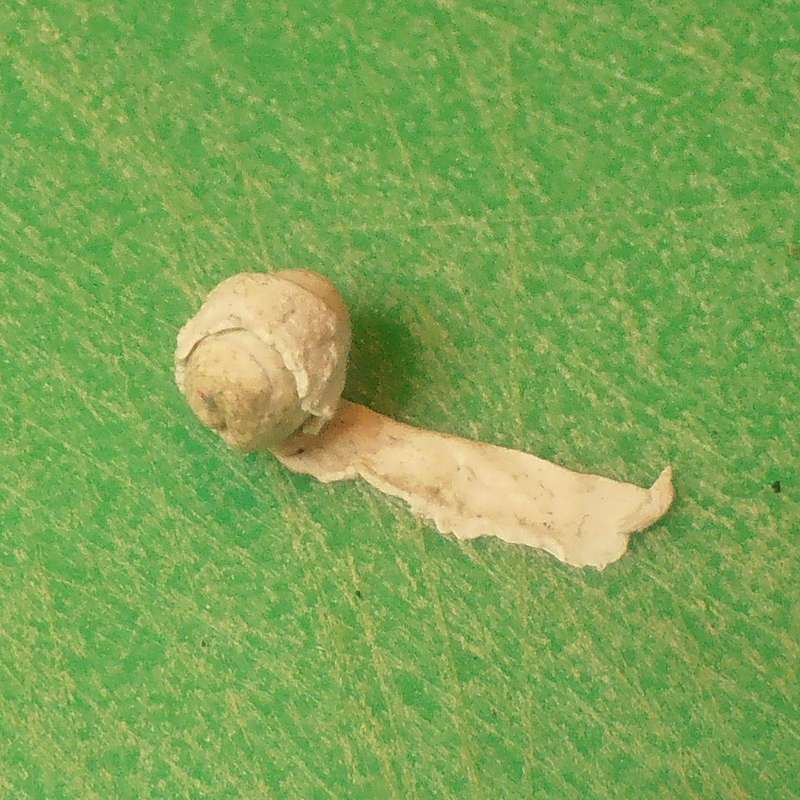
Stage 4
Roll the strip
around the original ball of clay with the rough edge about 1/3 of the
way up from the bottom. You may need to use a knife blade to help prise
the strip from the underlying board. |
 |
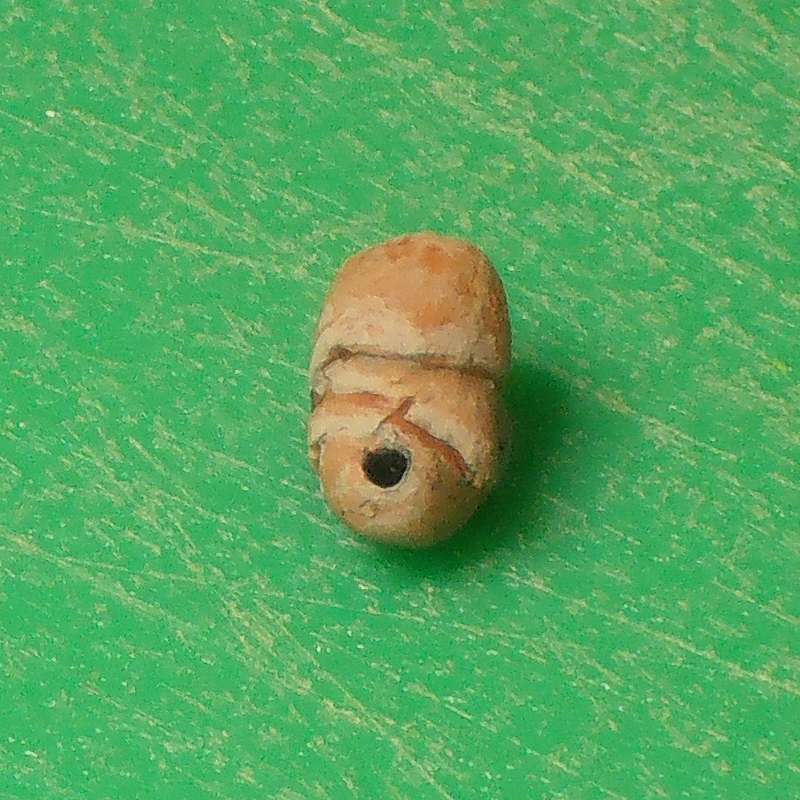
Stage 5
Add a second
strip of clay above the first and smooth off the top. Push the tip
of a cocktail stick to make a hole in the clay near the more pointed end
of the egg. Allow the clay to harden and dry. |
 |
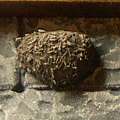
Stage 6
Once dry,
paint and highlight the nest in shades of mid- to light brown. |
 |
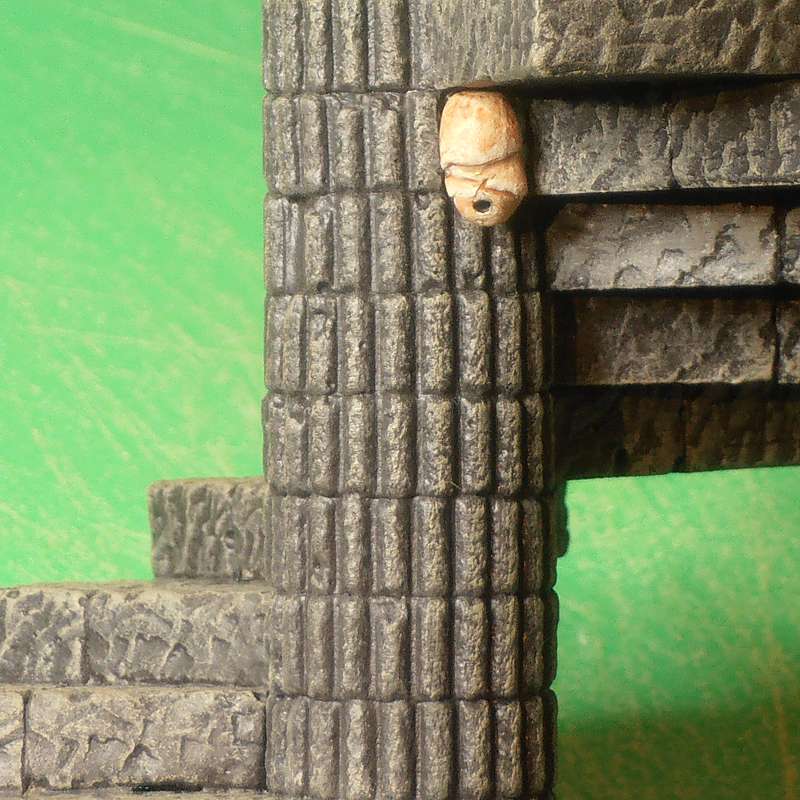
Stage 7
Attach the
nest to your model using PVA glue. In nature, wasps nests are usually found
hanging beneath some kind of shelter - a tree branch, the roof of a
building or overhanging rocks, for example. |
|
|
|
Molehills
(Click thumbnails for
larger images) |
|
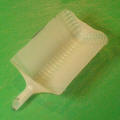 |
Materials & Tools:
Plaster of
Paris or similar
Custom Scenics
Applicator (opens in a new window)
Atomiser or
pipette
Paints &
brushes |
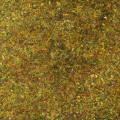 |
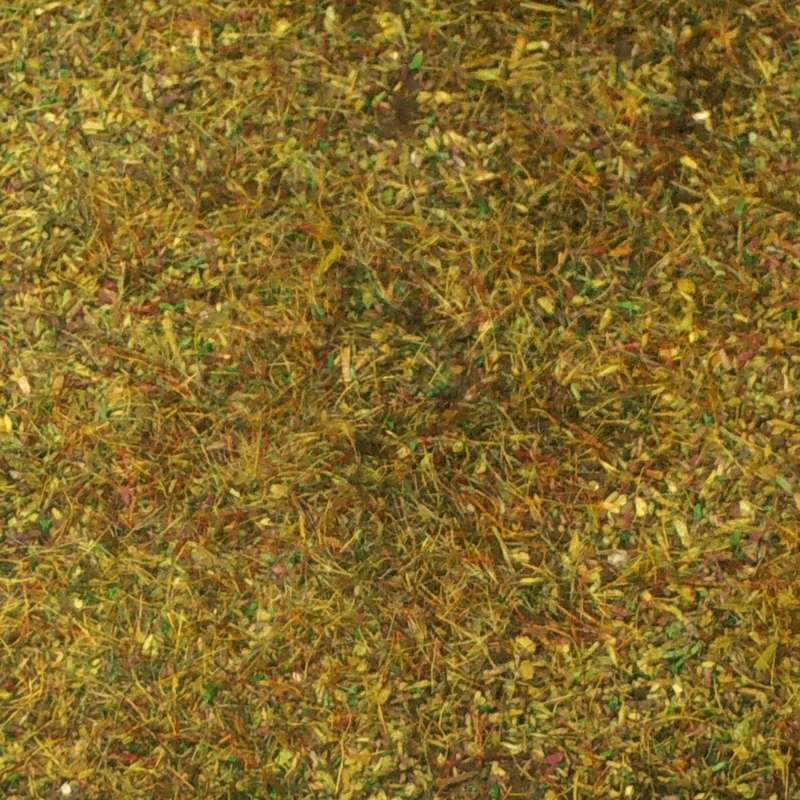
Stage 1
Molehills
occur on many types of terrain, but are most obvious on short grass like
lawns or grazed pasture. Finish an area of terrain with flock & static
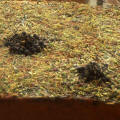
grass where you wish to add the molehills. |
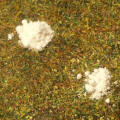 |
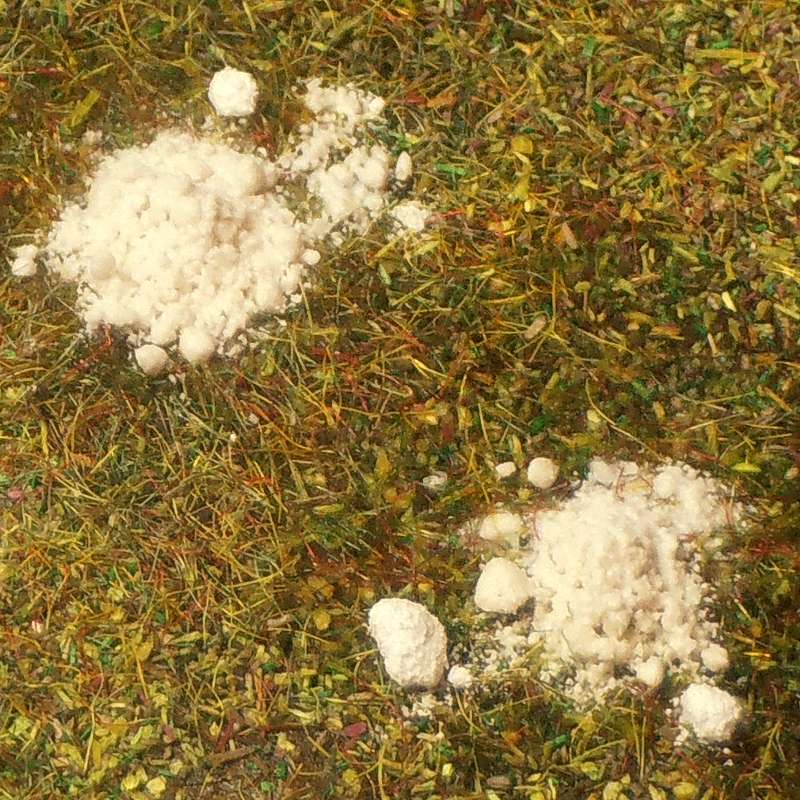
Stage 2
Add some small
piles of plaster where you want the molehills using a
precision
applicator (opens in a new window), or a folded piece of card. |
 |
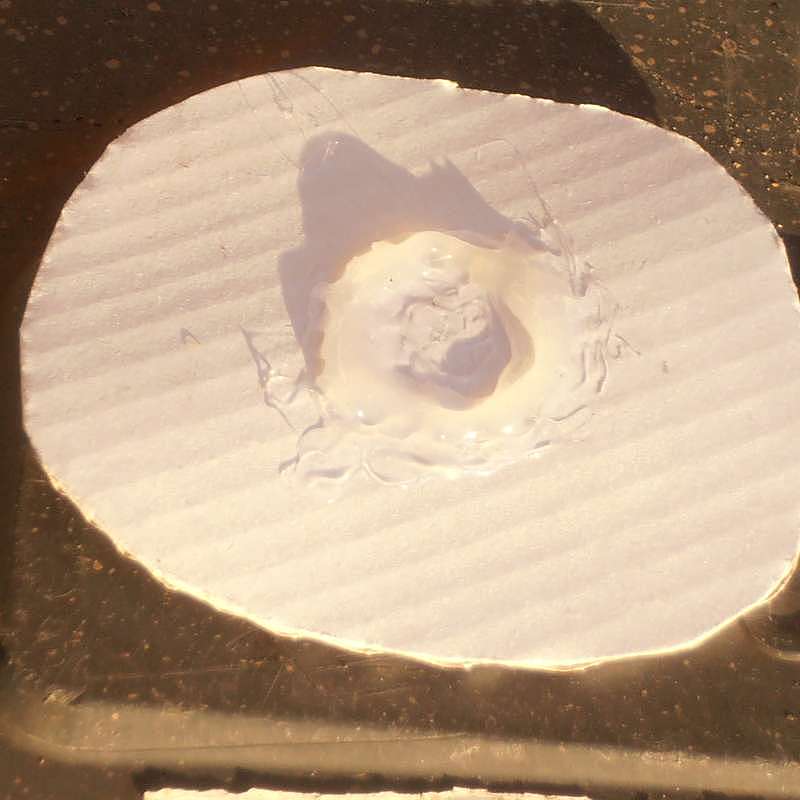
Stage 3
Mist over the
plaster with water from the atomiser, or drip a couple of drops
carefully onto each pile of plaster from the pipette. Leave to set and
dry, then gently brush away any excess. |
 |
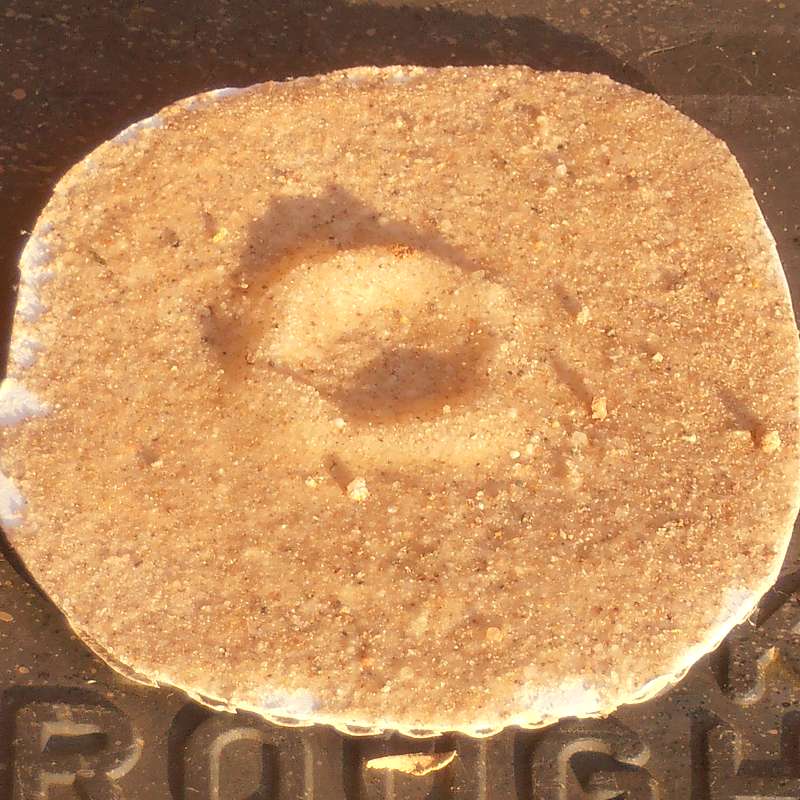
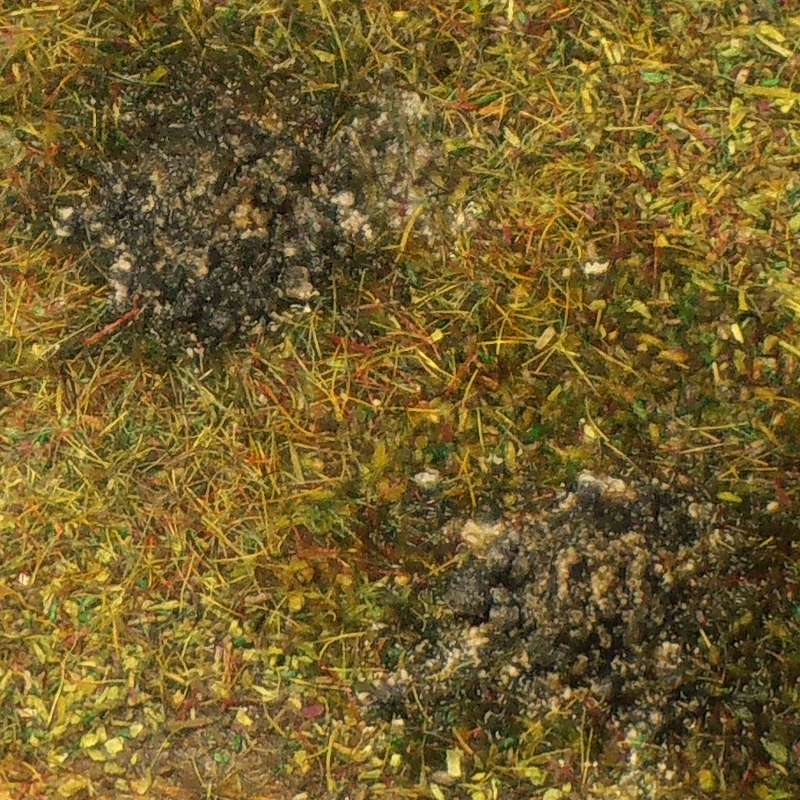
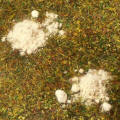
Stage 4
Paint the
plaster in earth tones - I used thin washes of black and dark brown on
mine, but the colour should match any other bare earth patches on your
model. |
 |
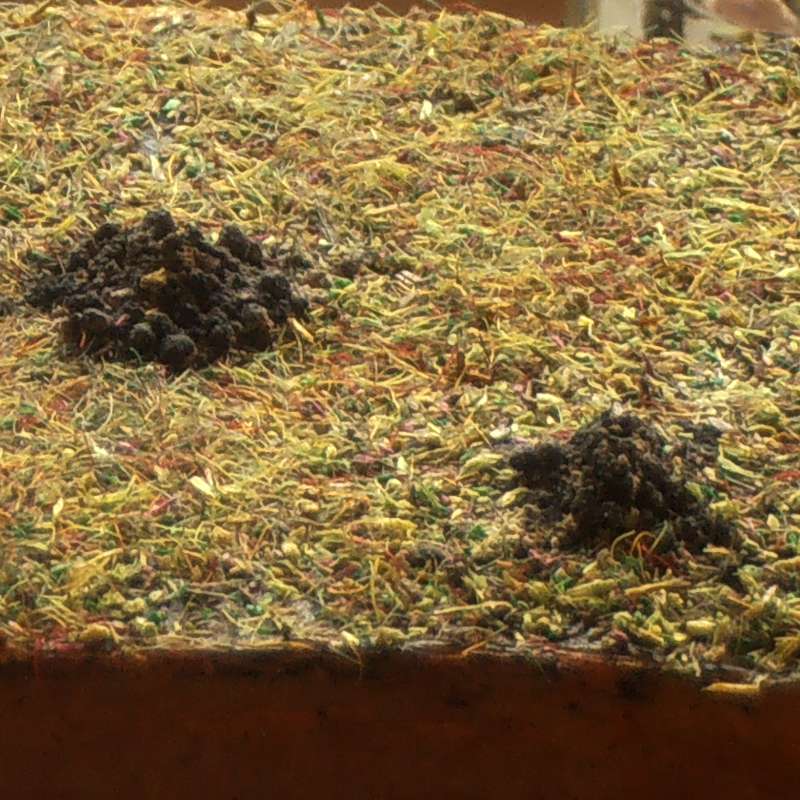
Stage 5
Paint
highlights on the molehills if you wish. Add more flock or static grass
to any areas that may need it, before sealing everything with watered
down PVA. |