|
Gabions
(Click thumbnails for
larger images) |
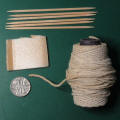 |
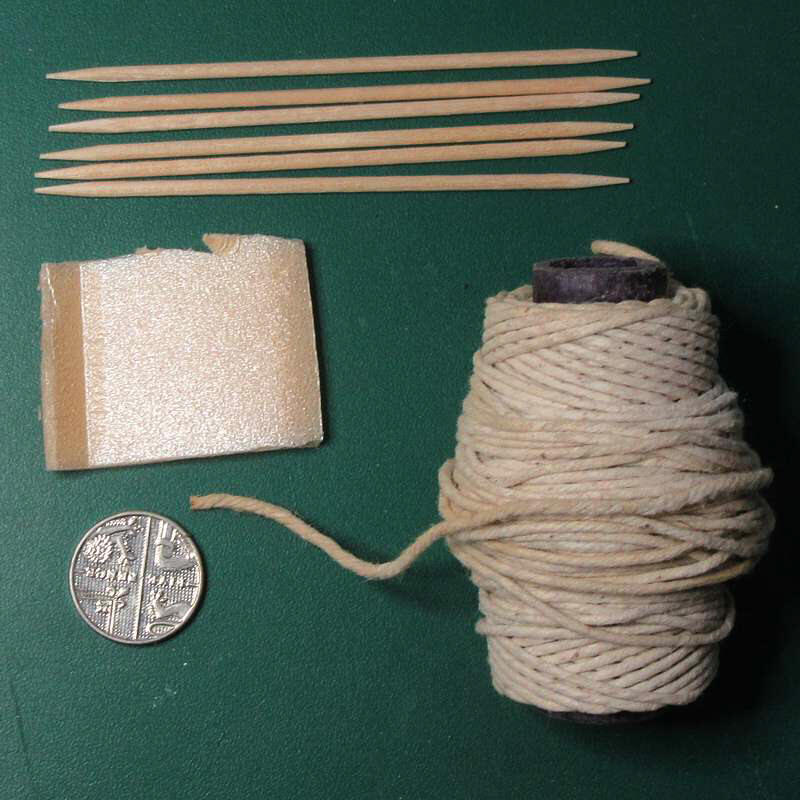
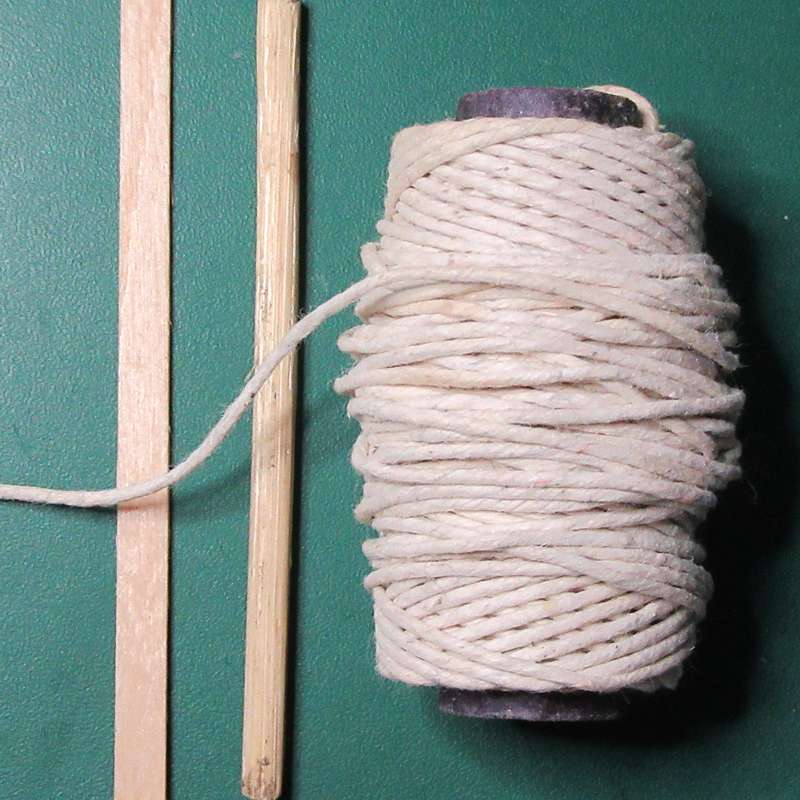
Materials & Equipment
Cocktail sticks, Scrap foam
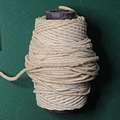
String, Dry sand
PVA
Craft knife, Side cutters
Hot glue gun & glue
Coin, Marker (Sharpie) |
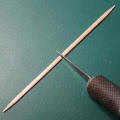 |
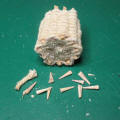
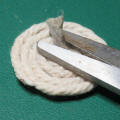
Stage 1
Cut six cocktail sticks in
half. |
 |
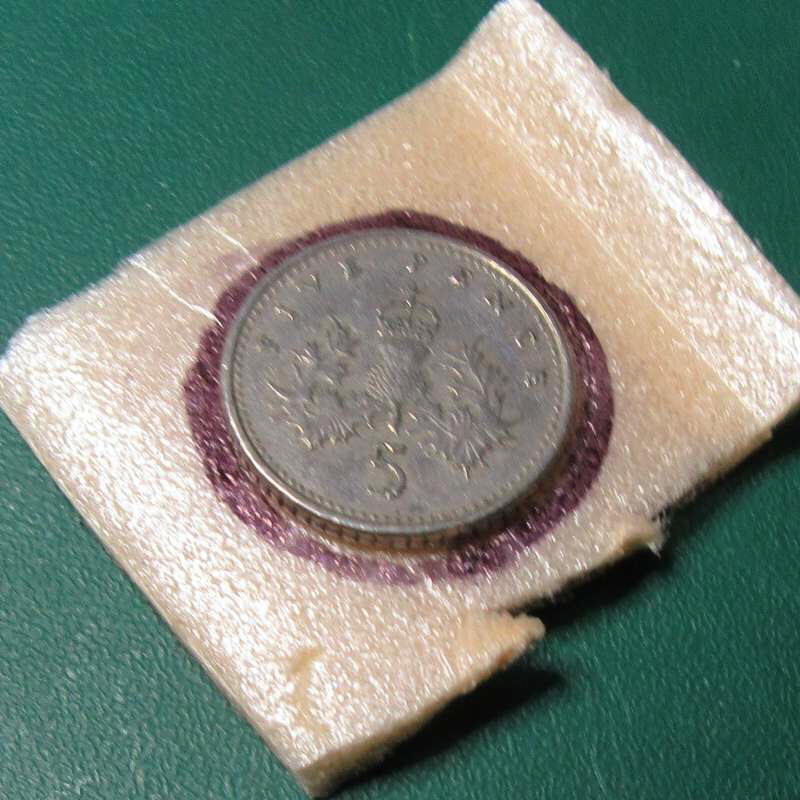
Stage 2
Draw a circle on a scrap
piece of foam. I drew around a 5p coin, and used a piece of a foam food
container, but any scrap foam should work. |
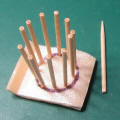 |
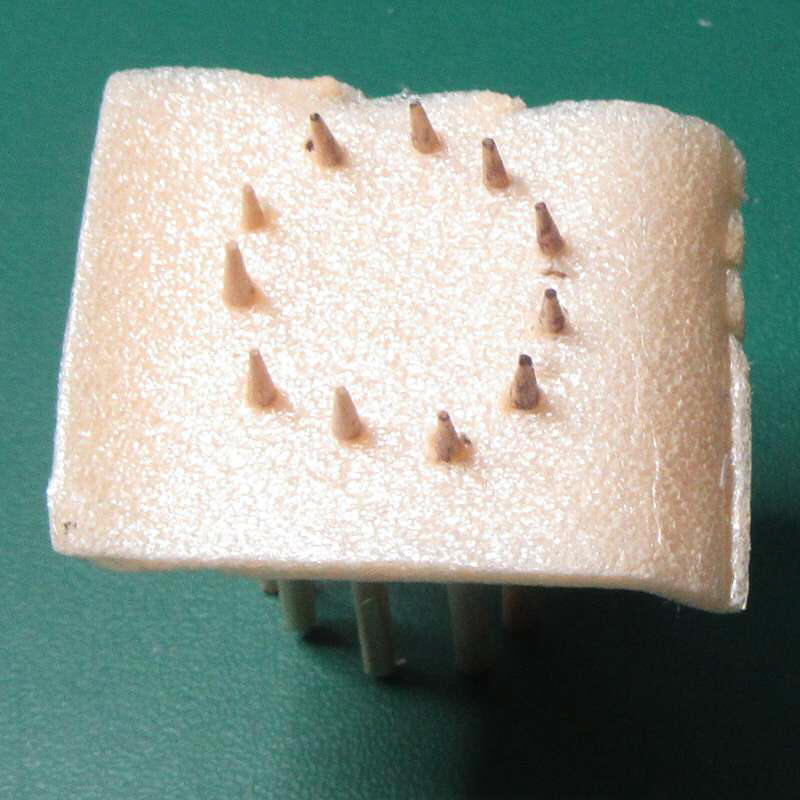
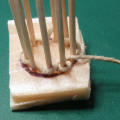
Stage 3
Set aside one of the
half-size sticks - the reason for this will be shown later. Poke the
other 11 into the foam at roughly equal spacing around the circle. |
 |
Stage 4
Either trim the points from
the sticks or add another layer of foam to hold the sticks securely in
position. This won't be an issue if you used thicker foam. |
 |
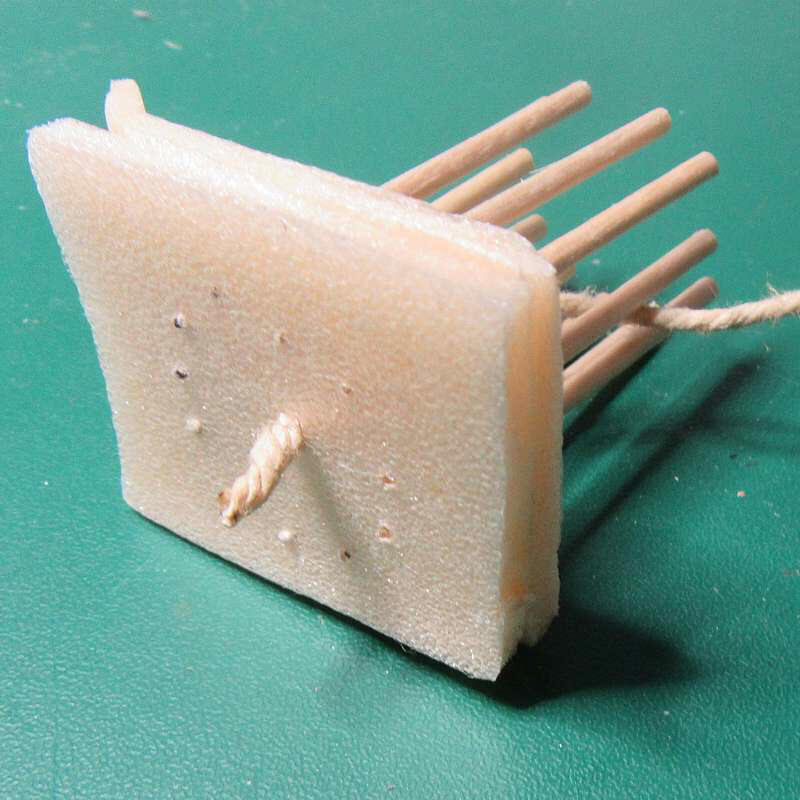
Stage 5
Poke a hole in the centre of
the base, and thread the end of the string through it. |
 |
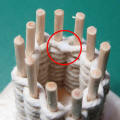
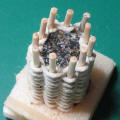
Stage 6
Weave the string around the
circle between the sticks. Provided you used an odd number of sticks,
the string will automatically alternate sides as you go up a layer. |
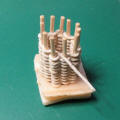 |
Stage 7
Continue weaving until you
reach the desired height - somewhere around shoulder level on the
miniature looks about right. Cut the string. |
 |
Stage 8
Weave the end of the string
around the sticks and secure the end with a small blob of PVA. |
 |
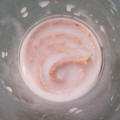
Stage 9
Fill the middle of the gabion
with hot glue to just below the top.
|
 |
Stage 10
Whilst the glue is still hot,
sprinkle a little modelling sand onto the top. |
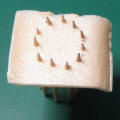
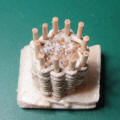 |
Stage 11
The sand
didn't stick very well for me, so I added a couple of drops of
watered-down PVA. |
 |
Stage 12
Whilst the PVA
was still wet, I added a drop of black ink, then set the piece aside to
dry and cool. |
 |
Stage 13
Once dry, trim
the tops off the sticks with a pair of side-cutters, leaving a short
stub protruding. |
 |
Stage 14
Peel the foam
off the base of the model, then trim the end of the string and the
points of the cocktail sticks. |
 |
Example
The finished
gabion with a figure for scale. |
|
|
|
|
|
Archery Target
(Click thumbnails for
larger images) |
|
 |
Materials & Tools:
String
Plastic shot
glass or similar container
PVA
Paint &
brushes
LEGO blocks
Craft knife
Scissors |
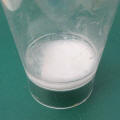 |
Stage 1
Mix a small
quantity of PVA with water in a plastic shot glass. About 70% water /
30% PVA works well. A few millimetres in the bottom of the container
will be enough. |
 |
Stage 2
Cut a piece of
string around 38cm / 15" long. Place the string into the glass to soak
in the glue mixture and leave it for a few minutes. You can add paint to
the mix at this stage, but it will dry with a slightly shiny finish. |
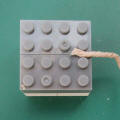 |
Stage 3
Place the end
of the string on some Lego blocks as shown. |
 |
Stage 4
Add more
blocks, trapping the string in position. |
 |
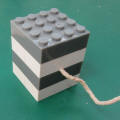
Stage 5
Begin to form
the string into a spiral. Work steadily and press the string flat from
time to time. |
 |
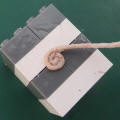
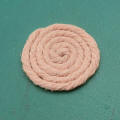
Stage 6
Once your coil
is the right diameter, trim the end and form the string into a neat
circle if you can. Set the piece aside to dry thoroughly. This may take
several hours, even if you place the model on a radiator or other gentle
heat source. |
 |
Stage 7
Once dry,
separate the Lego blocks, and remove the disc of string. Carefully cut
the "tail" from the back of the disc. |
 |
Stage 8
Undercoat the
string disc in an off white colour. Allow to dry. |
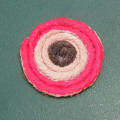 |
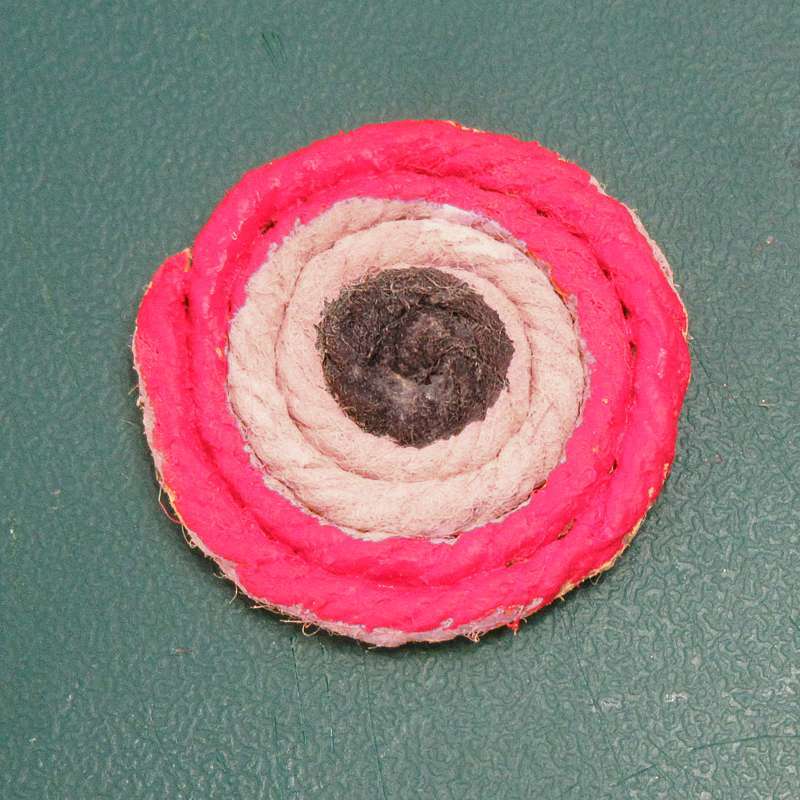
Stage 9
Paint
concentric circles on the target in contrasting colours. I used black
for the bulls-eye and red around the edge, but you can choose your own
if you prefer. |
 |
Stage 10
Once dry, you
can glue
the target onto a stand - instructions below.
Archery Target Stand |
|
|
|
Archery Target
Stand
(Click thumbnails for
larger images) |
|
|
Materials & Tools:
Archery Target
Coffee
stirrers or strip-wood
PVA
Paint &
brushes
Craft knife
Needle file |
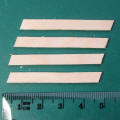 |
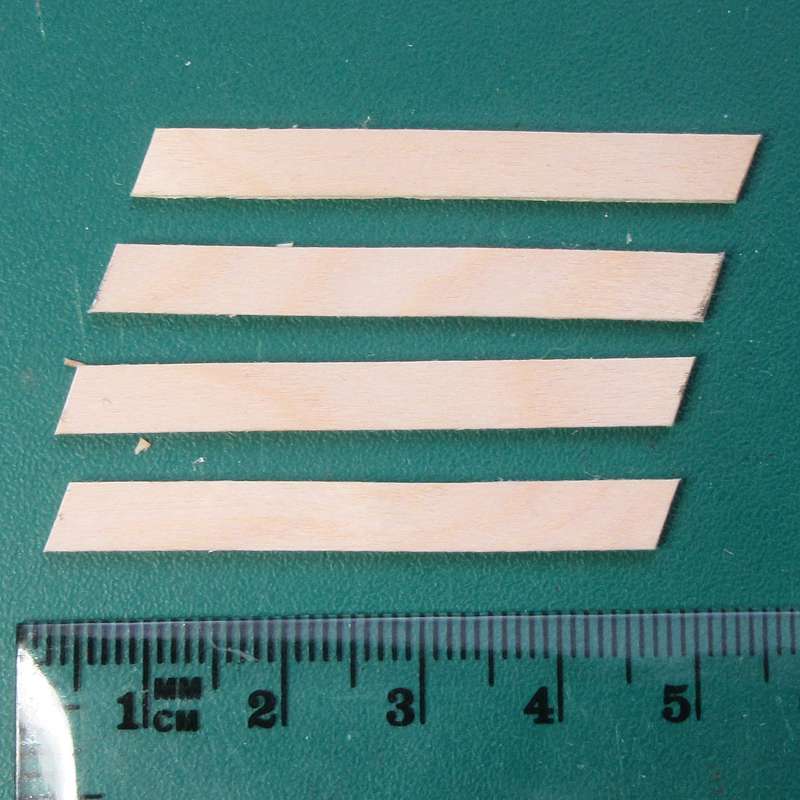
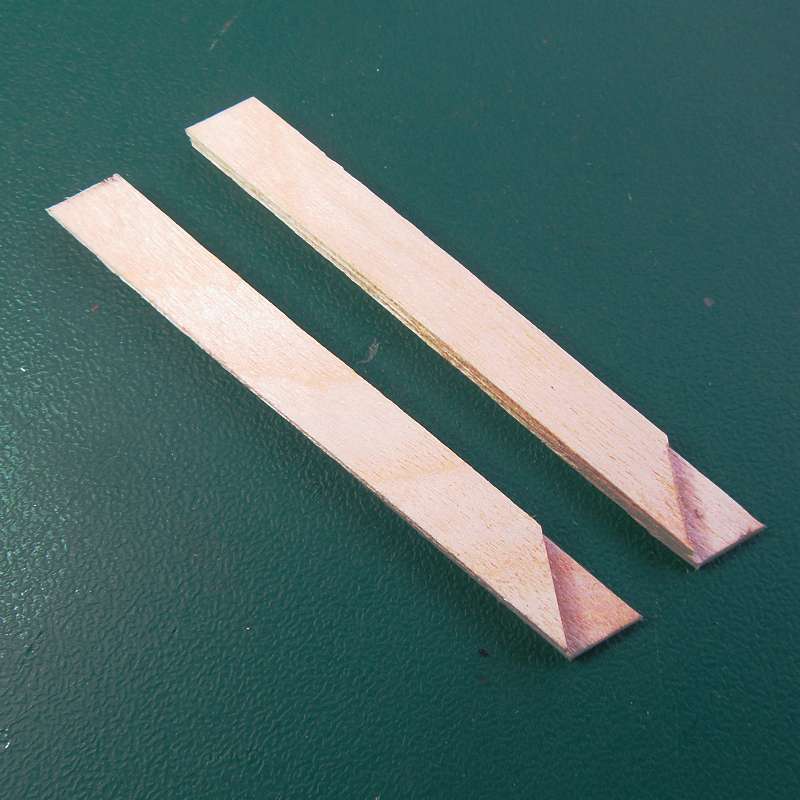
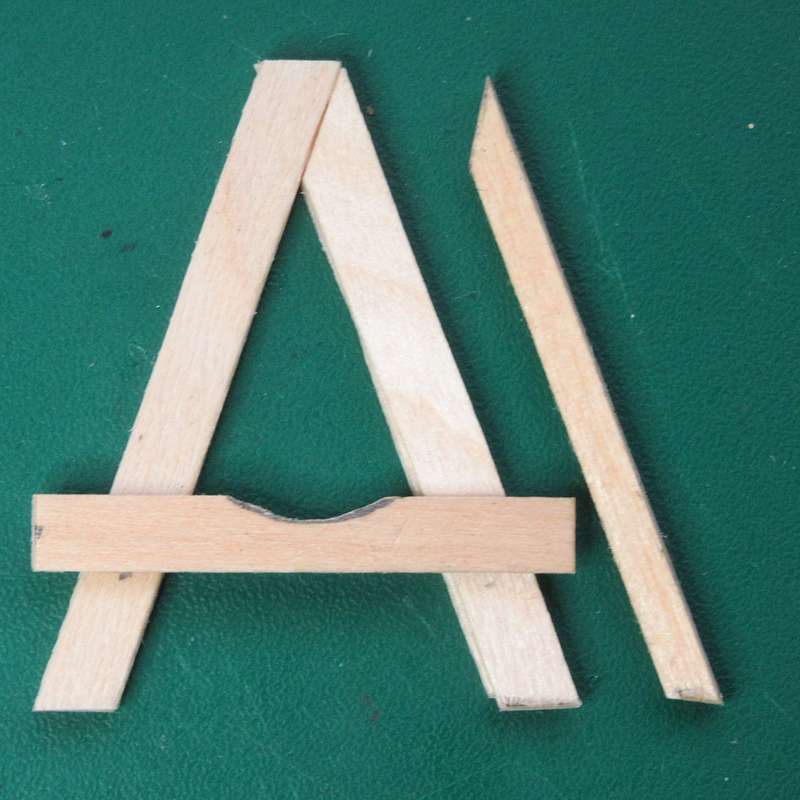
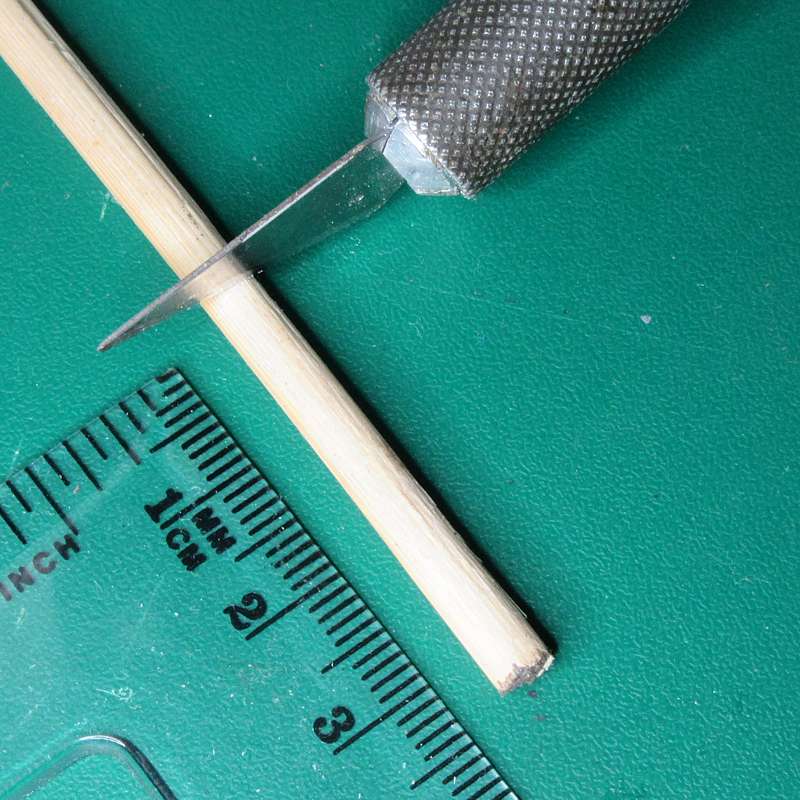
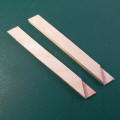
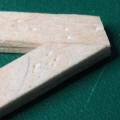
Stage 1
Cut four
lengths of coffee stirrer with angled ends as shown. The length of the
pieces should be about 45mm / 1.75" for 28mm scale. |
 |
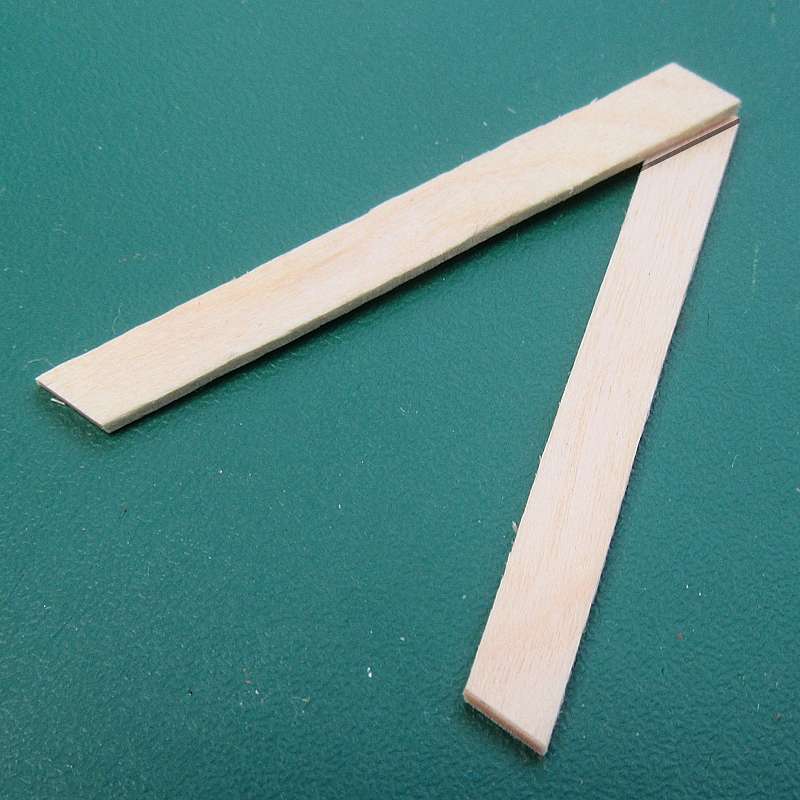
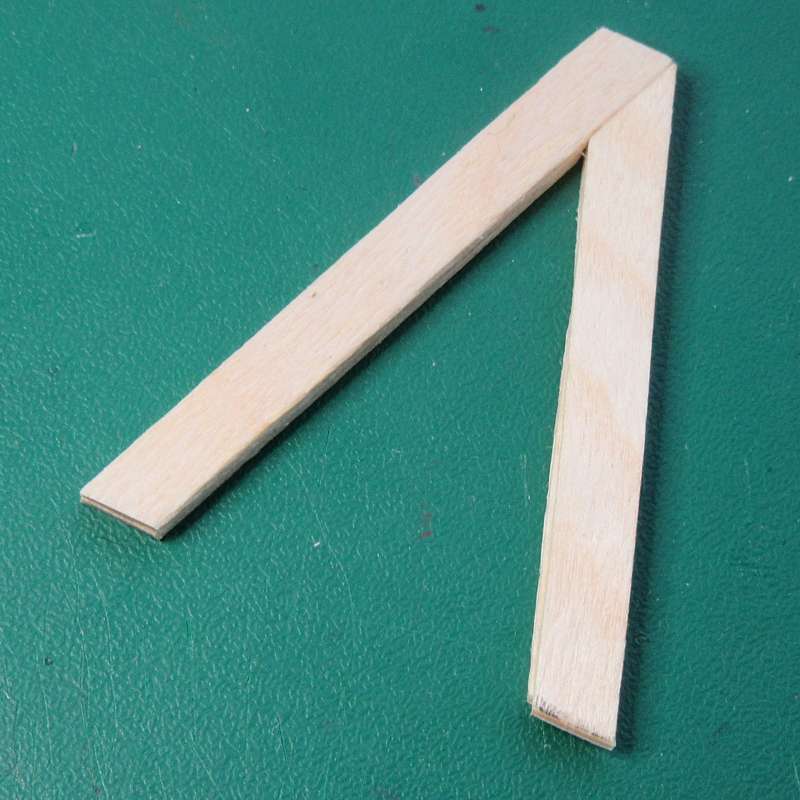
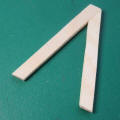
Stage 2
Lay two of
these pieces with the tops aligned as shown. Mark and trim the stick.
Repeat the process with the other pair of wood strips. |
 |
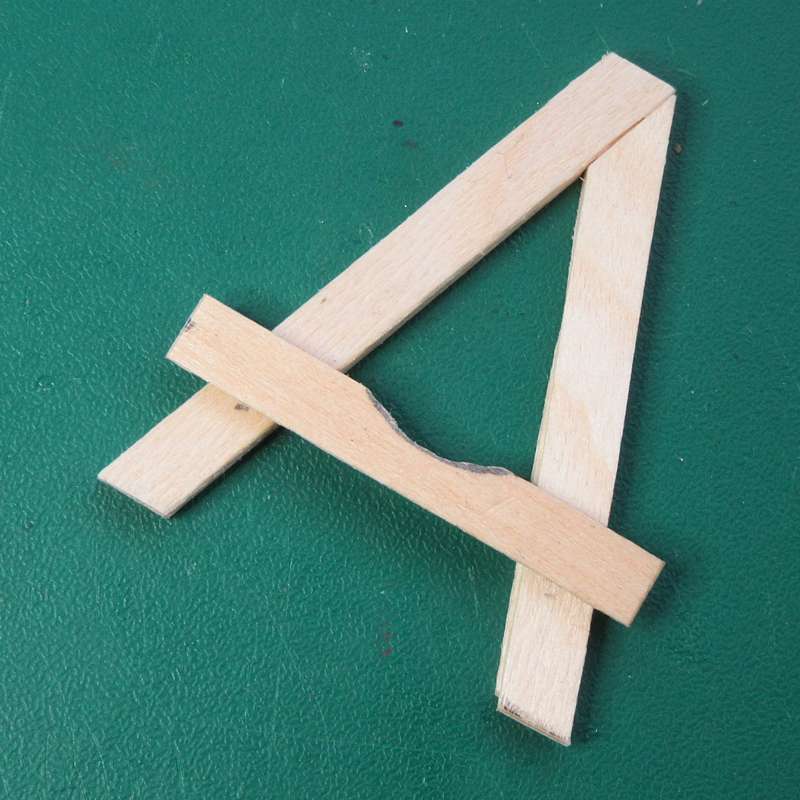
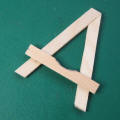
Stage 3
Glue the
strips together as shown with a little PVA, to make two identical front
leg pieces. Set these aside to dry for a few minutes. |
 |
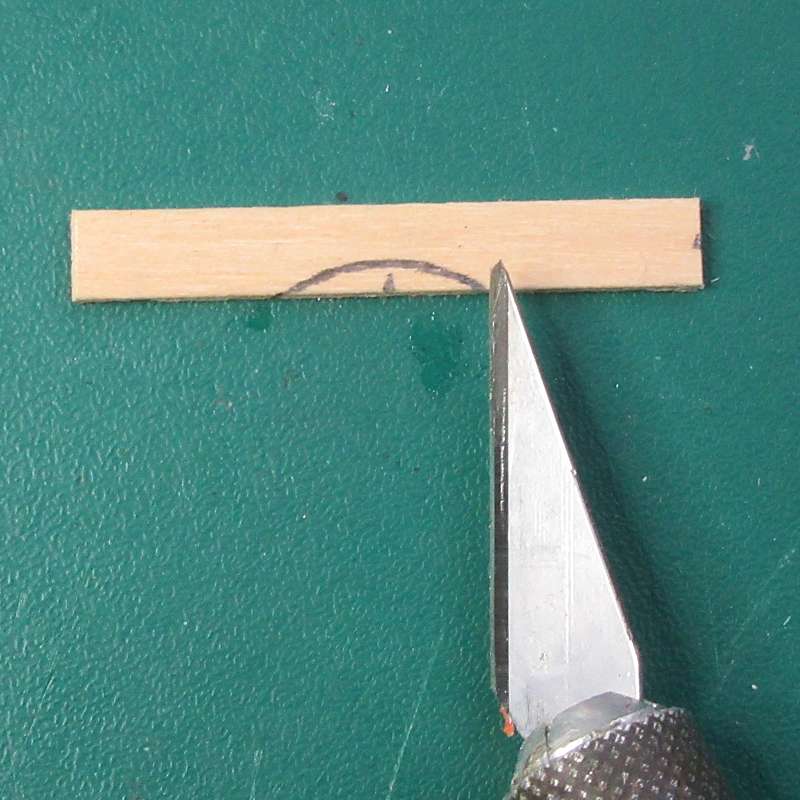
Stage 4
Cut a piece of
coffee stirrer to about 36mm / 1.4" in length to form the cross-bar.
Mark and remove a small arc of material to hold the target. |
 |
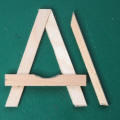
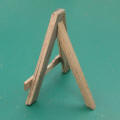
Stage 5
Glue the two
front legs together at the apex. |
 |
Stage 6
Attach the
cross-bar with the cut out centred, making sure to keep it parallel to
the base of the stand. Allow the glue to dry thoroughly. |
 |
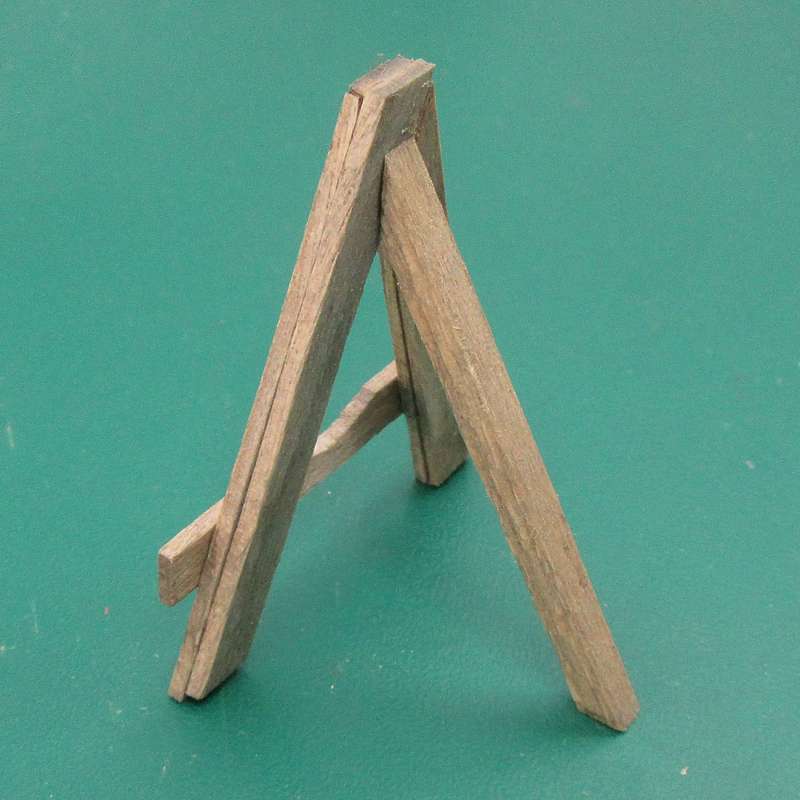
Stage 7
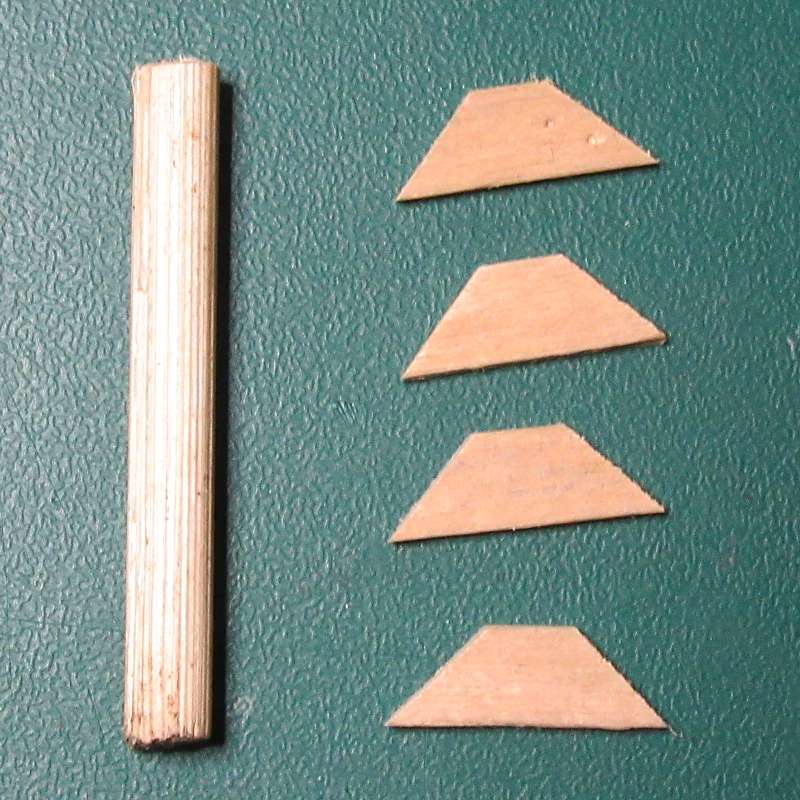
Cut a back leg
at the same angles as the front leg as shown. You can join two pieces of
coffee stirrer, as above, or use a slightly thicker piece of strip-wood. |
 |
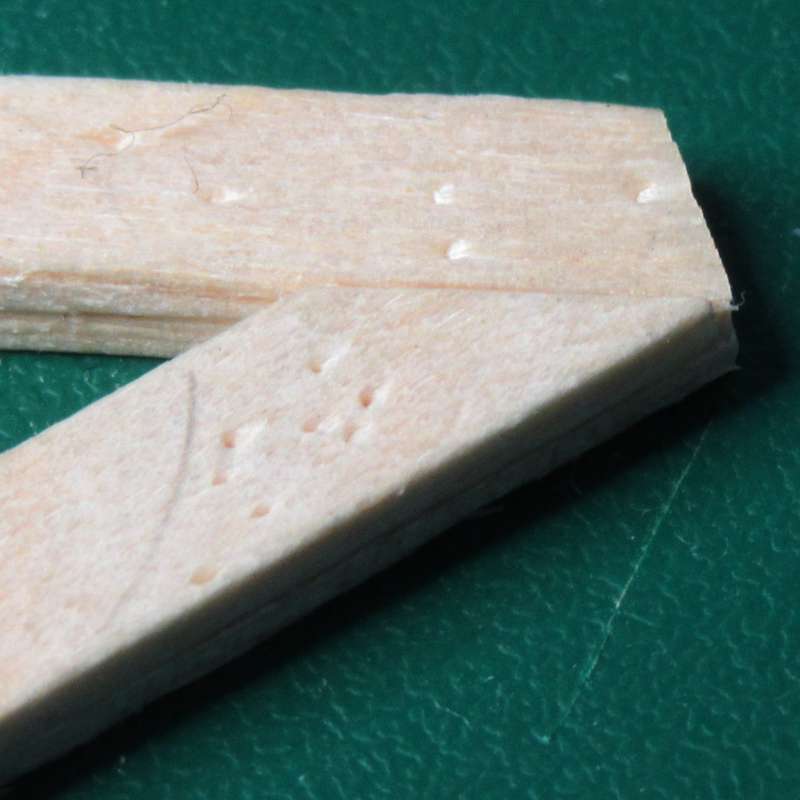
Stage 8
Using the point
of a needle file, make a series of indentations around the front of the
frame to represent places where arrows have missed the target. |
 |
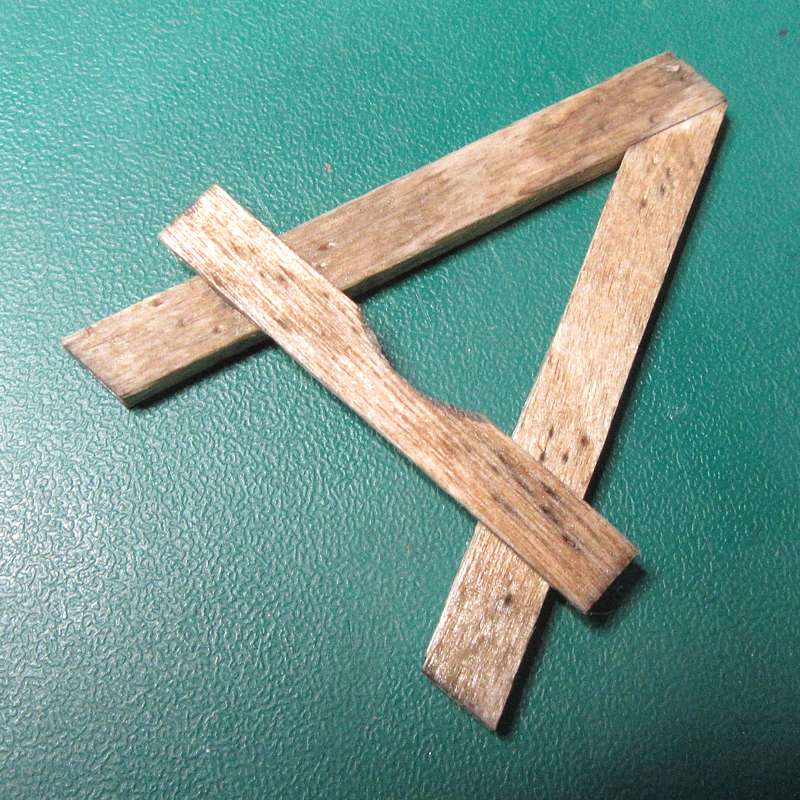
Stage 9
Stain all the
wood with a watery mix of black and brown inks. |
 |
Stage 10
Once the stain dries, glue the back leg onto the rest of the stand assembly. |
|
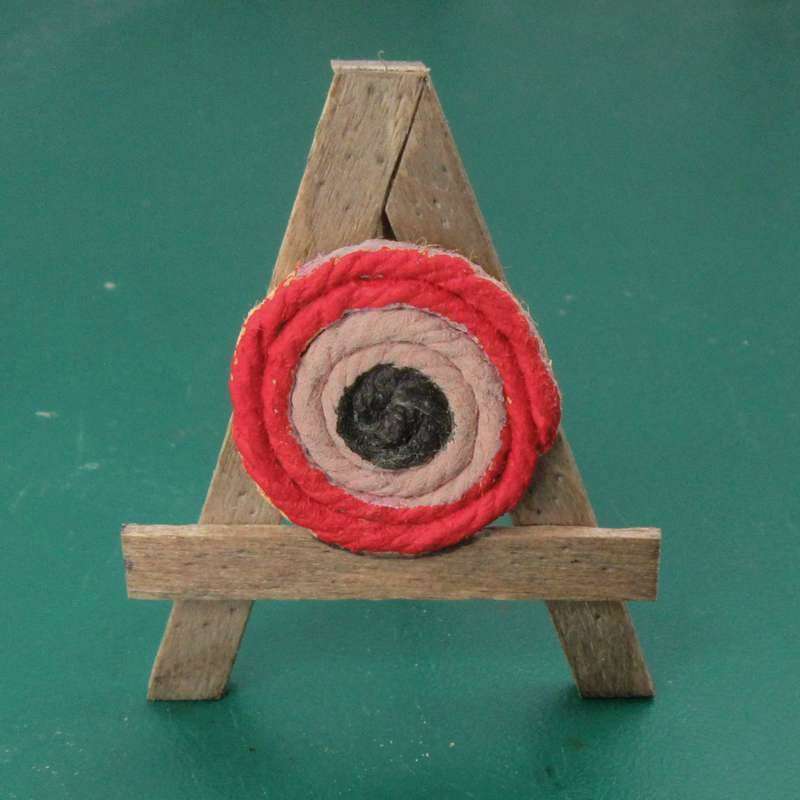
Stage 11
Once dry, glue
a target onto the support-frame.
Archery Target |
|
Practice Dummy
(Click thumbnails for
larger images) |
|
 |
Materials & Tools:
String
Coffee stirrer
or strip wood
Cocktail stick
Bamboo skewer
of thin dowel
PVA
Flock or
static grass
Razor saw
Craft knife, scissors |
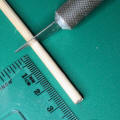 |
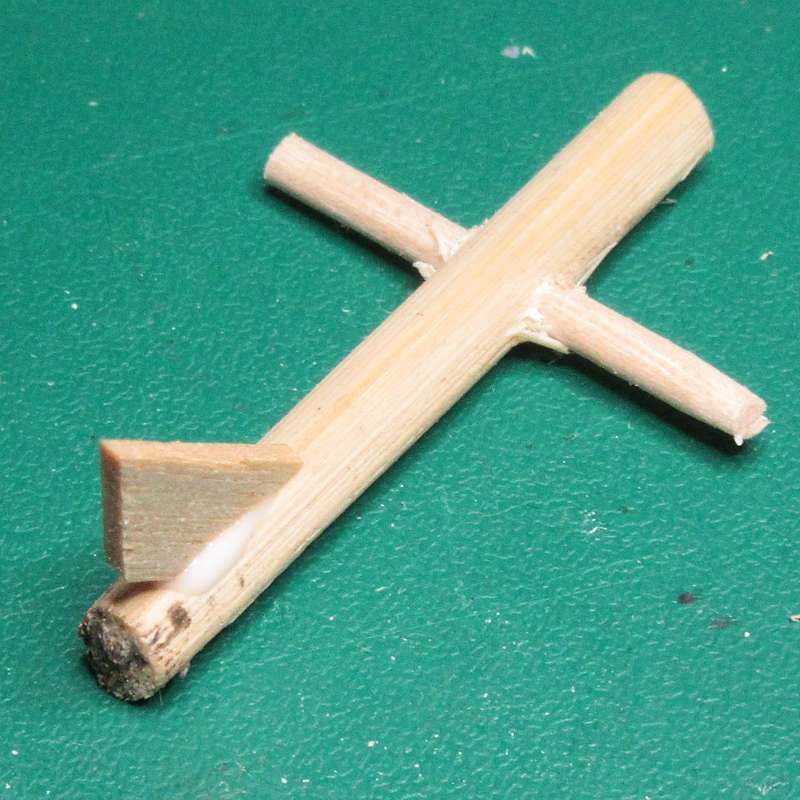
Stage 1
Cut a length
of kebab skewer to around 35mm / 1.4". |
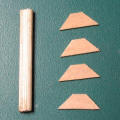 |
Stage 2
Cut four angle
braces from the coffee stirrer. |
 |
Stage 3
Drill a hole
to accept a cocktail stick about 10mm / 0.4" from one end. |
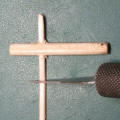 |
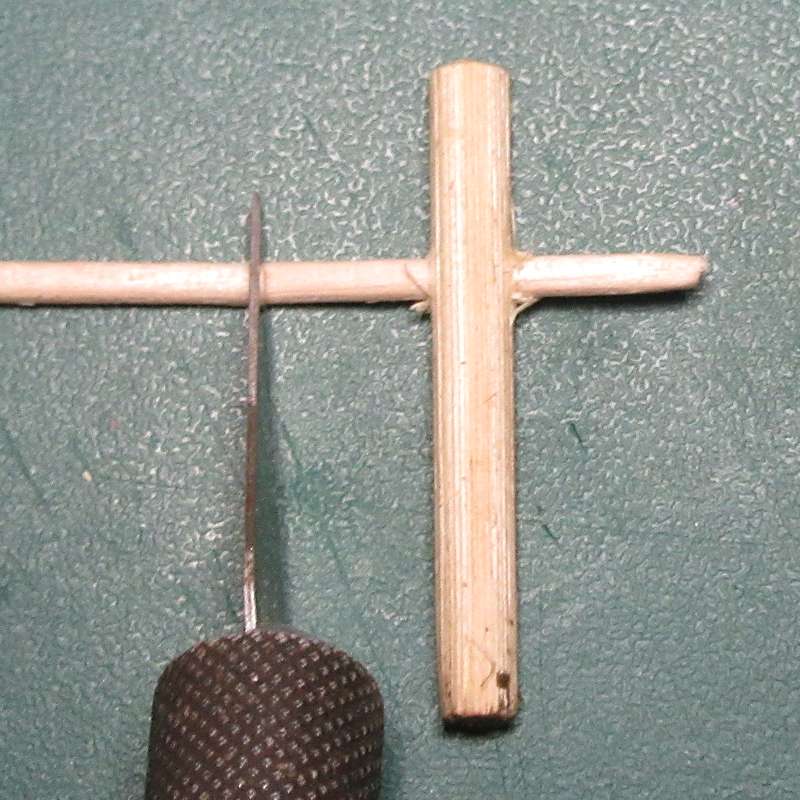
Stage 4
Push a
cocktail stick through the hole and trim the arms to about 12mm / 0.5"
in length. |
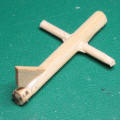 |
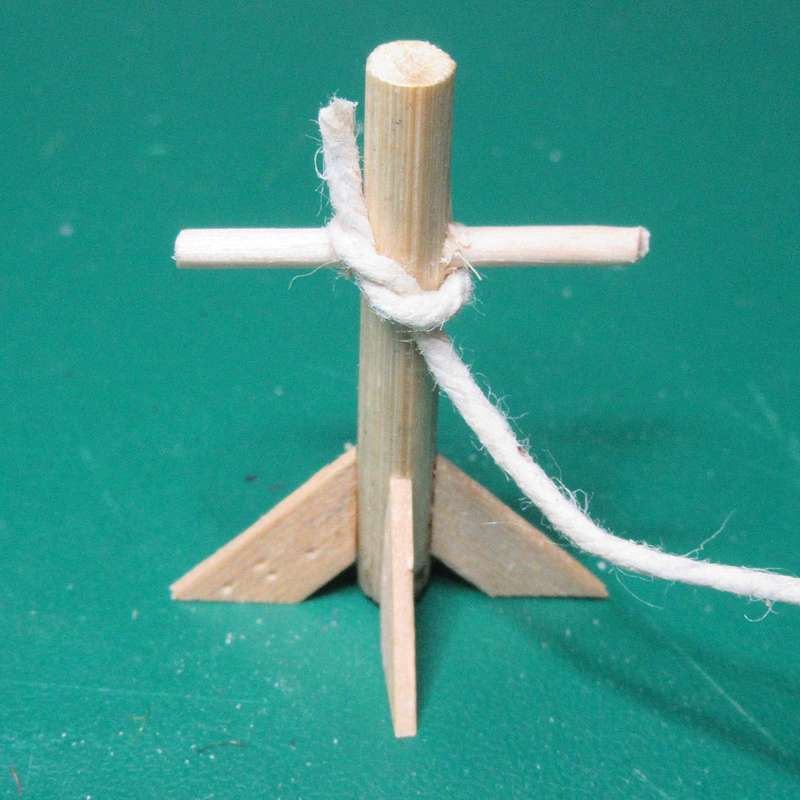
Stage 5
Using a small
amount of PVA, attach the angle braces to the kebab skewer, keeping them
level with the base. Allow to dry. |
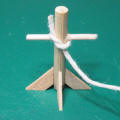 |
Stage 6
Tie the end of
the string around the crossing point, and wrap it around the skewer,
slowly building up the shape of a body and head. |
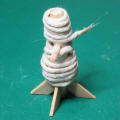 |
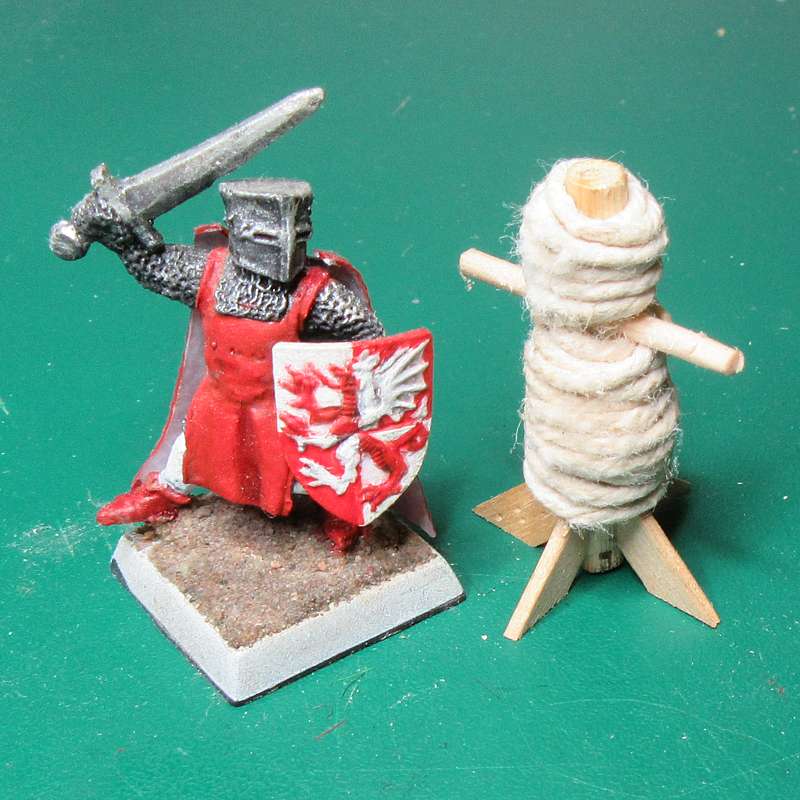
Stage 7
Trim the
string to length and secure the end with a little PVA. Allow to dry. |
 |
Stage 8
Drag a razor
saw gently across the sting to roughen up the surface. Add some nicks to
the wood with the saw or a craft knife. |
 |
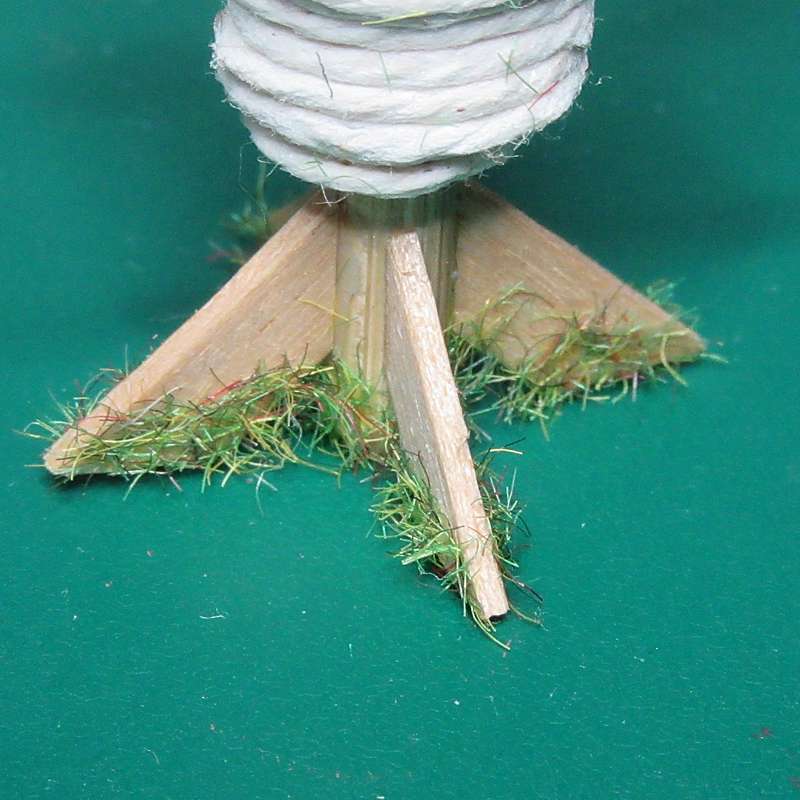
Stage 9
Apply a little
PVA to the bottom of the post and braces, and add a little flock or
static grass. This step should help the model appear to be fixed in the
ground, rather than sitting on top. |
 |
Stage 10
This dummy is
moveable, but if you wish to have one fixed into your baseboard, then
you can leave the post a little longer, and probably do without the
braces. |
|
|