Up Home Historic Sites Models Heraldry Puzzles Garden Links
| Contents | |||||||
 |
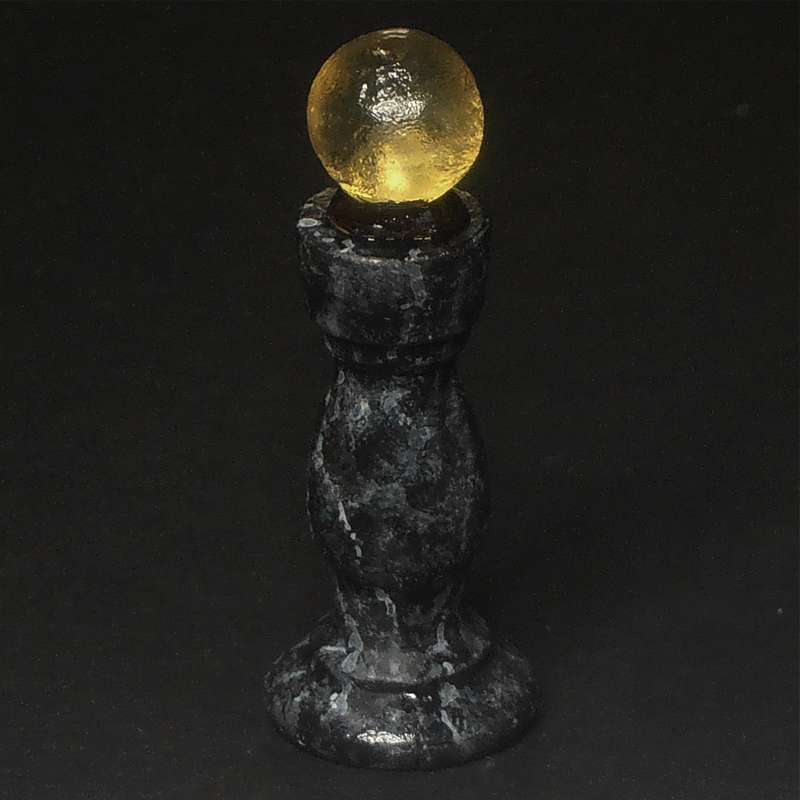
Black
Marble How to paint a faux black marble finish. |
 |
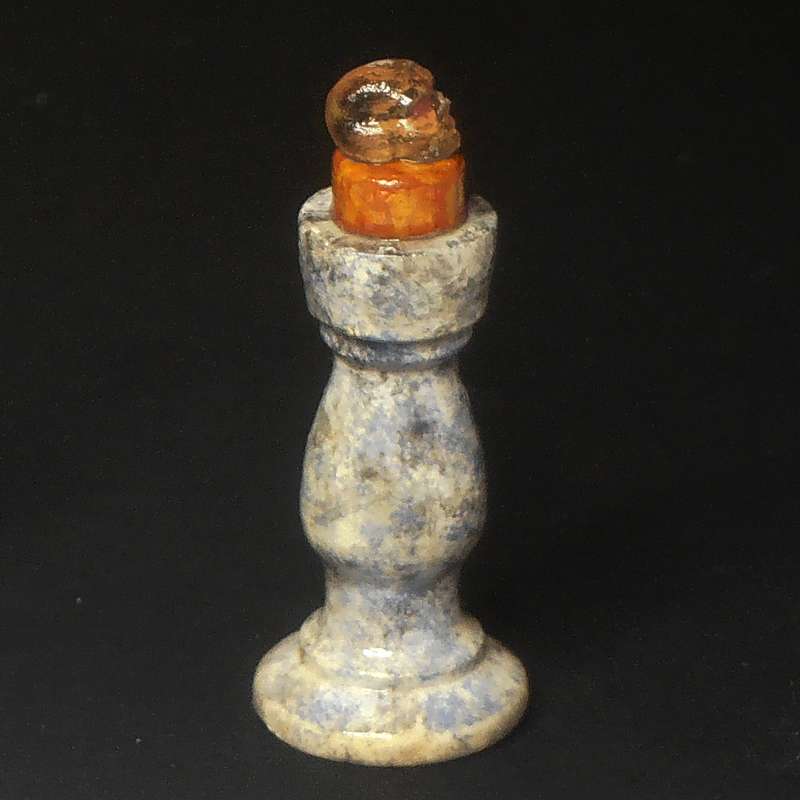
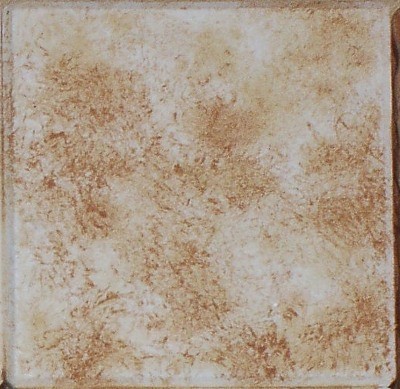
White
Marble How to paint a faux white marble finish. |
 |
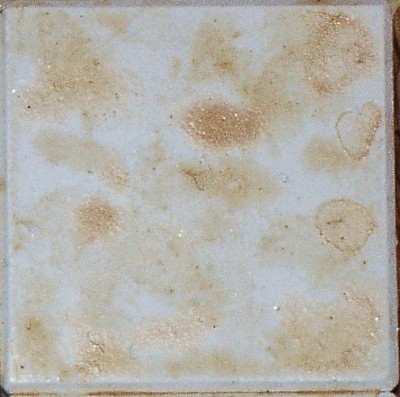
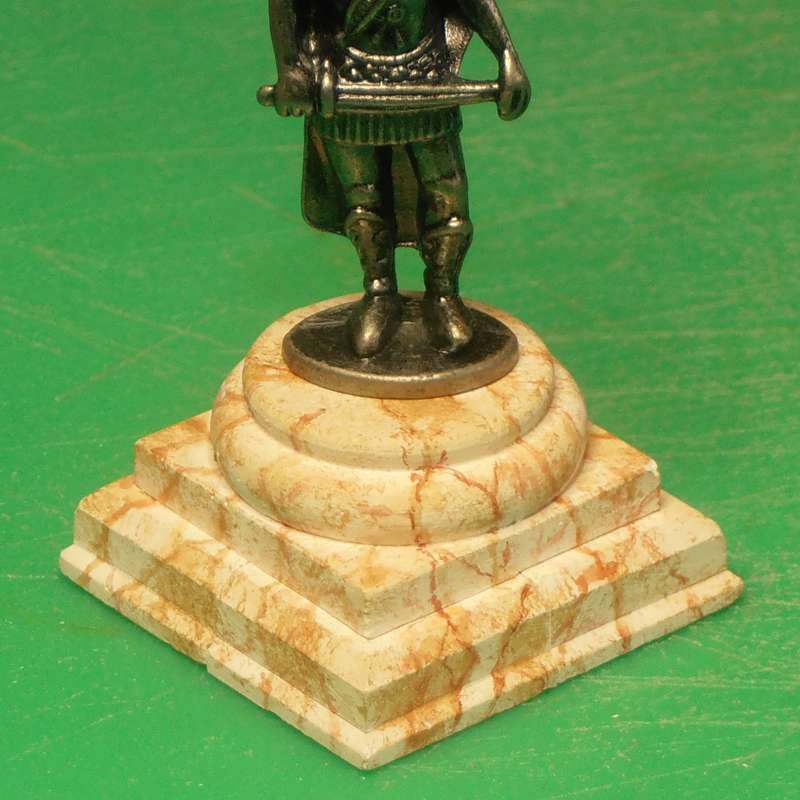
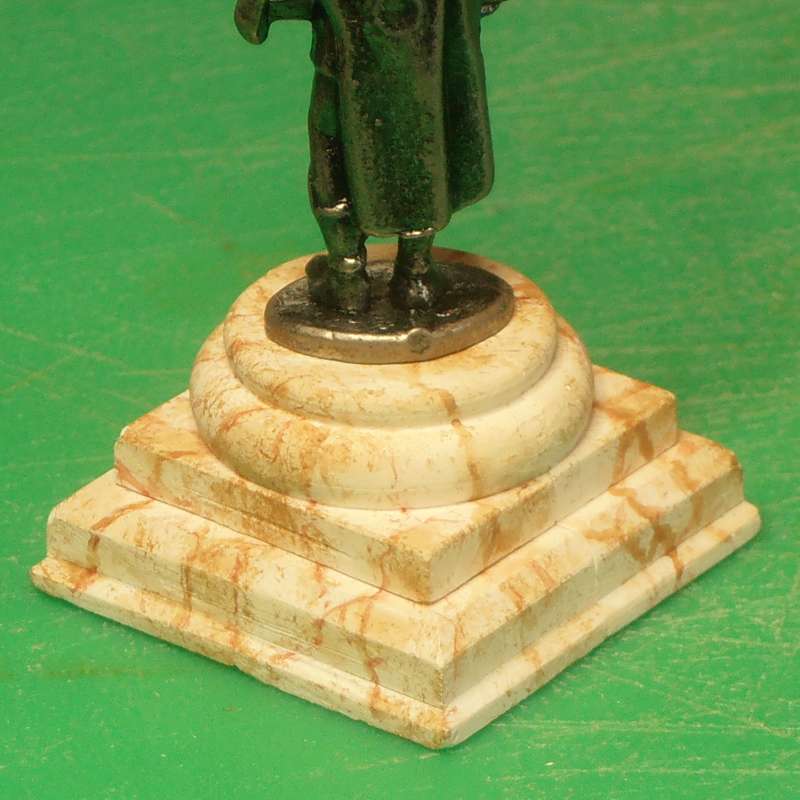
Honey
Marble How to paint a faux honey marble finish.
|
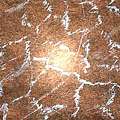 |
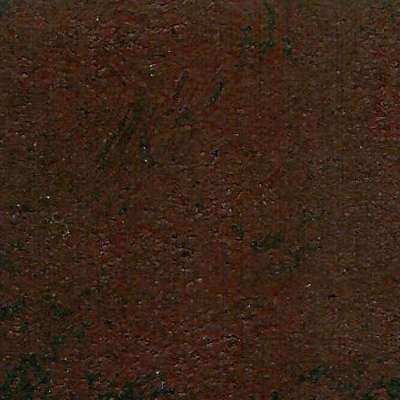
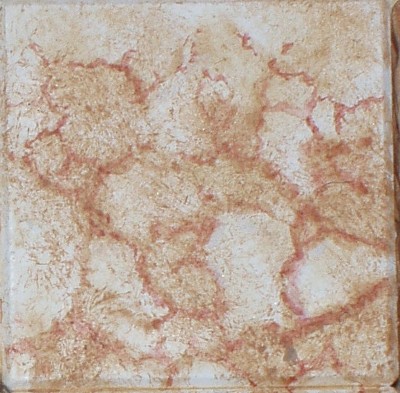
Red Marble How to paint a faux red marble finish.
|
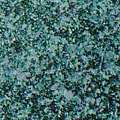 |
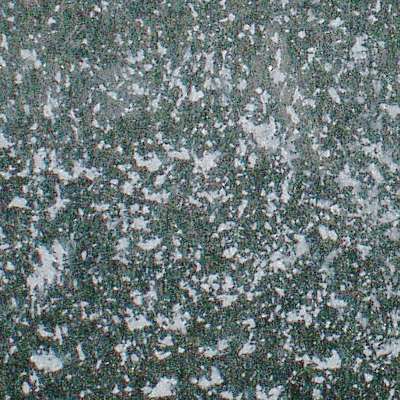
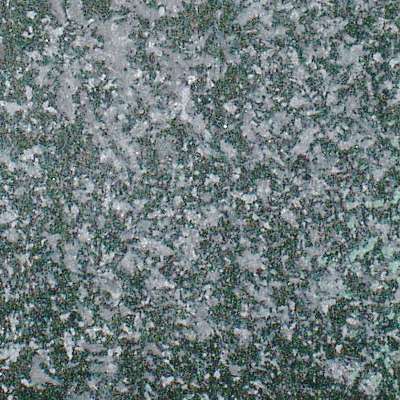
Green
Granite How to paint a faux green granite finish. |
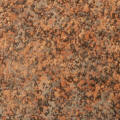 |
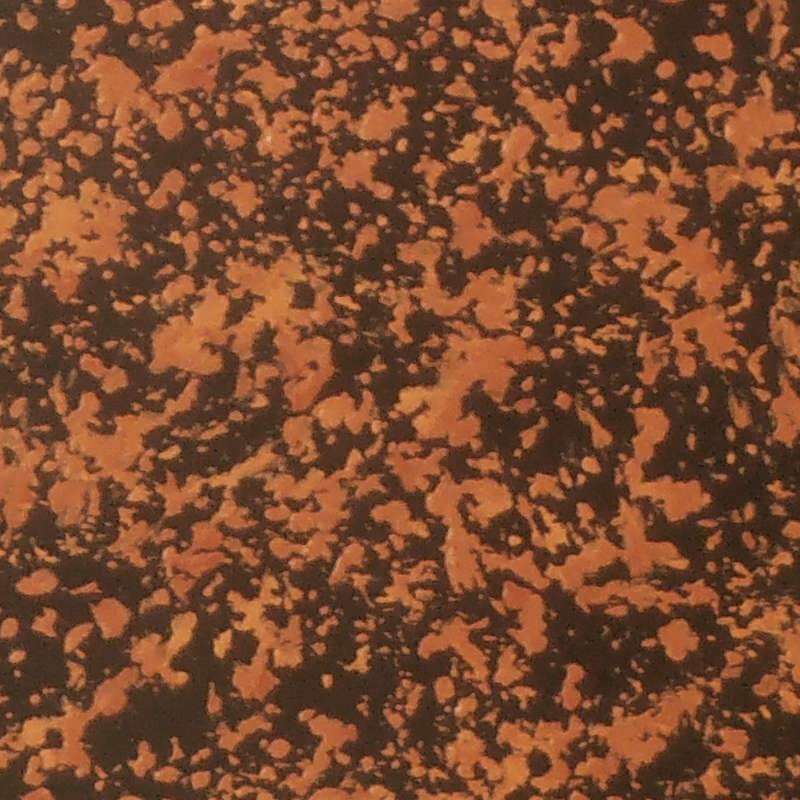
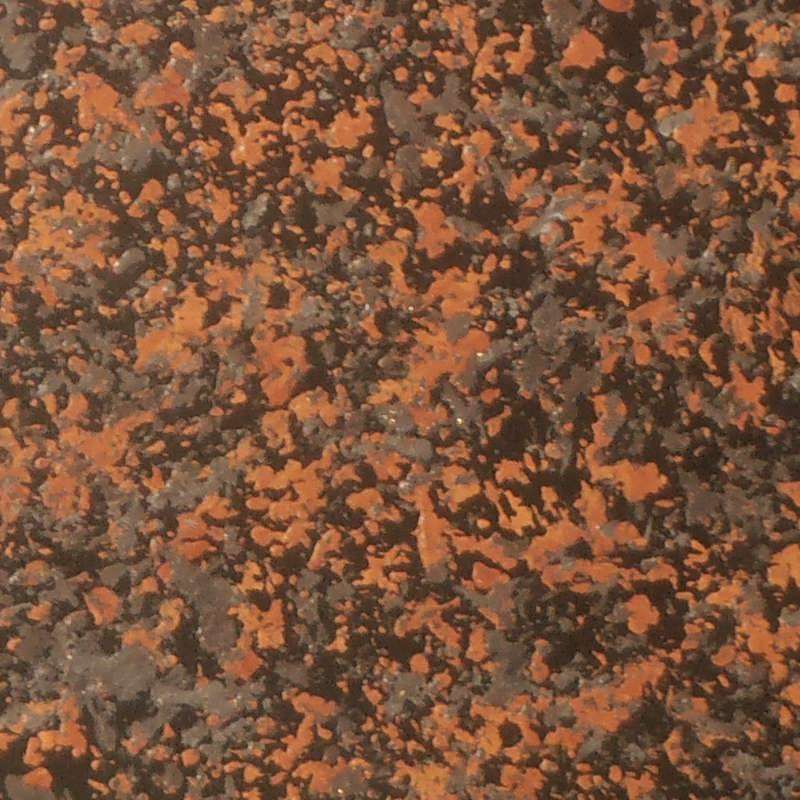
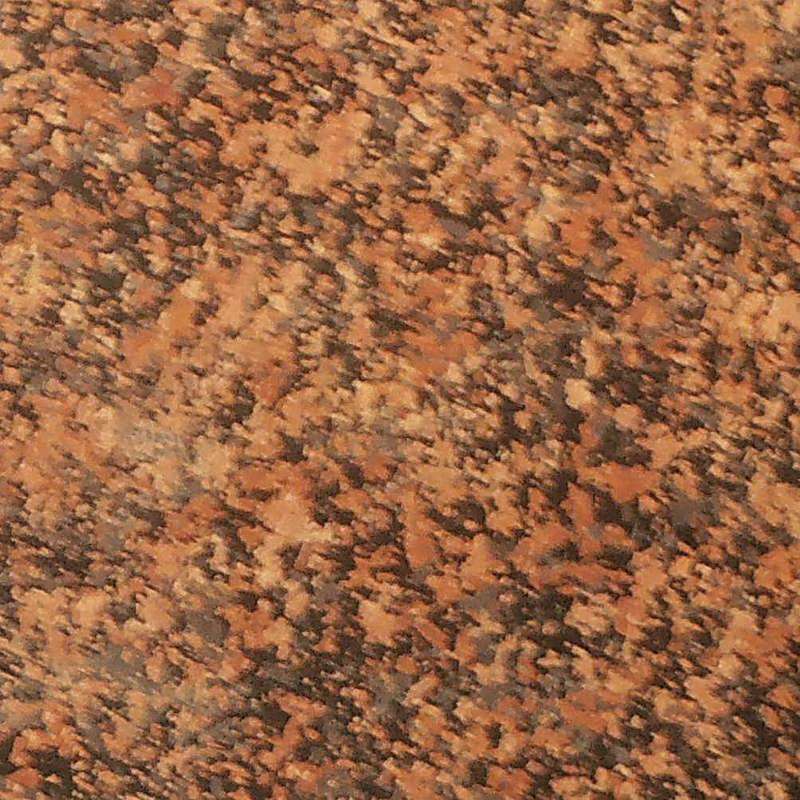
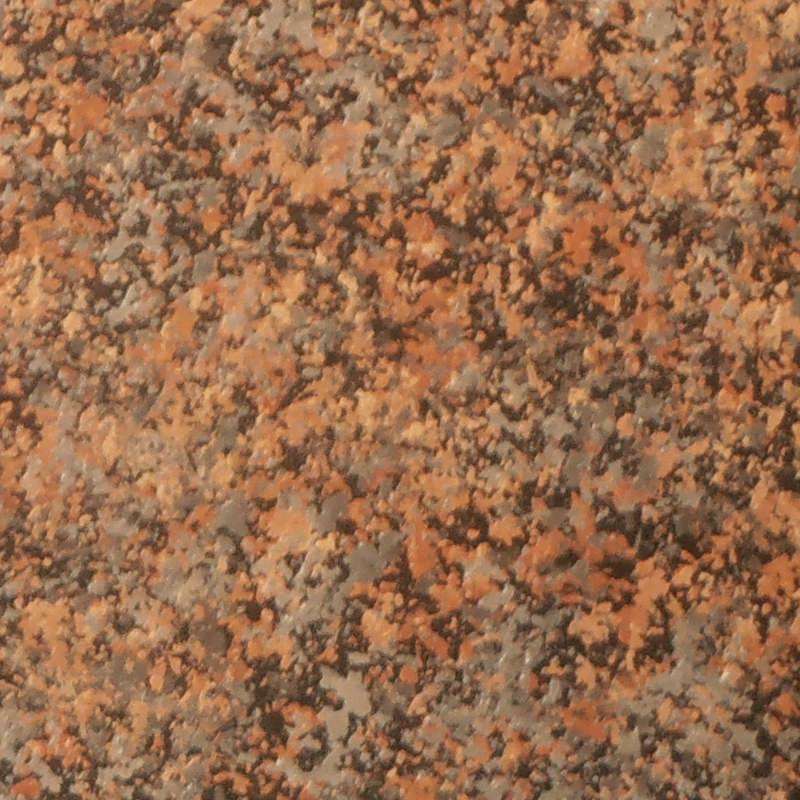
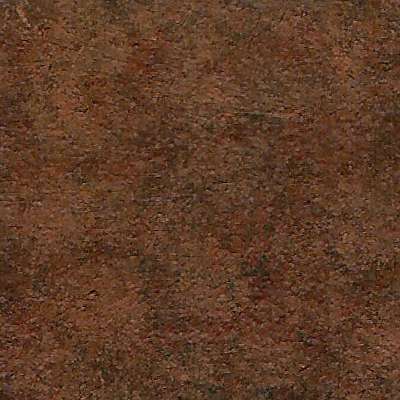
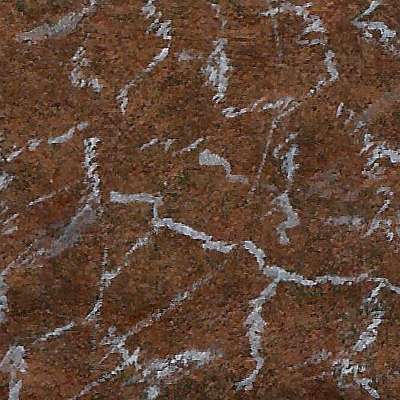
Red
Granite How to paint a faux red granite finish. |
 |
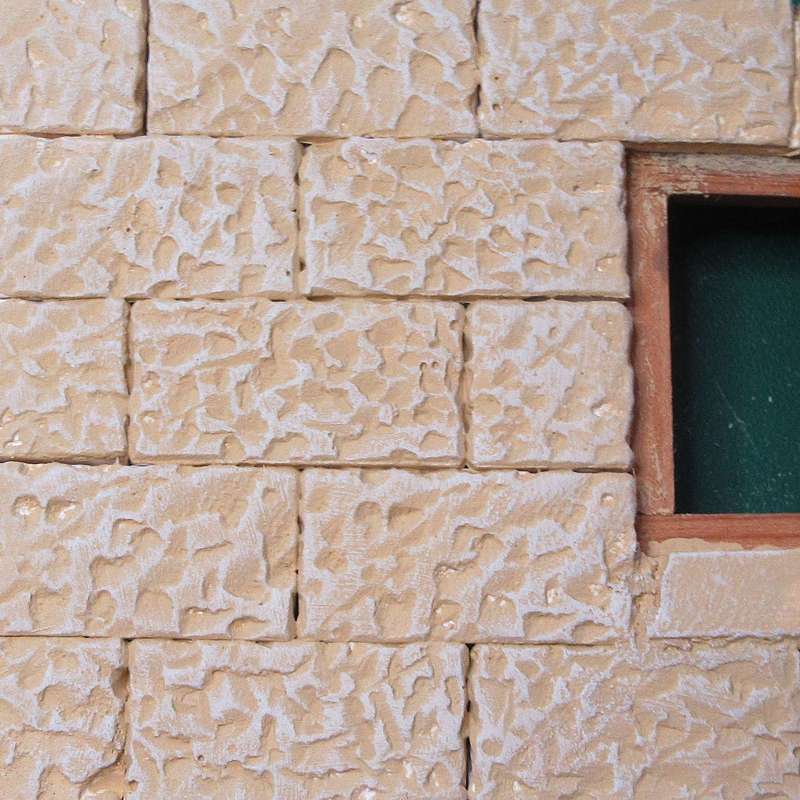
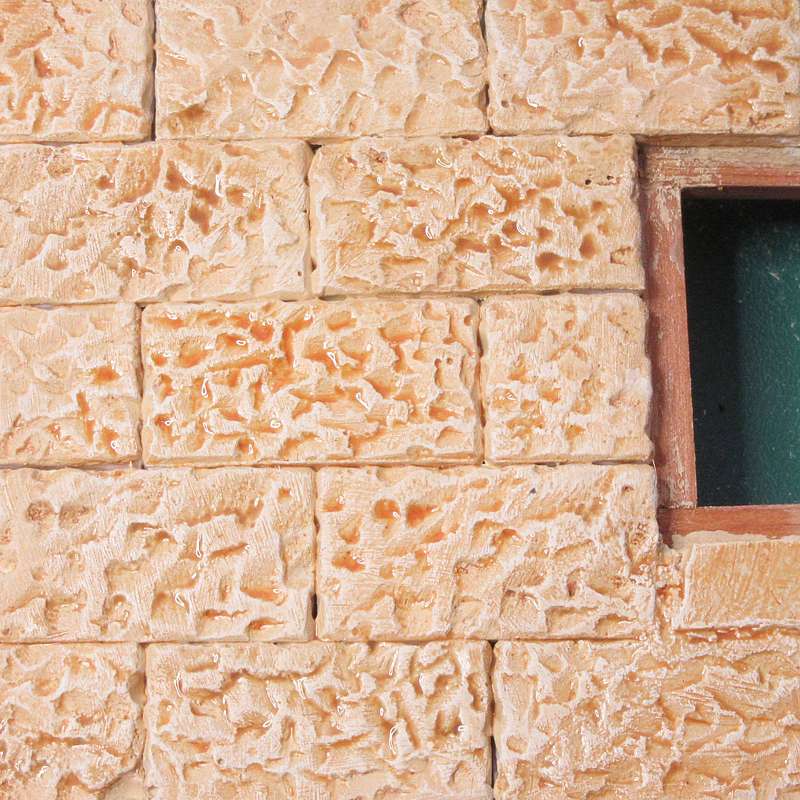
Caen Stone How to paint a Caen stone colour scheme. |
||


.JPG)