|
 |
Materials
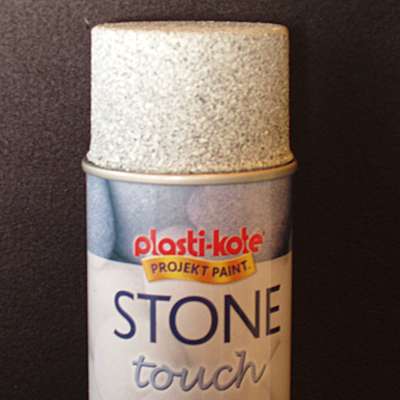
Plasti-kote
"Stone Touch" Spray Paint
Post-It Notes
/ Masking Tape
Acrylic Paints
|
 |
Stage 1
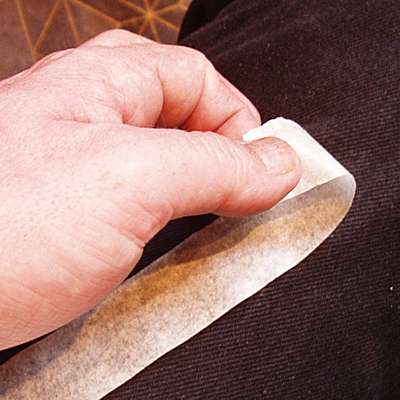
Mask any areas
which you do not want to cover with the spray paint. Post-it notes are
perfect for this, especially if you have already painted the parts. If
using masking tape, stick it onto your jeans a couple of times before
use, to reduce the adhesion. |
 |
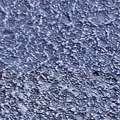
Stage 2
Liberally
spray the "Stone Touch" paint on the areas to which you want to add
texture. Unlike many aerosol paints, this spray does NOT eat into
expanded polystyrene. Leave to dry thoroughly - this will take 2-3 hours or
more, depending on how thickly you spray. |
|
 |
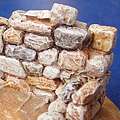
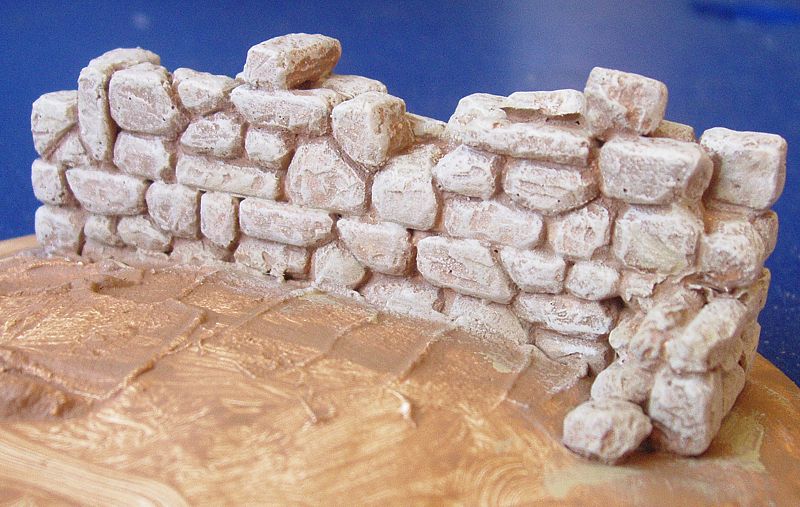
Stage 3
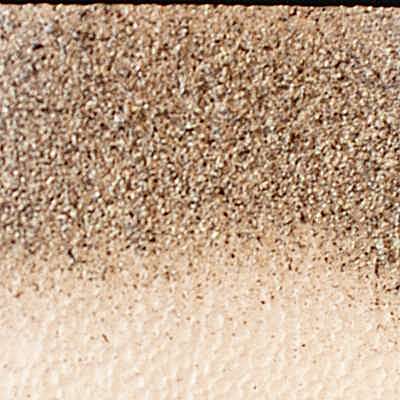
Undercoat in
black - providing you have covered any exposed polystyrene, you can use
a spray primer. The "Stone Touch" protects the underlying material from
damage. (I deliberately allowed some of the polystyrene here to get
damaged, to show what happens.) |
 |
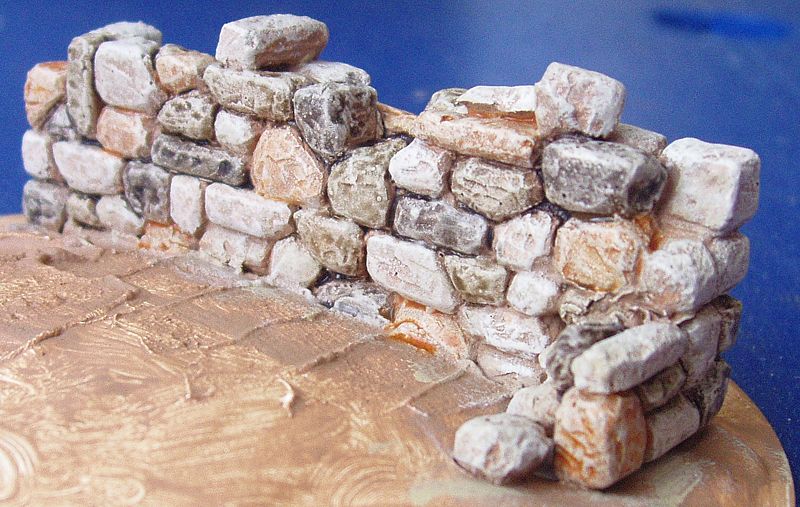
Stage 4
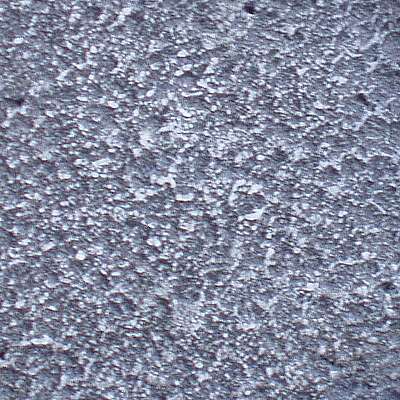
Drybrush,
starting with a dark grey colour, followed by a mid grey using less
paint. |
 |
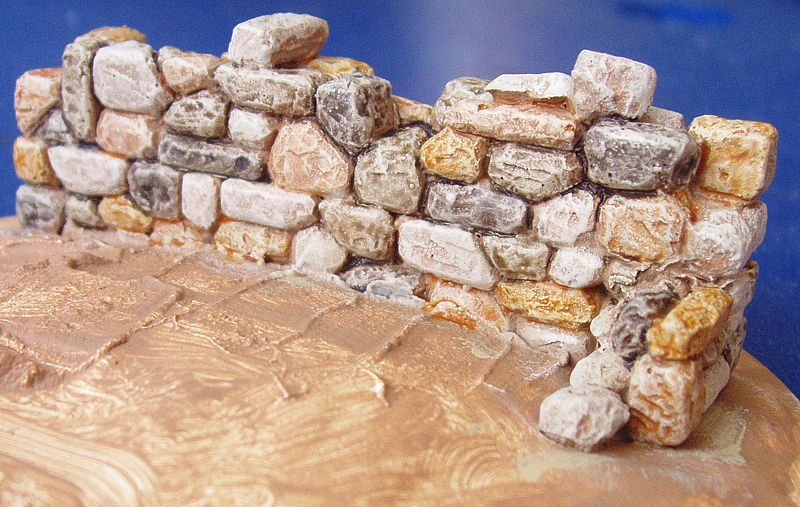
Stage 5
Add a light
grey highlight, drybrushing even less paint. |