| Contents | |||||||
 |
Verdigris How to paint a faux verdigris finish. |
 |
Rust How to paint a faux rust finish. |
 |
Scabby
Rust How to paint a scabby rust texture.
|
 |
Galvanised Steel How to paint a galvanised steel effect. |
 |
Abamantium An element of magic, and how to paint it. |
||||||

|
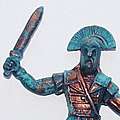
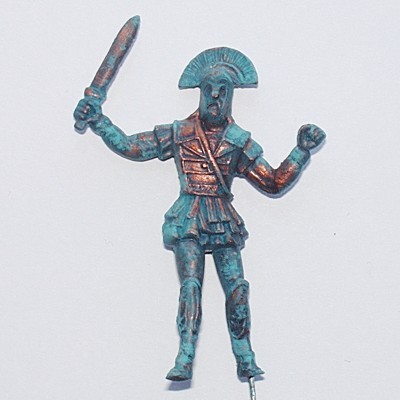
Verdigris (Click thumbnails for larger images) |
|||||
|
|
Stage 1 Undercoat in black. |
|
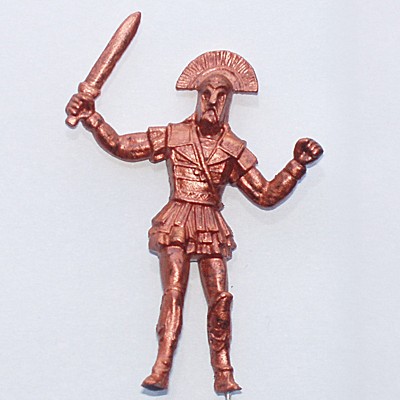
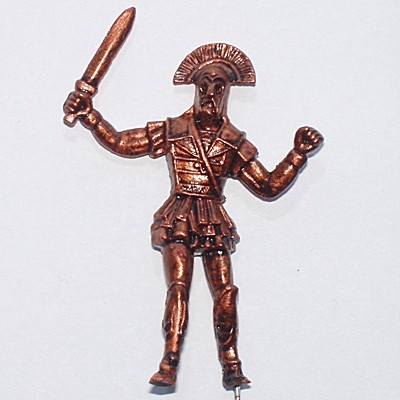
Stage 2 Basecoat the whole figure in copper. |
|
Stage 3 Wash with a dark brown ink. |
|
|
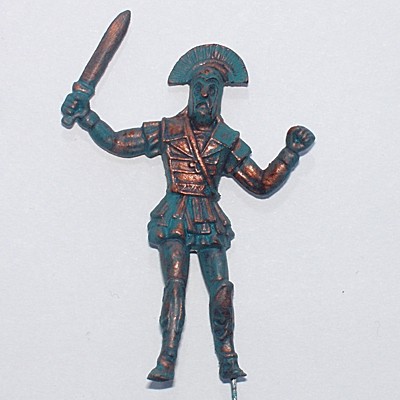
Stage 4 Mix a turquoise/green colour - I used about 50% cobalt blue and 50% emerald green. Apply this like a thick wash to the figure, and then wipe off the excess with a cotton bud. Cover as much or as little of the model as you like - the greener it is, the older it will look. |
|
Stage 5 Add a little white to lighten the paint mix, and stipple or drybrush this over the areas which still have the turquoise/green colouration. |
|
Stage 6 Add a touch more white, and very lightly drybrush the turquoise/green parts to add a highlight. I added the statue to a base made from Roman blocks, and painted as grey granite. |


|
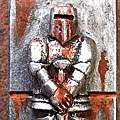
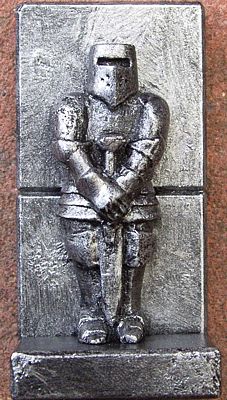
Rust (Click thumbnails for larger images) |
|||||
|
|
Stage 1 Undercoat in black, and liberally drybrush with a dark silver colour. This is GW chainmail, but a little black added to standard silver will work just as well. |
|
Stage 2 Lightly drybrush with a bright silver colour - this should pick out all the highlights. |
|
Stage 3 Wash with a black ink mixture. I used 3 drops of water / 3 drops of Pledge Multi-Surface Wax (Future in the US) / 1 drop of black ink. The polish "drags" the ink into the recesses on the model, defining the lines there. |
|
|
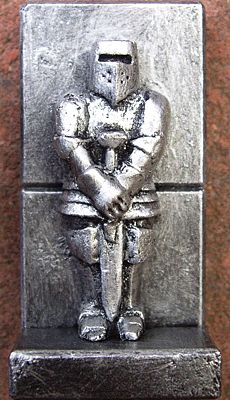
Stage 4 Mix a rust colour - I used 50% GW chestnut ink and 50% GW orange ink. Apply this to the areas that you want to be rusty - bear in mind that rust forms first where water collects, and then spreads. Streaks of discolouration will drip down from these areas. |
|
Stage 5 Take a terracotta colour of paint, and lightly stipple this onto the main areas of rust - this will give it a slightly rough texture. Also using this colour, carefully paint over any sharp silver highlights in the rusty areas. |
|
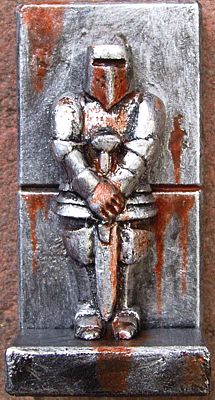
Stage 6 Using neat chestnut ink, add a few darker streaks and patches. I thought the helmet looked a little too rusty, and "removed" a little of the rust, painting over it with chainmail. For large areas of scabby rust, add a coat of matte varnish to dull the shine. |


|
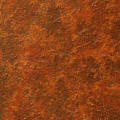
Scabby Rust (Click thumbnails for larger images) |
|||||
|
|
Materials & Tools: Black Spray Paint Acrylic Paint & Brushes Plaster of Paris or similar Dried Soil (optional) Fine Dried Sand (optional) |
|
Stage 1 Undercoat the model in black. For these tests I used the printed side of some cereal pack, and drew 1" squares to show the general scale. |
|
Stage 2 Stipple a few patches of a terracotta colour acrylic paint. I use an old bristle brush for this. |
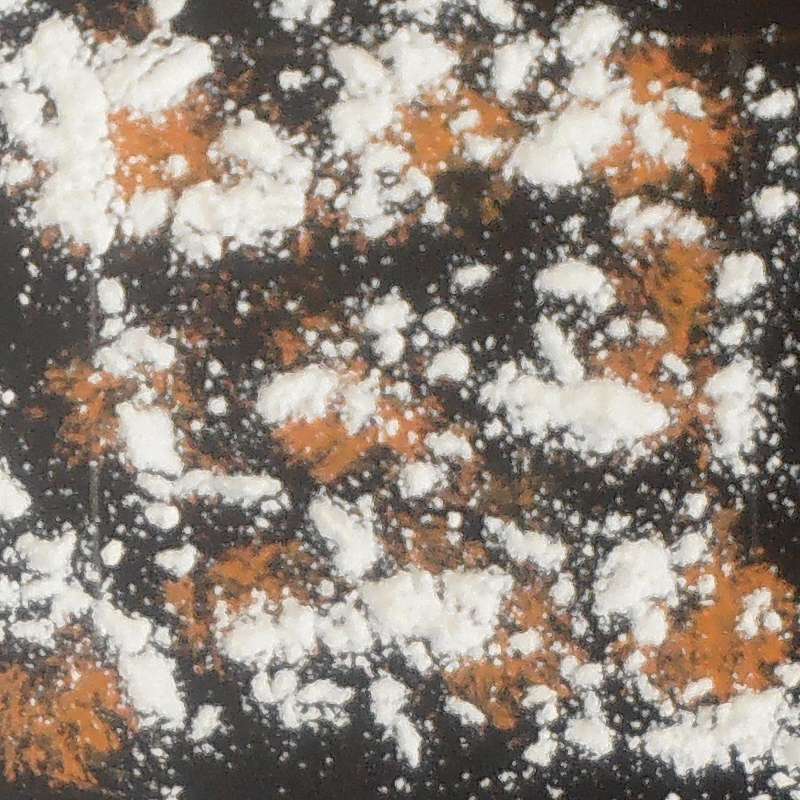 |
Stage 3 Whilst the paint is still wet, sprinkle on a rough dusting of casting plaster. Leave the piece for a few minutes for the plaster to absorb some of the water from the paint. |
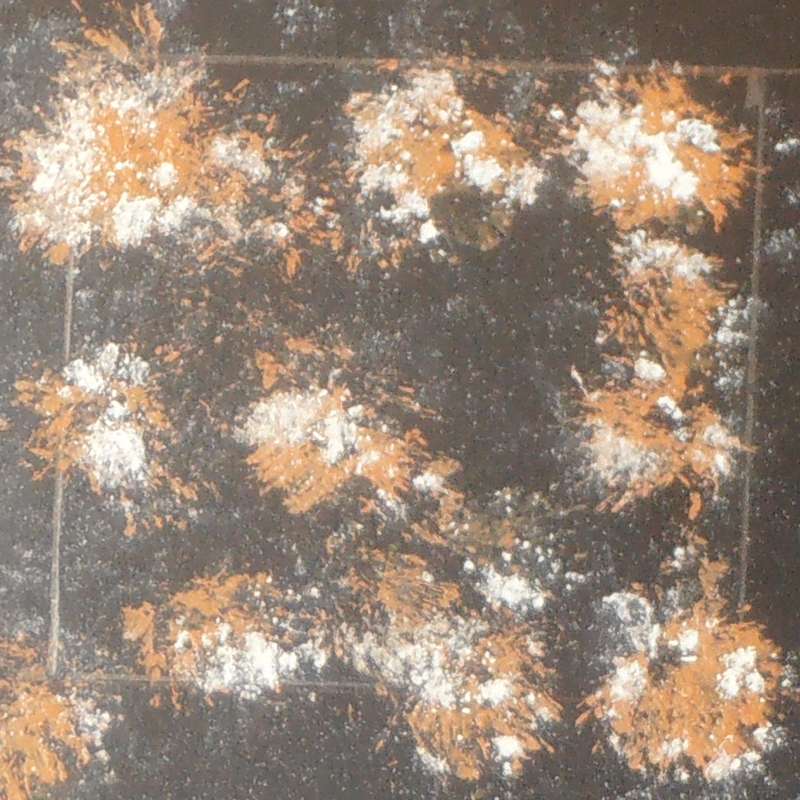 |
Stage 4 Tap off any excess plaster which hasn't stuck. |
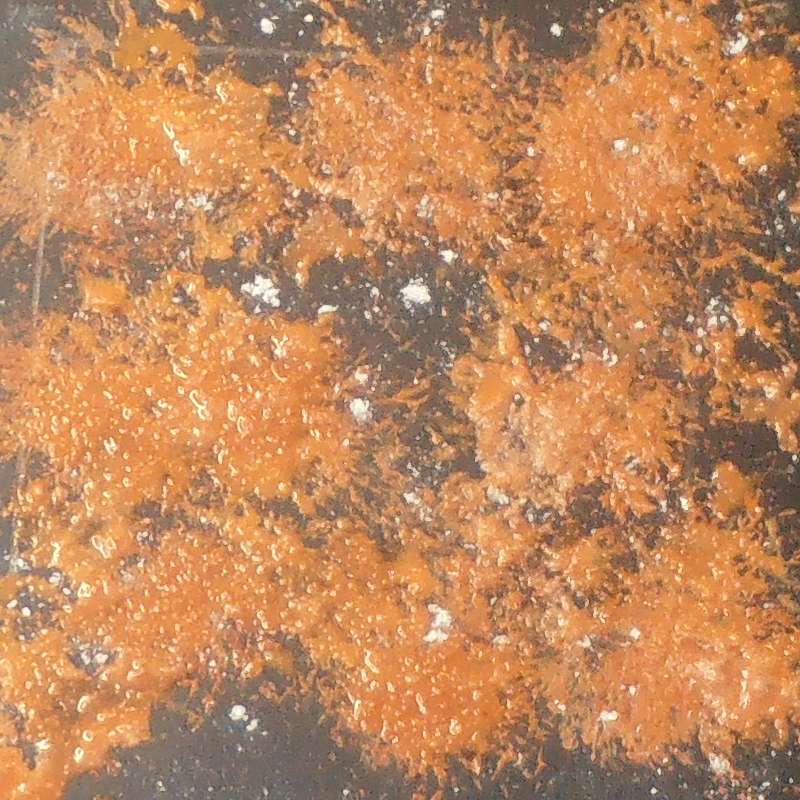 |
Stage 5 Add a little water to more terracotta paint, and apply this on top of the plaster to ensure it is all activated. Leave this to dry for a few minutes. |
 |
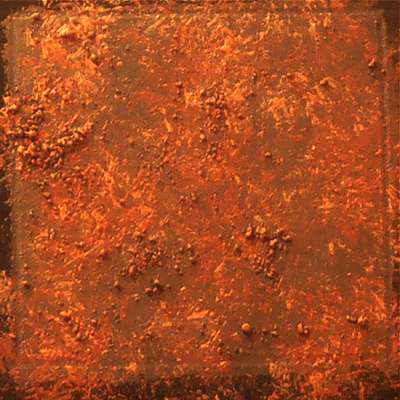
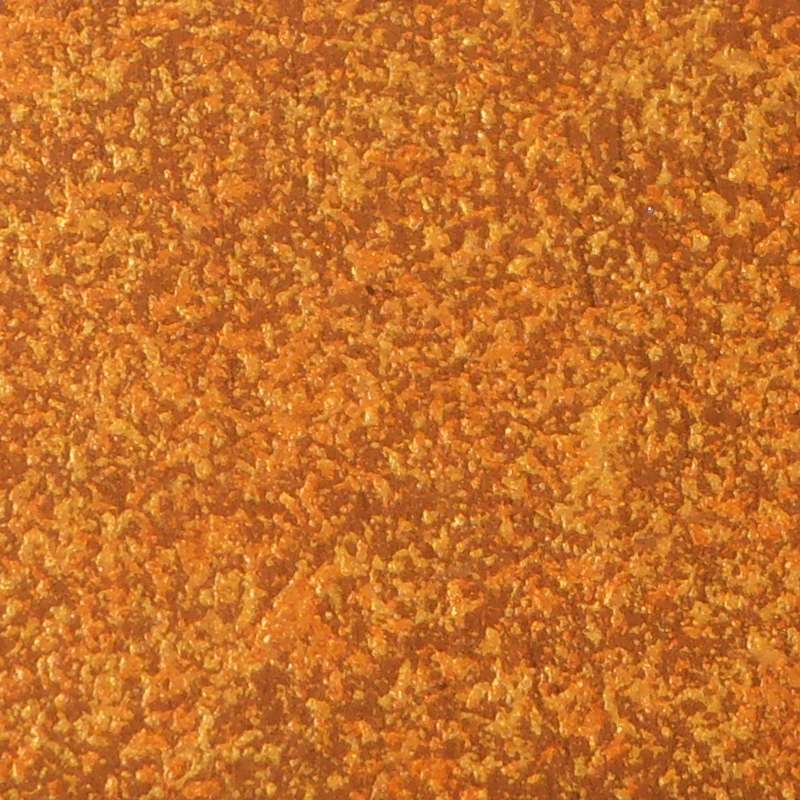
Stage 6 Stipple burnt sienna over the piece, leaving some of the lighter areas showing.
|
 |
Stage 7 Stipple burnt umber over a few places, again leaving some of the lighter colours showing. |
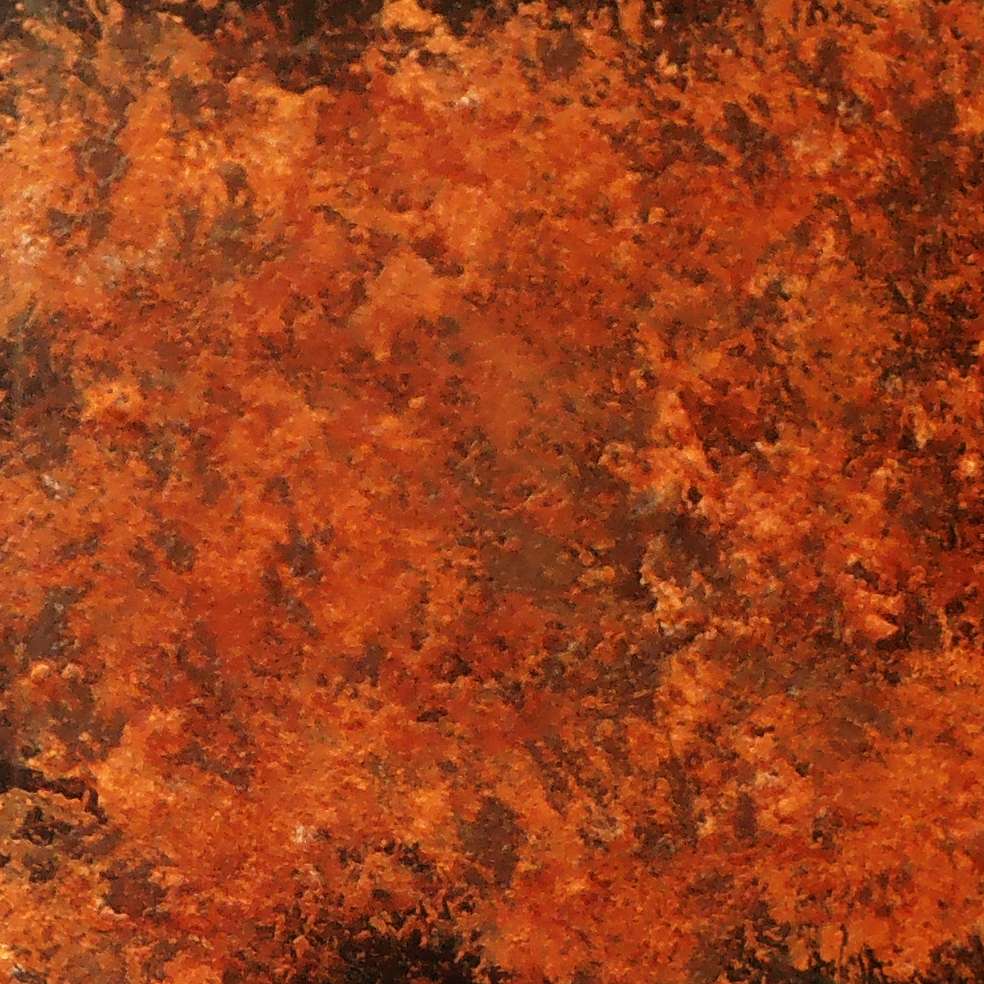 |
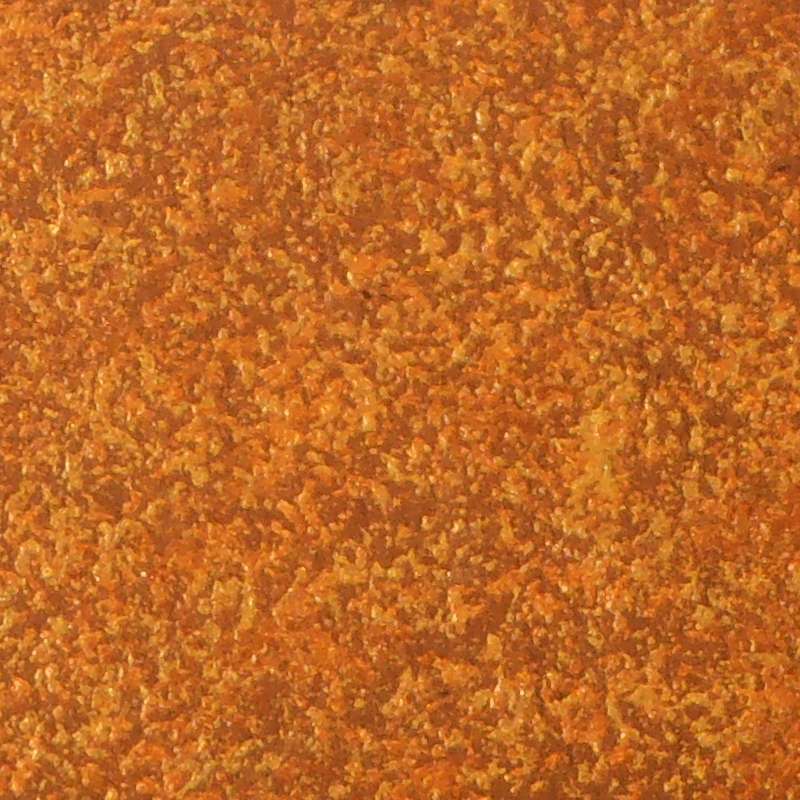
Stage 8 Drybrush a VERY small amount of the original terracotta over the raised patches of plaster if you want to highlight them a little. |
 |
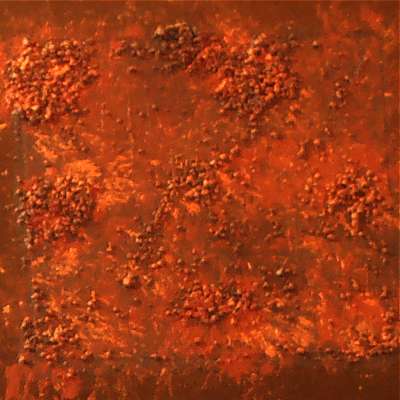
Another test using plaster, with side-lighting to show the subtle texture. |
 |
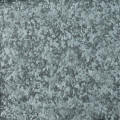
For this test I used finely ground, dried garden soil instead of the plaster. This gave a coarser texture. |
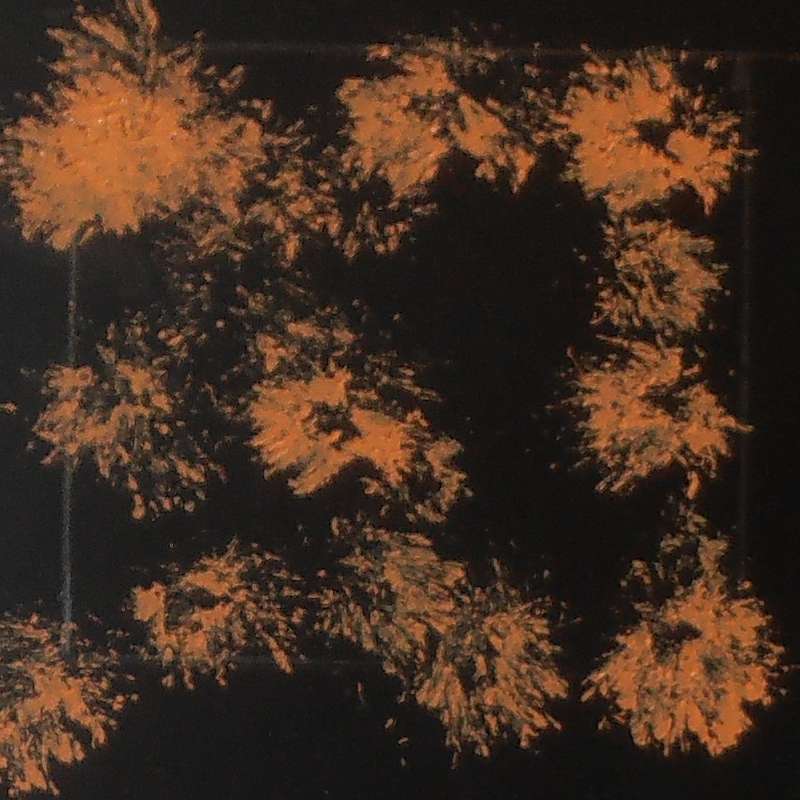
 |
For this piece I used fine sand in place of the plaster, giving a very coarse appearance. |
| It should be possible to use bands of the three materials to create a graduation from smooth metal at one end to very corroded rust at the other. | |||||

|
Galvanised Steel (Click thumbnails for larger images) |
|||||
|
|
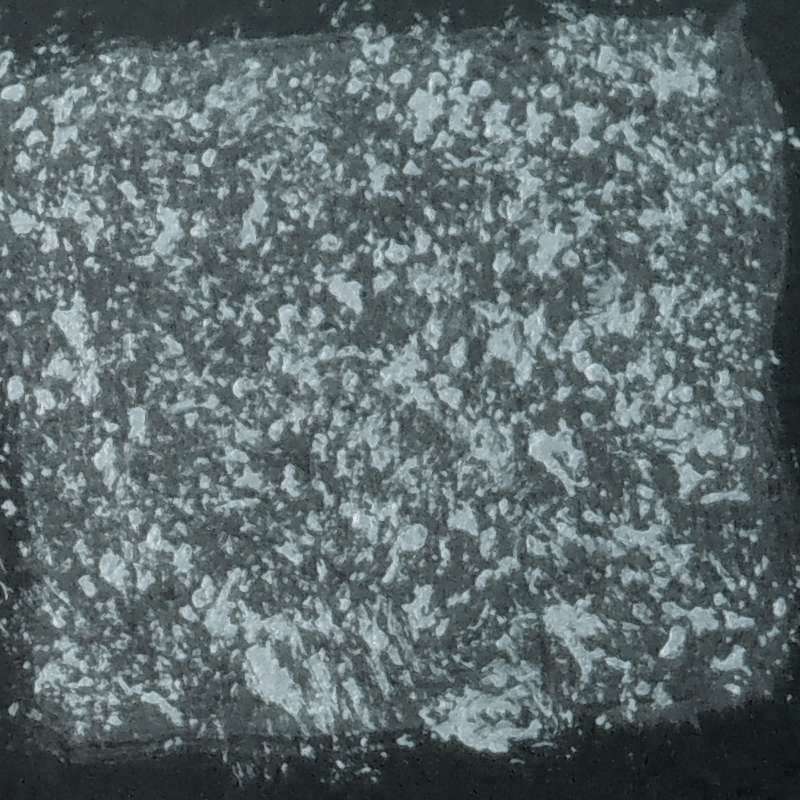
Stage 1 Cut a piece of nylon pan scourer to about 1/2" x 2" to use for stippling the paint. This gives a rougher texture than using a bristle brush. |
|
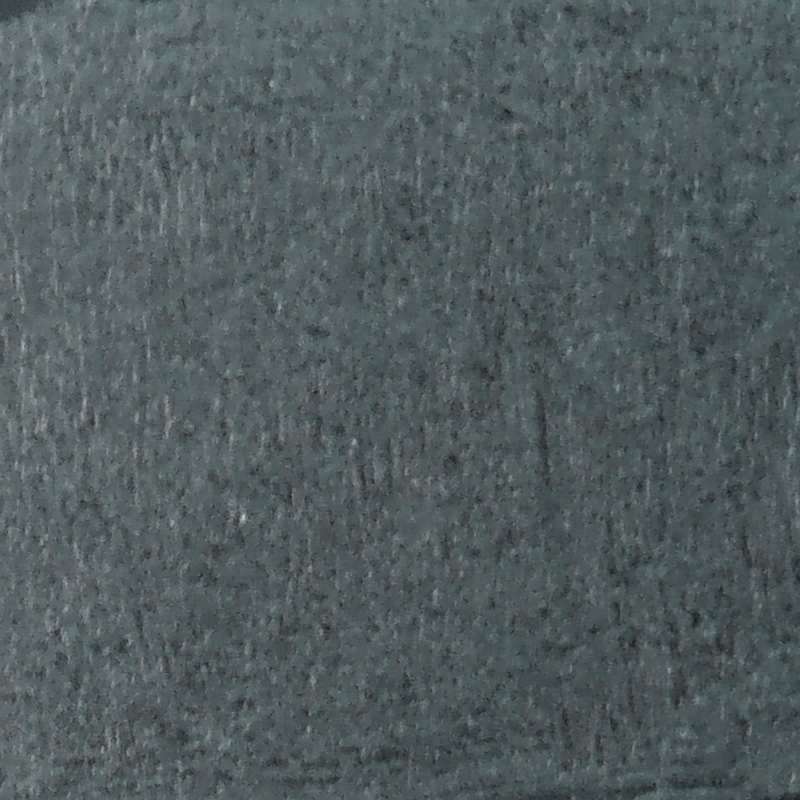
Stage 2 Prime in black. |
|
Stage 3 Undercoat in a dark metallic colour. This is Princely Pewter from Accents, but a dark gunmetal should work just as well. |
|
|
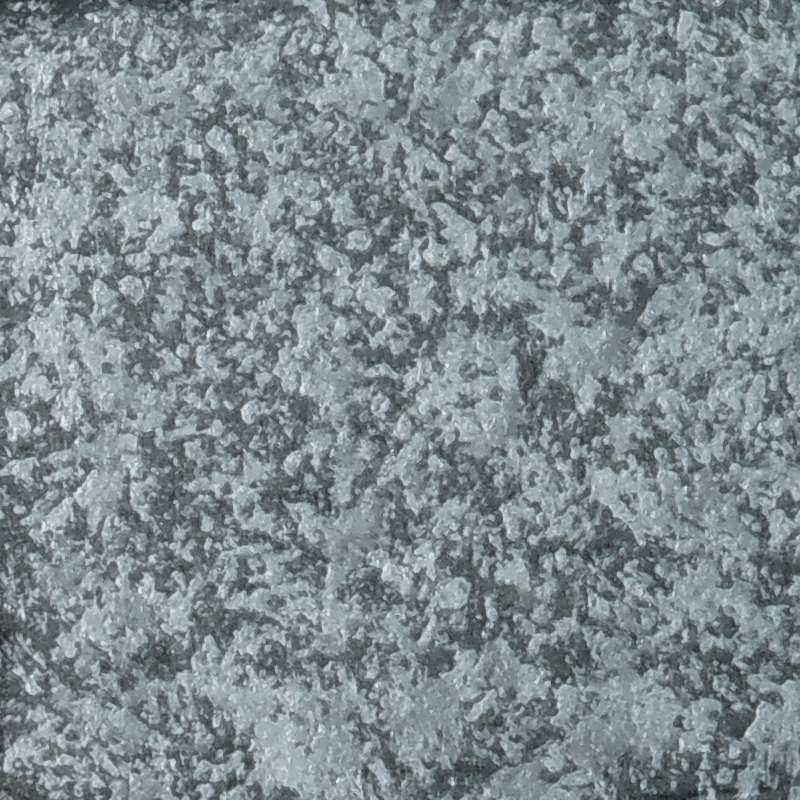
Stage 4 Stipple a metallic silver over this - it doesn't matter if the first coat is dry. Try to cover 1/3 to 1/2 of the area. |
|
Stage 5 Mix a 50% metallic pewter to 50% metallic silver colour, and stipple this on next. Try to cover 1/3 of the area, leaving 1/3 silver and 1/3 pewter. |
|
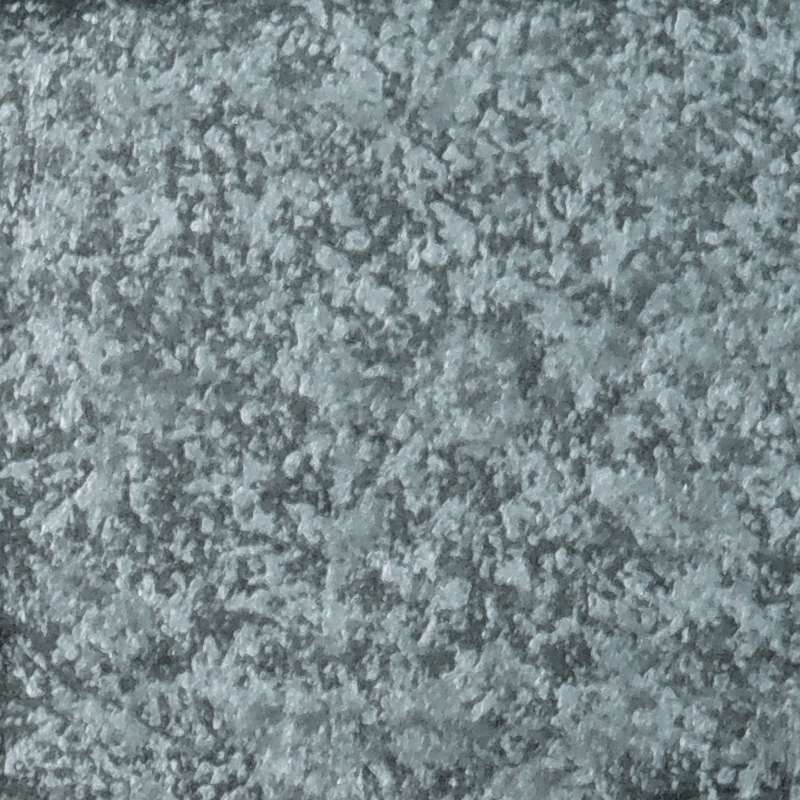
Stage 6 If necessary, stipple on more of the original pewter colour to even out the texture. Apply a coat of gloss varnish if you wish. |

|
Abamantium (Click thumbnails for larger images) |
|||||
|
|
Stage 1 Cut a piece of nylon pan scourer to about 1/2" x 2" to use for stippling the paint. This gives a rougher texture than using a bristle brush. |
|
Stage 2 Prime in black. |
|
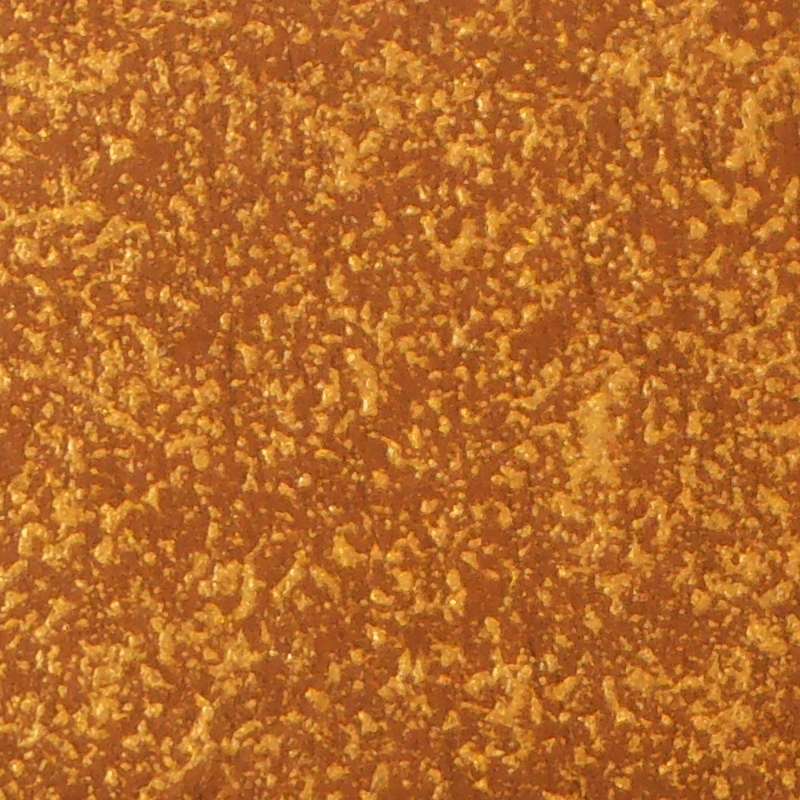
Stage 3 Undercoat in a dark metallic bronze colour. Add a little burnt umber to metallic gold if you want to mix your own. |
|
|
Stage 4 Stipple a metallic gold over this - it doesn't matter if the first coat is dry. Try to cover 1/3 to 1/2 of the area. |
|
Stage 5 Mix a 50% metallic gold to 50% metallic copper colour, and stipple this on next. Try to cover 1/3 of the area, leaving 1/3 bronze and 1/3 gold. |
|
Stage 6 If necessary, stipple on more of the original bronze colour to even out the texture. Apply a coat of gloss varnish if you wish. |

Contact me with suggestions, comments or questions.
These articles are provided under this Creative Commons Licence:
![]()