|
Materials & Tools
4 x empty 2 litre pop bottles,
Empty bottle with "square" sides - mine contained shower
cleaner,
Long Cable tie,
Drill and drill bit, Craft knife,
Scissors, Hole punch
|
|
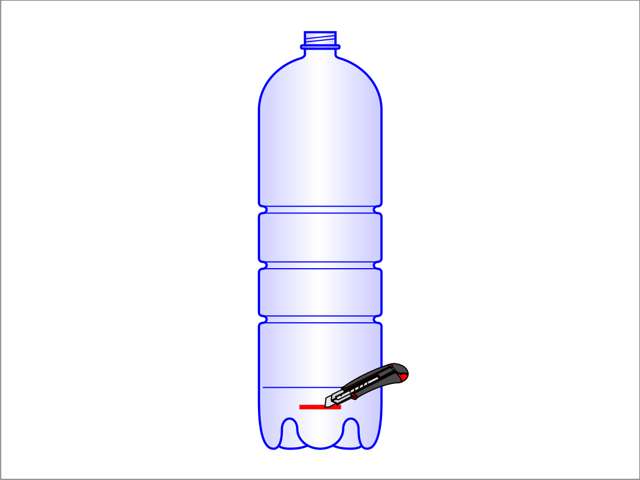
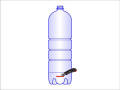
Step 1
Using the knife, make a slot near
the base of a 2 litre bottle.
If you made
Plant Protectors, you will have
a ready-made supply of these pieces. |
 |
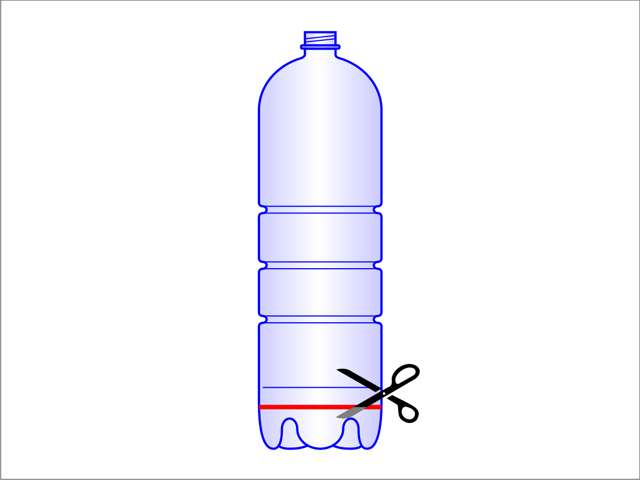
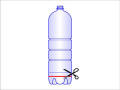
Step 2
Continue the cut all the way
around the bottle using the scissors. |
 |
|
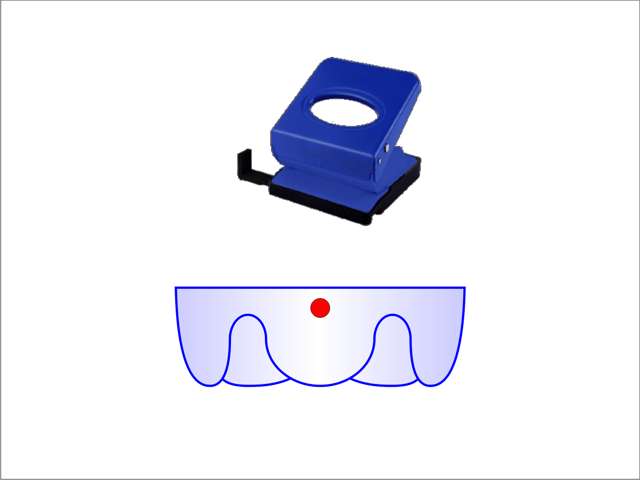
Step 3
Using the hole punch, make a hole
in one side of the piece.
Repeat Steps 1-3 for the other three 2 litre bottles. |
 |
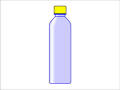
Step 4
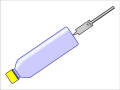
Cut the label from the square bottle. If
desired, you can remove any residual glue with a drop of white
spirit.
|
 |
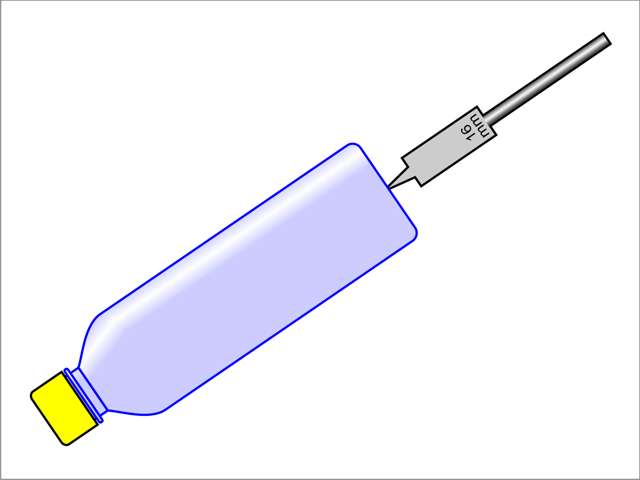
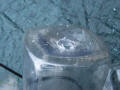
Step 5
Carefully drill a hole in the
centre of the base of the bottle, wide enough to fit over your
chosen cane or pole. |
 |
|
Step 6
Using the craft knife, remove any
excess plastic around the hole.
|
 |
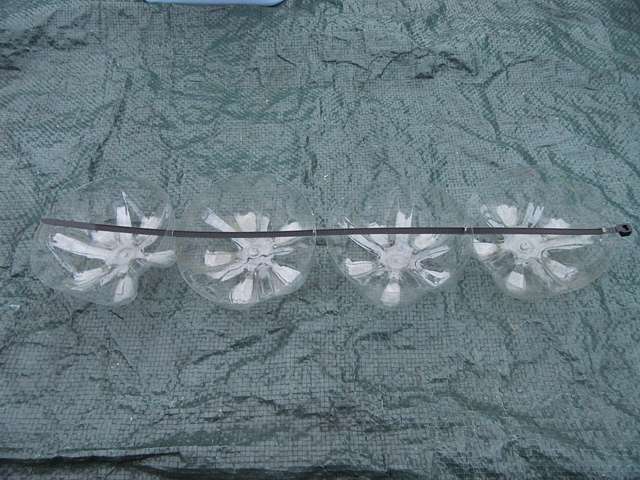
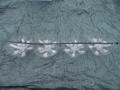
Step 7
Thread the four bottle bases onto
the cable tie, with them all facing the same way.
|
 |
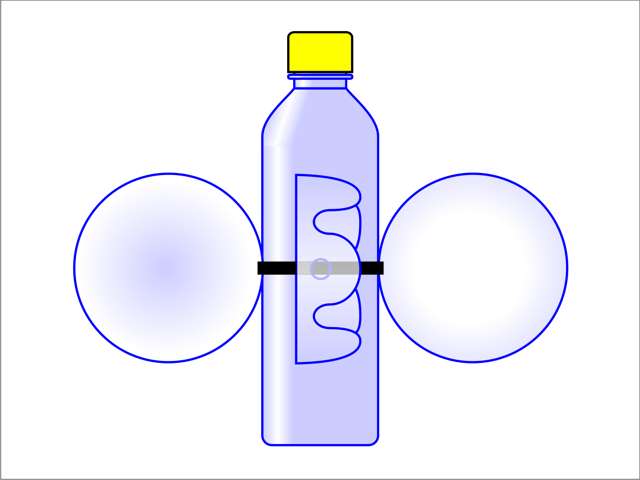
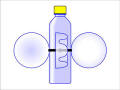
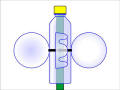
Step 8
Join the cable tie loosely, then
place the square bottle in the middle. |
 |
|
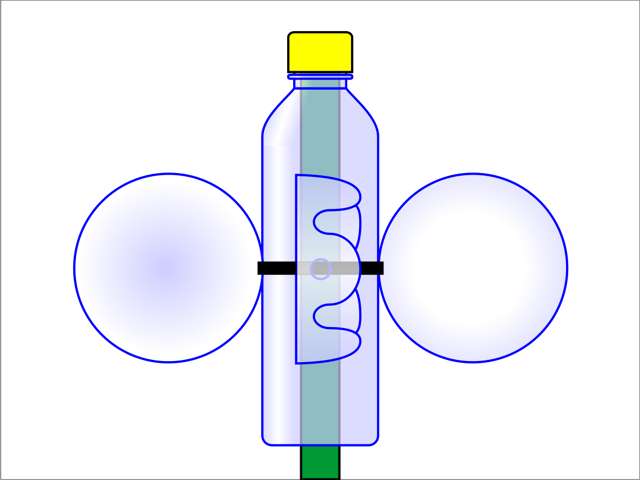
Step 9
Slide the cable tie up to a
position you are happy with, then finish tightening it onto the
square bottle. Trim the loose end with the scissors.
|
 |
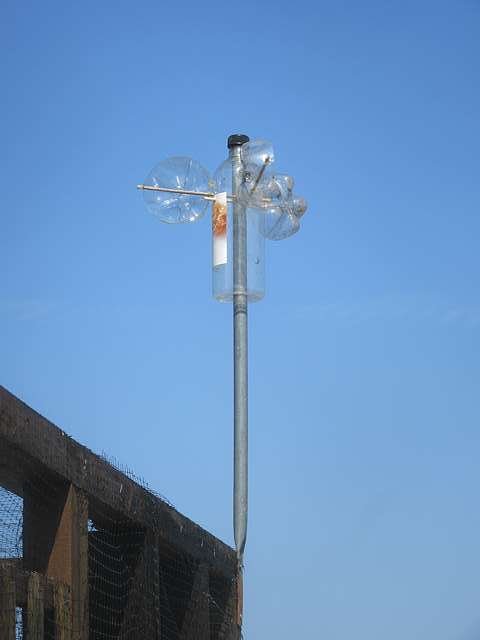
Step 10
The windmill is now ready for use
- simply slip it onto a suitable cane or metal pole.
|
 |
|
|
|
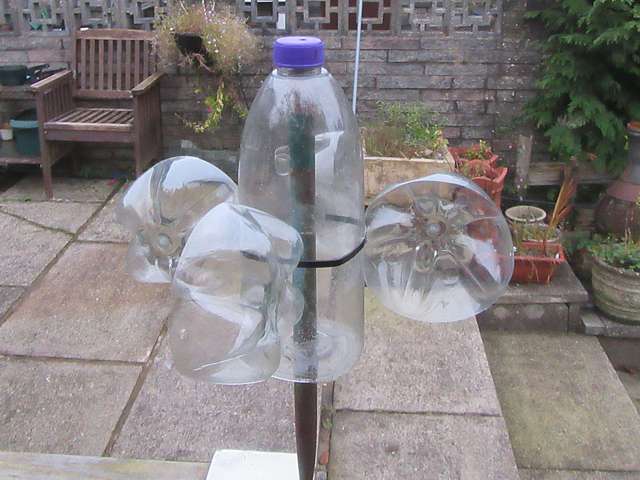
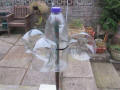
Example 1
A windmill in situ in my garden. |
 |
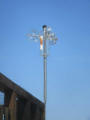
Example 2
A slightly different windmill in
situ at my allotment. This design took longer to construct, and
uses more materials. |
 |
|
|
These windmills can be used as bird
scarers to help keep your crops safe, or simply as interesting
decorative additions to your plot. |
|
|
|
|
|
|
|