|
Materials & Tools
4 x two litre pop bottles
Craft knife
Scissors
White spirit
Stapler
|
|
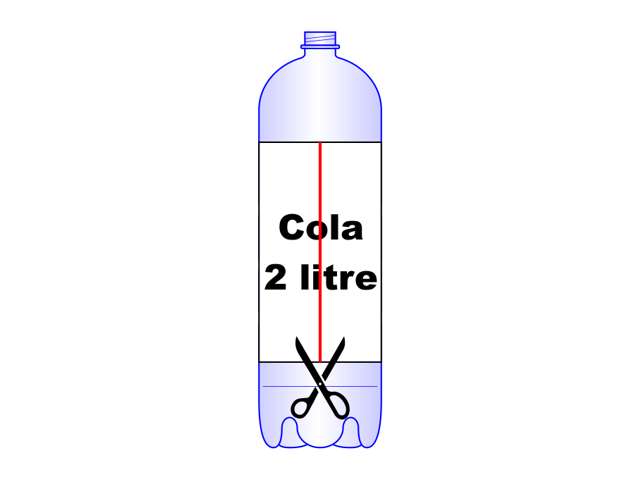
Step 1
Remove the label. Clean off any
residual glue with a drop of white spirit. |
 |
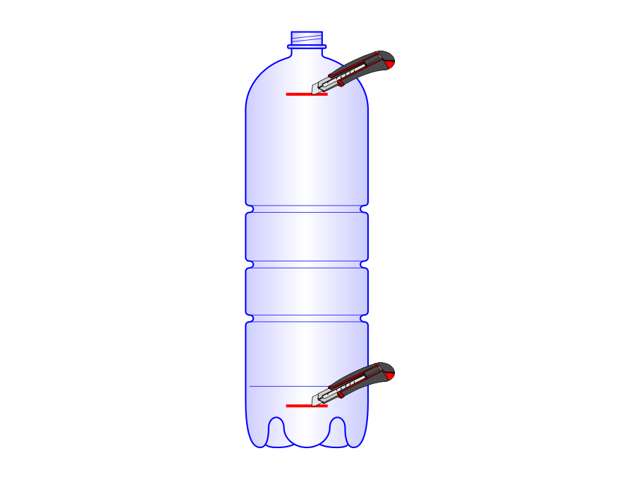
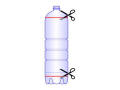
Step 2
CAREFULLY cut a slit about 2.5cm
/ 1 inch from the neck, and another at the top of the ridges
near the base. |
 |
|
Step 3
Continue both cuts around the
rest of the bottle using the scissors. |
 |
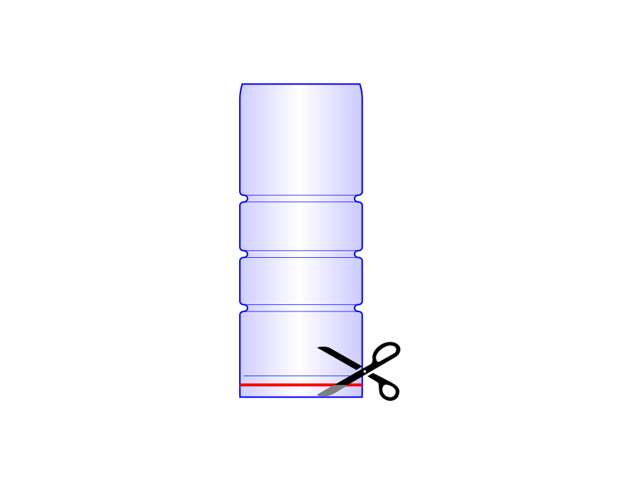
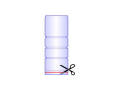
Step 4
Trim neatly around the base of
the bottle just below the mould line, leaving a clean cut. |
 |
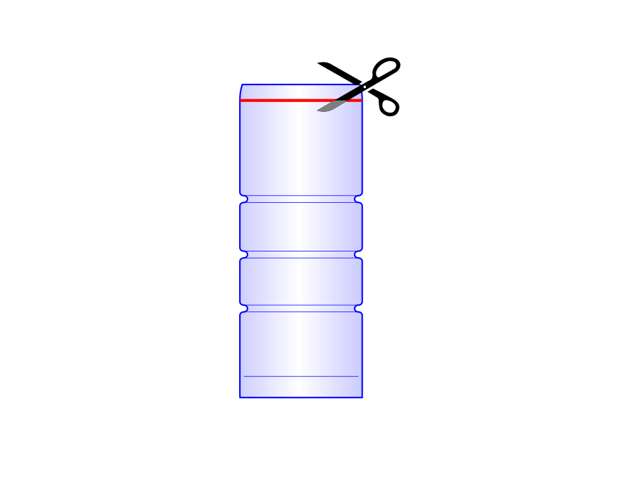
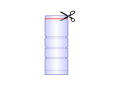
Step 5
Trim neatly around the top of the
bottle, just below where it begins to curve, leaving a neat cut. |
 |
|
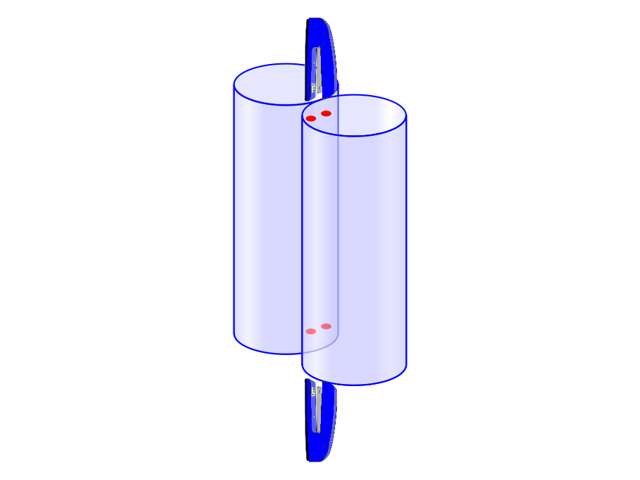
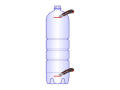
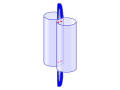
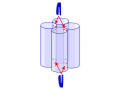
Step 6
Make a second tube in exactly the
same way, then staple the two together at the top and bottom. |
 |
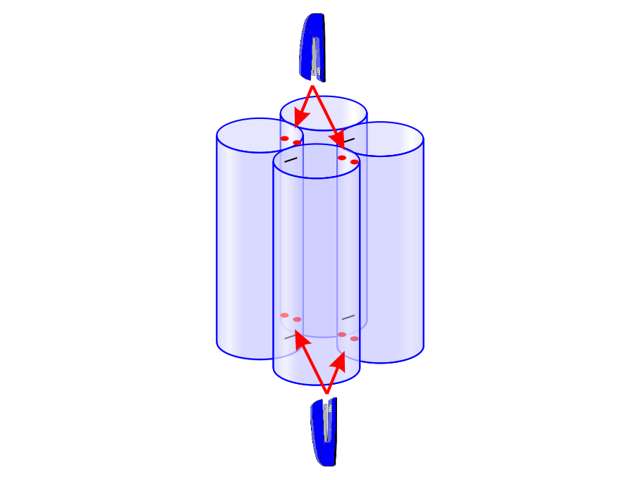
Step 7
Make a second pair of tubes, and
staple the two pairs together at the top and bottom.
|
 |
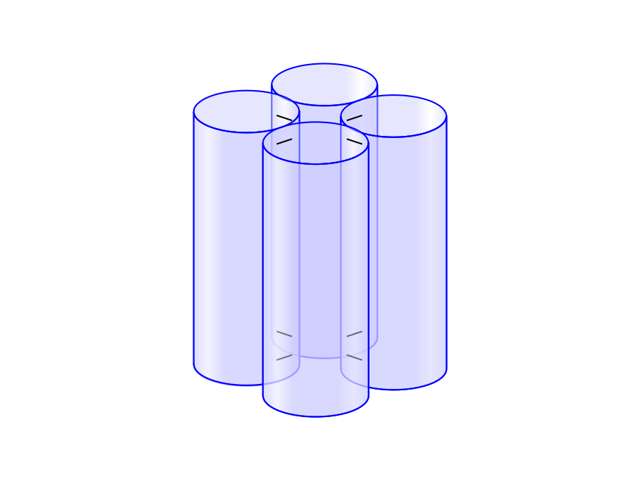
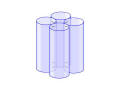
Step 8
The finished unit is now ready to
be used to protect seeds or seedlings from rodents, birds and
wind, whilst letting in light and rain. |
 |
|
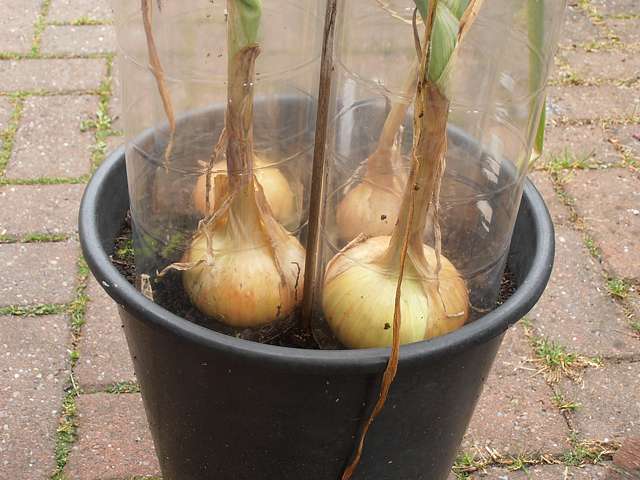
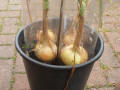
Example 1
Four onions grown in a Morrison's
bucket with the protector in place. |
 |
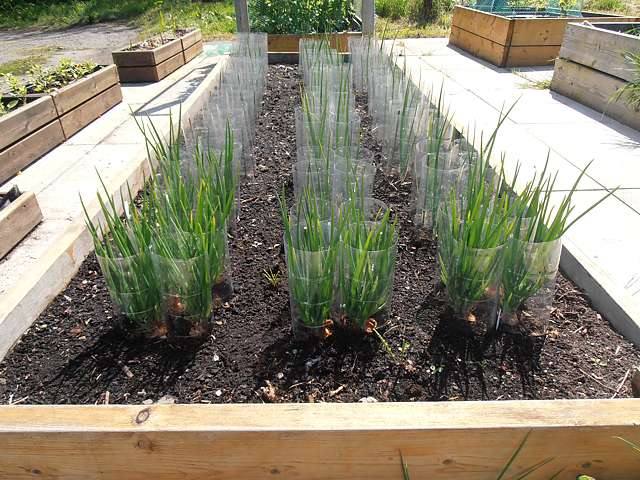
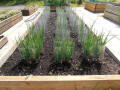
Example 2
Onions and shallots on the
allotment. The bottles are held in place with a couple of the
green garden sticks, cut in half. |
 |
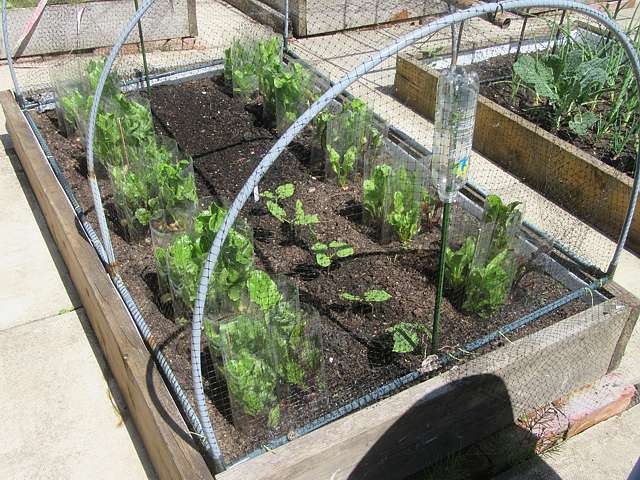
Example 3
Beetroot on the allotment, just
before removing the protectors. |
 |