|
© Abaroth 2019. Permission is given to reproduce for non-profit
purposes only.
Home
Historic Sites
Models
Heraldry
Puzzles
Garden
Links
How to Grow Chillies
This is how I grow chillies
in my greenhouse. I make no claims that is the best method or
that it will produce the largest crops, but it has worked well
for me.
Note that many of the photographs show a variety of different
crops to illustrate the techniques.
Chillies require a long growing season, and will perform best in
a greenhouse or polytunnel in full sun. |
Sowing
| |
Jan |
Feb |
Mar |
Apr |
May |
Jun |
Jul |
Aug |
Sep |
Oct |
Nov |
Dec |
| Sow |
|
|
|
|
|
|
|
|
|
|
|
|
| Pot On |
|
|
|
|
|
|
|
|
|
|
|
|
| Harvest |
|
|
|
|
|
|
|
|
|
|
|
|
Click thumbnails for larger images
|
Step 1
Pass fresh multipurpose compost
through a fine riddle to remove any lumps - I use this cheap
plastic crate.
|
 |
Step 2
Fill a half-sized seed tray with finely sieved
compost and firm it down using a
Compost
Press.
|
 |
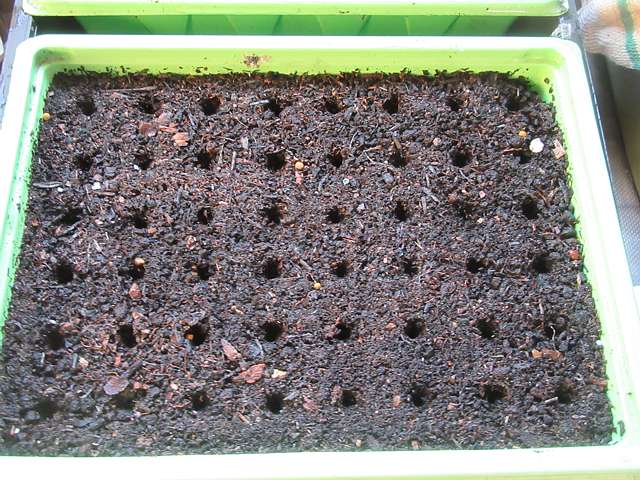
Step 3
Make a series of holes using a
Sowing Template. Sow one seed per hole, and pinch
the compost closed around the seed.
|
 |
|
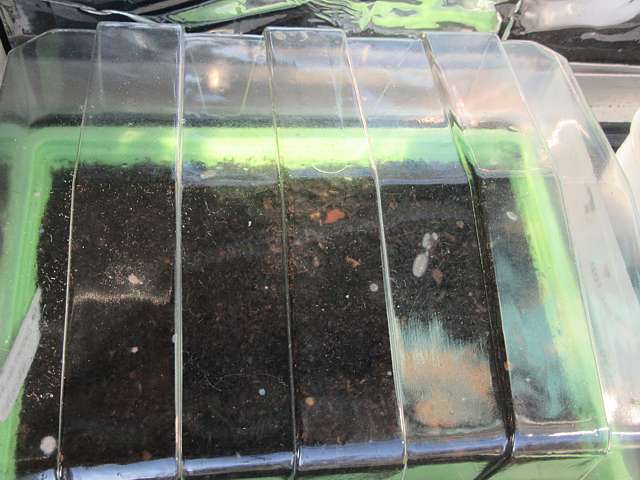
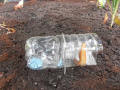
Step 4
Gently spray with water so as not
to wash the seeds around - I use an old shower cleaner bottle.
Add a propagator cover if required. |
 |
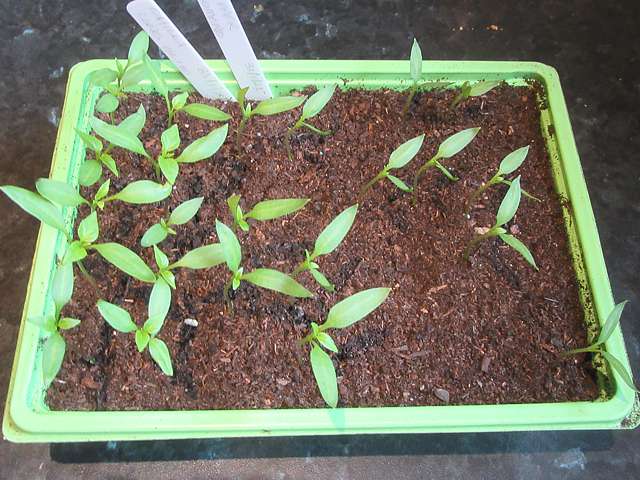
Step 5
Set the tray in a warm, sunny
place - a heated propagator is ideal, or sit them on a south-facing windowsill. The seeds should
germinate in 2-3 weeks. |
 |
|
|
Potting On - First Time
|
Step 1
Sieve more fresh multipurpose
compost, and part-fill one pot for each seedling. |
|
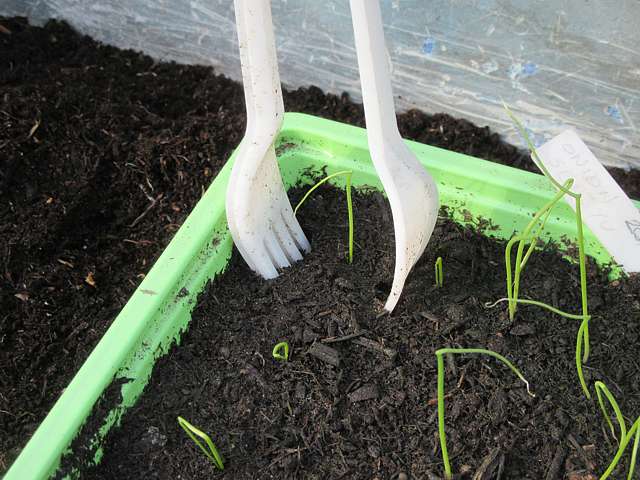
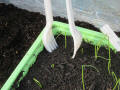
Step 2
Carefully remove each seedling
from the tray. I have found a couple of plastic forks to be
perfect for this job.
|
 |
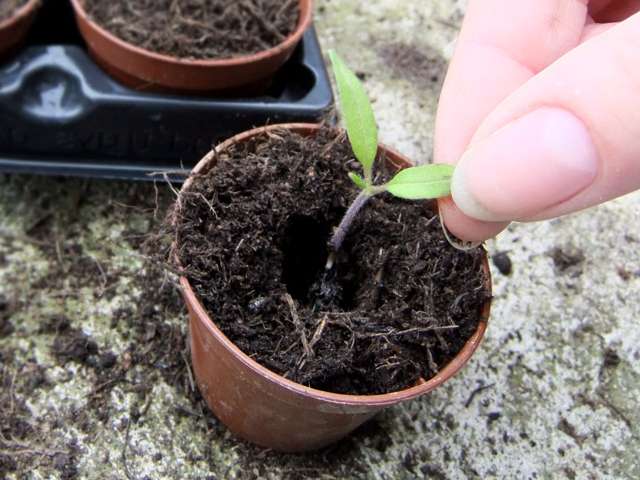
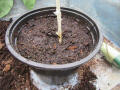
Step 3
Set the seedling in the pot and
fill around the root-ball with more compost. Chilli seedlings
can be replanted deeper than they were originally - this is
recommended especially if the seedlings are a little leggy.
|
 |
|
Step 4
Water |
 |
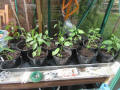
Step 5
Set the pots in a warm, sunny
place. A greenhouse or polytunnel should be fine as long as the
plants are protected from frosts. |
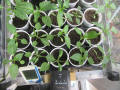 |
Step 6
Regularly check the base of the pots - once you can see roots
they are ready to go into larger pots. |
|
Potting On - Second Time
|
Step 1
I have found that chillies grow very happily in 4-5 litre pots.
Whilst you can continue to transfer them to larger pots this
requires more space and compost, and does not necessarily lead
to larger yields.
|
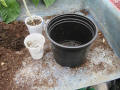 |
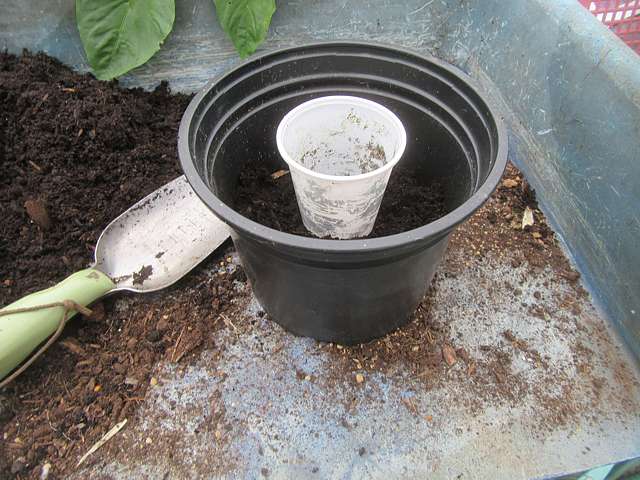
Step 2
Find an empty pot the same size as the one
containing the seedling. Fill the large pot with fresh compost to a
level where the empty pot sits near the top of the larger pot.
|
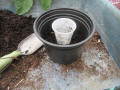 |
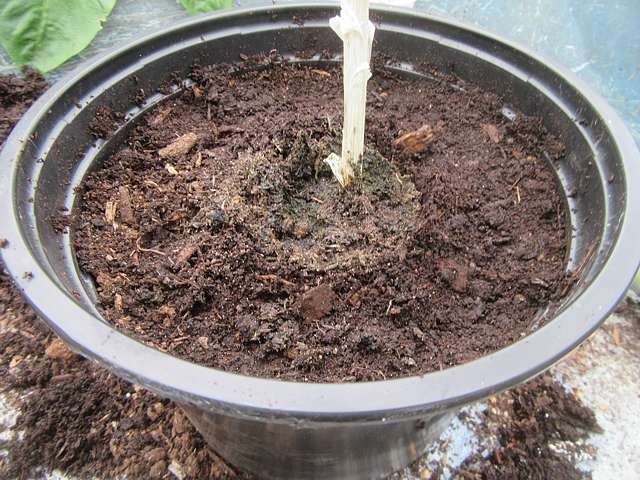
Step 3
Add more compost around the empty pot and compact the soil. Note
that the seedlings can be planted deeper than they were
originally, especially if they are tall and leggy. |
 |
|
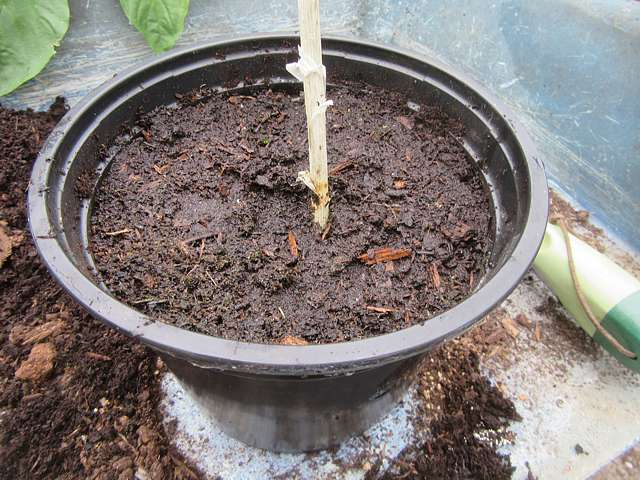
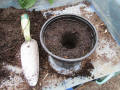
Step 4
Remove the empty pot, leaving a perfectly sized hole for your
seedling.
|
 |
Step 5
Remove the seedling from the small pot and
carefully place it into the hole. |
 |
Step 6
Firm the compost around the plant, and water in. |
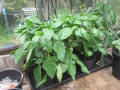
 |
Step 7
Set the plants in a warm sunny place. |
 |
|
|
|
|
Maintenance
|
Step 1
Water regularly, but do not let the plants sit in
water. |
|
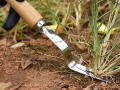
Step 2
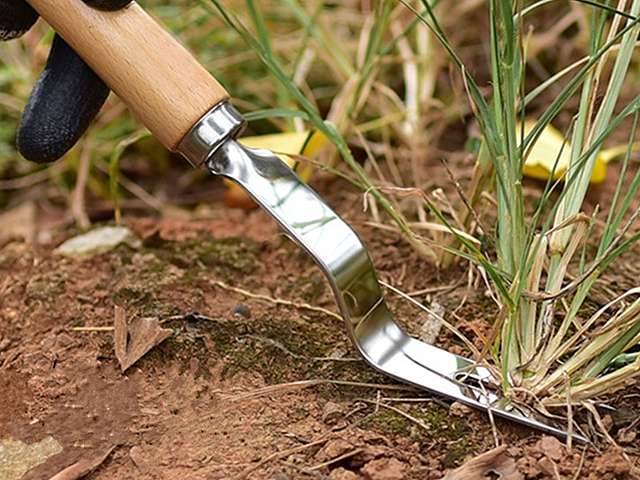
Keep the pots free of weeds to
eliminate any competition for water and nutrients. |
 |
Step 3
Once the plants have produced
flowers, add liquid tomato feed to the water twice weekly. |
 |
Step 4
Add support canes if necessary
- varieties producing small fruits may not need extra support. |
|
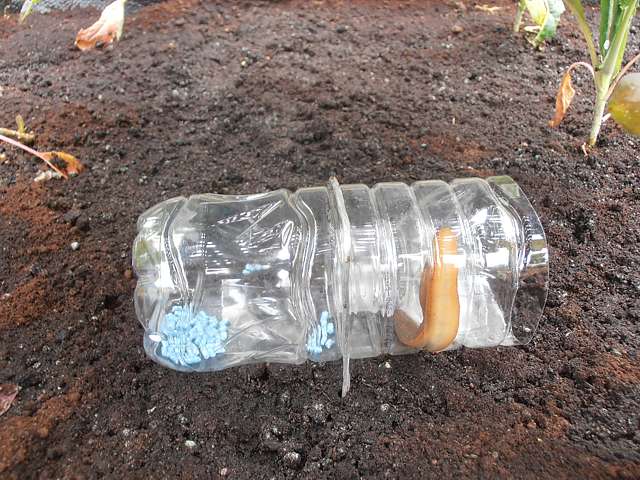
Step 5
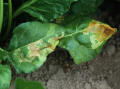
Check regularly for signs of pests and disease,
and take appropriate action. |
 |
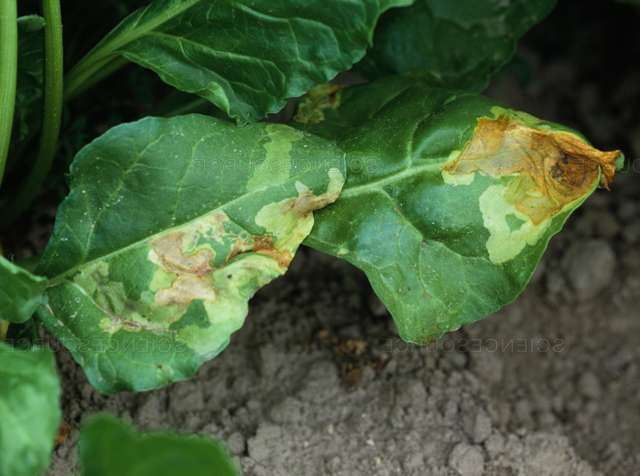
Step 6
Remove any damaged or diseased
leaves. |
 |
|
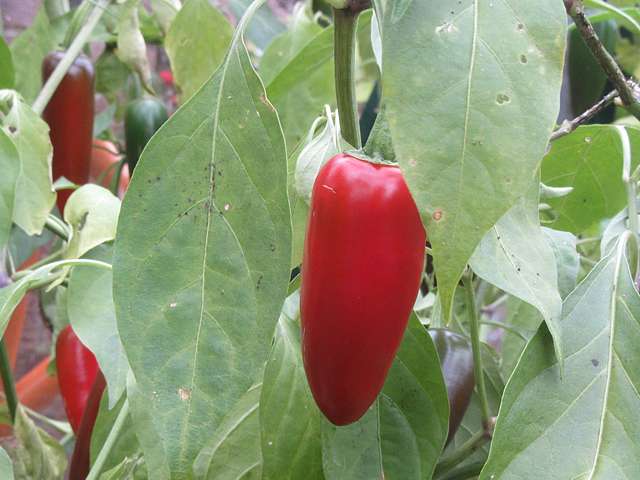
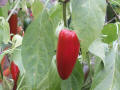
Step 7
Crop the fruit as soon as it is ripe, which will
encourage more fruit to ripen. |
 |
Step 8
The plants will begin to wither once overnight
temperatures fall too low. At this point, crop the remaining
fruit and remove the plants.
|
 |
|
|
|
Note:
Although it is possible to
overwinter chilli plants, when I tried this, the plants failed
to produce any fruit the following year. Commercial growers grow
new plants from seed each year, which implies that this method
will produce better crops.
|
Harvesting & Storage
|
Cropping
Cut the chillies from the plant
leaving a short stem.
|
 |
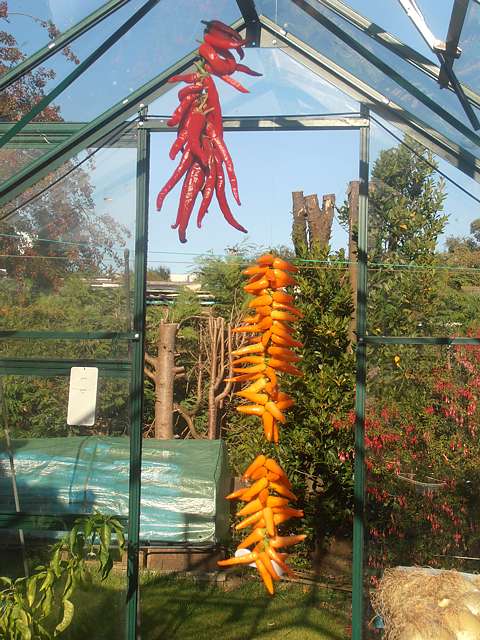
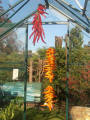
Drying
Using nylon thread or thin
fishing line, thread the chillies through the stems and hang in
a warm dry place. Once thoroughly dry, they can be blitzed to
make chilli flakes or powdered using a mortar and pestle.
|
 |
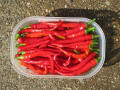
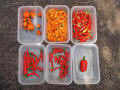
St orage
Chillies can be kept for a few
weeks in the fridge. For long-term storage, they can be frozen
as whole fruits or chopped to save space. |
 |
|
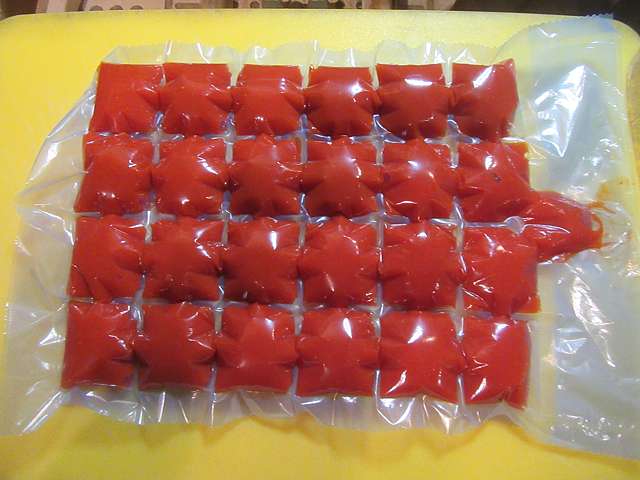
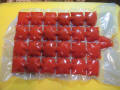
Chilli Ice Cubes
Chillies can also be boiled,
strained and turned into puree, then frozen as ice cubes to add
to soups and sauces. |
 |
|
|
|
|
Home
Historic Sites
Models
Heraldry
Puzzles
Garden
Links
Contact me with suggestions, comments or questions.
 |