Treasures & Trinkets

Up   Home   Historic Sites   Models   Heraldry   Puzzles   Garden   Links

Contents

Candles

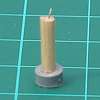
How to make effective candles.

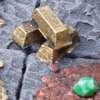
Gold Bars

Making gold bars from plastic sprue pieces.
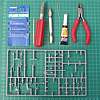
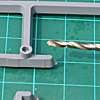
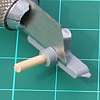
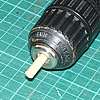
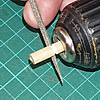
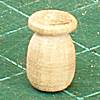
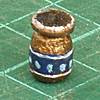
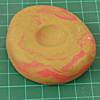
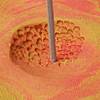
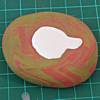
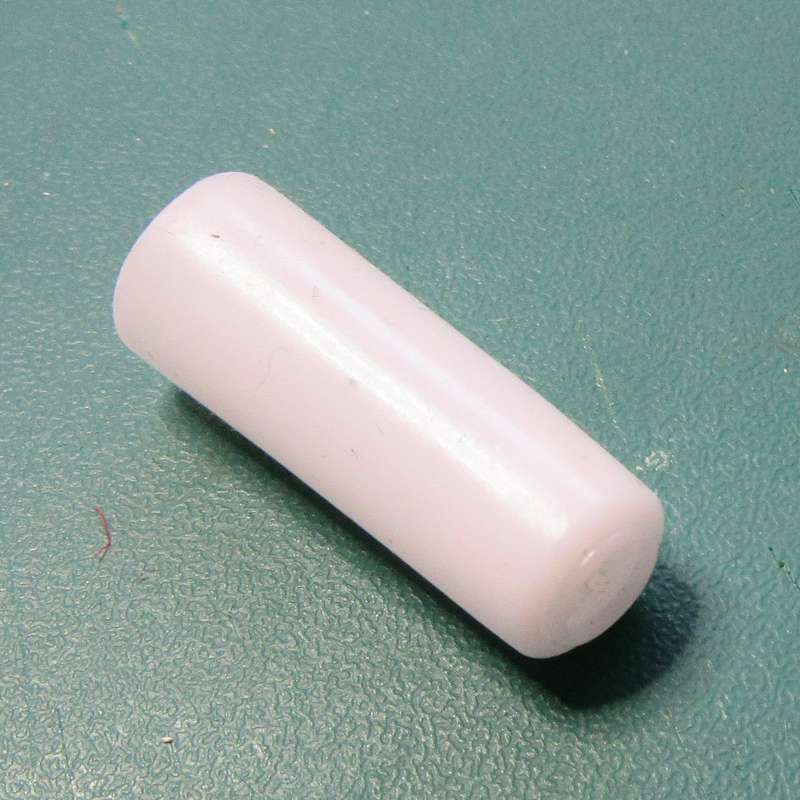
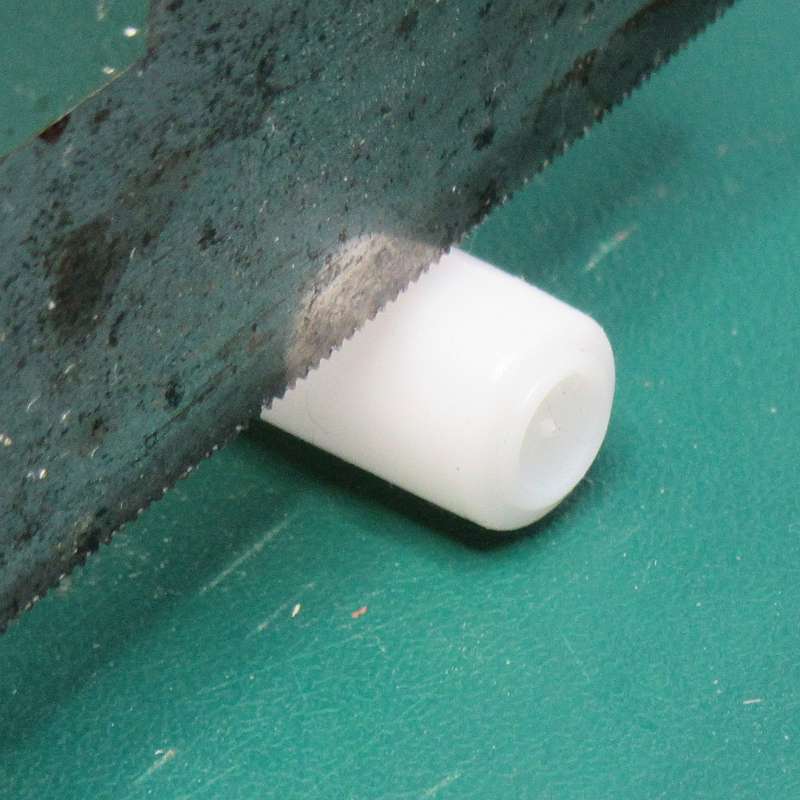
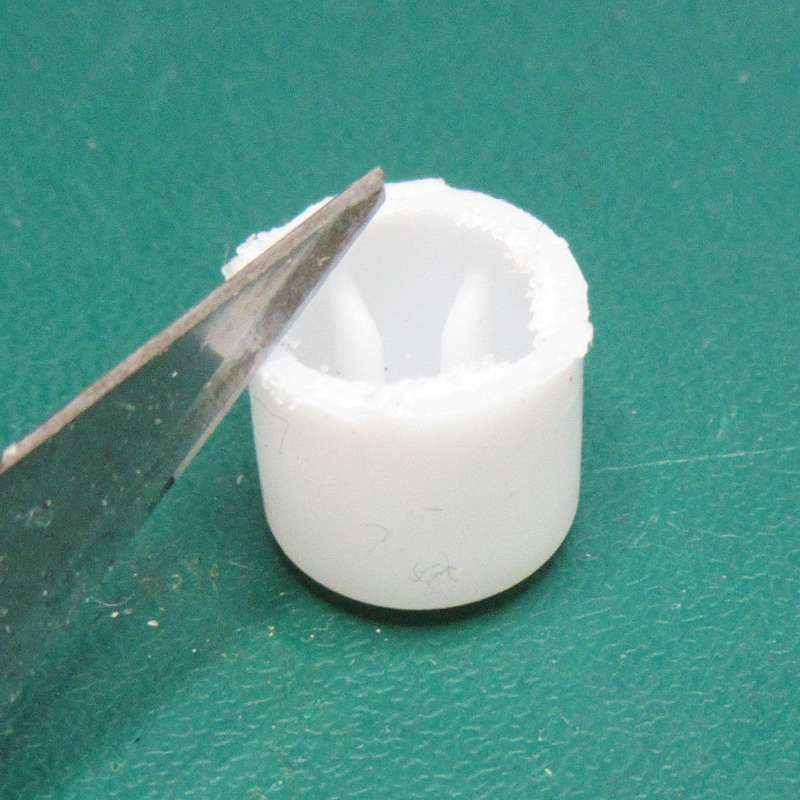
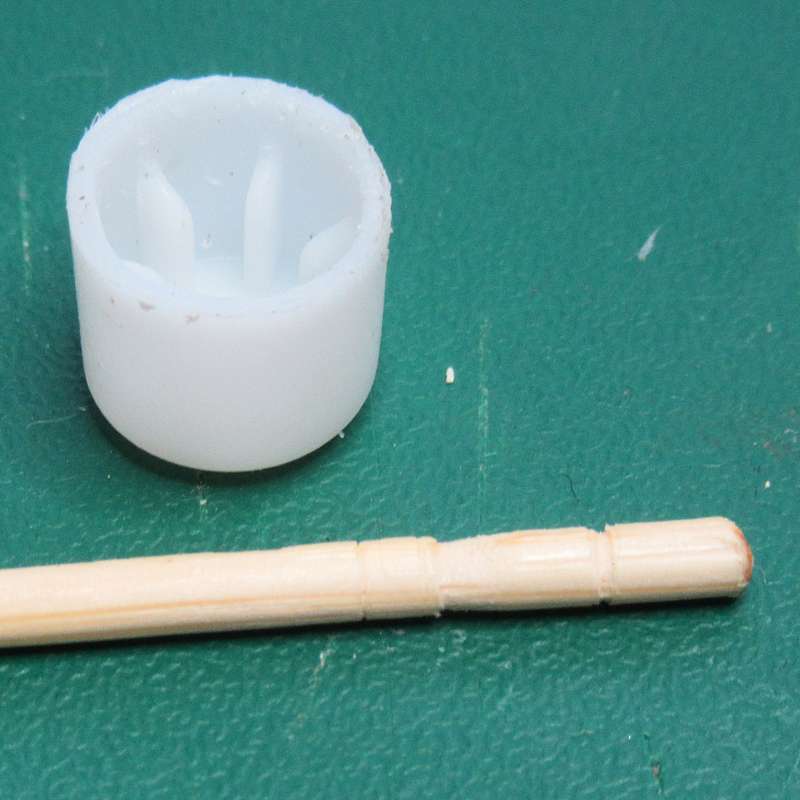
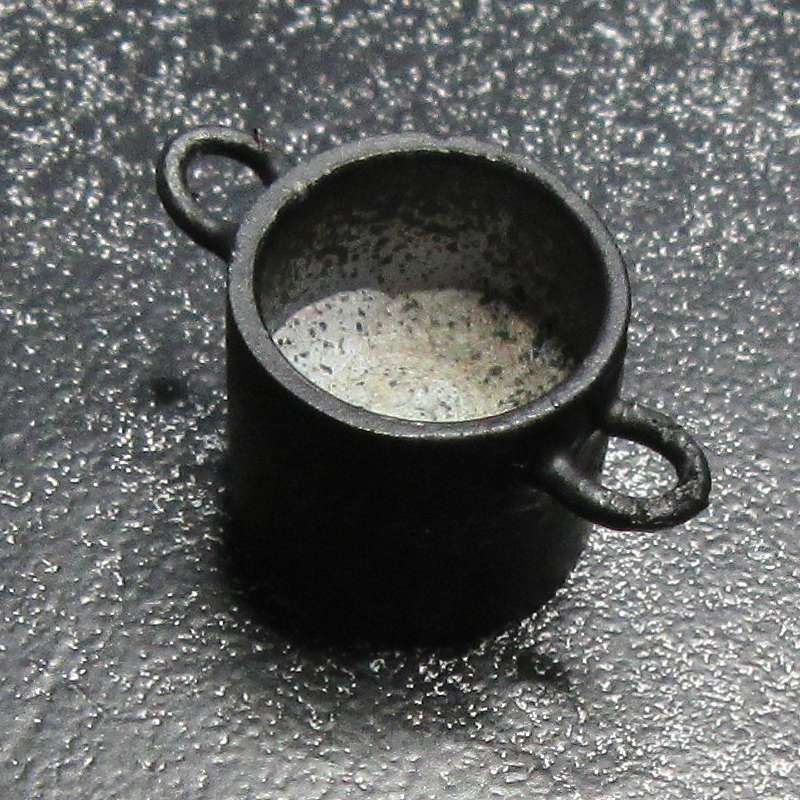
Pots, 
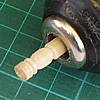
Bottles & Urns

How to make items using a hand-drill as a rudimentary lathe.

Coin Piles

Making coin piles from casting plaster using a temporary mould.


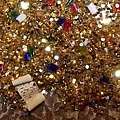
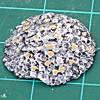
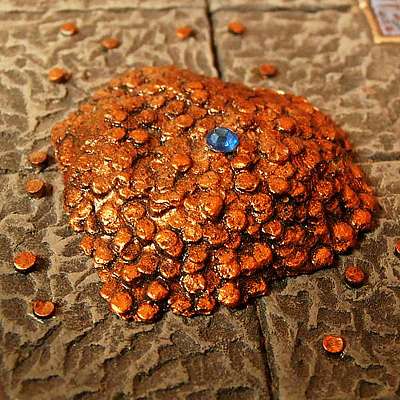
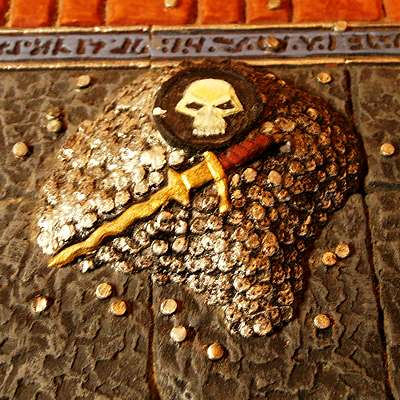
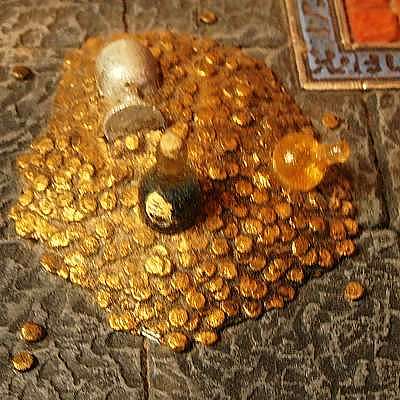
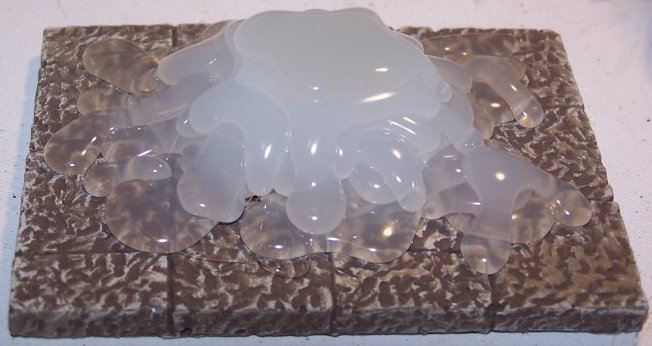
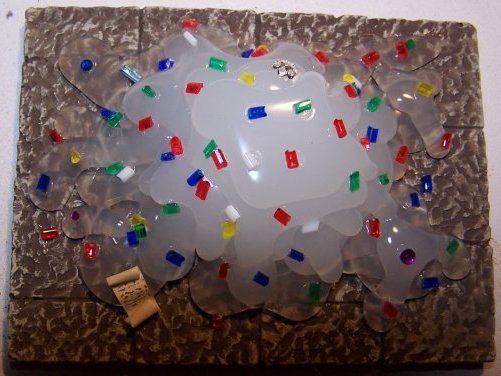
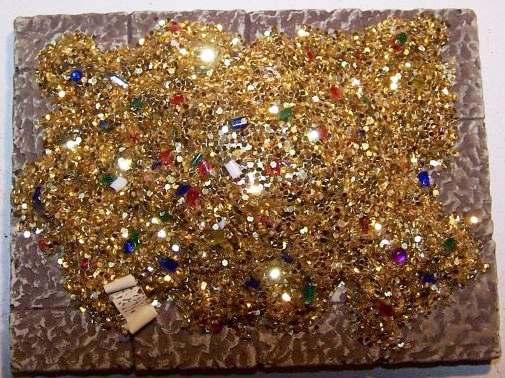
Treasure Piles

How to make piles of treasure with hot glue and glitter.  

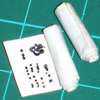
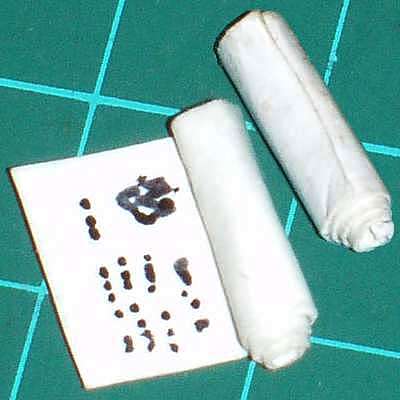
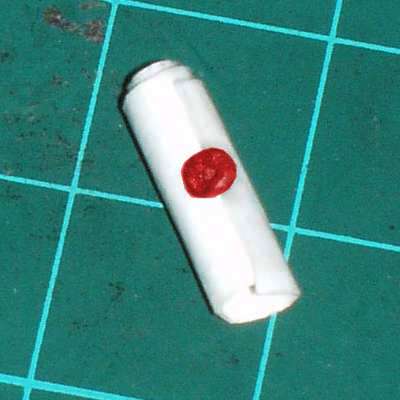
Scrolls

How to make simple scrolls.

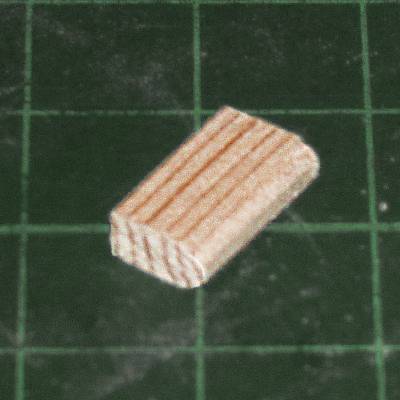
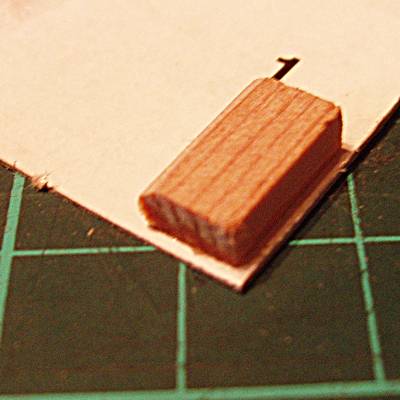
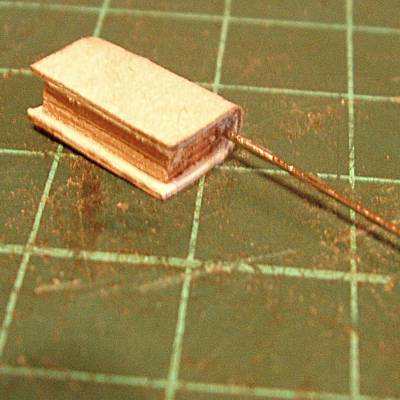
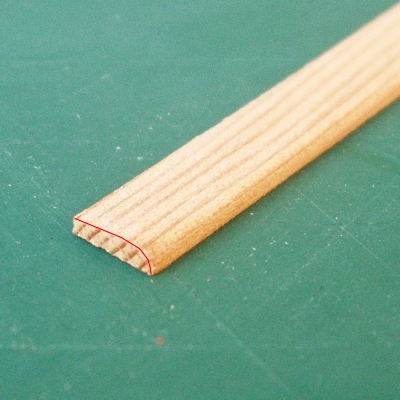
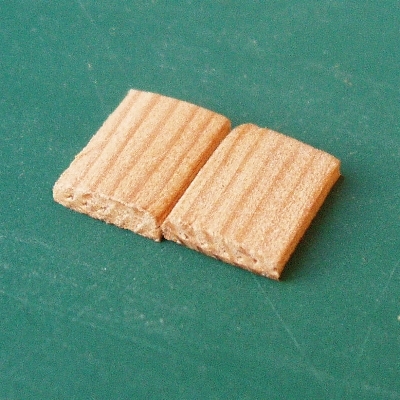
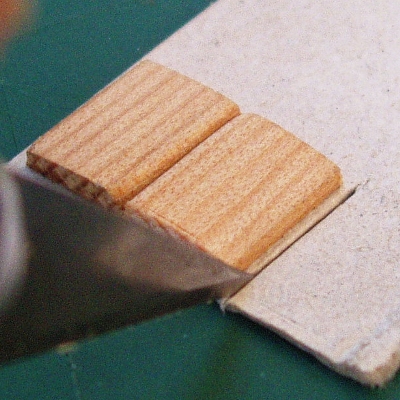
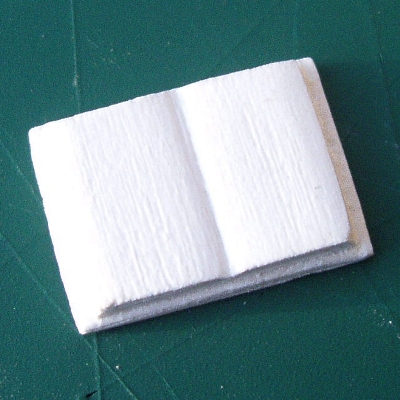
Closed Books

How to make closed books from stripwood and card. 

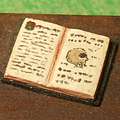
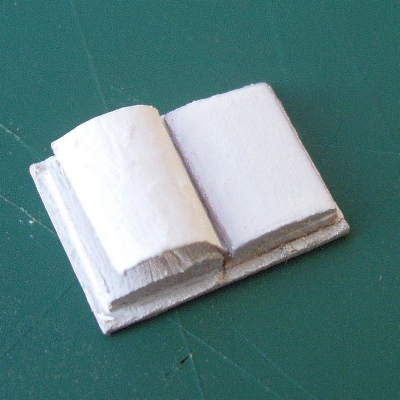
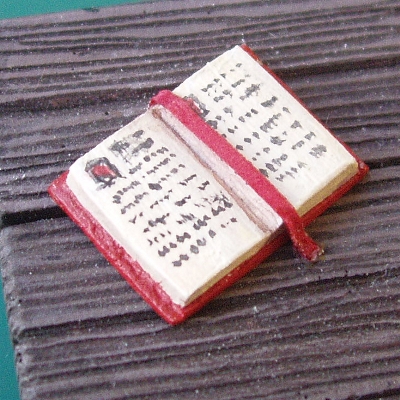
Open Books

Making open books from stripwood, card and paper.

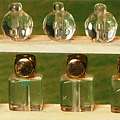
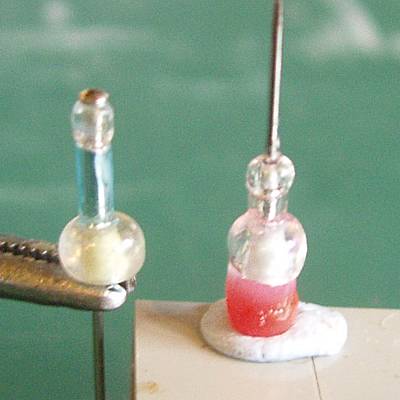
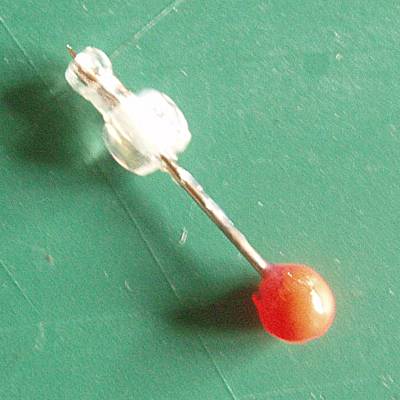
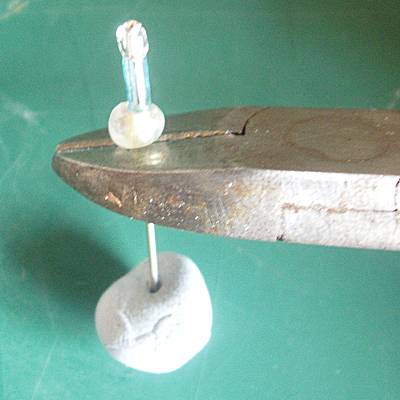
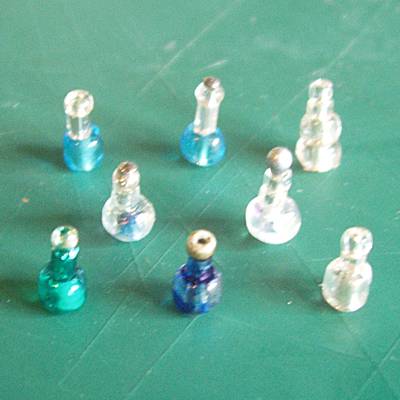
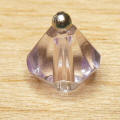
Bead Bottles

How to make bottles from beads.

 
Bead Bottles 2

Adding corks to bead bottles using a cocktail stick. 

Bead Bottles 3

Adding a metal cap made from a link of a clothing tag.

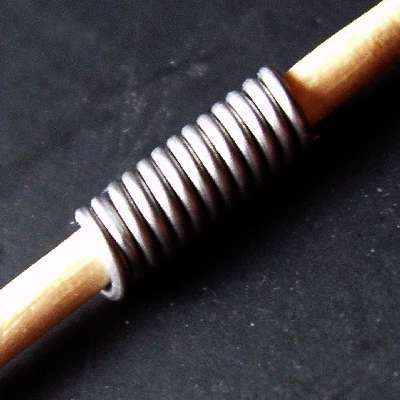
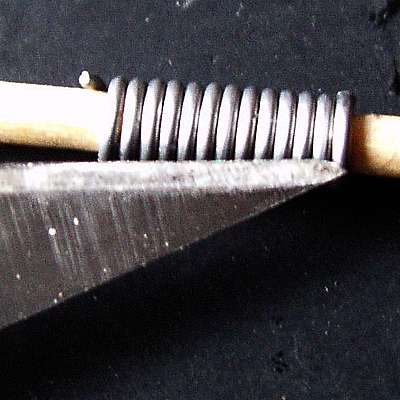
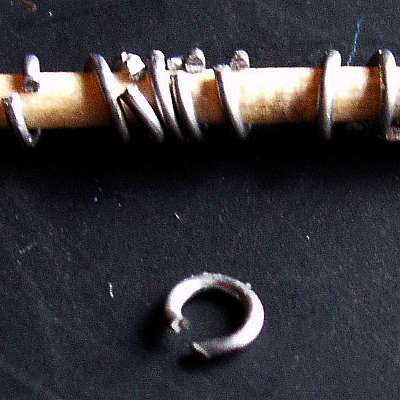
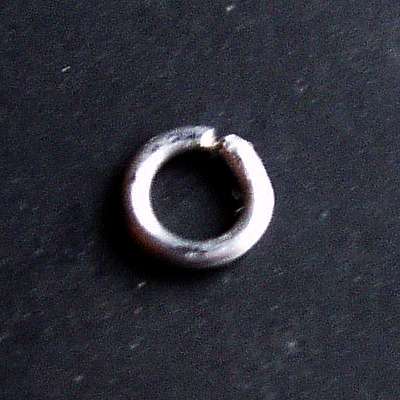
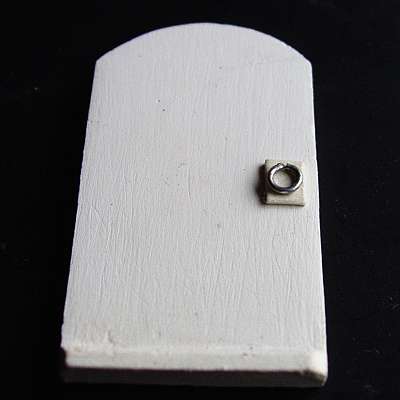
Metal Rings

Making rings from solder  for use as door handles or curtain rings.

 
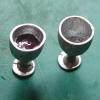
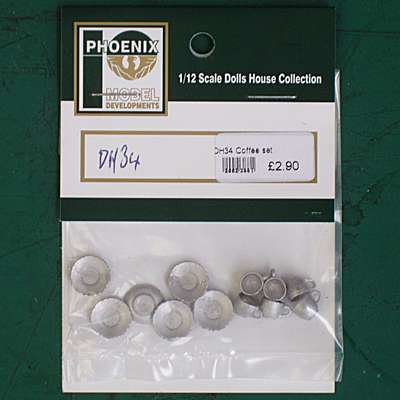
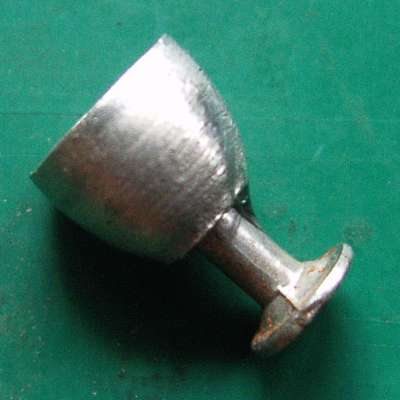
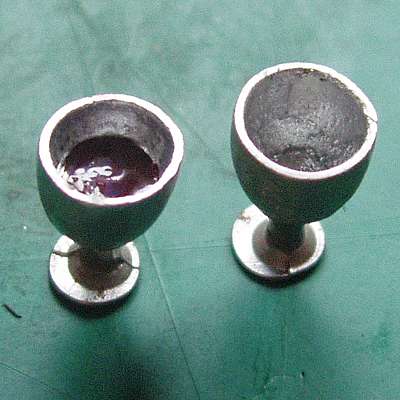
Goblets

How to make goblets from a dolls house coffee set.

 
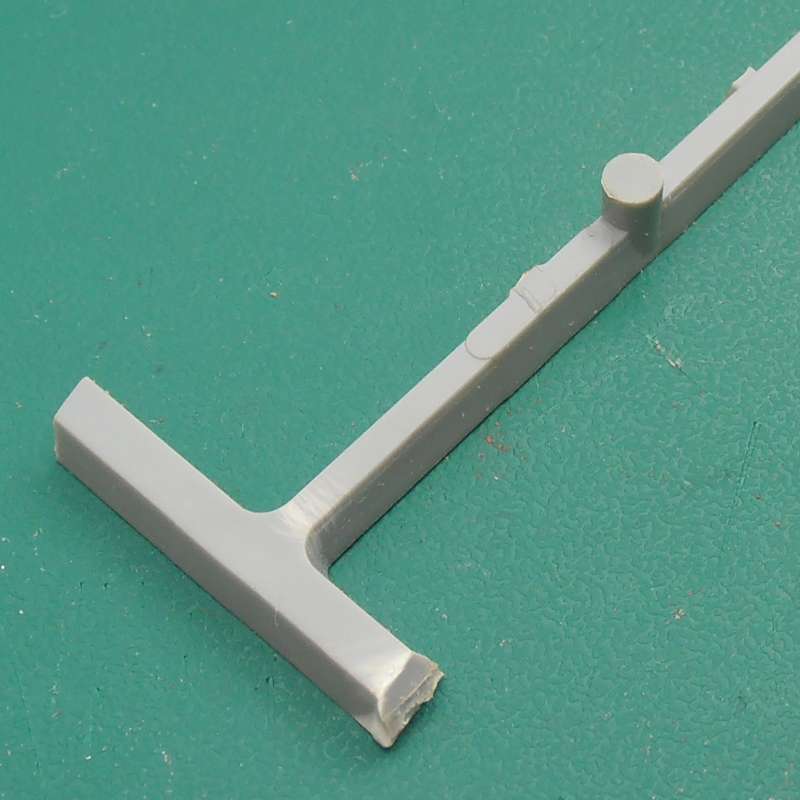
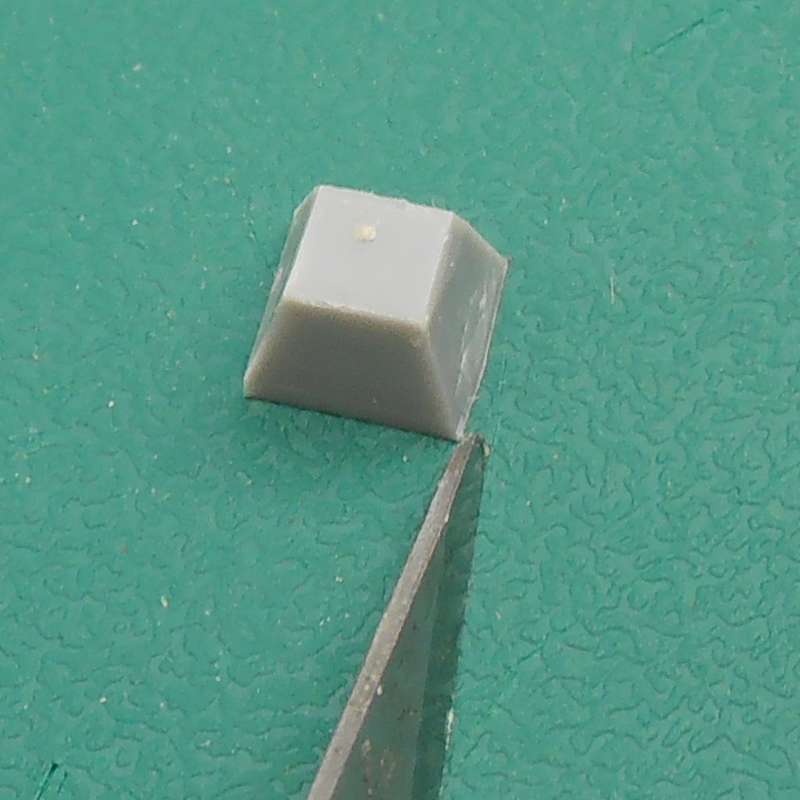
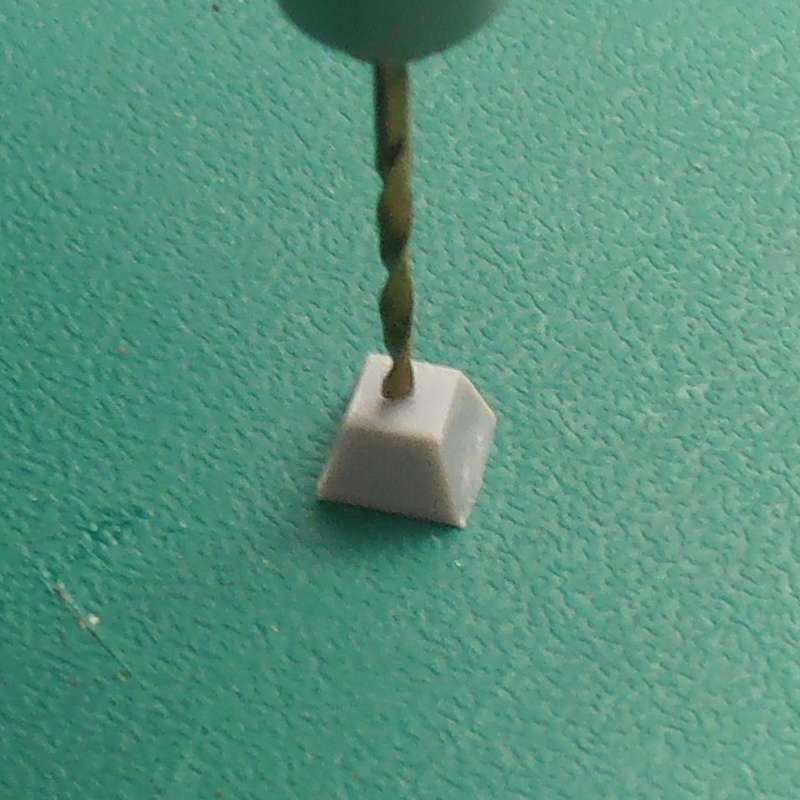
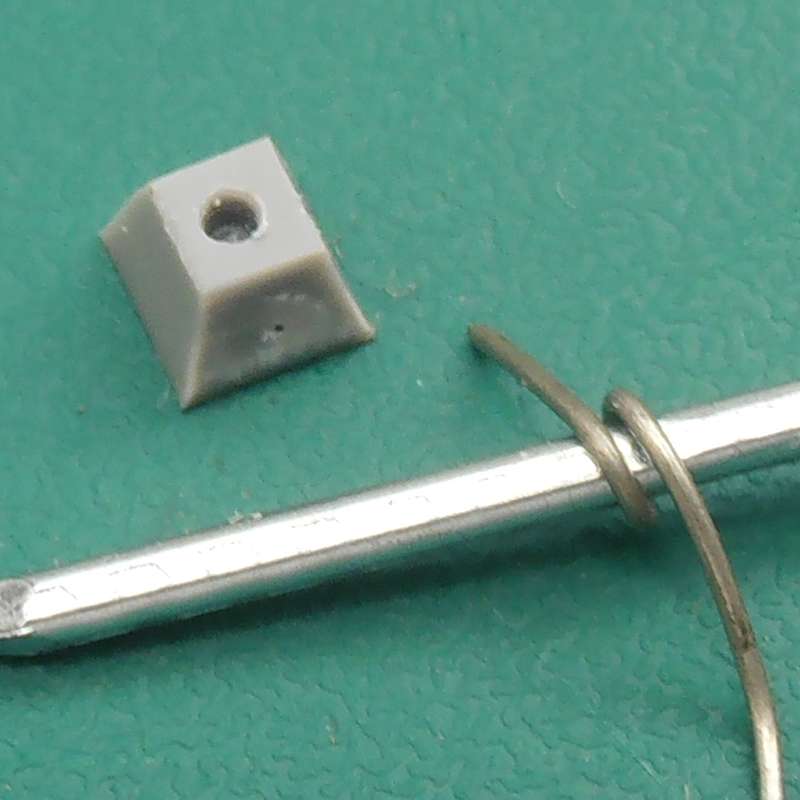
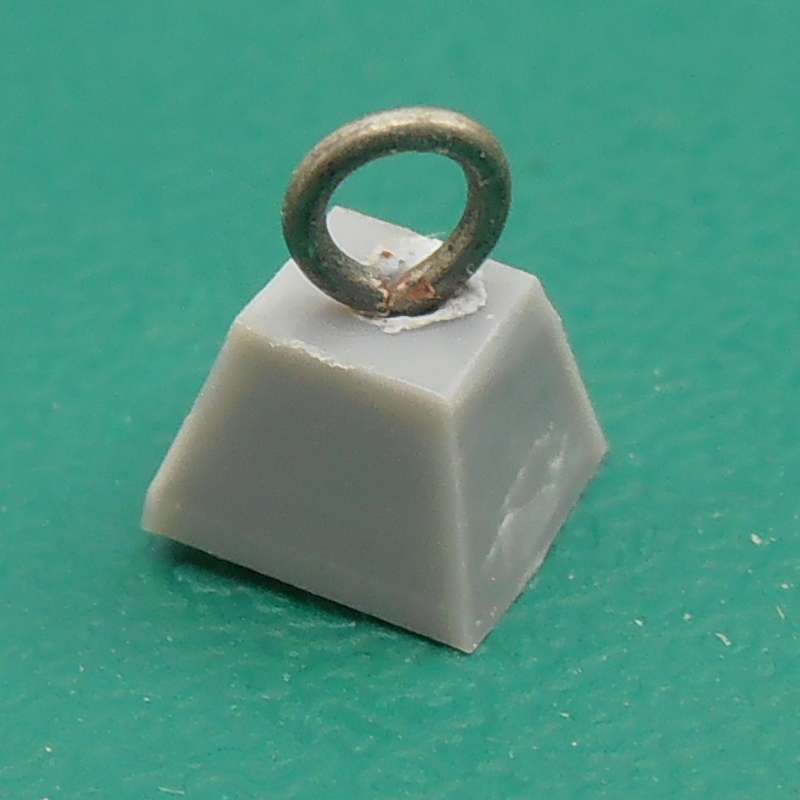
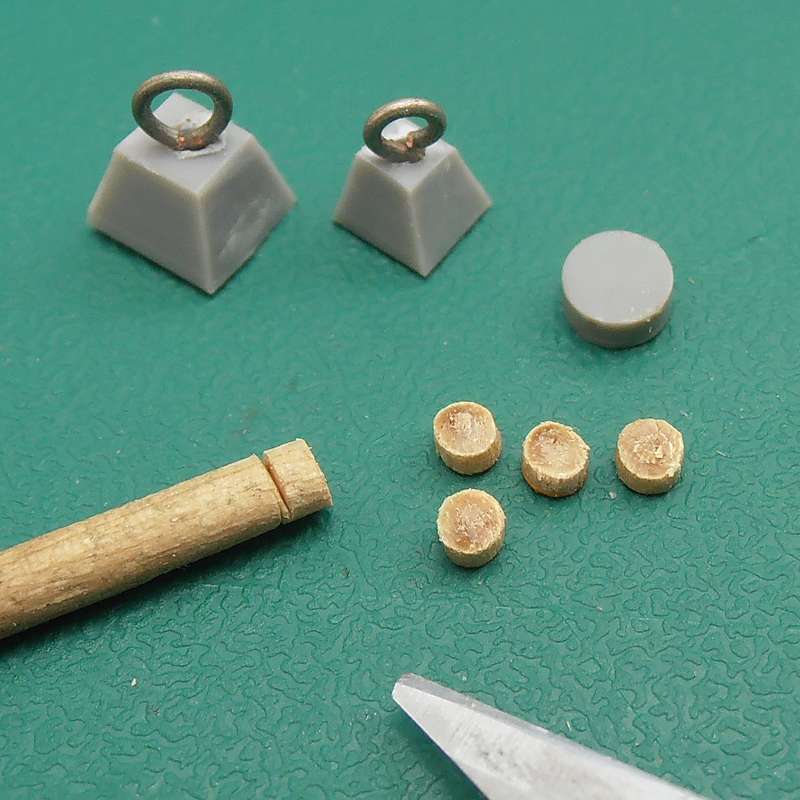
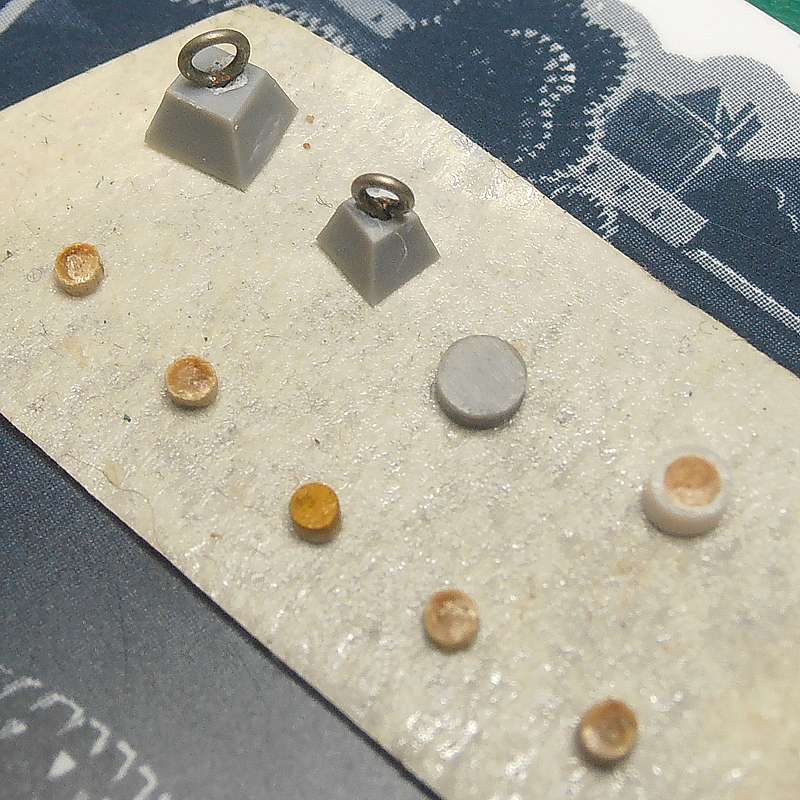
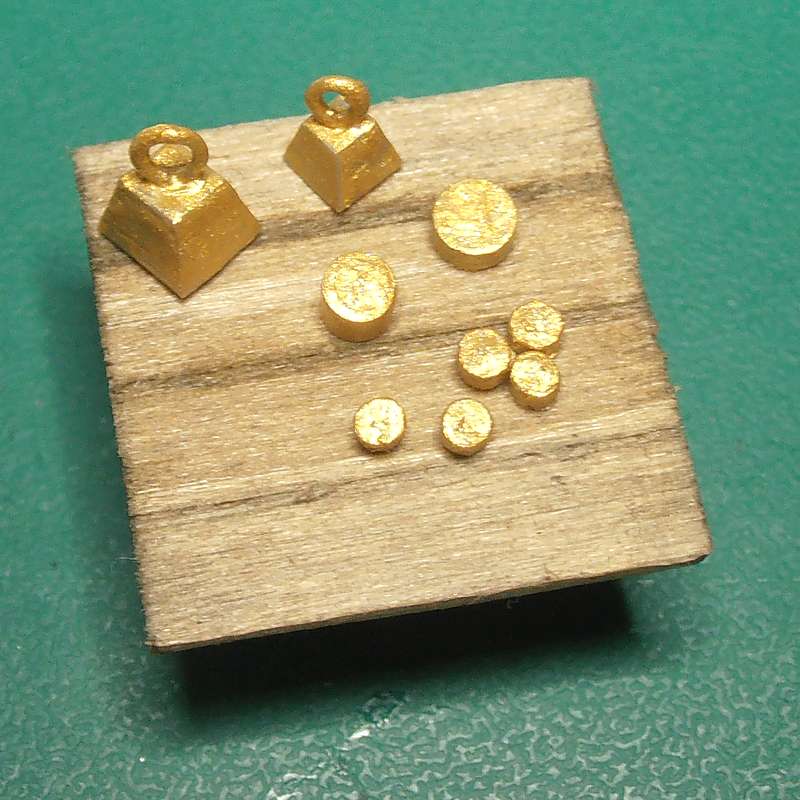
Weights

Making a set of weights from a plastic sprue.

 
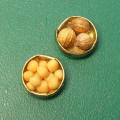
Brass Bowls

How to make bowls from paper fasteners.


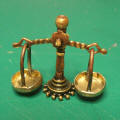
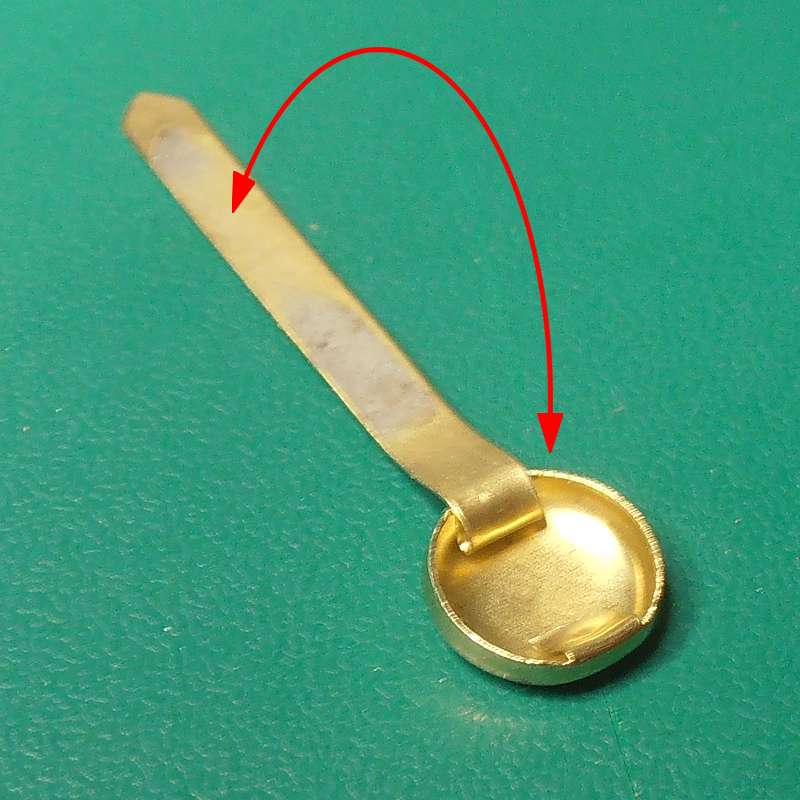
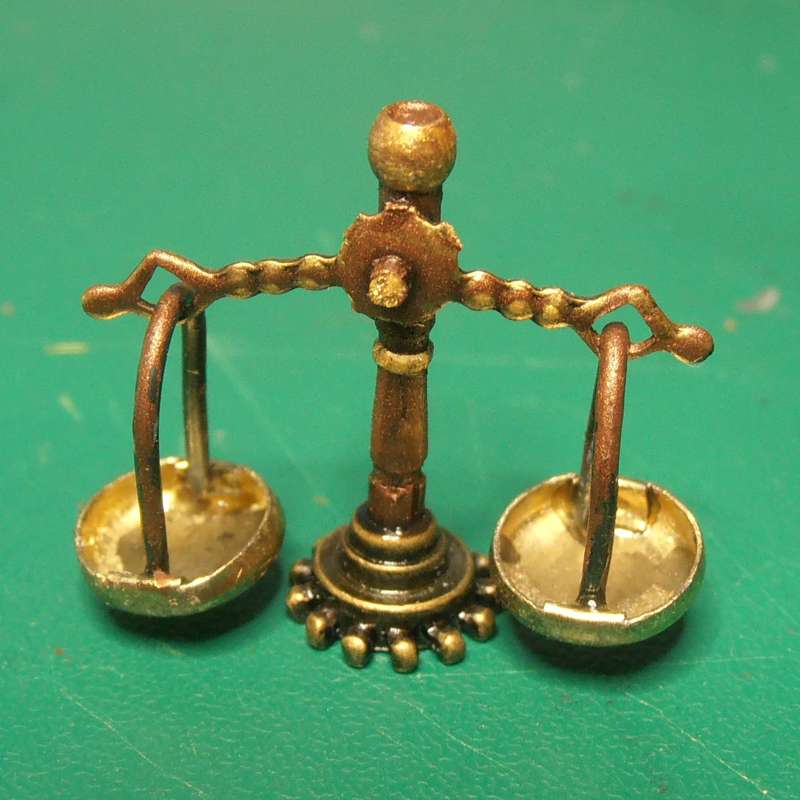
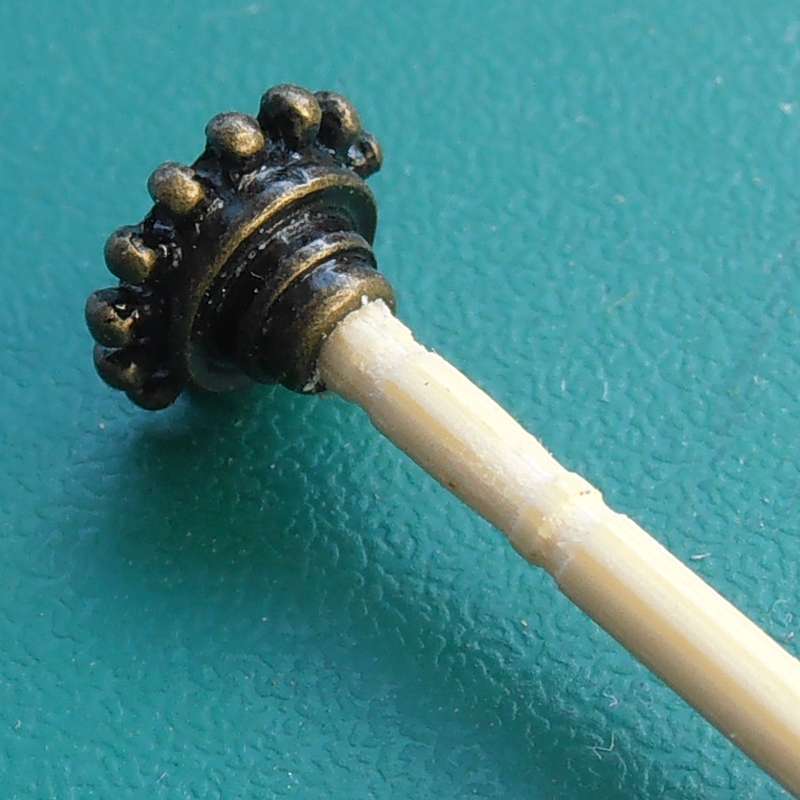
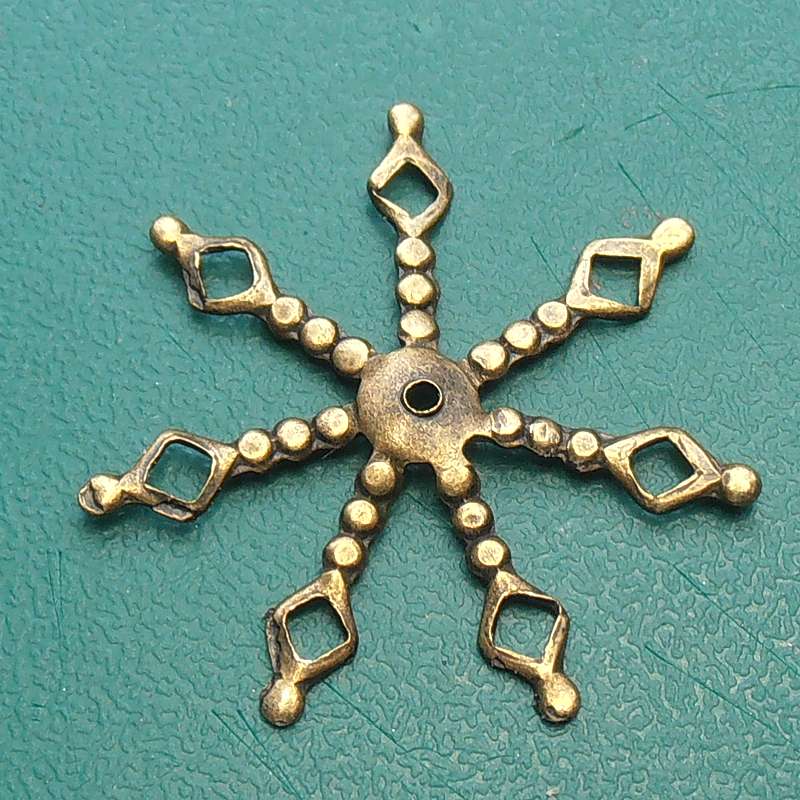
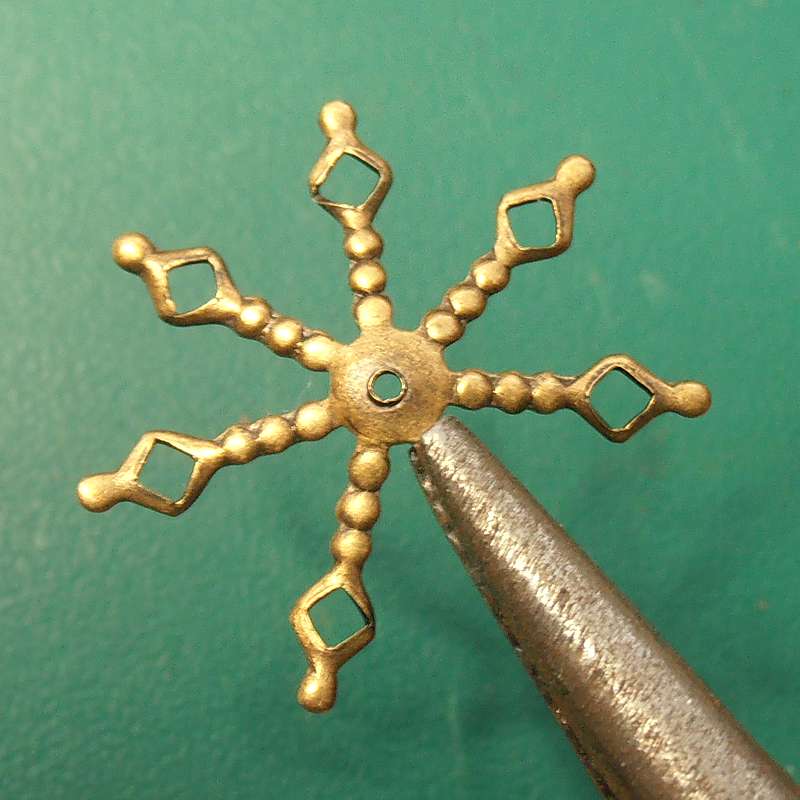
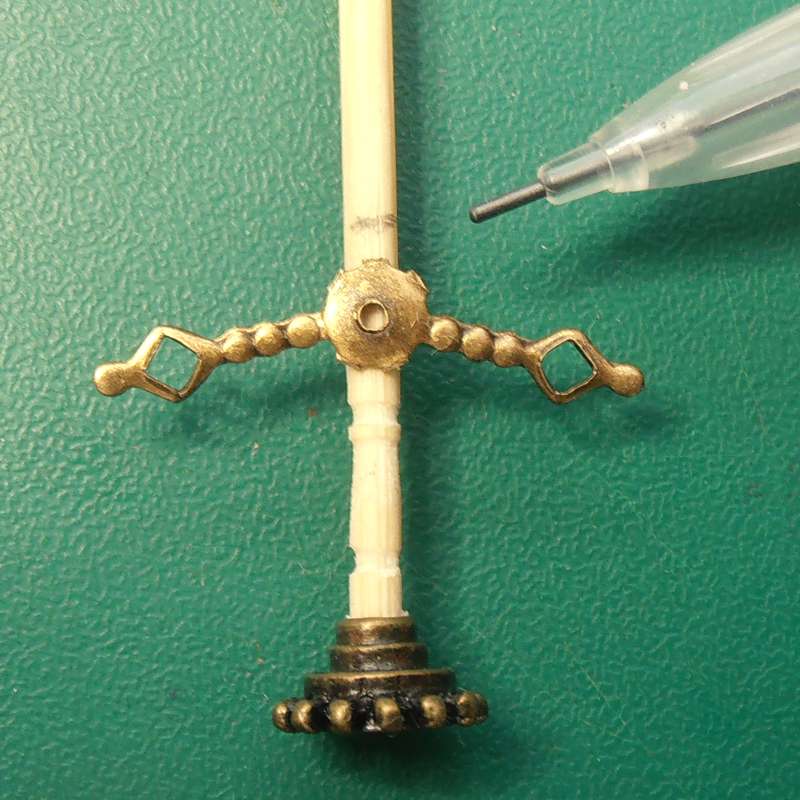
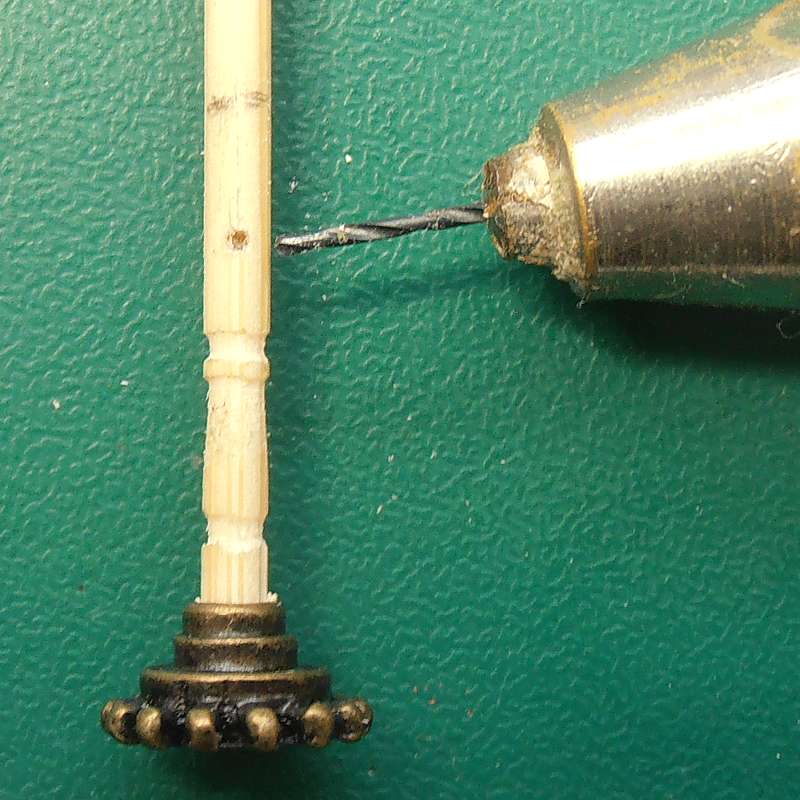
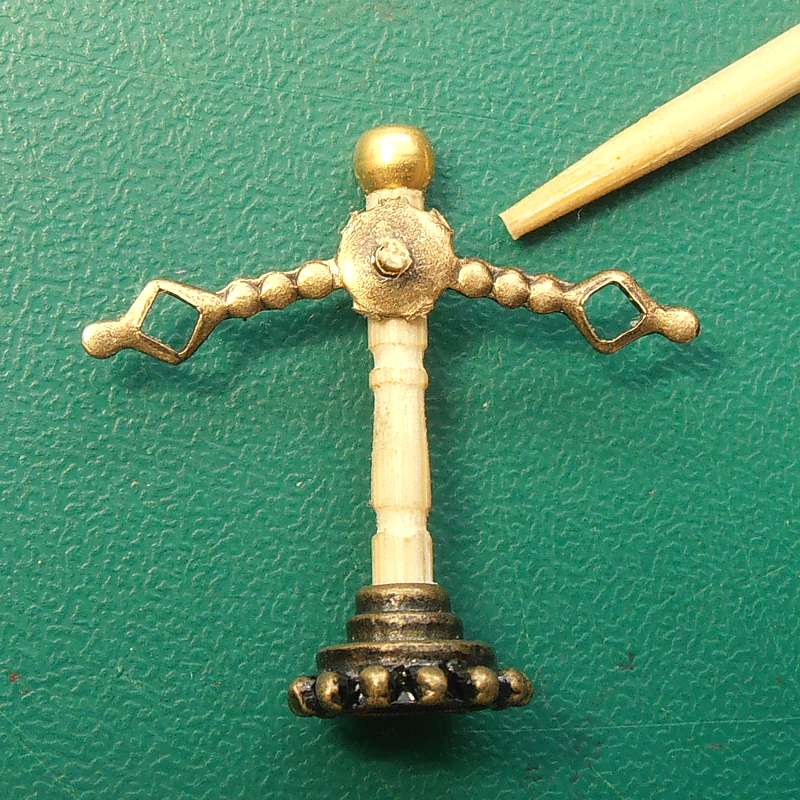
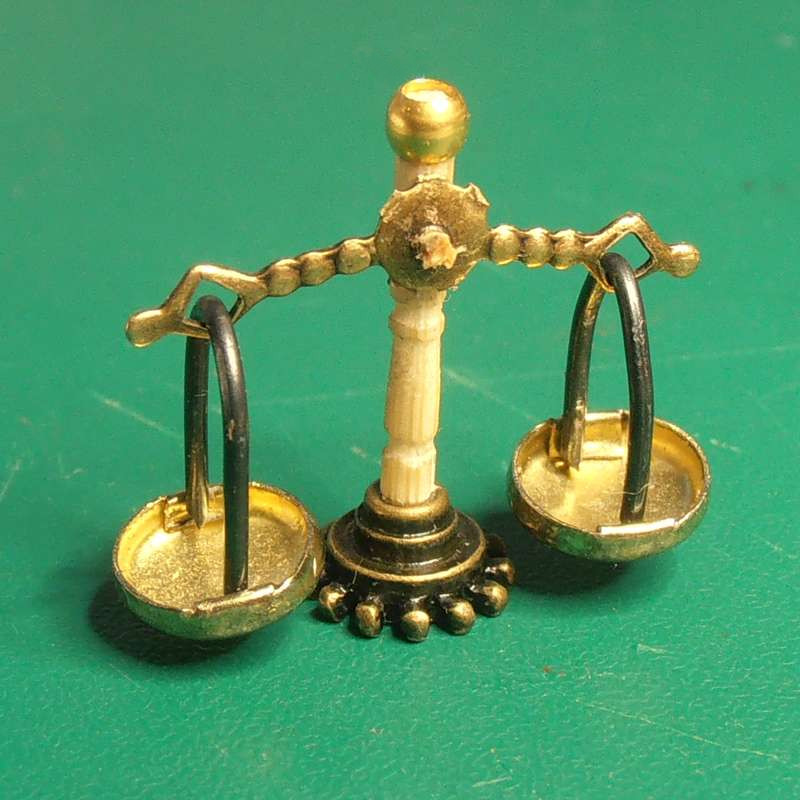
Weighing Scales

How to make a set of weighing scales.

 
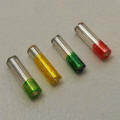
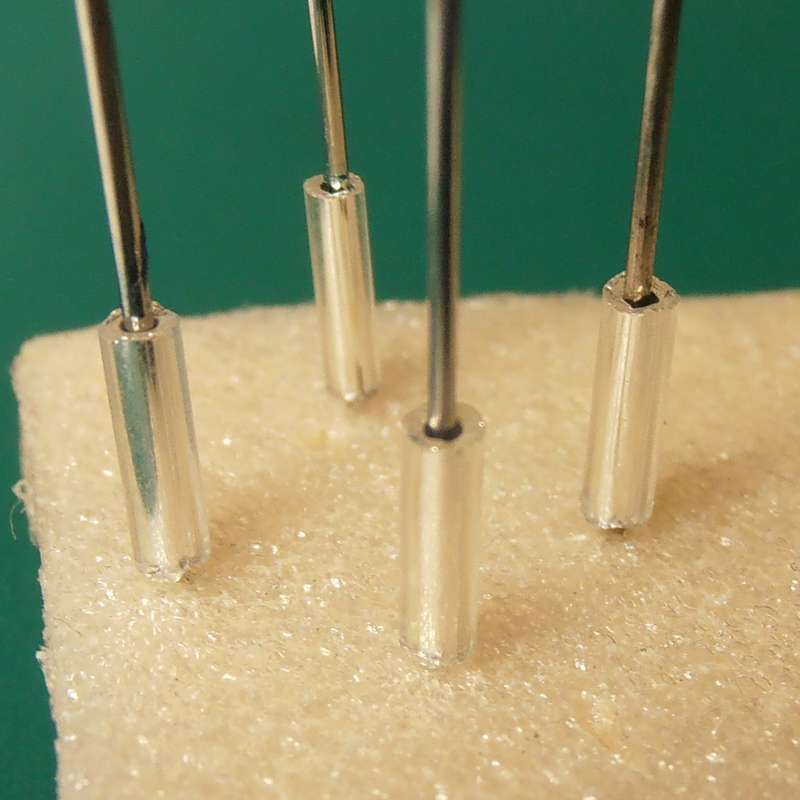
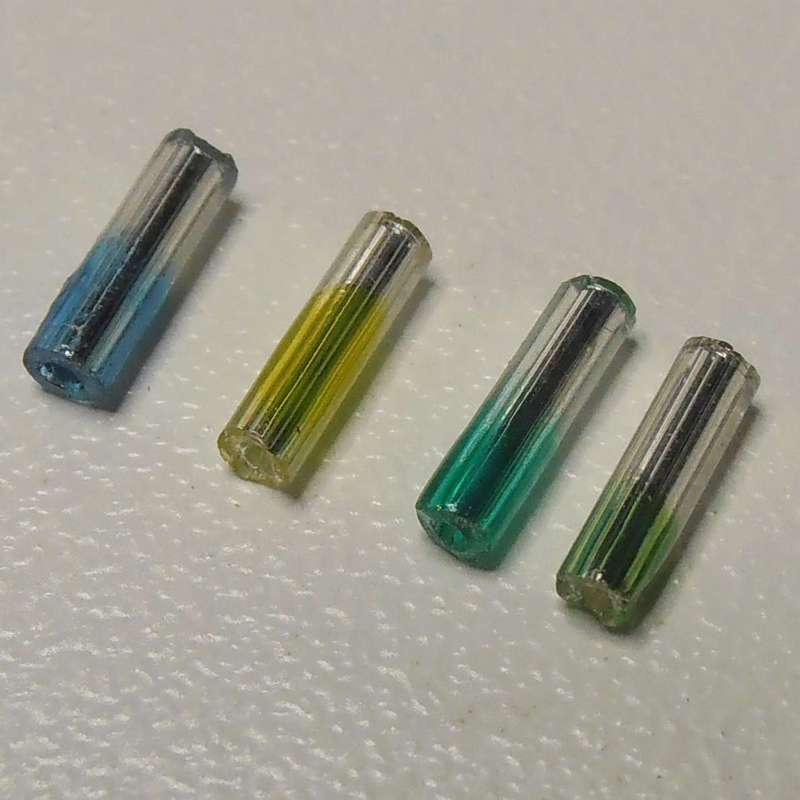
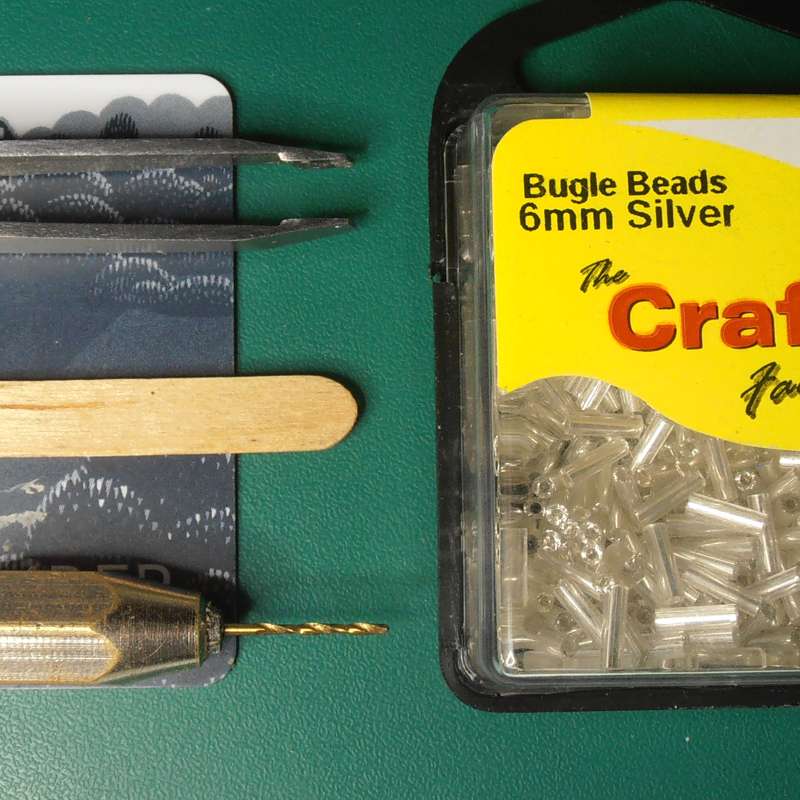
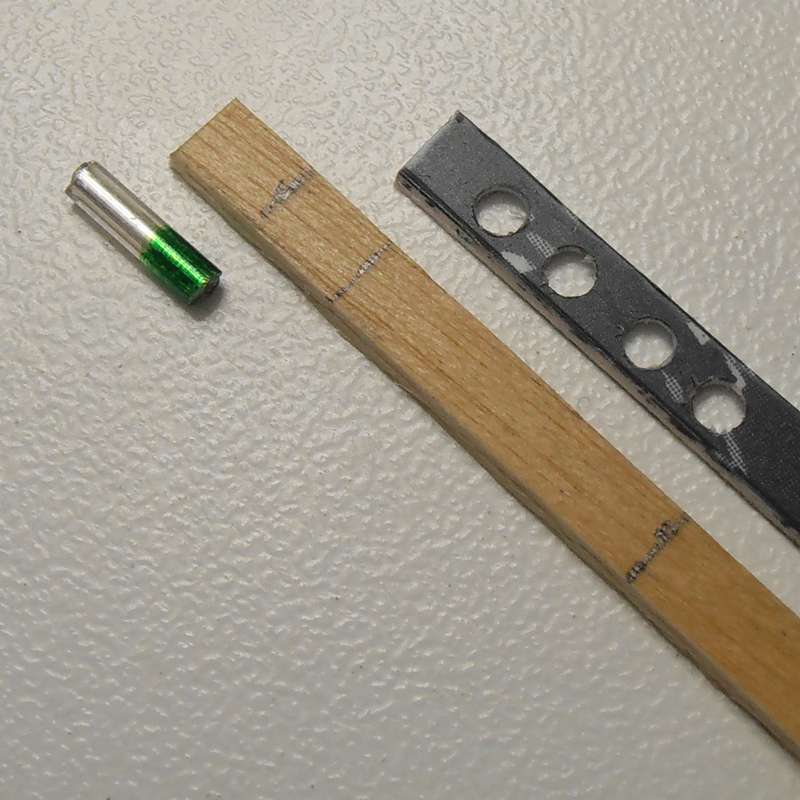
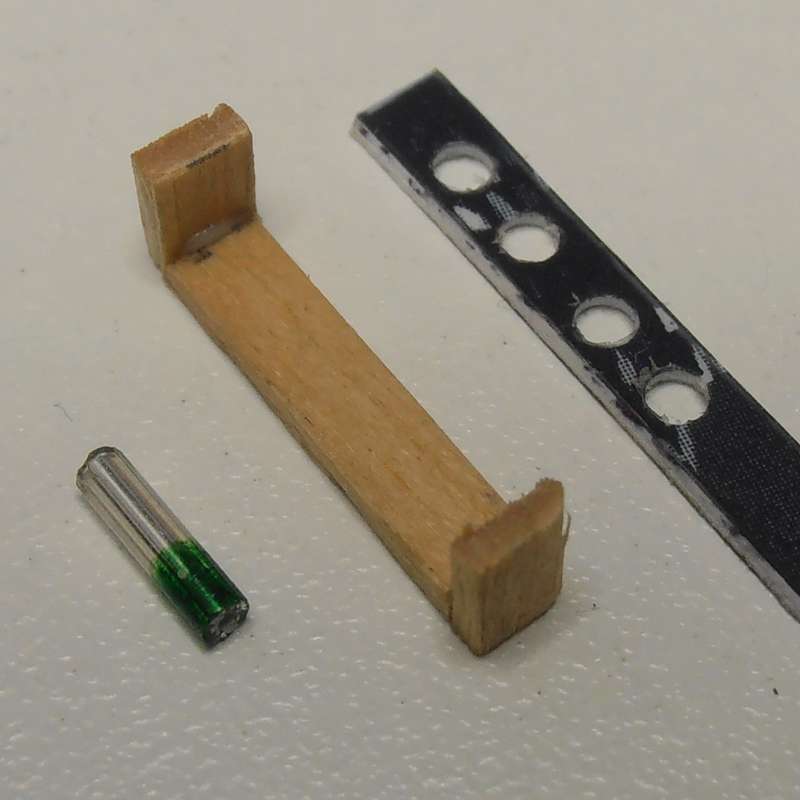
Test Tubes

How to make test tubes from bugle beads.

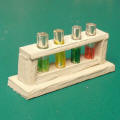
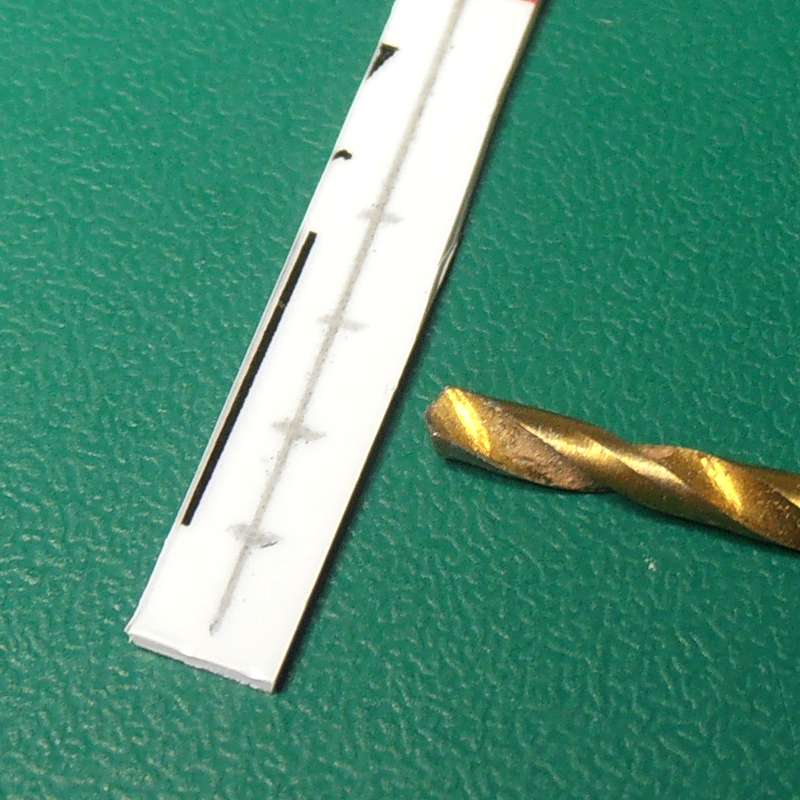
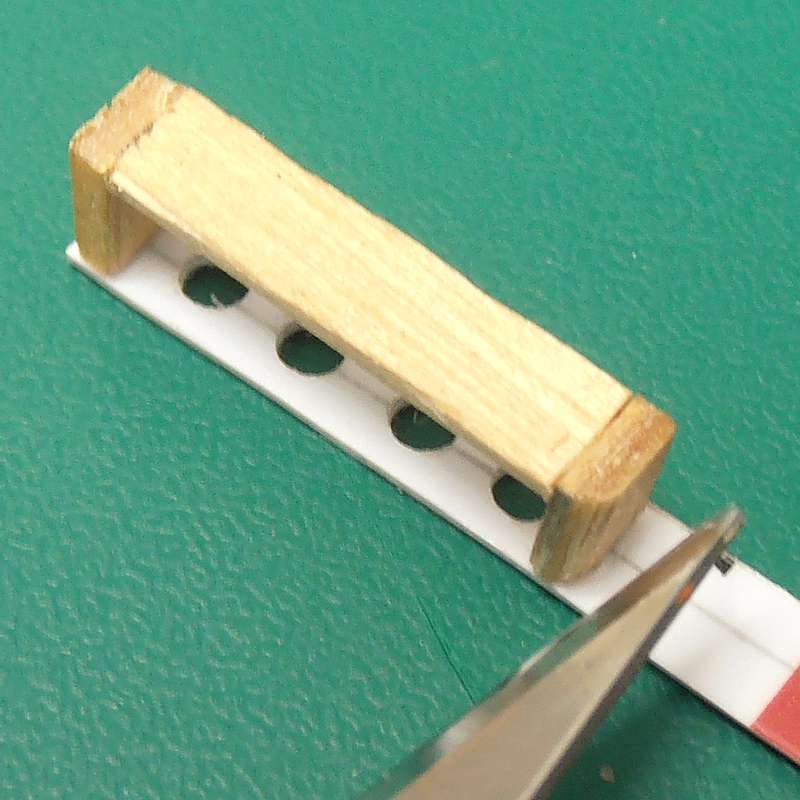
Test Tube Rack

Making a simple rack to hold the test tubes.

 
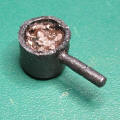
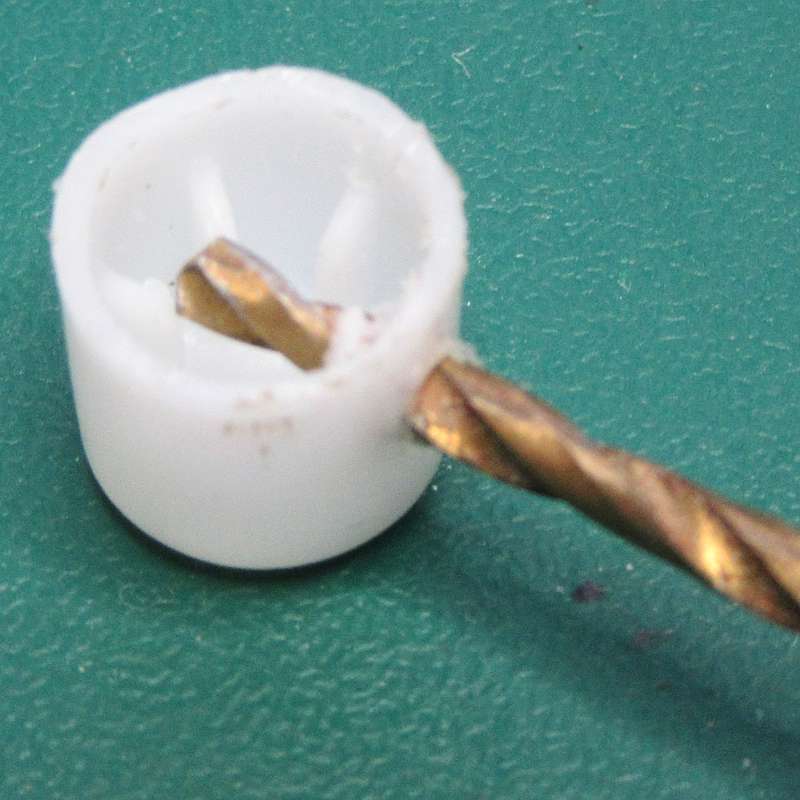
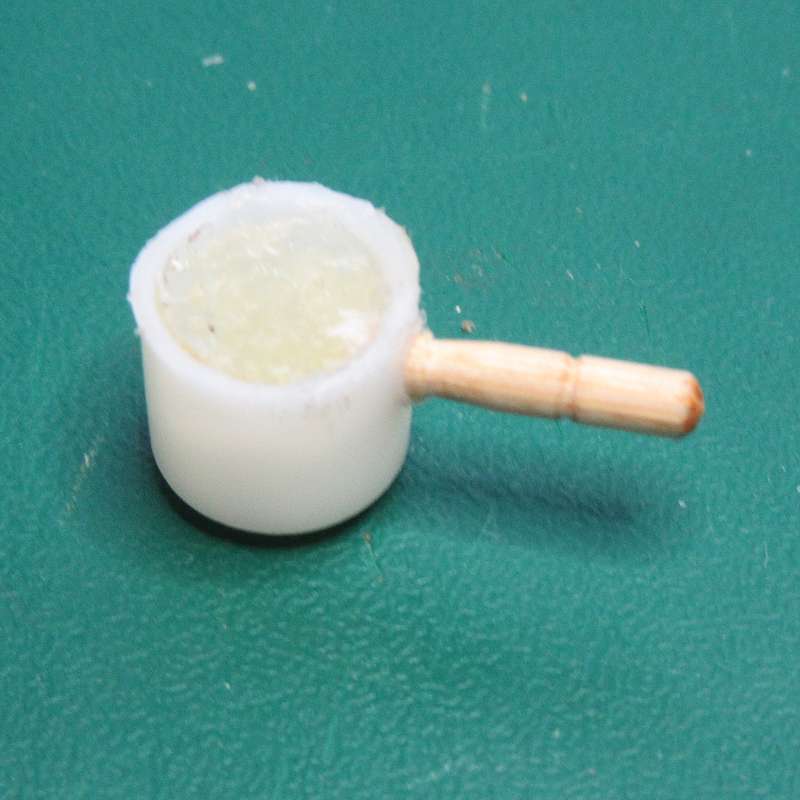
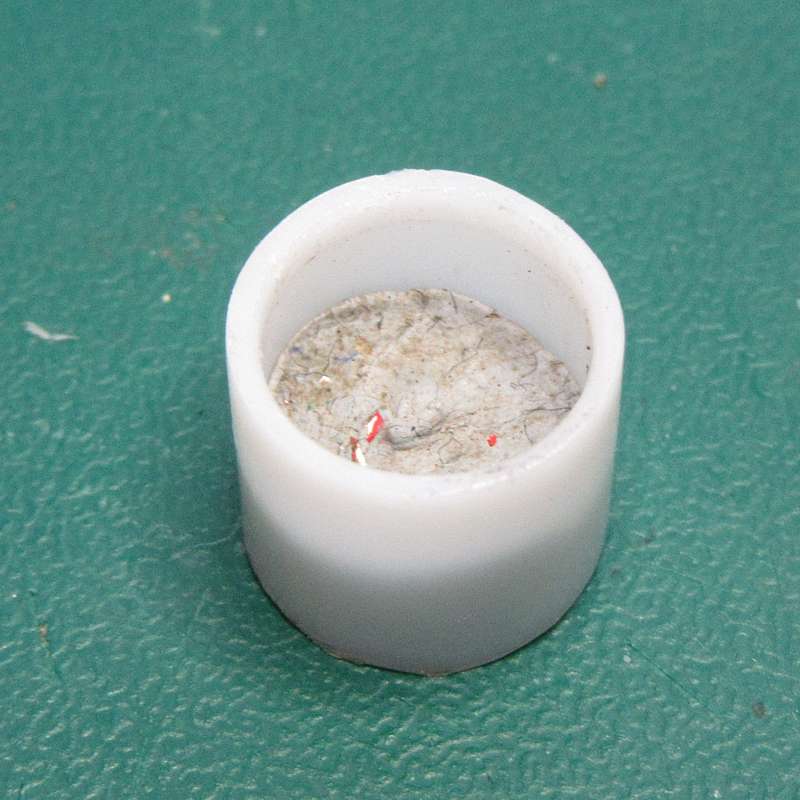
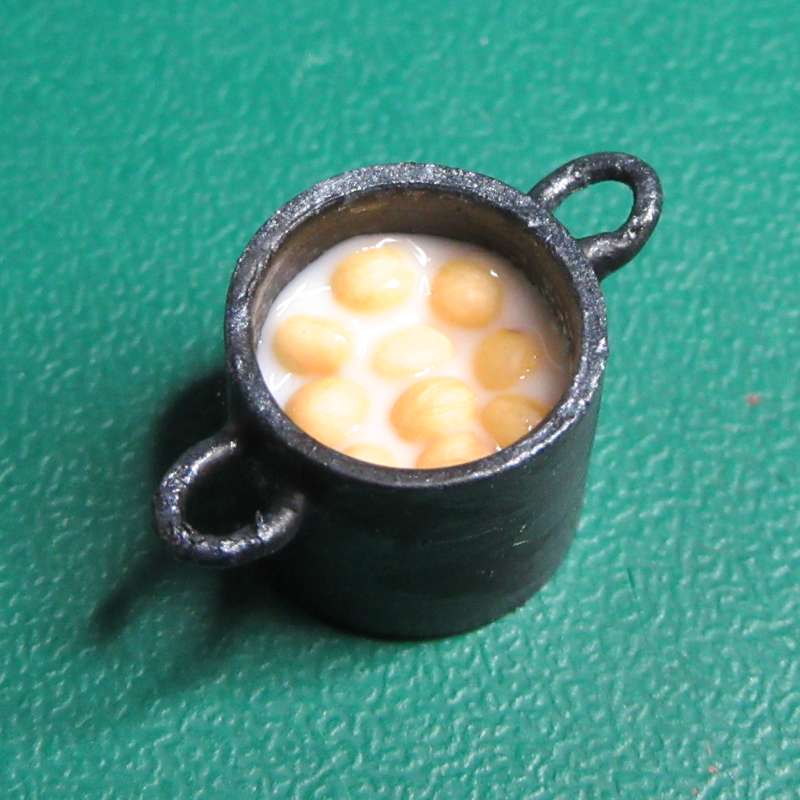
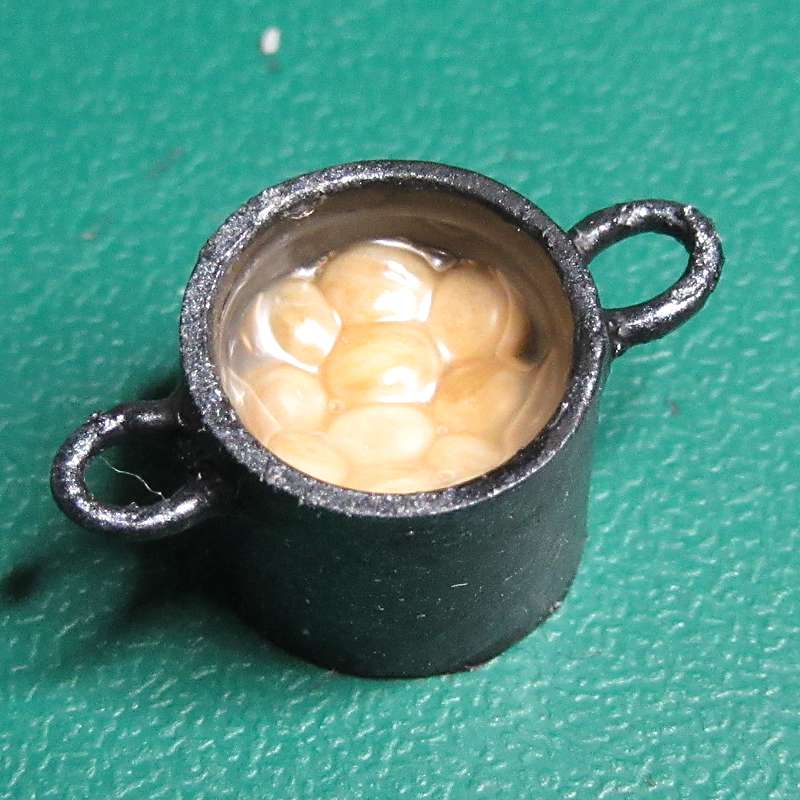
Saucepans

Making a saucepan from a superglue cap and a toothpick.

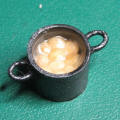
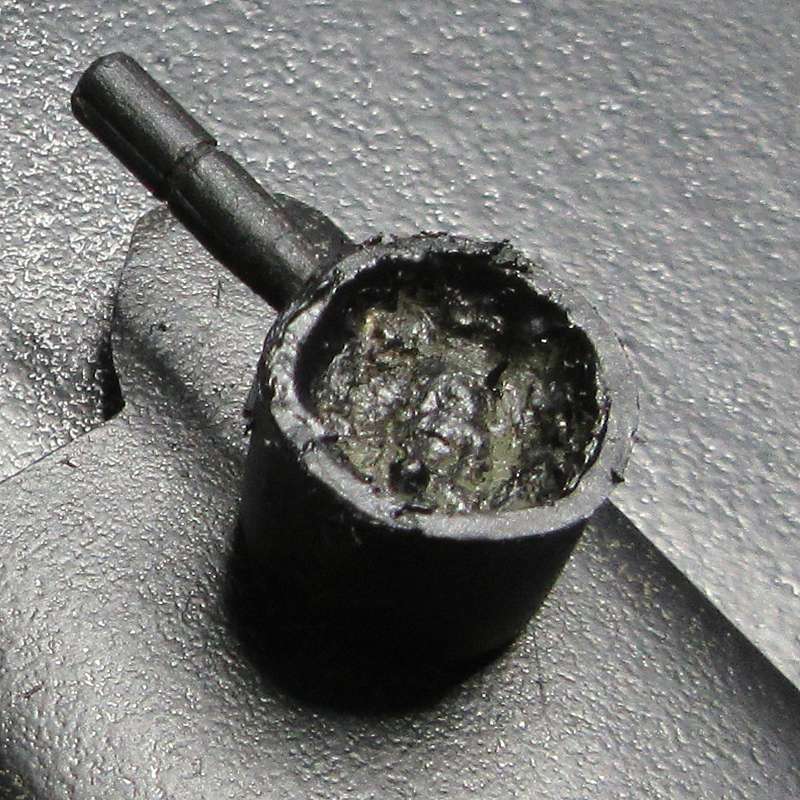
Saucepans #2

A different style of  saucepan with wire handles.

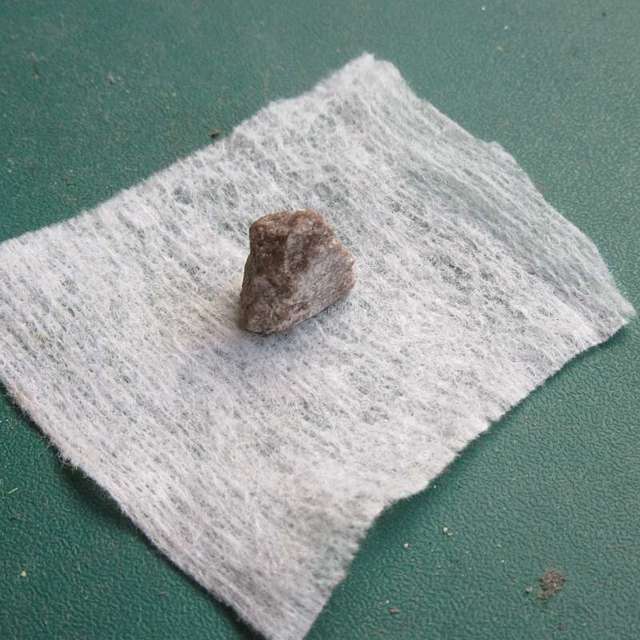
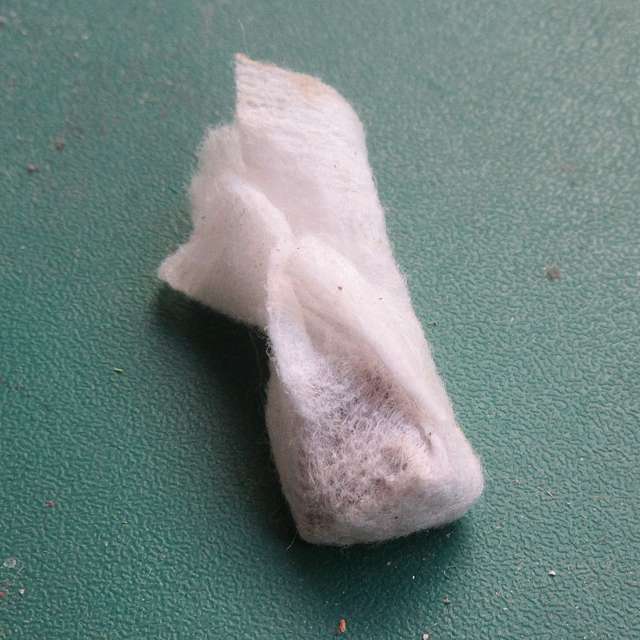
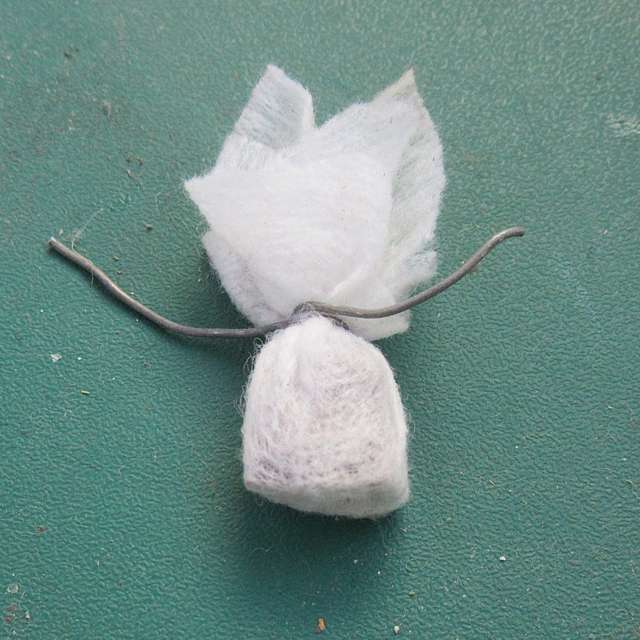
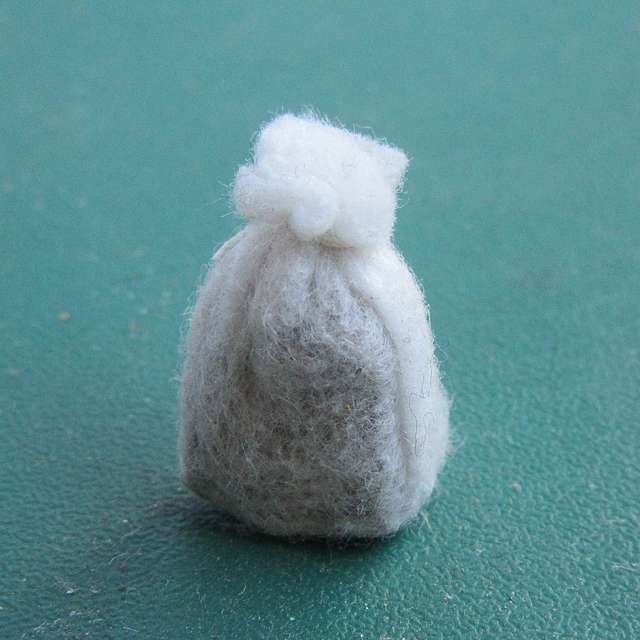
Simple Sacks

How to make sacks from stones and wet wipes.


Candles

Materials:

Cocktail stick / kebab skewer / dowelling / plastic rod

Plastic Sprue

Fuse Wire

Superglue

Stage 1

Drill a hole into one of the circular blobs on the sprue, the same diameter as your candle.

Stage 2

Superglue the candle in place, trim to length and cut from sprue.

Stage 3

Drill a very small hole in the top of the candle and superglue a length of thin fuse wire.

Stage 4

Cut wire to length. Drill a small hole in the base and add a small loop of medium fuse wire for a handle.

Stage 5

Paint in a suitable colour, then add dribbles of undiluted paint down the sides.


Gold Bars


Materials:

Plastic sprue (preferably the thinner parts - this is a warg sprue)

Stage 1

Cut the sprue on an angle to create a gold bar.

Stage 2

Paint them, er, gold? (or any other metallic colour).


Bottles, Pots and Urns

Materials & Equipment

wood dowelling
power drill

needle file

sandpaper or emery board

Stage 1

Fix the dowel tightly in the  chuck of an electric drill - we're going to use the drill as a primitive lathe.

Stage 2

Set the drill spinning at its fastest speed and use a needle-file to shape the wood.

Stage 3

When you've got the desired shape, smooth it using fine sandpaper with the drill still going.

Stage 4

Remove the dowel from the drill, and carefully trim it to length.

Stage 5

Insert a pin into the base so you can hold it whilst you paint the piece.


Coin Piles

Materials:

Plasticene

Thin rod with circular end

Plaster

Sandpaper

Stage 1

Make an indentation in the plasticene about the size you want your coin pile - I just used my finger to do this.

Stage 2

Using the rod, cover the whole of the indentation with small circular holes - do not press too deeply.

Stage 3

Wet the plasticene thoroughly with "wet water", and then fill the indentation with plaster.

Stage 4

Remove the plaster and allow to dry. Carefully sand any excess plaster from the back face, and indent the edges between the coins.

Stage 5

Prime in black, and then drybrush with metallic paints - here I used silver, and picked out a few gold coins.

Here is a pile of copper coins with a gem on top. I also added a number of loose coins around the main pile, which were cut from a plastic rod. A pile of silver with a sword and shield. And a pile of gold with potion bottles and a chalice added.


Glitter Treasure Piles (Click thumbnails for larger images)

Original post by Rastl - used by kind permission.

Materials:

Hot melt glue

PVA / White Glue

Circular shaped glitter

Jewels (beads or costume jewels)

Weapons, shields etc.

Black Ink

Stage 1

Gradually build up a pile of hot glue in layers, to the shape of the pile you require. When dry, add jewels and assorted treasure bits to the pile sticking them with PVA. Paint weapons etc. before fixing.

Stage 2

Carefully paint the rest of the pile with watered-down PVA, cover with your glitter, and leave to dry. Fill in any sections you have missed. When dry you can use a black ink wash to add depth & slightly dull the shine.


Scrolls   (Click thumbnails for larger images)


Materials (* optional):

Thin Cream-coloured Card

Cocktail Stick / Drill Bit

PVA / White Glue

* Cotton

* Modelling Clay

Stage 1

Cut a strip of cream card about 1/2" wide - this will be the length of the scroll.

Stage 2

Roll the card to make a scroll - it may be easier to roll it around a cocktail stick or drill bit to begin with. Then unroll it, and roll it tighter. Don't be too neat - a small offset at each end looks better.

Stage 3

Trim the excess when you have a thick enough roll. You now have a choice - you can secure the end with PVA, or leave a bit of the scroll showing, and stick the card further back.

Stage 4 (Optional)

For open scrolls, add some symbols to any exposed parts.

For closed scrolls, secure with a length of cotton.

Stage 5 (Optional)

Instead of cotton, you can add a wax seal from modelling clay. Roll a small ball, flatten slightly and impress a small drill bit into the centre to give a simple, but effective wax seal.


Closed Books   (Click thumbnails for larger images)


Materials:

Basswood / Balsa

Thin Card / Cereal Box

Superglue


Stage 1

Cut various book-sized lengths from a thin strip of basswood or balsa. You can sand them to different thicknesses to add extra variety.

Stage 2

Round off one edge to be the spine of the book. If you just want the spines of the books to be showing on a shelf, I would just paint and stick several of these together.

Stage 3

For a single book where you can see the pages, use superglue to fix the book onto some card, leaving a small overlap at the top and side.

Stage 4

Trim the card to be just over the width of the wooden piece, leaving another slight overlap at the bottom.

Stage 5

Add a small drop of glue to the uncovered section of card next to the wood, and carefully roll the book around the card.

Stage 6

Trim the loose end of the card strip, leaving a thin margin once again.

Stage 7

If you want an extra level of detail, you can scribe or cut grooves into the exposed pieces of wood to simulate pages.

Stage 8

I would recommend painting the books separately, before sticking them into position. This is made a lot simpler by sticking a pin into one end of the wood, and holding this whilst painting.


Open Books   (Click thumbnails for larger images)


Materials:

Basswood / Balsa

Thin Card / Cereal Box

Paper

Superglue


Stage 1

Sand off the edges of a strip of basswood or balsa - this piece is 1/4" wide by 1/16" thick. You want to get the profile of the top similar to that of an aeroplane wing.

Stage 2

Cut two pieces to the same length - when placed with the more sharply curved edges together, these will form the pages of the book.

Stage 3

Use superglue to stick the pages to a piece of card of cereal packet. Carefully trim around the wood, leaving a small piece of the card protruding to be the cover.

Stage 4

Here is the resulting book form, undercoated in white and ready for painting. This is a basic finished open book.

Stage 5

As usual when I start making things that I have already done, I decided to push the technique a bit further. I added a page cut from ordinary white paper to the centre.

Stage 6

Smear the paper with a drop of superglue and let that dry, before spraying it with a white undercoat.

Stage 7

Paint the pages in a cream colour, before adding thin washes of flesh ink to age them - leaving a darker colour in the fold. When dry, paint them with lettering, pictures, or whatever you like.

Stage 8

Having painted the plain book, I decided to add a different detail. The ribbon is a very thin strip of red paper glued carefully into place using superglue. Tweezers were essential for this.


Bottles from Beads   (Click thumbnails for larger images)

Materials:

Selection of glass / plastic beads

Dressmakers pins

Acrylic gloss varnish / PVA

Side-cutters

Inks

Stage 1

Take one of the pins, and thread some of the beads onto it to get the bottle shape you desire.

Stage 2

Apply a drop of neat gloss varnish or PVA to the beads, making sure that you get plenty into the joints. You may need to spread it around using another pin. Leave the assembly to dry.

Stage 3

Once the varnish is dry, you can simply slide the bottle off the pin.

Stage 4

Alternatively, you can leave the head of the pin as a cap or stopper for the bottle. Before trimming the pin, secure the point in a piece of clay, foam or wood to prevent it flying off and possibly causing injury.

Stage 5

If you like you can paint the bottles - inks work well to tint the glass, and if you have a steady hand - the addition of labels is a nice touch.

Bead Bottles #2 (Click thumbnails for larger images)

Materials & Equipment

Beads

Cocktail sticks

Craft knife

PVA

Stage 1

Attach one end of the cocktail stick into a bead with PVA. Allow to dry.

Stage 2

Trim the stick using the craft knife, leaving a small section protruding. The stick resembles a cork, or it can be painted if you prefer.

Bead Bottles #3 (Click thumbnails for larger images)

Materials & Equipment

Beads

Metal chain from a clothing tag

Heavy-duty pliers

Adhesive tape or modelling clay

PVA

Stage 1

Using the pliers, cut one of the links from the chain. You can use adhesive tape or modelling clay to stop the piece flying off.

Stage 2

Using PVA, attach the metal ball to the top of a bead to resemble a metal cap.


Metal Rings   (Click thumbnails for larger images)

Materials:

Solder, or other soft wire

Cocktail stick, kebab skewer or other suitable rod

Scalpel, craft knife or wire cutters

Pliers

Stage 1

Take a length of wire and wrap it tightly around the rod. The softer the wire, the easier it will be to achieve this.

Stage 2

Carefully cut the wire in a straight line along the length of the rod. Solder may be cut with a craft knife, but copper wire will almost certainly require cutters for this stage. Mark a line with the knife, then separate each ring carefully with the cutters.

Stage 3

Having separated the rings, the ends will be slightly offset due to the coiling. Solder can be flattened using fingers,  but copper will require a gentle squeeze from a pair of pliers.

Stage 4

Once the ring is flat, gently squeeze the sides to close the circle if necessary.

Stage 5

These rings can be used as door handles, curtain rings etc.


Goblets   (Click thumbnails for larger images)

Materials:

Dolls house coffee set

Round head nails

Pin vice & drill bit

Craft knife

Heavy duty wire cutters

Superglue

Stage 1

The heads of the nails form the stems of the goblets. Trim to a suitable length with heavy duty wire cutters. Clamp the point of the nail or push it in some modelling clay whilst doing this, to prevent it causing any damage.

Stage 2

Carefully trim the handle from the cup with a craft knife, and clean up any mould lines.

Stage 3

Select a drill bit which matches the width of the nail, and drill a hole in the centre of the base of the cup.

Stage 4

Superglue the nail head into the hole in the cup.

Stage 5

To cover the joint on the inside of the cup, add a small drop of neat silver paint. As an alternative, add some liquid  - the red wine is a mix of red and black ink with gloss varnish.

Weights (Click thumbnails for larger images)

Materials & Equipment

Sprue from plastic models

Plastic rod or cocktail stick

Thin wire or solder

Pin vice & drill bits

Superglue

Craft knife

Paint & brushes

Stage 1

Trim one end of the sprue to match the angle of the sides. Trim the opposite side at the same angle, leaving a square top.

Stage 2

Drill a small hole in the centre of the top to accept a wire loop.

Stage 3

Wrap a length of thin wire once around the shaft of a drill bit. Trim the excess wire to leave a circle with a short straight 'tail'. Trim the tail to a length that will fit inside the plastic weight.

Stage 4

Attach the wire loop to the weight with a small drop of superglue.

Stage 5

Make a smaller weight in the same way from a thinner section of sprue, and cut thin discs from different sizes of plastic rod or wooden sticks to represent smaller weights.

Stage 6

You can now glue the weights in place on your model. If you want to finish them separately, attach them to a strip of masking tape to keep them steady for spraying or brushing on the paint.

Stage 7

I painted mine to look like brass, but any metallic colour should look fine.


Brass Bowls (Click thumbnails for larger images)

Materials & Equipment

Brass paper fasteners

Needle-nose pliers

Stage 1

Bend the arms of the paper fastener back and forth until they break off.

Stage 2

Using the needle-nosed pliers, crimp the remaining section of the arm tight against the side of the bowl.

Example 1

One bowl with mustard seed which resemble chicken eggs or new potatoes, and one with coriander seeds which resemble onions.

Example 2

Two bowls added to a set of balance scales.


Weighing Scales coming soon


Weighing Scales (Click thumbnails for larger images)

Materials & Equipment

Pendant Clasps aka 'bails' or 'bead caps'

Crimp bead, Florist's wire or Paper Clips

Toothpick or cocktail stick

Brass paper fasteners

Needle-nose pliers

Pin vice

Superglue, Paint & brushes

Stage 1

Insert the end of a toothpick into one of the jewellery bits you are using as a base. You may need to sand the wood a little to get a snug fit.

Stage 2

Flatten out the bead cap - use a pair of pliers if it helps.

Stage 3

Using the pliers, bend the arms back and forth until they snap off from the centre, leaving two arms as shown in the next picture.

Stage 4

Place the bead cap piece onto the toothpick where it looks right and mark the position of the hole and the top of the metal piece.

Stage 5

Make a small hole in the middle of the toothpick in line with the hole in the metal, then trim the top.

Stage 6

Add the crimp bead to the top of the toothpick. You may need to remove a little of the wood to get a good fit.


Stage 7

Insert the point of the toothpick through the metal and into the hole, then trim to length.


Stage 8

Make two brass bowls from the paper fasteners.
 

Brass Bowls

Stage 9

Make a hoop of florist's wire to fit inside the paper fastener bowl and cut the legs to length. Make a second hoop. You can use a paper clip if you prefer.

Stage 10

Feed the hoops through the holes in the arms and fix the bowls to the bottom of the hoops. When you are happy with the position, add a small amount of superglue to each of the joints.

Stage 11

Paint the model in your choice of colours.


Test Tubes (Click thumbnails for larger images)

Materials & Equipment

Bugle Beads (clear if you can find them or silver works)

Inks

Clear gloss varnish

Detail Paintbrush

Permanent Markers (Sharpies)

Pins

Stage 1

Insert one pin per tube into a sheet of card or foam, and place a bead on each. This will hold them securely.

Stage 2

Apply a mix of clear gloss varnish and ink to the lower part of each bead. Allow to dry before removing the beads from the pins.

Stage 3

Alternatively, you can add colour to the tubes using permanent markers.


Example 1

Here are some of the painted test tubes in a small rack.


Test Tube Racks

Example 2

A second rack containing tubes coloured with permanent markers.

Test Tube Rack (Click thumbnails for larger images)

Materials & Equipment

Finished test tubes (see above)

Plastic card (old ID card)

Craft stick or coffee stirrer

Craft Knife

Pin vice & drill bit

PVA

Paint & paintbrush

Stage 1

Cut a strip of the plastic card roughly 3x the diameter of the test tubes. Mark a centreline, then mark the position of a hole for each tube.

Stage 2

Drill the holes using the pin vice and a suitable drill bit.

I tried to make this piece from a couple of different wood strips, but it split each time.

Stage 3

Trim a strip of wood to the same width as the plastic piece with the craft knife.

Mark and cut two pieces a little shorter than the tubes, and one a little wider than the holes in the plastic. 

Stage 4

Glue the short strips to either end of the longer one using PVA. Allow to dry. 

Stage 5

Place the plastic strip so the holes are aligned centrally, and attach it to the base assembly with PVA. Allow to dry. 

Stage 6

Turn over the assembled parts, and trim the plastic strip level with the wood ends.

Stage 7

Attach a slightly larger strip of wood to the base with PVA. Once the glue has dried, prime and paint the model.

Stage 8

The finished rack with the test tubes added.


Test Tubes

Saucepans (Click thumbnails for larger images)

Materials & Equipment

Plastic tube or superglue cap
Toothpick or cocktail stick
Razor saw, Craft knife

Tweezers

Pin vice

Hot glue gun and glue

Superglue, Paint & brushes

Stage 1

Cut a length of plastic tube or a superglue cap to a suitable size - most saucepans are wider than their height, for stability.

Stage 2

Trim any swarf from the saw cut with a sharp knife.

Stage 3

Cut a length of toothpick or cocktail stick to be a handle.

Stage 4

Drill a hole near the top of the pan, to fit the handle.

Stage 5

Insert the handle into the hole.

Stage 6

Squirt hot glue into the pan to form the contents. Since my glue cap has splines and I deliberately left the handle too long, the glue acts to cover the splines and secure the handle.


Stage 7

Once you have enough glue, you probably need to work it with the tip of the glue gun to get it into the corners and add a little texture.


Stage 8

Once the glue has cooled, spray the model with a black primer.
 

Stage 9

Paint the model in your choice of colours. I brushed a little pewter on the metal parts, and painted the contents in shades of brown, and varnished it to resemble some sort of stew.


Saucepans #2 (Click thumbnails for larger images)

Materials & Equipment

Plastic tube or superglue cap

Modelling clay

Mustard seeds
Solder
Razor saw, Craft knife, Tweezers

Gel superglue, PVA

Paint & brushes

Stage 1

Cut a length of plastic tube or a superglue cap to a suitable size - most saucepans are wider than their height, for stability. This is the open end of the superglue cap with a little modelling clay in the bottom.

Stage 2

Wrap a length of solder around a paintbrush handle.

Stage 3

Cut the ring of solder to make two semi-circles. Squeeze the ends together to form more of a horseshoe shape.

Stage 4

Use a pair of tweezers to hold a wire handle, and apply a small blob of gel superglue to each end. Attach one handle to each side of the pan near the top edge.

Stage 5

Once the glue has set, spray the model with black primer.

Stage 6

Paint the model in your choice of colours. I used a pewter colour.


Stage 7

Add a couple of drops of PVA to the inside of the pan.


Stage 8

Add a layer of mustard seeds, press them into the PVA and set the model aside to dry.

Stage 9

Once dry, add more PVA if you want to increase the water level in the pan. Several thin layers will dry much faster than one thick one.

Example

The finished pan with eggs or potatoes boiling away.


Simple Sacks   (Click thumbnails for larger images)

Materials & Equipment:

Small stone with a flat side - one removed from the tread of your car tyre should be perfect

Dry wet wipe
Cotton thread
Bag tie or solder
Scissors

Stage 1

Cut a piece of the wet wipe material about 50mm (2") square.

Stage 2

Fold the material around the stone.

Stage 3

Loosely secure the neck of the sack with a bag tie or a short length of solder. This leaves both your hands free to tie the thread.

Stage 4

Wrap the cotton thread around the neck of the sack a few times and knot it securely in place. Remove the temporary fixing.

Stage 5

Trim the thread and the neck of the sack with a sharp pair of scissors.

Stage 6

Paint the sack in your choice of colours.


free page counter

Contact me with suggestions, comments or questions.

These articles are provided under this Creative Commons Licence: