|
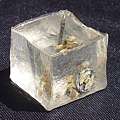
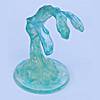
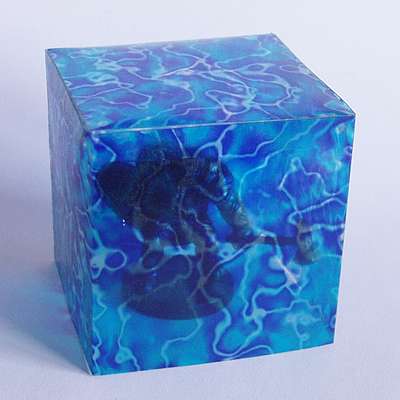
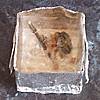
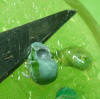
Gelatinous Cube
(Click thumbnails for
larger images) |
|
 |
Materials:
Tin Foil
Clear resin
Gloss Varnish
Contents of cube - I'm putting a skeleton in mine. |
 |
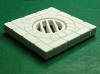
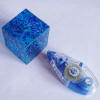
Stage 1
Fold a cube
from a single piece of foil - I wrapped it round some lego. Paint your
pieces to put inside, and use a blob of varnish to glue them down. |
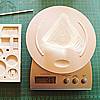 |
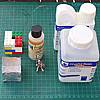
Stage 2
Weigh out your
resin components, and mix. I always have a clean mould handy when I mix
resin, to use up any surplus. |
|
 |
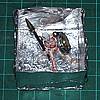
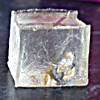
Stage 3
Pour the resin
into the foil mould and cover to prevent dust until cured. Depending on the strength of the foil it may need
some support . |
 |
Stage 4
Remove the
foil from the outside of the cube once it's completely dry. You may have
to scrape some bits off with a craft knife. |
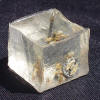 |
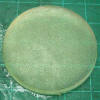
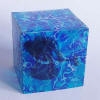
Stage 5
Give the sides
a couple of coats of gloss varnish, to make them more transparent. |
|
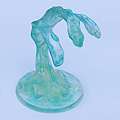
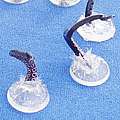
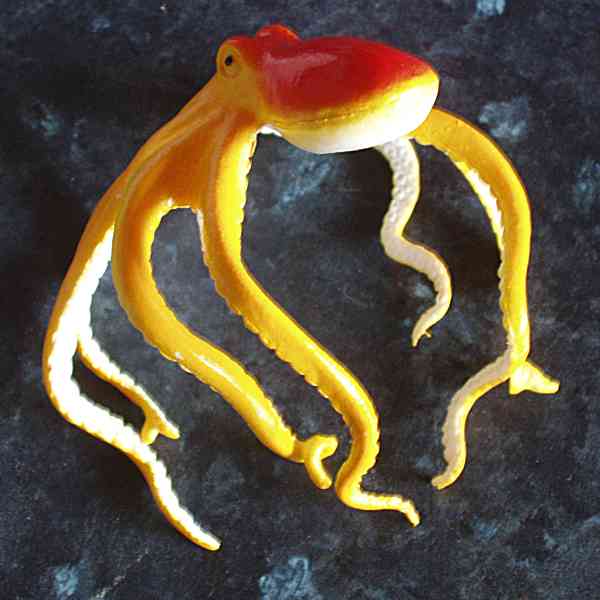
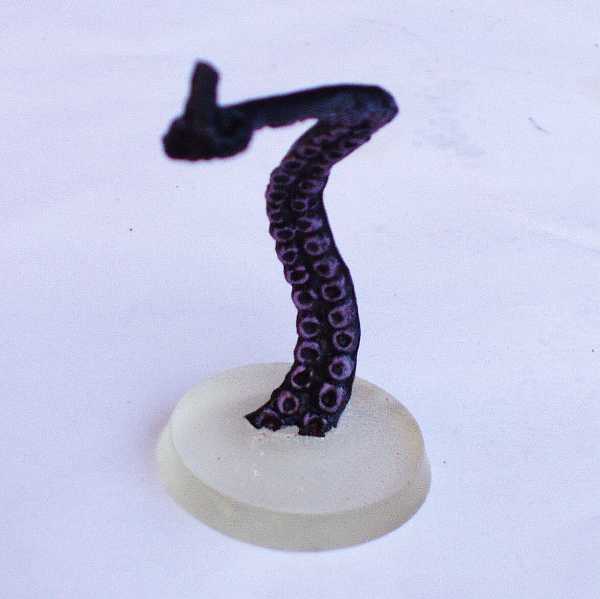
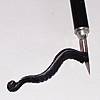
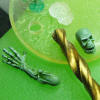
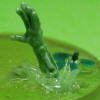
Tentacles
(Click thumbnails for
larger images) |
|
|
Materials:
Plastic
octopus
Clear bases
Epoxy Resin
Clear Silicone
Sealant |
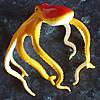 |
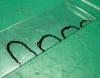
Stage 1
The octopus
was originally flat. To curve the tentacles, I tied them together and
soaked the toy in hot water. When it cooled they stayed curved as I
wanted. |
 |
Stage 2
Spray the
model, then remove the tentacles. Hold each over the table, then trim
the end to a suitable angle. |
|
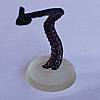 |
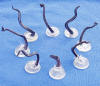
Stage 3
Attach each of
the tentacles to a base, and paint them. |
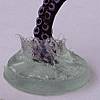 |
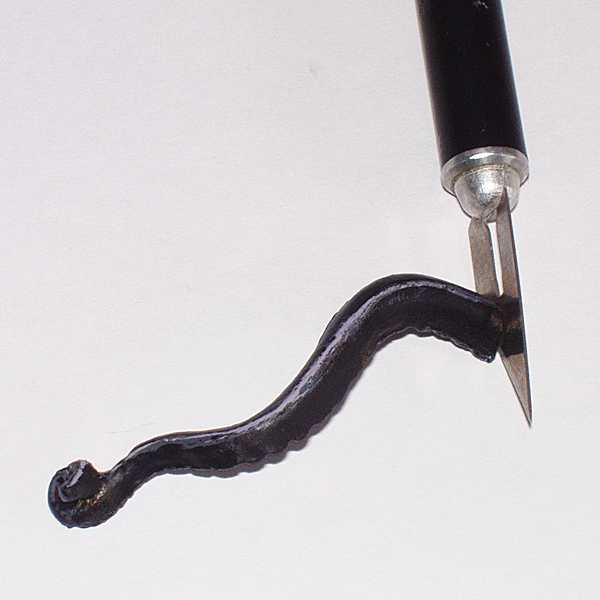
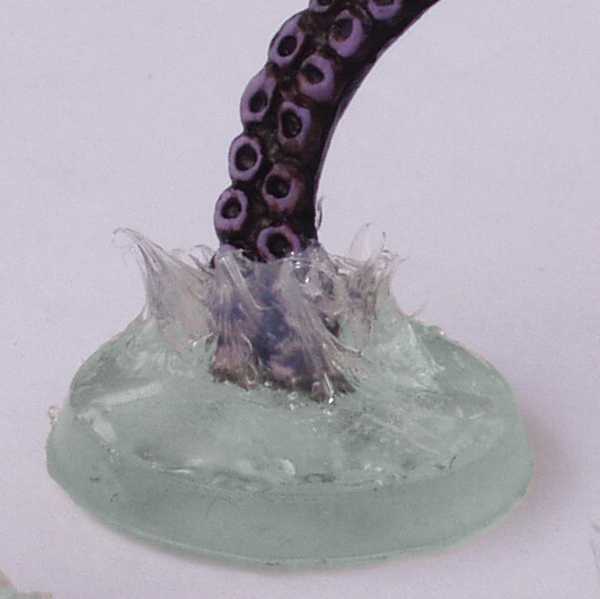
Stage 4
Smear the top
of the base with clear epoxy. When dry, add some clear silicone sealant,
and use a pointed tool to add water splash around the tentacle. |
 |
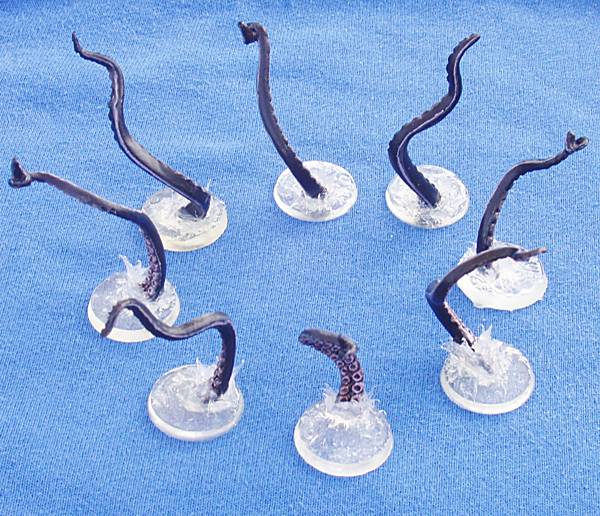
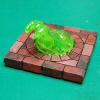
Stage 5
I use these as Evard's Black Tentacles. |
|
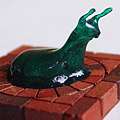
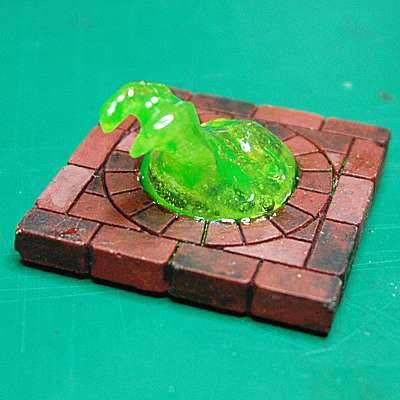
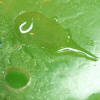
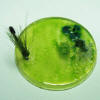
Slime Slugs
(Click thumbnails for
larger images) |
|
|
Materials:
Base
Clear Plastic
Sheet (Blister Pack)
Clear Epoxy
Adhesive (Araldite Instant)
Acrylic Gloss
Varnish
Ink |
 |
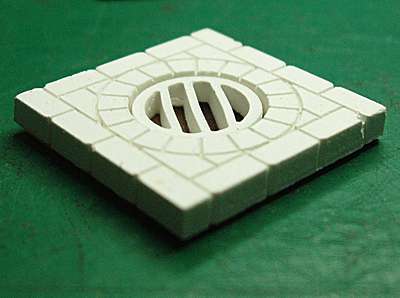
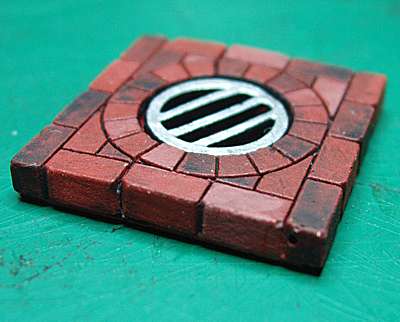
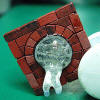
Stage 1
Select a suitable base for your model - this one is from
A&K Tiny Bricks Floor Tiles range. |
 |
Stage 2
Paint the base as desired. |
 |
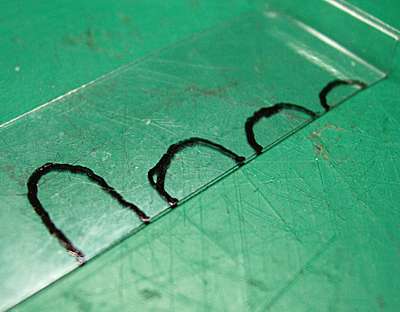
Stage 3
Cut some ribs from the clear plastic sheet - I made one
for each slot in the grate. These will make it easier to form the shape
of the slug. |
 |
Stage 4
Glue the ribs to the base. I used acrylic gloss varnish
to attach mine, and filled the slots with varnish too. The epoxy I used
is quite viscous, and I wasn't certain it would flow into the small
spaces in the grate. |
 |
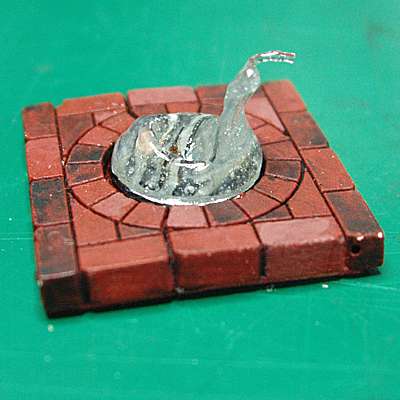
Stage 5
Once any glue or varnish is thoroughly set, mix a small
amount of epoxy adhesive. Apply this to the model between the ribs with
a fine applicator - a toothpick or cocktail stick is perfect. |
 |
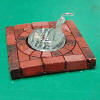
Stage 6
Gradually build up the shape you want using more epoxy,
allowing each layer to set before applying another. The eye-stalks were
drawn out carefully when the epoxy was almost set. |
 |
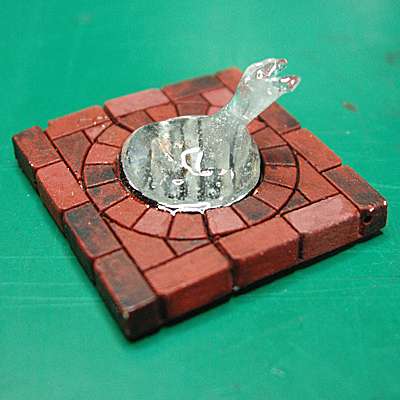
Stage 7
Clamp the model with the eye-stalks pointing downwards,
and add a drop of acrylic varnish to the end of each. |
 |
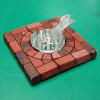
Stage 8
Finally add a little colour to the model, if you like.
Mix a little ink with some gloss varnish and coat the whole slug. |
|
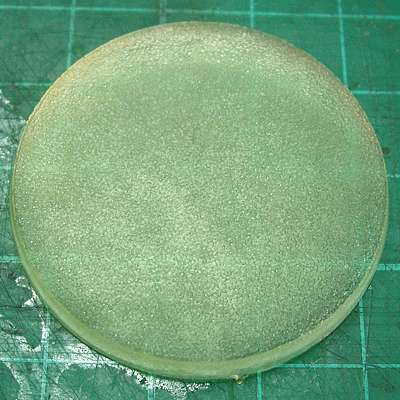
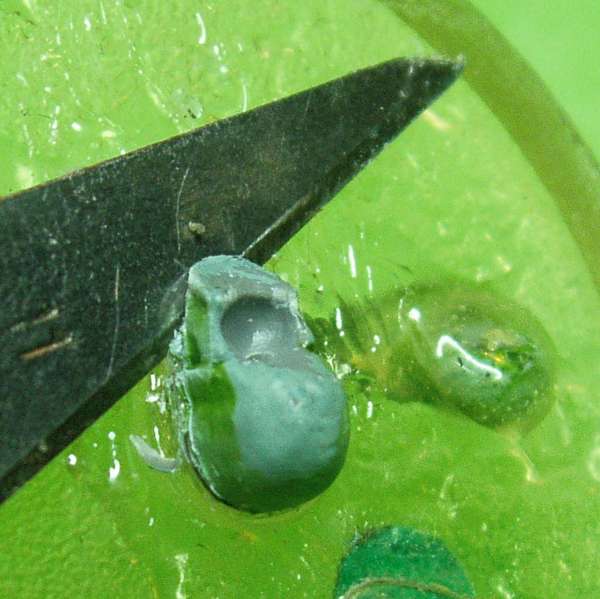
Submerged Body
(Click thumbnails for
larger images) |
|
 |
Materials:
Clear Model Base
Pin Vice &
Drill Bits
Clear Epoxy
Adhesive
Clear Silicone
Sealant
Acrylic Gloss
Varnish
Paint & Inks
Spare Zombie Parts |
 |
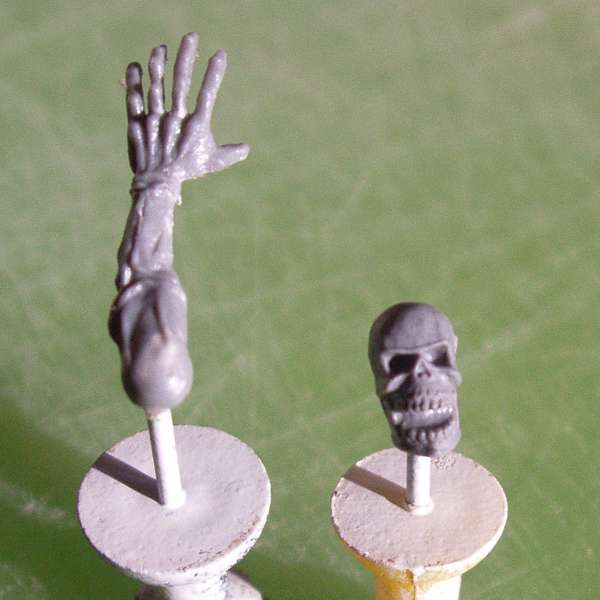
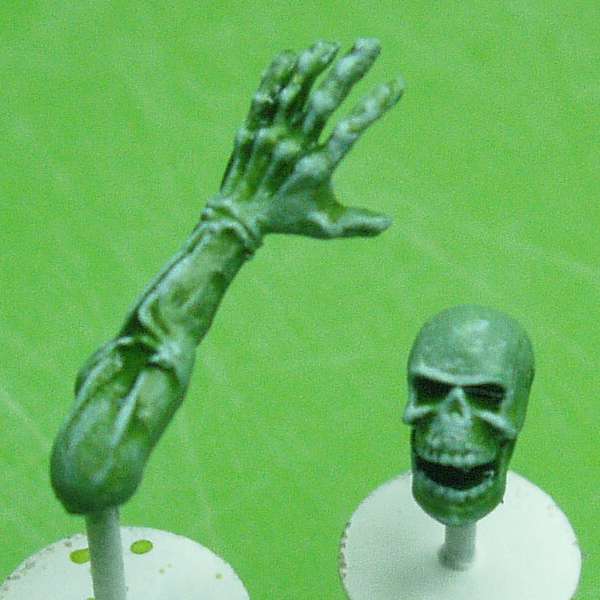
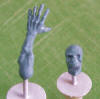
Stage 1
Take a spare head and arm from the zombie sprue, and
clean off any flash and mould lines. |
 |
Stage 2
Mount the parts on map pins, and blu-tack them to a piece
of card. This will allow you to undercoat them evenly all over, and
makes painting subsequent layers much easier. |
 |
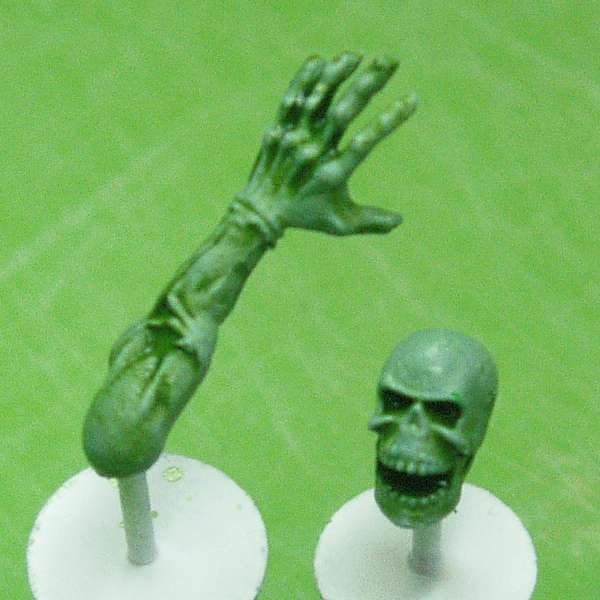
Stage 3
For a base coat mix a tiny amount of blue into a drop of
flesh colour. |
 |
Stage 4
Wash with a mix of green & flesh ink washes. |
 |
Stage 5
Mix the base colour with slightly less blue and carefully
apply highlights.
|
 |
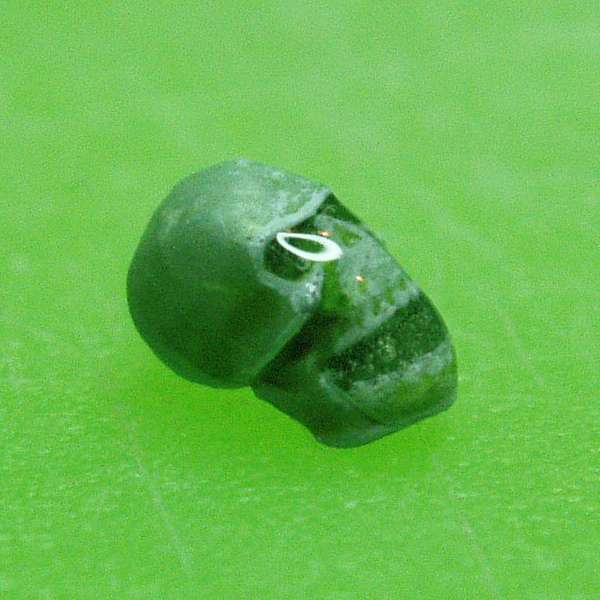
Stage 6
Drill a hole right through the base to fit the arm. Drill
a suitable cavity part way into the underside of the base to accept the
head. |
 |
Stage 7
Mix a couple of drops of clear epoxy adhesive. Using a
cocktail stick, smear some of the glue over the face, ensuring any
cavities are filled with no air-bubbles. |
 |
Stage 8
Use more of the epoxy to part fill the cavity in the
base, again ensuing not to leave any air-bubbles. |
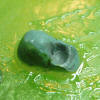 |
Stage 9
Stick the head into the cavity face first. Turn over to
check you have no bubbles, and then leave to set. |
 |
Stage 10
Mix another small amount of epoxy, and glue the arm into
the hole. Leave to dry thoroughly. |
 |
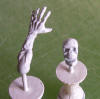
Stage 11
Using a craft knife or a razor saw, carefully remove the
back of the head, and any of the arm which protrudes below the underside
of the base. |
 |
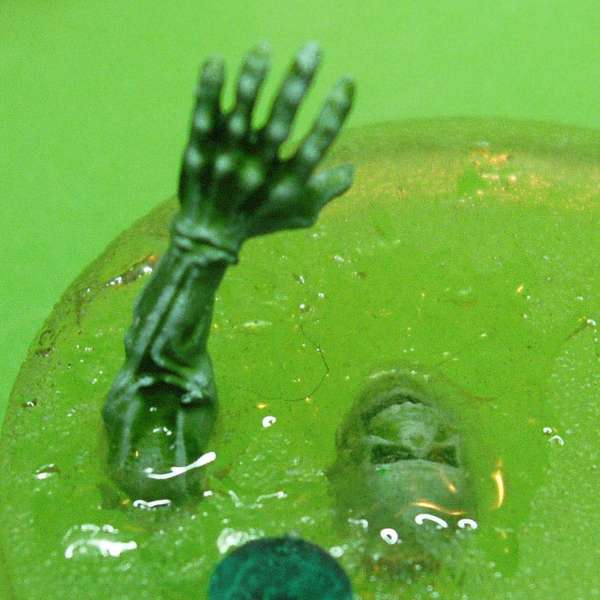
Stage 12
Cover the arm, and the top of the base liberally with two
thick coats of clear varnish. |
 |
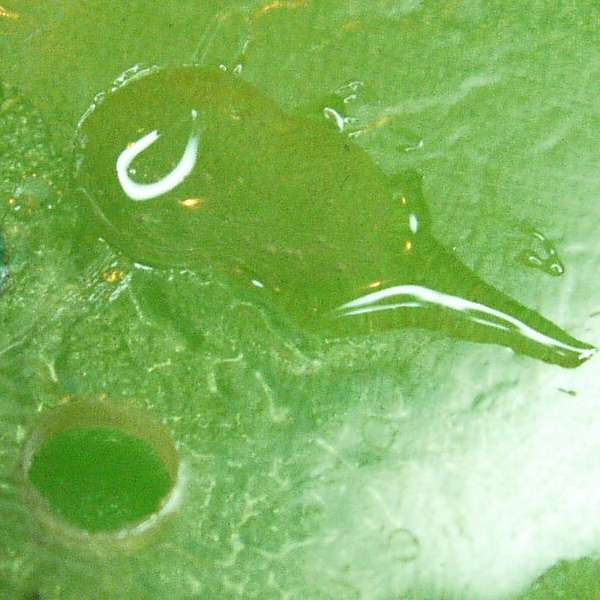
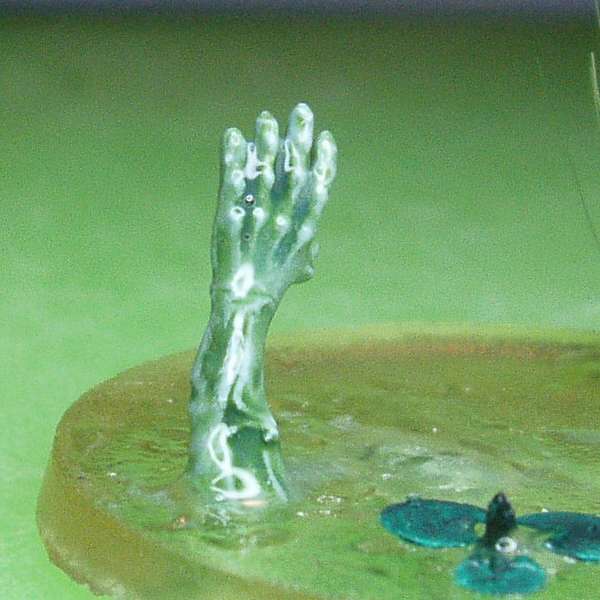
Stage 13
Add a small quantity of clear silicone sealant to the
base of the arm. Use the tip of a cocktail stick to draw out some "water
splashes". |
 |
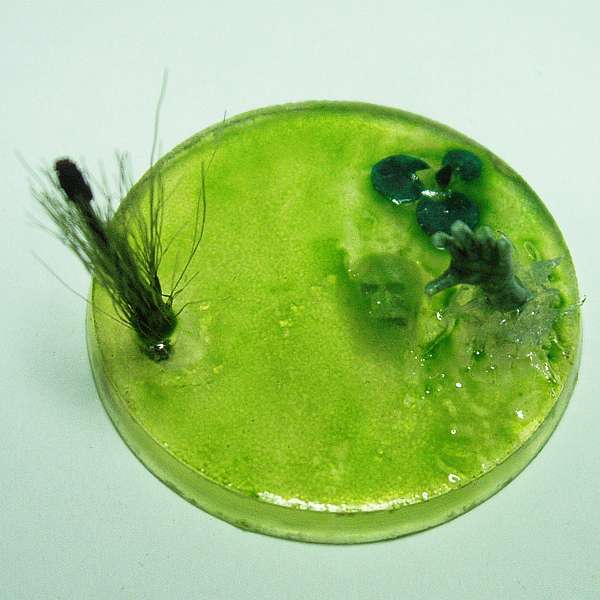
Stage 14
If you want the water to appear murky, use a mix of
green, brown and yellow ink washes on the upper surface of the base. |
|
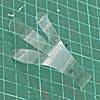
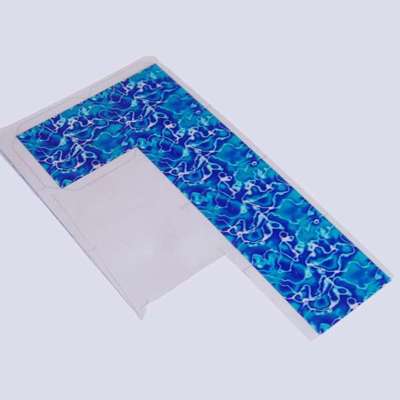
Cube of Force
(Click thumbnails for
larger images) |
|
 |
Materials:
Colour printer
Suitable
acetate
Click the image on the left to open the .pdf file. |
 |
Stage 1
Download and print the .pdf file onto acetate suitable
for your printer. |
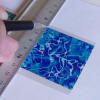 |
Stage 2
Place the acetate with the printed side
down, and score the fold lines using the back of a craft knife. |
|
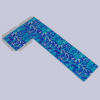 |
Stage 3
Carefully cut around the edges of the piece with a sharp
knife or scissors. Fold the piece along all the scored lines. |
 |
Stage 4
Attach double-sided tape to each of the tabs, and
assemble the cube. |
 |
Stage 5
The finished cube should be 5cm (2")
on each side, and should fit comfortably over most
miniatures. |