| Contents | |||||||
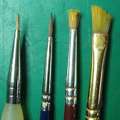 |
Brushes About different brushes used for model painting. |
|
More
Brushes Some more unusual tools which can be used to apply paint.
|
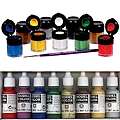 |
Paints,Inks etc. Introduction to different media used for painting models. |
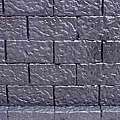 |
Undercoating How to undercoat models. |
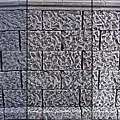 |
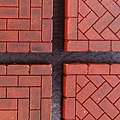
Drybrushing An introduction to the drybrushing technique.
|
 |
Washes How to make and use different wash mixtures.
|
|
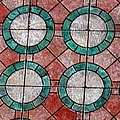
Stippling Stippling paint to create texture. |
 |
Tinting or Glazing Applying thin layers of colour to change the look.
|
|
|
Spattering Flicking random dots of paint from a toothbrush. |
||||||

|
Brushes (Click thumbnails for larger images) |
|||||
|
1. Sable & soft synthetic brushes These brushes are best used for detailing or adding washes and tints to terrain models. The third one has been used for drybrushing, which has made all the bristles splay out. |
2. Hogshair / Bristle brushes These are the perfect brushes for undercoating and drybrushing building models. Notice the two flat brushes on the left have been "eaten away" by repeated use for drybrushing. |
3. Household paint brushes These can be useful for covering large areas, although the bigger the brush, the more paint you will waste. |
|||
|
Undercoating (Click thumbnails for larger images) |
|||||
|
1. This wall section was undercoated using a No. 6 flat bristle brush and emulsion paint straight from the tin. This usually leaves a few areas without any paint, especially in the joints and cracks (magnified in picture). It is difficult to spot these areas until the paint has dried. Always allow one side of the model to dry thoroughly, before undercoating the other, since the moisture in the paint will soften PVA adhesives. |
2. Once the base coat is dry, go back and cover any areas which you missed. You can thin the paint with water now, which will help it to be drawn down into the cracks. Again, it is best to do one side first, and allow the paint to dry before painting the other. |
3. Spray paint can be very useful to undercoat smooth blocks because it will not leave any brush marks.
ALWAYS spray in a well-ventilated place, preferably outside on a calm day. |
|||
|
NOTE: Drybrushing will ruin brushes - don't use your best sable brushes unless you have money to burn. I prefer to use cheap flat hog bristle brushes for this purpose. |
|
Stippling (Click thumbnails for larger images) |
|||||
|
Materials Old brush with splayed bristles Household emulsion or acrylic paint |
1. Spread a small amount of paint thinly on your palette. Gently jab the dry tip of the tatty brush into the paint, keeping the brush vertical. Now jab the brush onto a piece of paper, until you only make subtle patchy marks. Now apply the paint to the desired areas of the model. |
2. Repeat the same technique using a different colour to build up the textured effect. This method is the basis for all the marble effects I have shown on the Painting Stone Finishes page. |
|||
|
Different stippling patterns can be made using other materials to apply the paint - natural sponges, pan scourers, wire wool etc. Don't be afraid to try different things on a sheet of card, and please let me know if you come up with anything interesting. |
Contact me with suggestions, comments or questions.
These articles are provided under this Creative Commons Licence:


