|
Materials & Tools
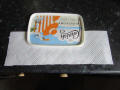
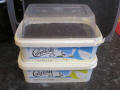
Two (matching) empty plastic tubs
- preferably with a lip around the edge of the lid.
Clear plastic tub (optional)
Kitchen roll
Craft knife /
Scissors
Compost
|
 |
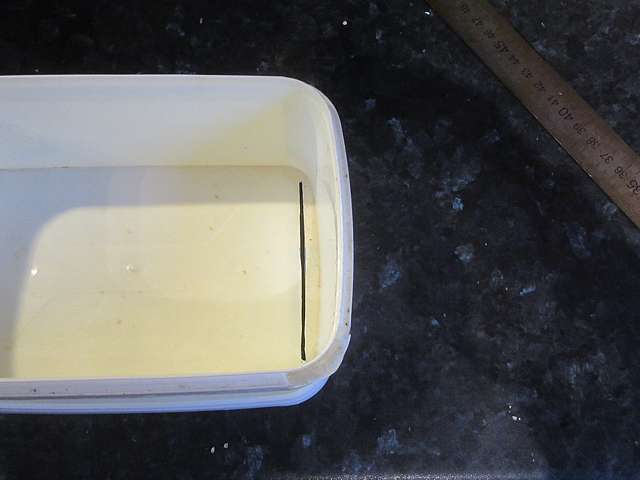
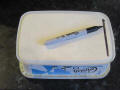
Step 1
Mark a slot along one end of the
lid.
|
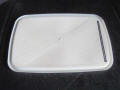 |
Step 2
Carefully cut the slot with the
craft knife and/or scissors.
|
 |
|
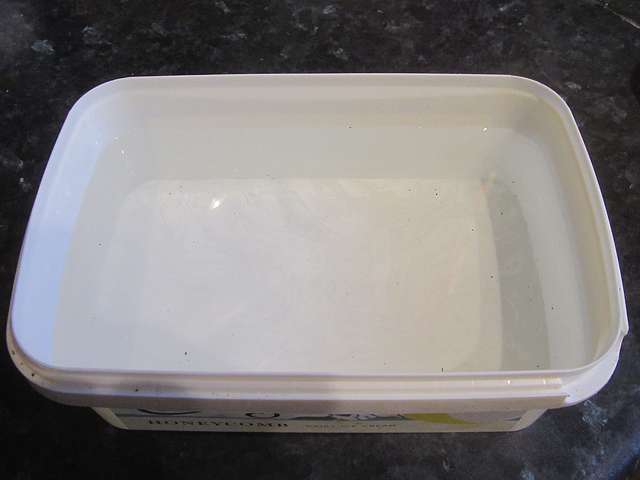
Step 3
Place the lid upside down on the
tub, and mark the position of the slot onto the base of the tub. |
 |
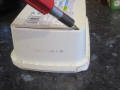
Step 4
Carefully cut the slot in the
base with the craft knife and/or scissors.
|
 |
Step 5
Check that both slots line up
nicely - trim if necessary.
|
 |
|
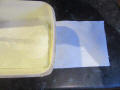
Step 6
Cut a sheet of kitchen roll to
roughly the width of the lid. |
 |
Step 7
Feed the kitchen
roll through both slots, leaving enough paper inside to cover
the base of the tub. |
 |
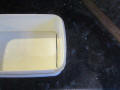
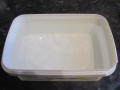
Step 8
Fill the lower (complete) tub
with water. |
 |
|
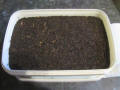
Step 9
Fill the upper tub with finely
sieved seed compost over the kitchen towel. |
 |
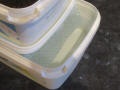
Step 10
Drape the trailing part of the
kitchen towel into the water in the lower tub, then seal the lid
onto the tub. |
 |
Step 11
Fit a clear plastic tub upside
down as a propagator lid.
|
 |
Notes:
|
- The system works by
capillary action, drawing water along the fibres of the
kitchen roll to provide a steady supply of water to the
compost in the upper tub.
- A full tub of water
should keep the compost moist for over a week,
providing stable conditions for any seeds to germinate.
This makes it an ideal solution for people who can only go
to their allotment at weekends, or to start seeds whilst you
are on holiday.
- Transplant seedlings into
pots once they are large enough to handle.
|