|
Materials & Tools
Timber, Bricks, Wood Screws,
Compost / Soil,
Plastic sheet, panels, or vinyl flooring.
Measuring tape, String, Pegs,
Spade, Fork, Hammer, Axe, Saw,
Drill & bits
|
|
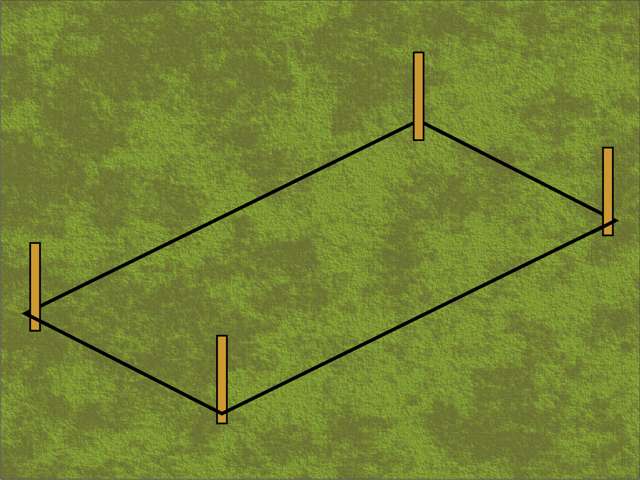
Step 1
Peg out the area where the bed
will be situated. Beds can be as long as desired, but should be
no more than 1.2 metres / 4 feet wide, to allow you to reach the
centre from both sides without standing on the soil. |
 |
Step 2
Remove any grass and weeds from
the area. In some areas you may get away with covering the area
with a layer of cardboard, however our allotment site has a lot
of couch grass and horsetails, which will not be killed by
excluding light, and should be dug out, along with deep-rooted
weeds like dandelions and docks.
|
 |
|
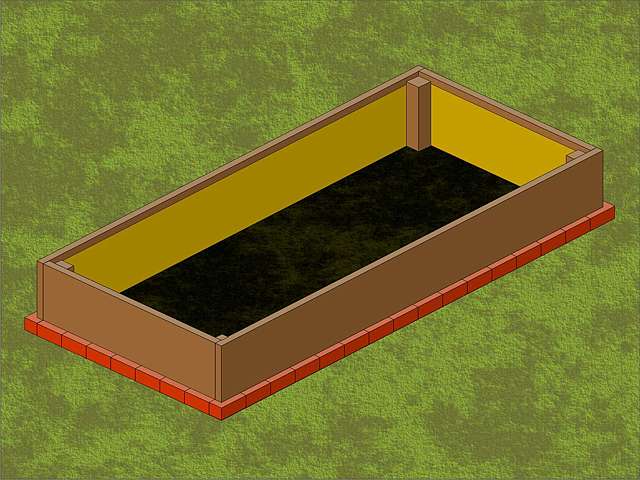
Step 3
Lay a row of bricks all around
the perimeter. These will prevent the frame sitting in wet soil,
and will help prolong the life of the timber. |
 |
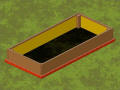
Step 4
Cut the timber for the framework
and screw the boards together at each corner.
|
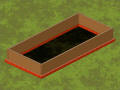 |
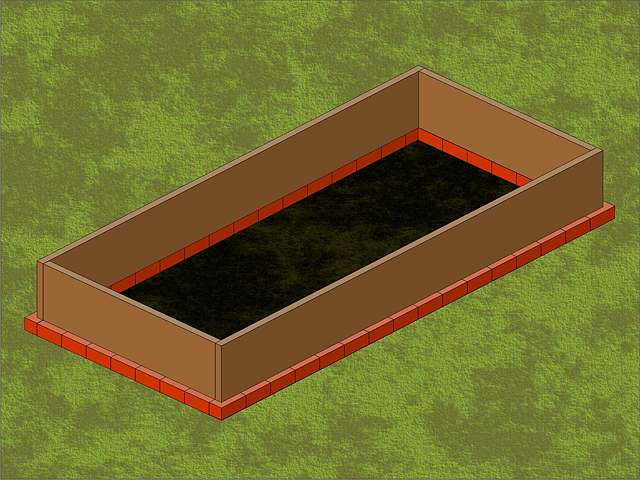
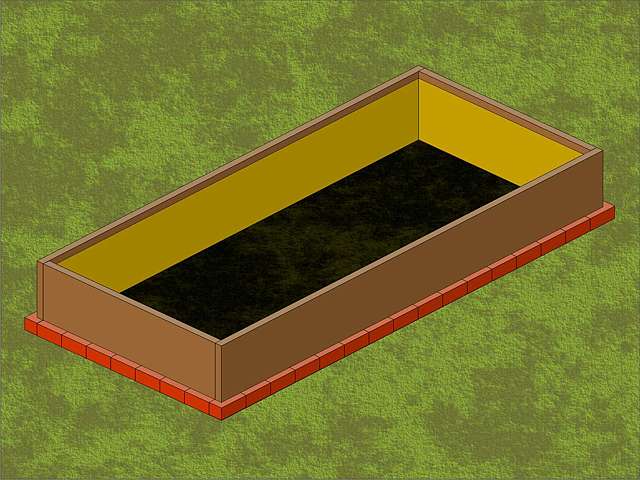
Step 5
Line the timber with an
impervious layer of plastic sheeting, plastic panels or vinyl
flooring. Again, this will
help prolong the life of the timber.
|
 |
|
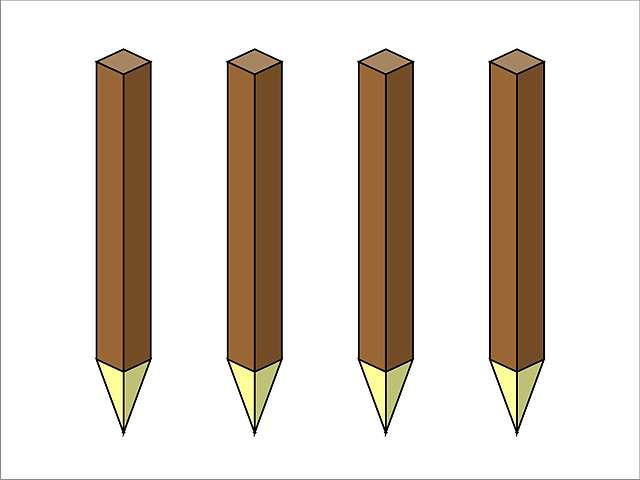
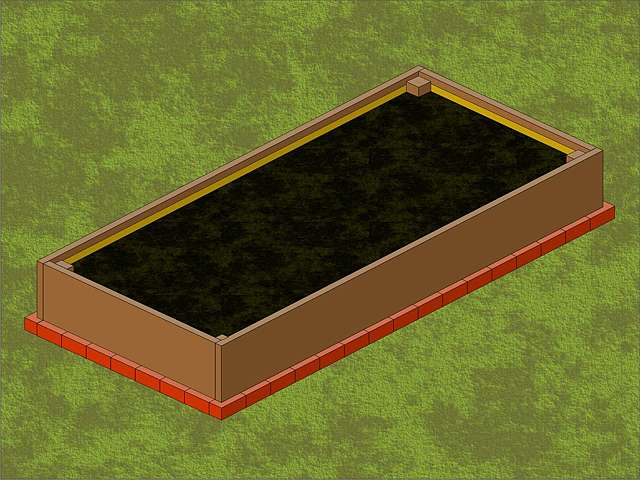
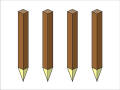
Step 6
Sharpen one end of four posts
using a hand-axe.
|
 |
Step 7
Drive a stake into each corner of
the bed. Screw through the frame to secure it to the stakes.
|
 |
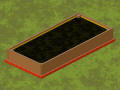
Step 8
Fill the bed with soil, compost
or a mixture of both. It is worth sieving the soil to remove any
weeds, stones, glass, plastic etc. |
 |
|
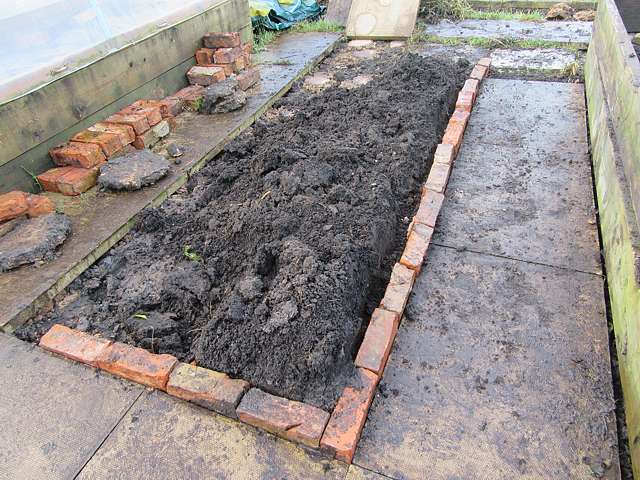
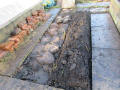
Example 1
Flagstones lifted from the left
side of the area. |
 |
Example 2
Laying bricks around the
perimeter of the bed.
|
 |
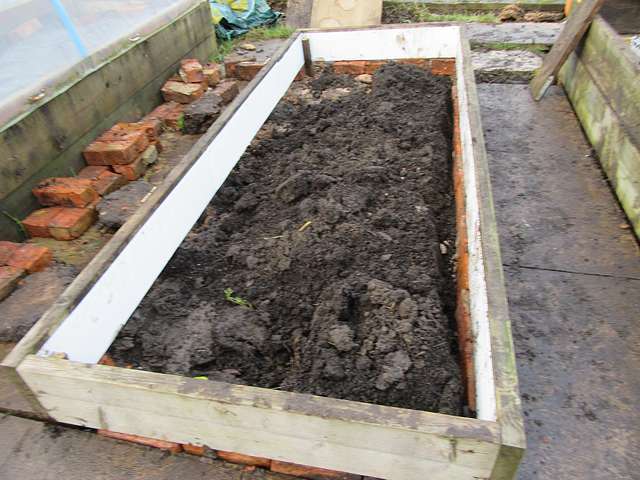
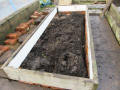
Example 3
The pads of mortar removed, and
the underlying soil dug and weeded. Timber frame fitted, lined
and screwed to the corner-posts.
|
 |
|
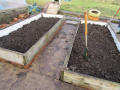
Example 4
Filling the finished beds with
soil.
|
 |
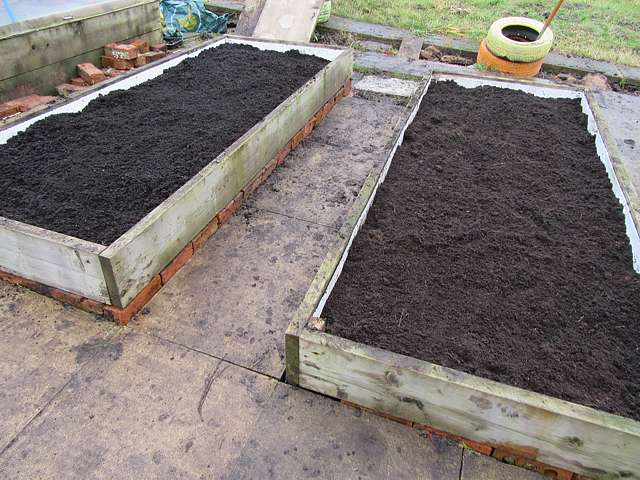
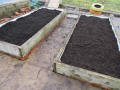
Example 5
Topped of with a thick layer of
spent compost.
|
 |
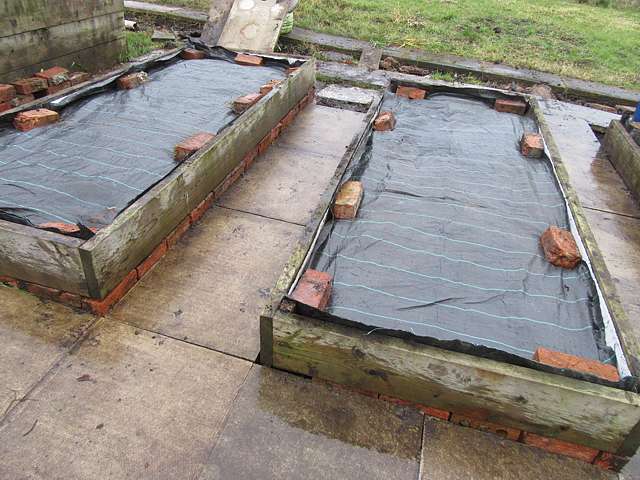
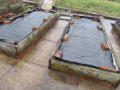
Example 6
Weed-mat covers in place to
suppress weeds until the beds were required.
|
 |