|
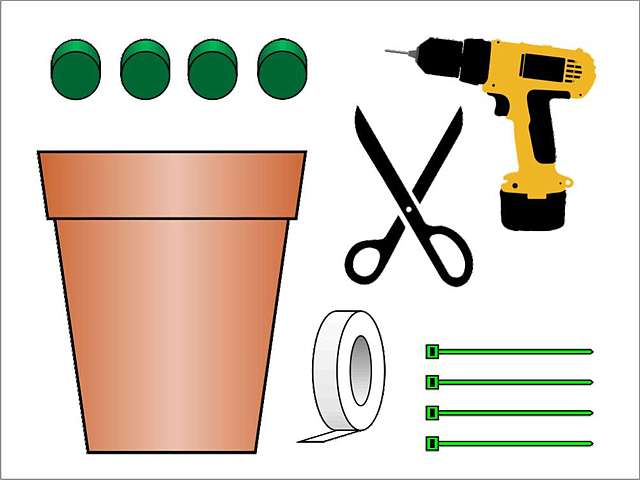
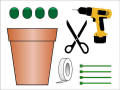
Materials & Tools
1 x 25cm / 10" plant pot
4 x milk bottle caps,
Double-sided tape,
4 x small cable ties,
Scissors,
Drill and bits
|
 |
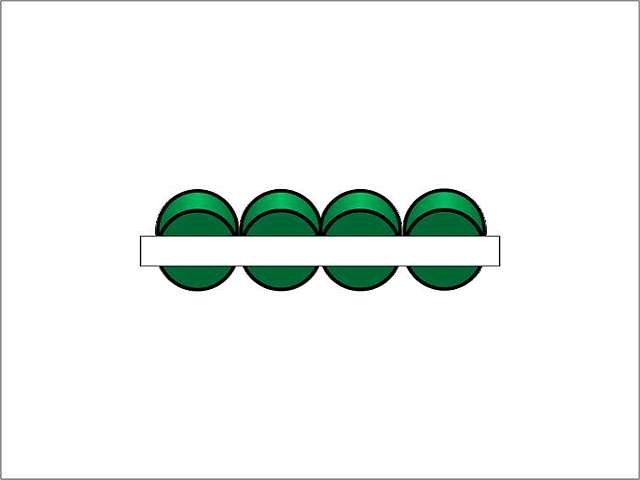
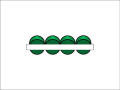
Step 1
Arrange the bottle caps in a
line, and stick a strip of double-sided tape along the backs. If
you are adding feet to more than one pot, tape as many caps as
you can manage in one go.
|
 |
Step 2
Remove the backing paper from the
tape. This can be fiddly, so it makes
sense to remove one large strip, rather than cutting the tape
first. |
 |
|
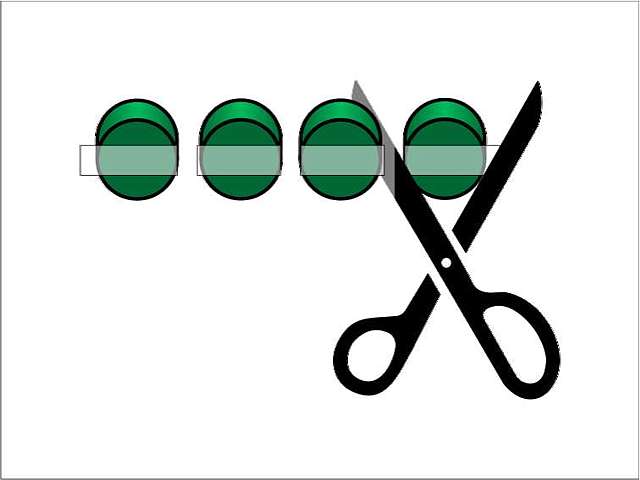
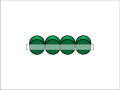
Step 3
Using the scissors, cut the tape
between the bottle caps. |
 |
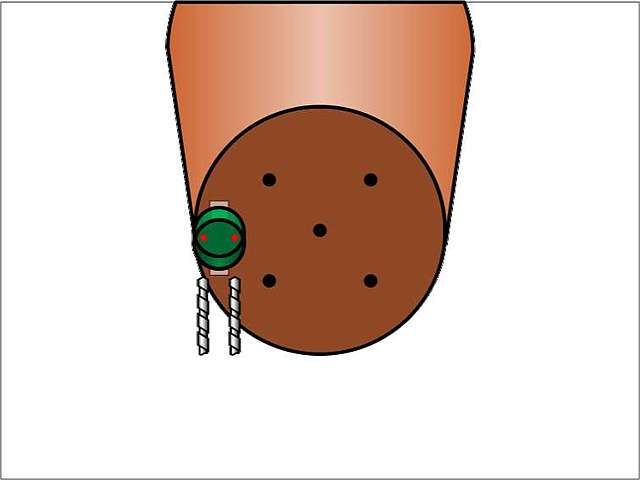
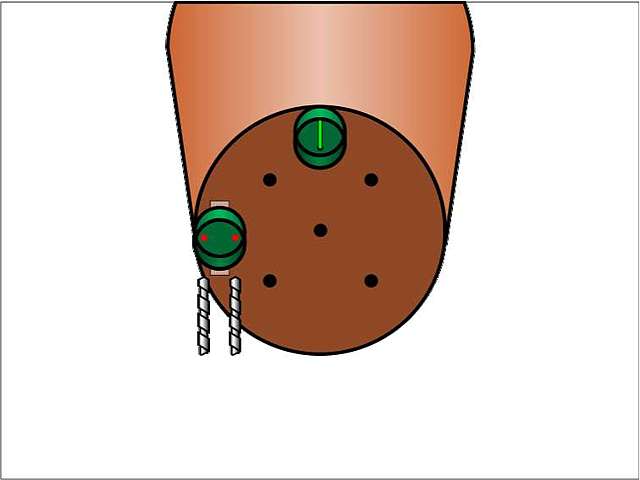
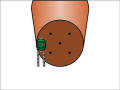
Step 4
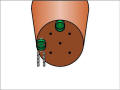
Attach a cap to the edge of a
clean dry plant pot, and drill two small holes as shown. The
holes should be large enough to accommodate one of the cable
ties.
|
 |
Step 5
Feed a cable tie through the
holes and tighten it to secure the cap in position. Without the
tape holding the cap in place, this step was very fiddly and
time-consuming.
|
 |
|
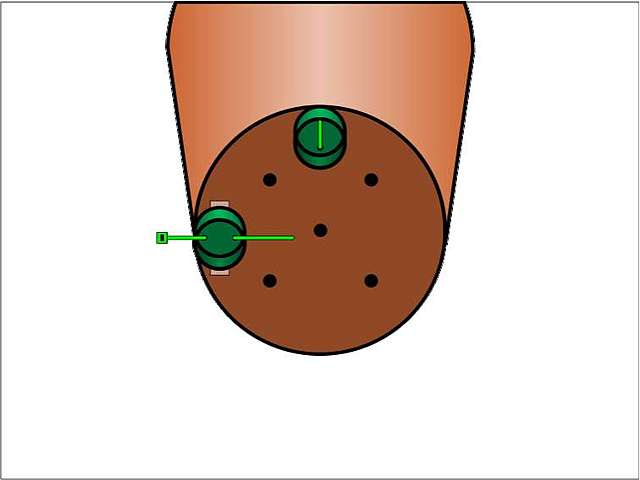
Step 6
Stick a second cap 90 degrees
from the first, and drill two holes as shown.
|
 |
Step 7
Secure the cap in position using
a cable tie as before.
|
 |
Step 8
Repeat the process for the final
two caps, then trim the excess from the cable ties using the
scissors. |
 |
|
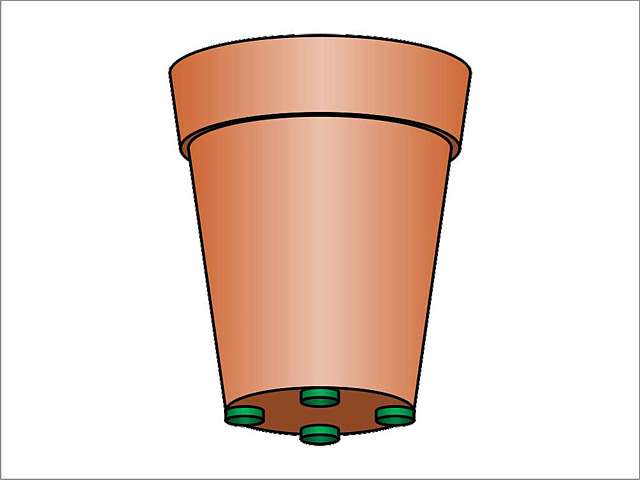
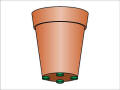
Step 9
The finished pot.
|
 |
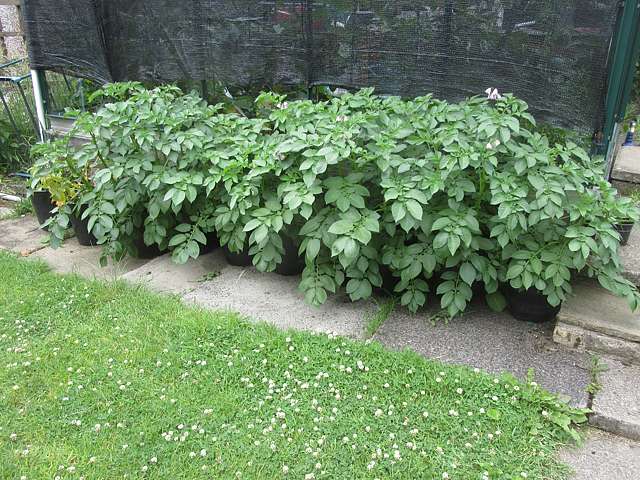
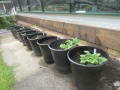
Example 1
A row of pots with feet, standing
on a flagstone path alongside the greenhouse in my garden. Each
contains a single seed potato. |
 |
Example 2
The pots in late June, with a
healthy crop of potatoes growing nicely. |
 |
|
|
|
|
|
|
|
These pots may be stood on a driveway,
hard-standing or patio without fear of the drainage holes
becoming clogged. Without feet, there is a danger the pots may
become waterlogged unless they stand on a freely draining
surface. |
|
|
|
|
|
|
|