|
Materials & Tools
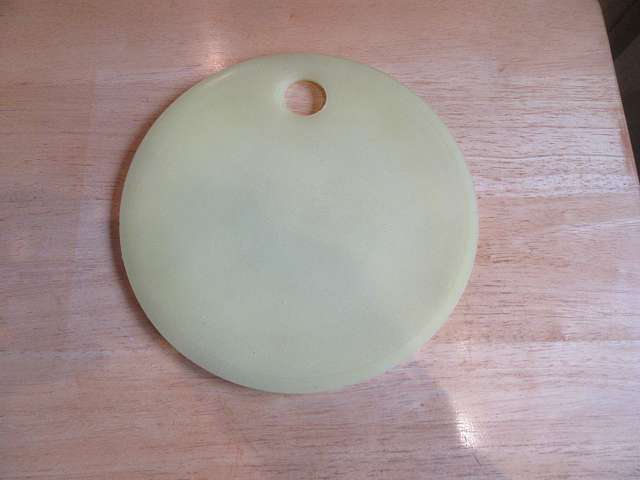
24cm/ 9.5" round chopping board
Drill
8mm drill bit
handle (optional)
Permanent markers
|
 |
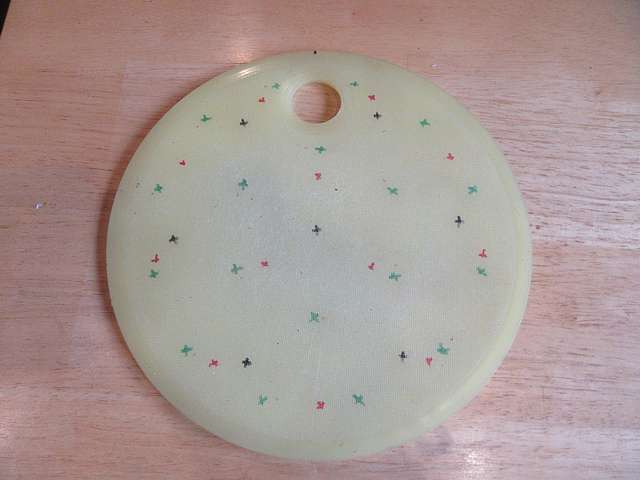
Step 1
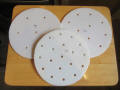
Follow the link below to print
out paper templates and transfer the marks onto the board. Since
I already had pizza-base templates, I used those.
Making Templates
|
 |
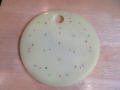
Step 2
I used a different colour for
each template, and found the red 12-station holes ones to be
very close to the green 19-station holes, and decided not to
drill these. |
 |
|
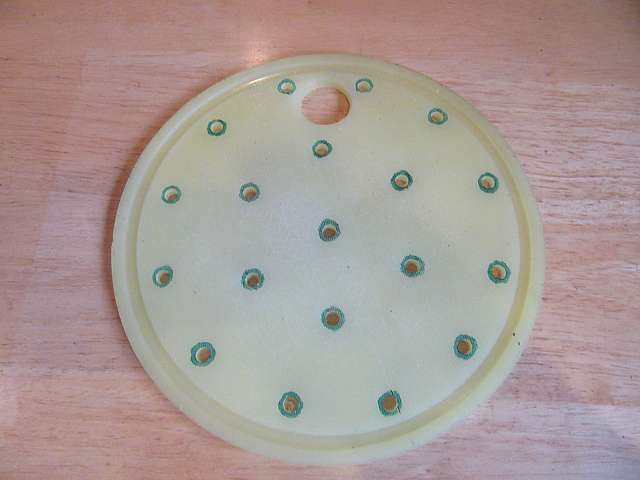
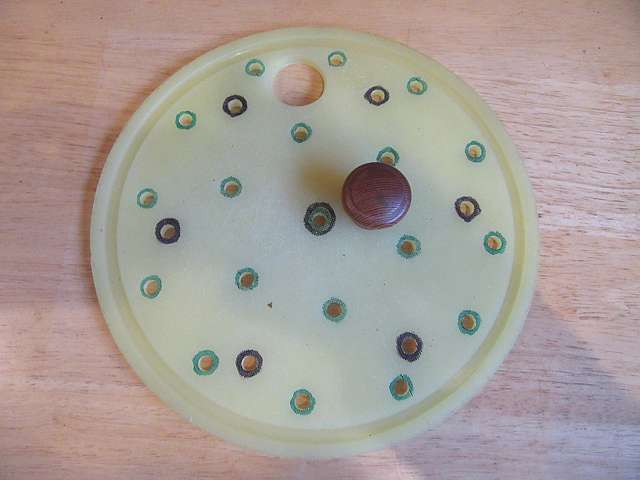
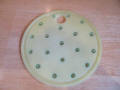
Step 3
Drill all of the holes for the
19-station template, and draw a circle around each hole with a
coloured marker. |
 |
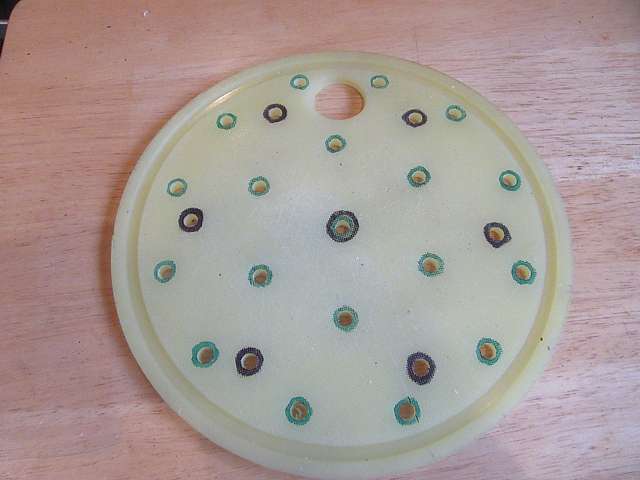
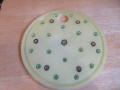
Step 4
Drill the remaining 6 holes for
the 7-station template and draw a circle in a different colour
around these. Note that the central circle is common to both.
|
 |
Step 5
Add a small handle if desired.
This will make it much easier to remove the template easily |
 |
|
Example 1
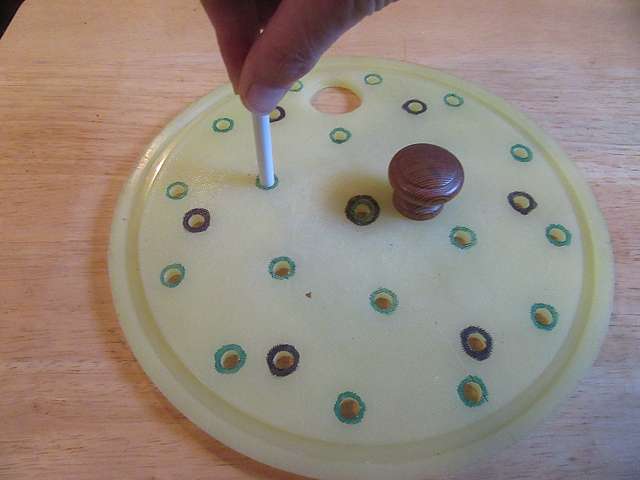
The holes enable you to push the
point of a pencil into the compost creating the optimal spacing
for sowing seeds. |
 |
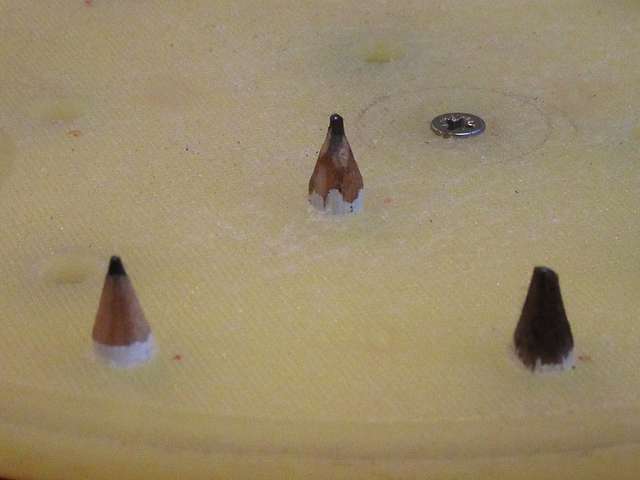
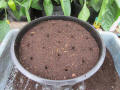
Example 2
Here is a pot with 19 optimally
spaced holes ready for sowing carrots or radishes. |
 |
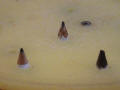
Option
To make a permanent tool to make
the holes in one operation, only drill the holes from a single
template and glue a short length of sharpened pencil or dowel
into each. |
 |