|
Materials & Tools
Secateurs / snips
Glass of water
Pot of multipurpose compost mixed with sand or grit.
|
|
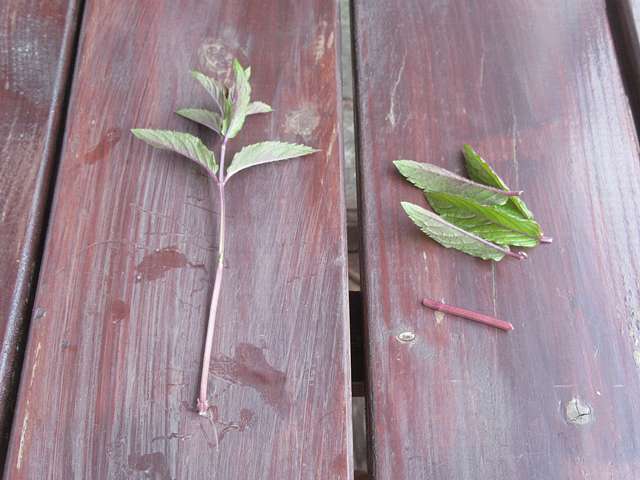
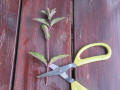
Step 1
Cut a length of about 15cm / 6"
from the top of a stem. Choose stems which are not
flowering. Trim the cutting just below a pair of leaves as
shown.
|
 |
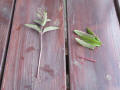
Step 2
Remove all leaves from the bottom
half of the cutting. |
 |
|
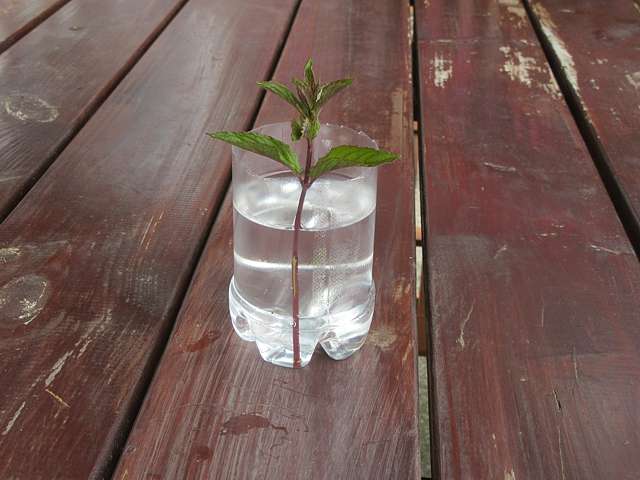
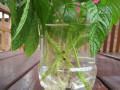
Step 3
Sit the cutting in tapwater,
covering most of the bare stem, as shown. Place in a light spot,
like on a windowsill. Keep the water level topped up.
|
 |
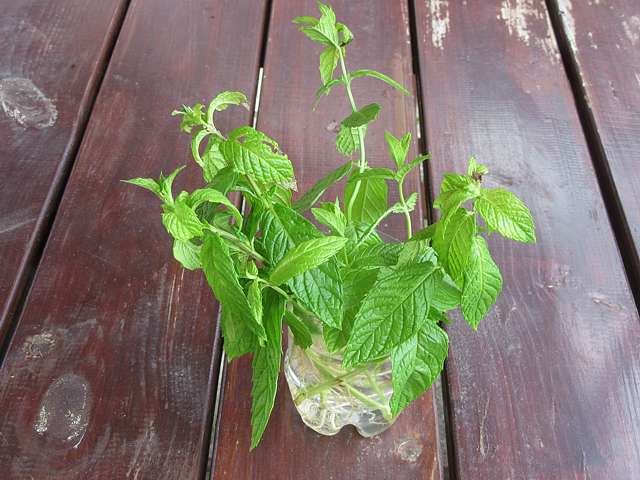
Step 4
If the cuttings begin to wilt,
check the water level. If there is sufficient water, then
remove more of the larger leaves. |
 |
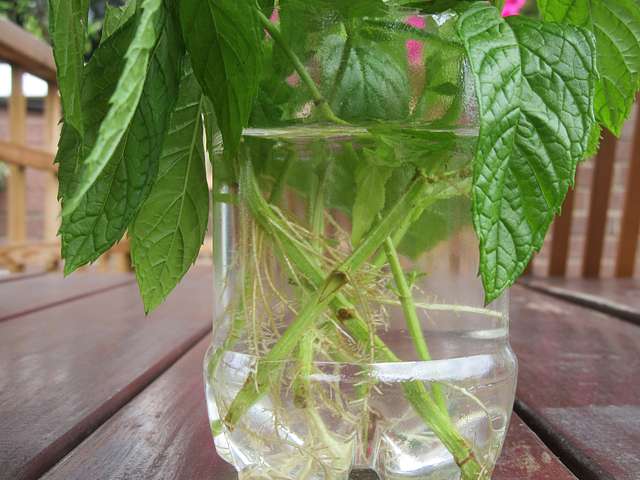
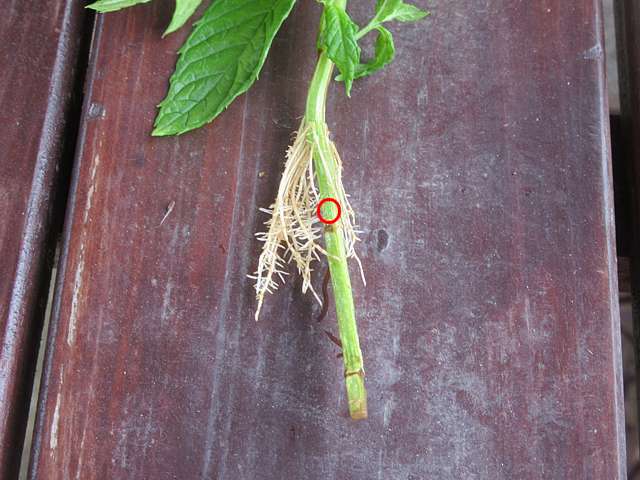
Step 5
After only two weeks, you should
be able to see lots of white roots. |
 |
|
Step 6
Trim the lower part of the stem
if it has no roots protruding. I cut about where the
circle is, being careful not to cut any roots. |
 |
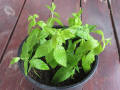
Step 7
Transfer the cuttings into a pot
of multipurpose compost mixed 50/50 with sand or grit. Re-pot
into a larger container as roots appear from the base of the
pot. |
 |
|
|