|
© Abaroth 2019. Permission is given to reproduce for non-profit
purposes only.
Home
Historic Sites
Models
Heraldry
Puzzles
Garden
Links
Why Use Templates When Sowing
Seed?
This is a good question which I have
often been asked. Here are a few reasons:
1. No transplanting or thinning
Many root vegetables like parsnips, carrots and
radishes do not like to be transplanted.
Also, especially in the case of carrots, thinning
seedlings will attract pests (carrot fly) to
infest the remaining crop. The idea behind the
templates is that you sow one seed per station
and leave them to grow to maturity where you sowed
them. Rather than a random scattering
of seeds, each plant should have enough space to
grow without thinning or transplanting.
2. Optimising growing space
The templates also allow you to make the best use
of your growing space. I have been very successful growing
several varieties of radish using the 19-seed template and had
good success with carrots using both the 19-seed and 30-seed
templates on a 10" pot. The templates with more holes are mainly
aimed at 12" buckets, commonly used in the US.
3. Saving seed
Provided your seed has a good germination rate,
there is not much point to sowing 100 seeds in a pot, if you
then need to thin them to leave only a handful to grow.
Admittedly, parsnip seeds have a very poor germination rate
after their first year, but carrot and radish seeds remain
viable for several years and still germinate relatively well.
|
Making Seed-Sowing Templates
Click thumbnails for larger images
|
Materials & Tools
Styrofoam pizza base
Pencil with eraser
Adhesive tape
Scissors |
|
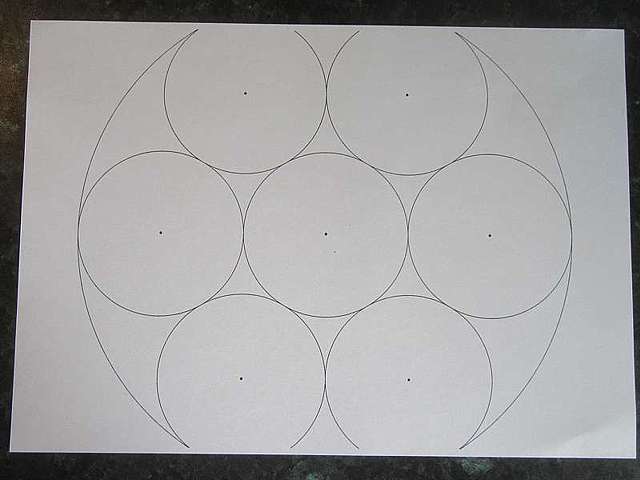
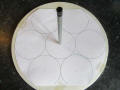
Step 1
Print out the relevant template.
If necessary, align the pages and
tape them together. |
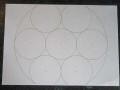 |
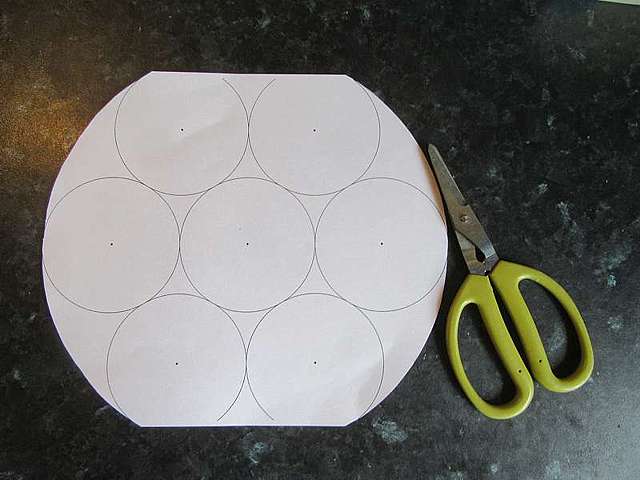
Step 2
Cut around the outer circle. |
 |
|
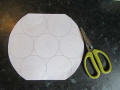
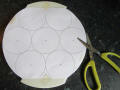
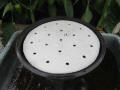
Step 3
Tape the paper template to the
foam pizza base. |
 |
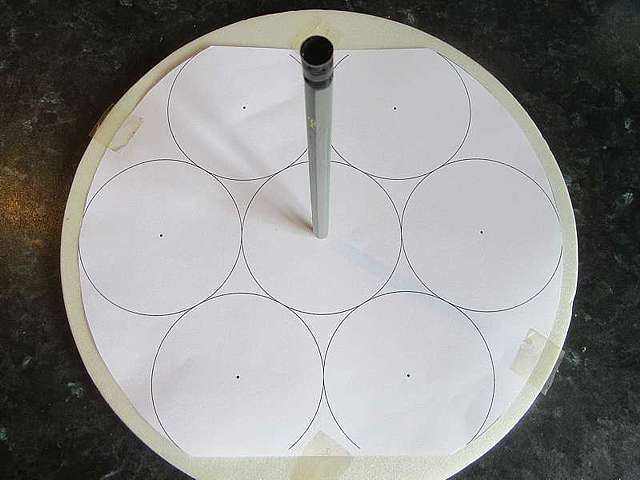
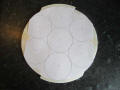
Step 4
With the point of the pencil,
make a hole in the foam at the centre of each of the small
circles. |
 |
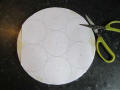
Step 5
Cut the foam around the outer
circle. |
 |
|
Step 6
If necessary, reposition the
template to complete the outer circle. |
 |
Step 7
Cut the rest of the circle from
the foam. |
 |
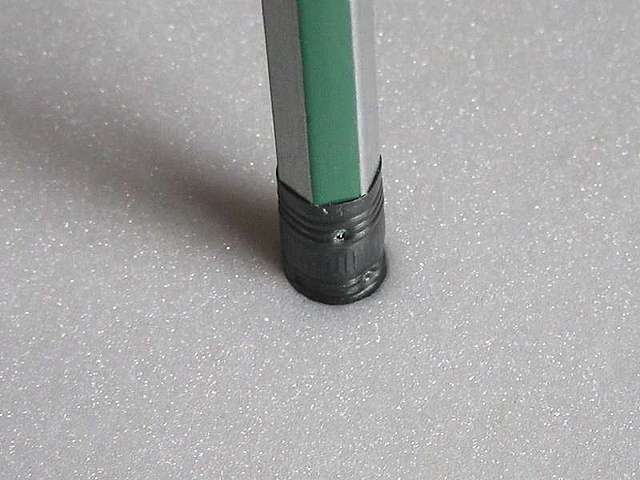
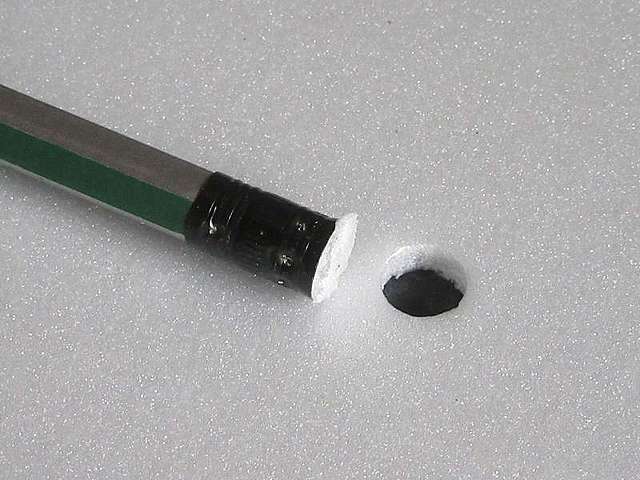
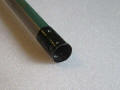
Step 8
This is the end of the pencil
with the remains of the eraser removed from the metal ferrule
making an ideal hole punch. |
 |
|
Step 9
Align the pencil over one of the
marked positions, and twist it into the foam to make a larger
hole. |
 |
Step 10
The metal ferrule removes a plug
of foam, leaving a neat hole. |
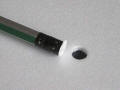 |
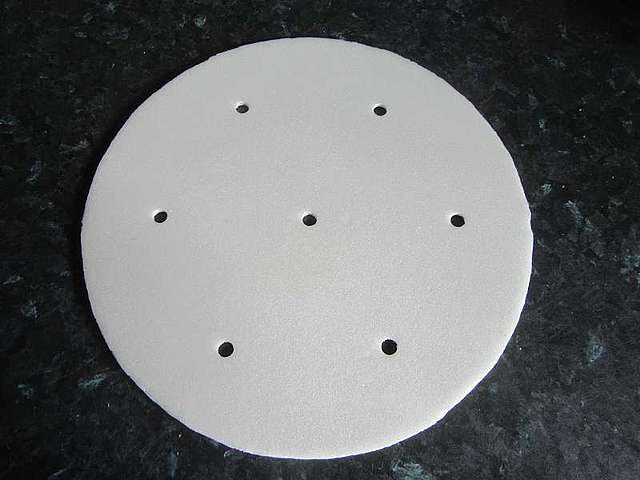
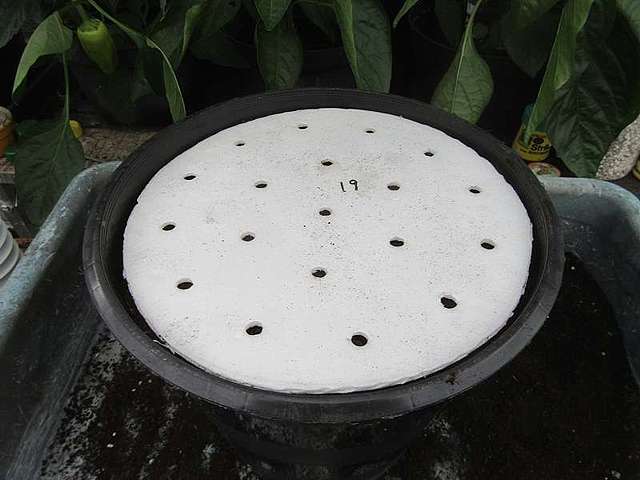
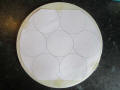
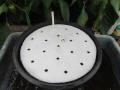
Step 11
Continue around the rest of the
marked positions to complete the template. |
 |
Using Seed-Sowing Templates
Click thumbnails for larger images
|
Materials & Tools
Plant Pot & Template
Compost, Sieve, Pencil,
Seeds, Bottle Caps, Matchstick,
Spray bottle, Water |
|
Step 1
Using a fine riddle, sieve enough
compost to fill your pot. I use this cheap plastic storage crate
as a sieve.
. |
 |
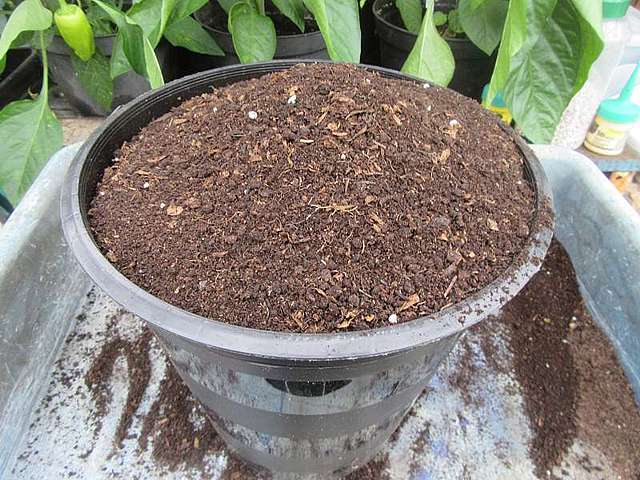
Step 2
Fill the pot with the sieved
compost. |
 |
|
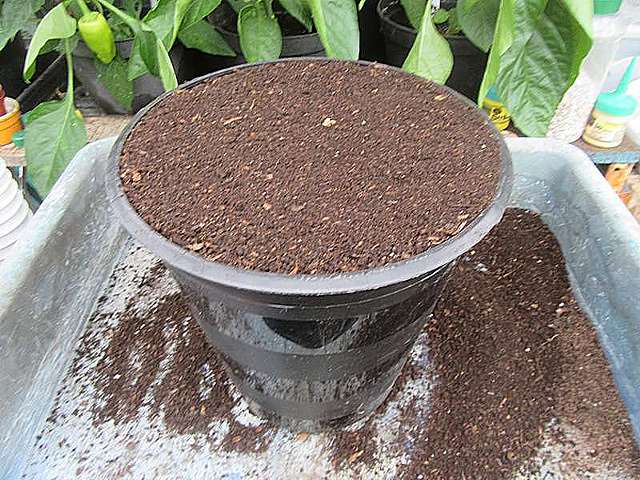
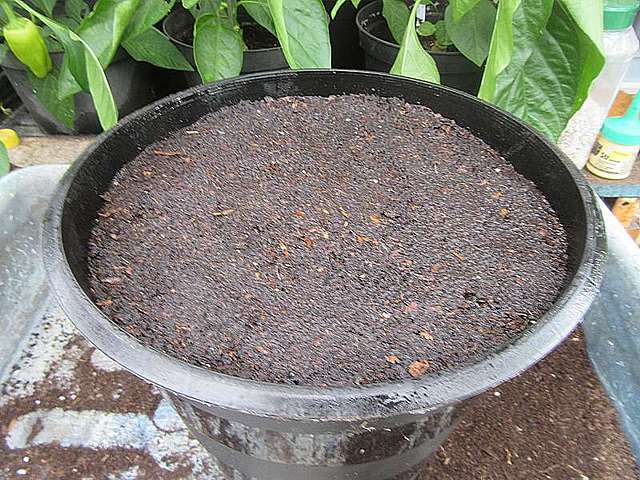
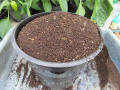
Step 3
Level off the top. |
 |
Step 4
Place the template on top of the
compost, and press down gently. |
 |
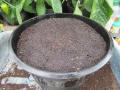
Step 5
The compost should easily
compress by a centimetre or so, leaving enough space to water
the pot later. |
 |
|
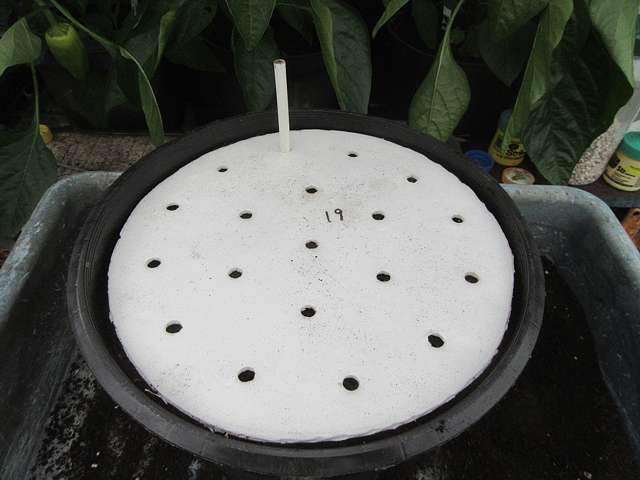
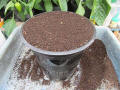
Step 6
Starting at 12 o' clock on the
outer ring, push the point of a pencil through each hole about
15mm (1/2") into the
compost. Work around each ring into the centre. |
 |
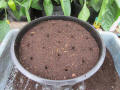
Step 7
Remove the template and you
should have a regular pattern of holes.
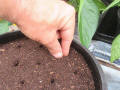
Sow one seed into each hole. |
 |
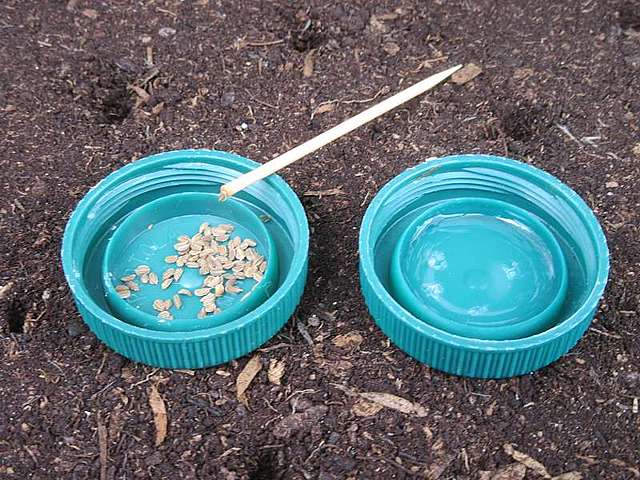
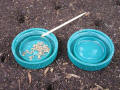
Step 8
If you have dexterity issues, you
can pick up a single seed on the end of a wet matchstick, and
place it into the hole.
Check the seed is not still stuck
to the stick after sowing!
|
 |
|
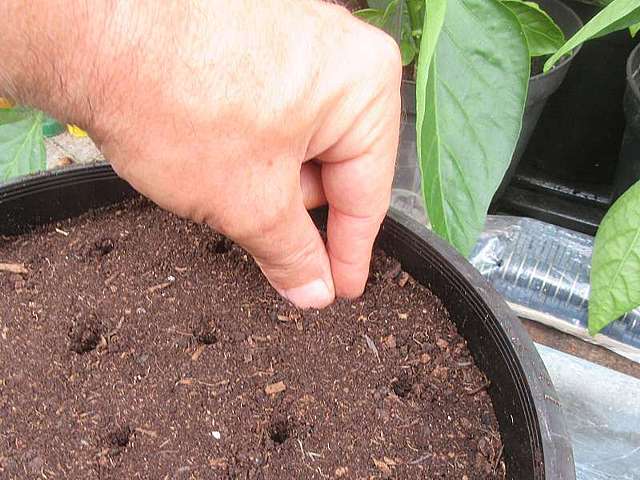
Step 9
Once sown, pinch the compost and
close the hole to keep track of where you are up to. |
 |
Step 10
A watering can may wash the seeds
and compost to the side of the pot, so I use a spray bottle to
wet the surface of the compost. |
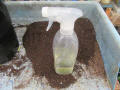 |
Step 11
The seeds don't need much water
to germinate, but you will need to keep the surface moist to
have success. |
 |
Home
Historic Sites
Models
Heraldry
Puzzles
Garden
Links
Contact me with suggestions, comments or questions.
 |