|
© Abaroth 2019. Permission is given to reproduce for non-profit
purposes only.
Home
Historic Sites
Models
Heraldry
Puzzles
Garden
Links
Making a Watercress Bed from a
Plastic Barrel
#1 Making the Trough
Click thumbnails for larger images
|
Materials & Tools
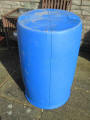
Plastic "Twin-Bung" Barrel
Euro-pallet or Timber
Tape Measure, Sharpie,
Screws, Screwdriver,
Saw, Sandpaper or File,
Drill, Drill bit, Countersink bit
|
|
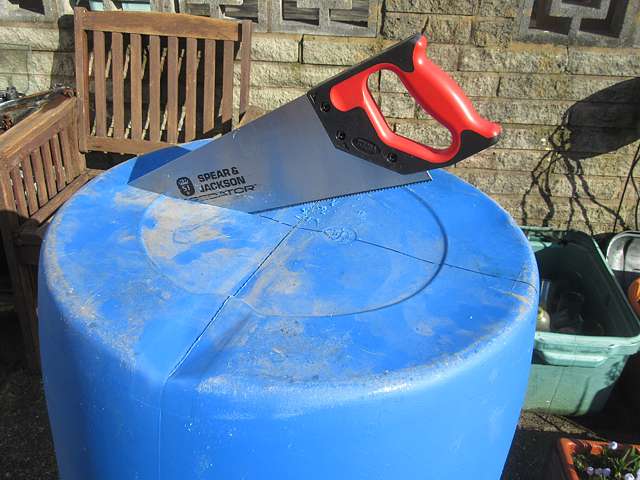
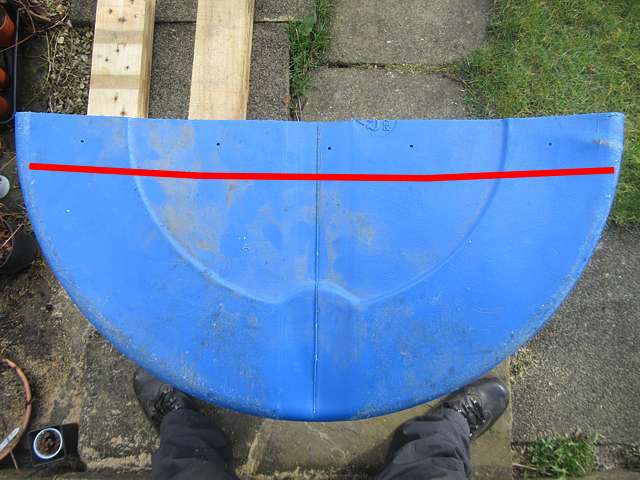
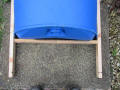
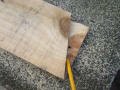
Step 1
Mark a cutting line on the
barrel. I originally had a different purpose in mind when I made
this, so it may be easier to mark along the split-line and
through the centres of the holes in the top.
|
 |
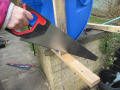
Step 2
Cut the barrel in half - a wood
saw works well. |
 |
|
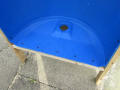
Step 3
Clean off any swarf (jaggies)
with sandpaper or a file.
|
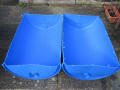 |
Note
No doubt you have noticed that
you end up with two half-barrels - you can make two watercress
beds, sell the other half-barrel to a plot neighbour, or make
the same bed described here, then drill lots of drainage holes
in the bottom of the barrel and fill it with compost as a raised
planter. |
|
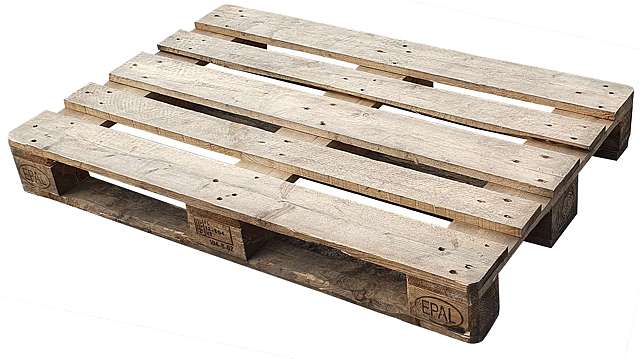
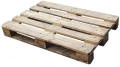
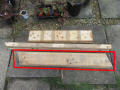
I used a standard Euro-pallet for
the timber parts |
 |
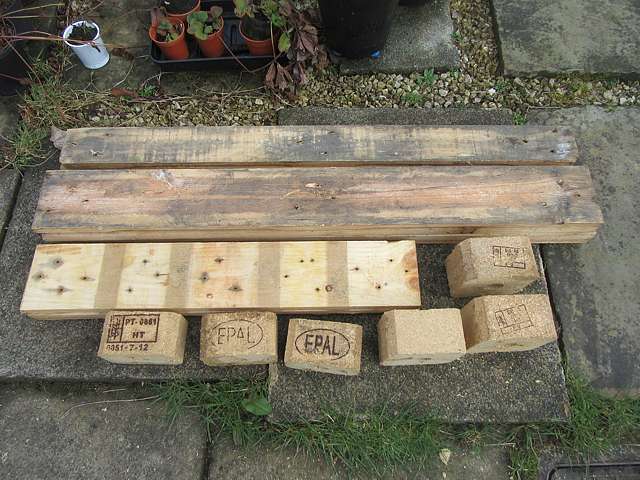
Step 4
Dismantle the pallet. |
 |
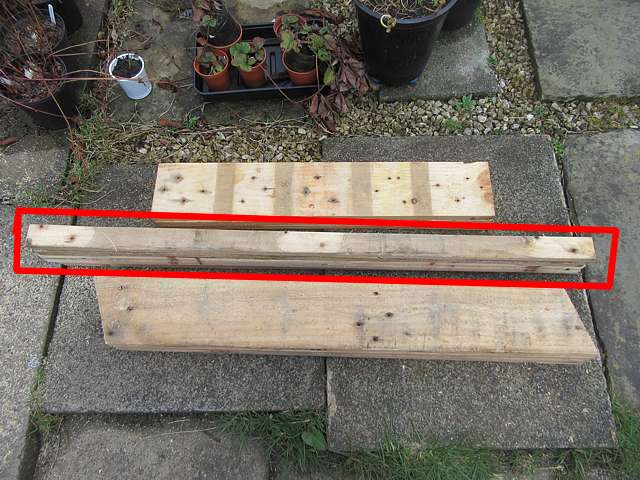
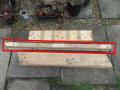
Step 5
Cut the two thinner boards in
half along their length. These will form a frame around the top
of the barrel.
|
 |
|
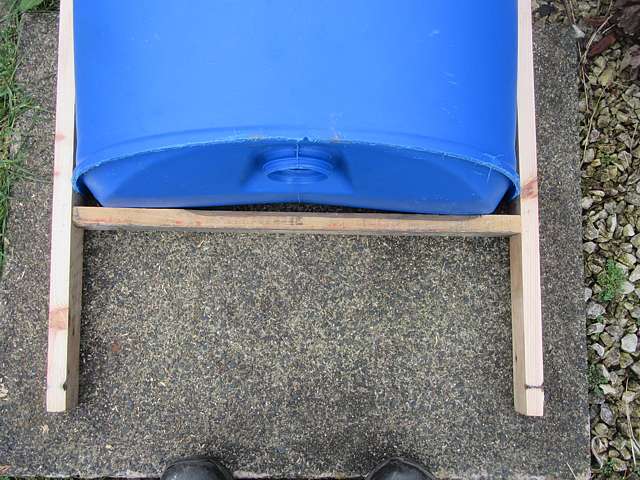
Step 6
Mark the depth of one of the thin
lengths of pallet at each end, then drill pilot holes. |
 |
Step 7
Drill pilot holes and screw one
of the thin lengths of pallet to each side of the barrel. Mark
and cut the pieces for the ends.
|
 |
Step 8
Fit the end pieces and screw
those to the barrel. |
 |
|
Step 9
Insert the screws from the inside
of the barrel into the wood. If desired, you could counter-sink
the holes. |
 |
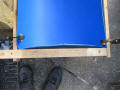
Step 10
Trim the ends of the side-pieces
to length. |
 |
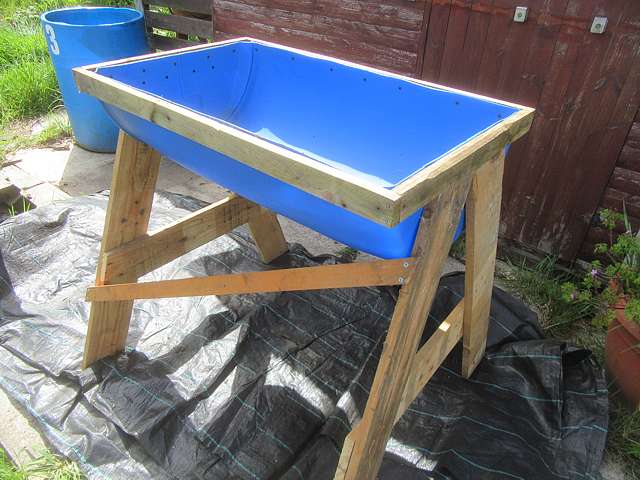
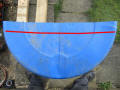
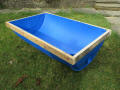
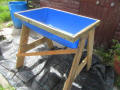
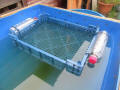
Example 1
The finished barrel. |
 |
#2 Making the Legs
|
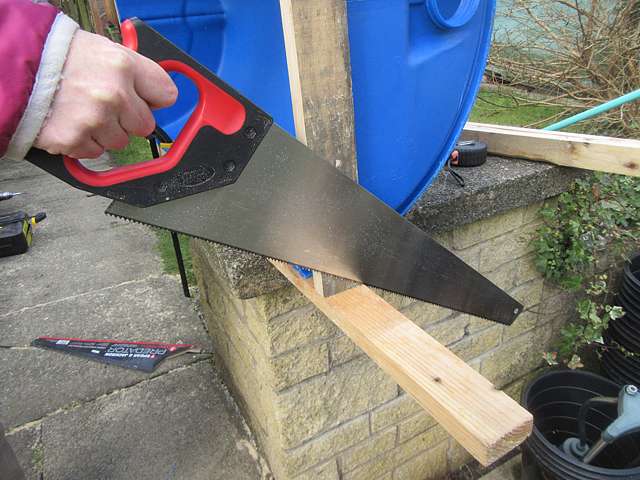
Step 1
Cut an angle from the end of one
of the wide boards. |
 |
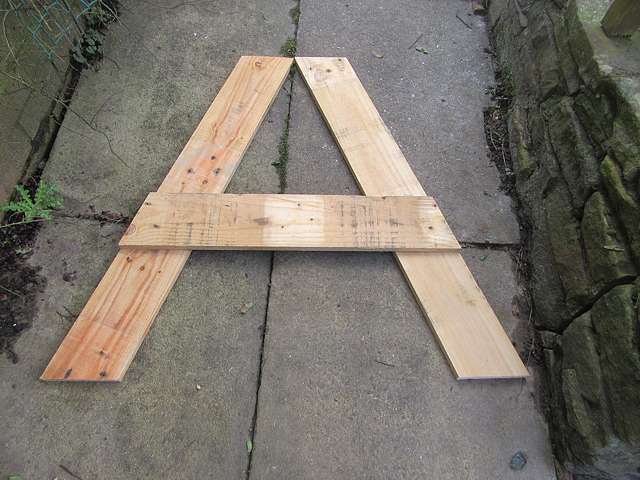
Step 2
Mark the same angle onto a second
board, and cut. Repeat to create a total of four legs. |
|
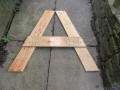
Step 3
Mark the same angle on the other
end of the each board, and cut. Be sure the cuts at each end are
parallel to one another, as shown.
|
 |
|
Step 4
Set out two legs as shown
ensuring the tops are in line using another length of timber.
Mark out the angle at either end
of a cross-member on another board and make the cuts. Screw the the cross-member in place.
Lay the second pair of legs above the first and repeat the
process.
|
 |
Step 5
Drill pilot holes and screw from
the inside of the barrel to secure the legs at each end. |
 |
Step 6
Mark, cut and add an angled brace
to one side of the legs. Set the higher end just below the
barrel, and the low end below the cross braces on the legs. |
 |
|
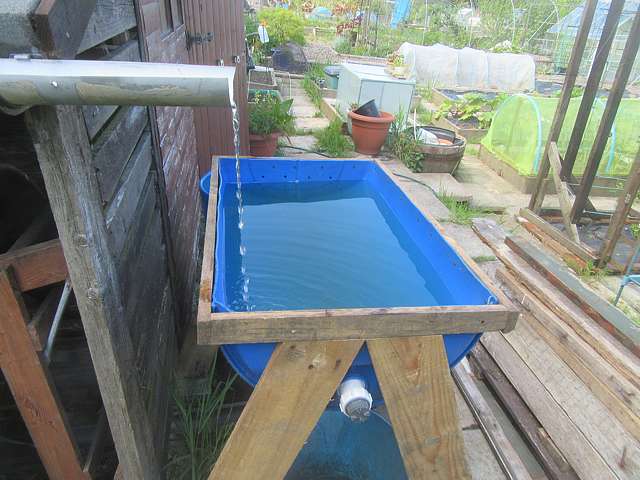
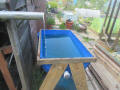
Step 7
Drill a hole to act as an
overflow, and insert a piece of plastic pipe. |
 |
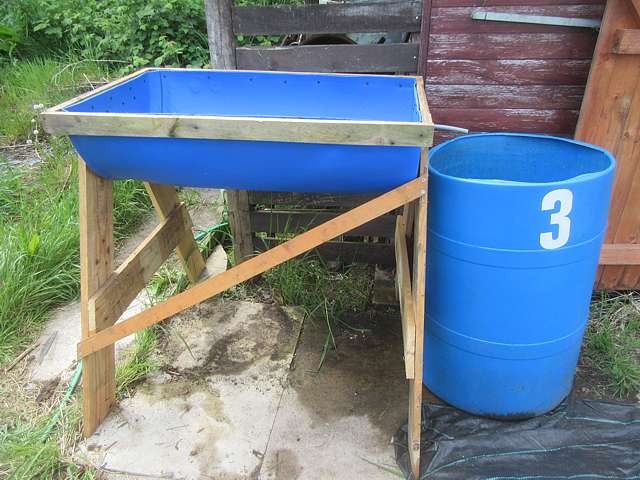
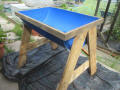
Example 2
My bed is sited under the gutter
of a lean-to at the side of my shed, to collect rainwater. |
 |
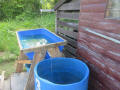
Example 3
The overflow goes into a second
barrel, so none of the water is wasted. |
 |
#3 Floating Crates
|
Materials
Empty plastic water bottles
Cable ties
Empty mushroom crates |
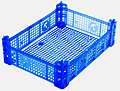 |
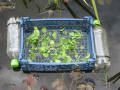
Step 1
Attach an empty plastic bottle to
each end of a mushroom crate with cable ties. This will ensure
the crate floats, keeping the watercress at an ideal level in
the water.
|
 |
Step 100000000
|
 |
#4 Adding Watercress
|
Test 1
Some larger pieces of shop-bought
watercress placed in a crate in my garden pond. (No fountain or
filter.)
|
 |
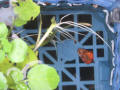
Test 2
The same crate after 6 days. |
 |
Test 3
It only took that long for the
stems to sprout nice root systems.
|
 |
|
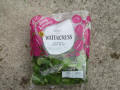
Step 1
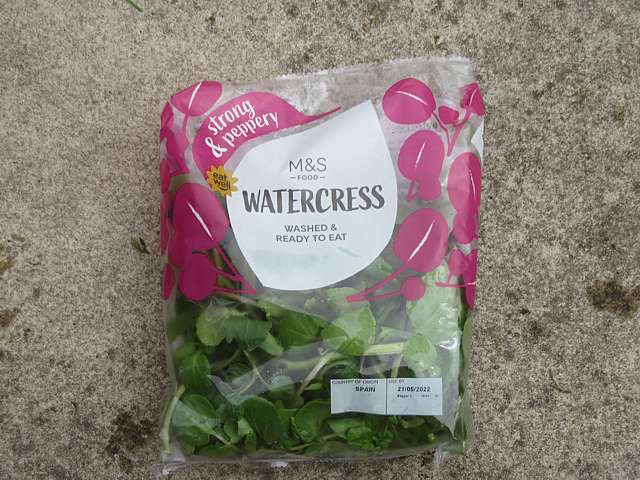
Purchase a bag of watercress. |
 |
Step 2
Pick out the larger stems and
place them in the crates |
 |
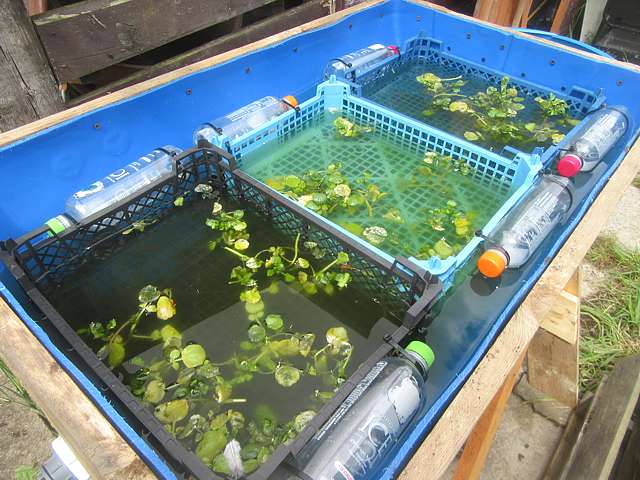
Example 1
After a week some of these look to have roots,
but I think the smaller volume of water is having an effect. |
 |
|
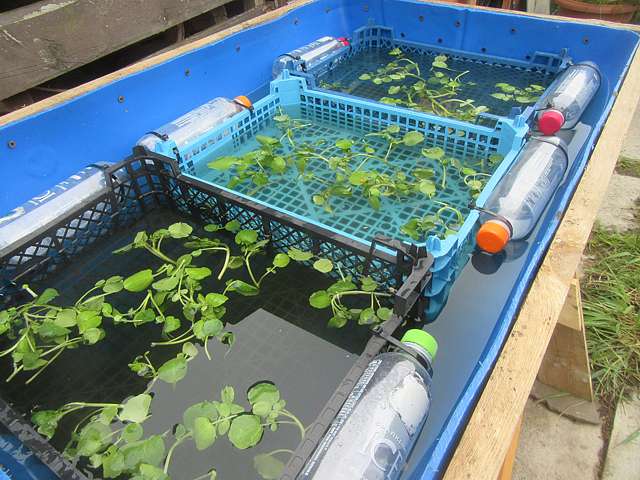
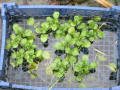
Example 2
After two weeks, several pieces definitely have
roots, and one is in flower. |
 |
|
|
|
|
Home
Historic Sites
Models
Heraldry
Puzzles
Garden
Links
Contact me with suggestions, comments or questions.
 |