|
Materials & Tools
Empty plastic bottle,
Scissors,
Craft knife,
Hole punch
|
|
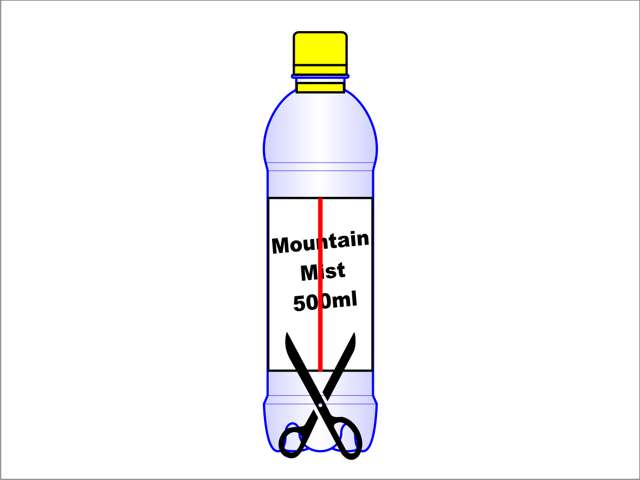
Step 1
Cut the label from the bottle. If
desired, you can remove any residual glue with a drop of white
spirit |
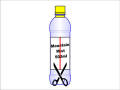 |
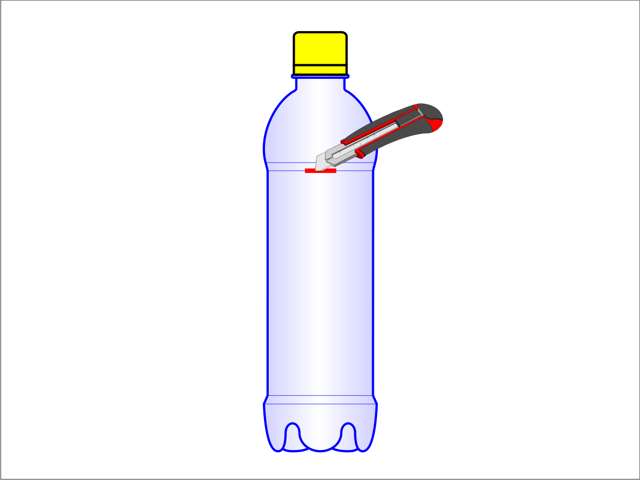
Step 2
Using the knife, make a slot near
the top of the bottle just below where it narrows to the neck.
|
 |
|
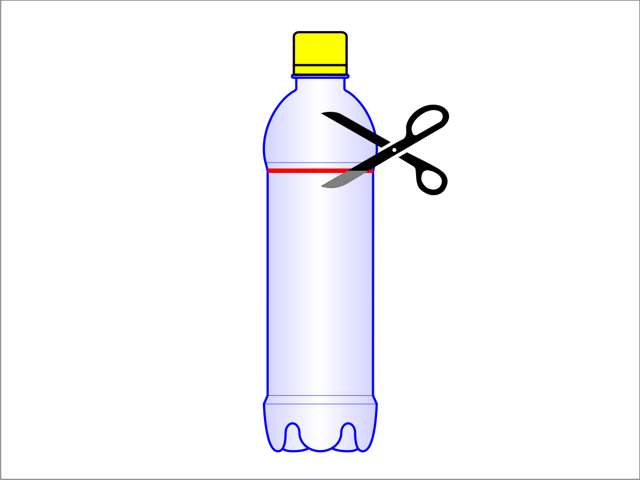
Step 3
Continue the cut all the way
around the bottle using the scissors.
|
 |
Step 4
Using the hole punch, make a hole
from which to hang the bottle. |
 |
Step 5
The bottle can now be hung from a
greenhouse hook to hold plant labels, or similar small items in
a convenient position. |
 |
|
Making a Greenhouse Desk Tidy
|
|
Materials & Tools
4 empty plastic bottles,
Scissors,
Craft knife,
Stapler
|
|
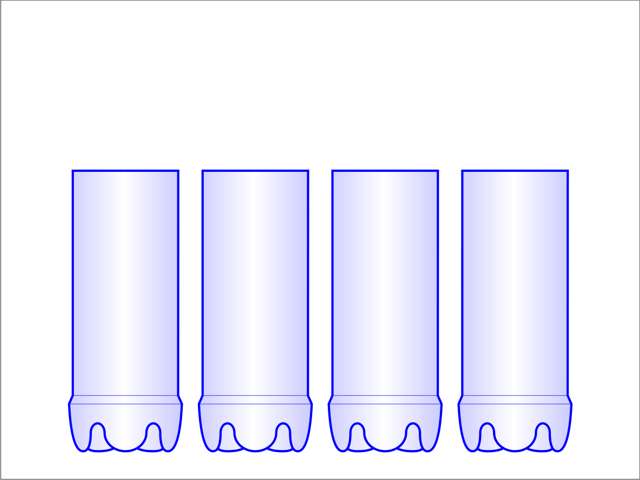
Step 1
Follow Steps 1-3 above for all
four bottles.
|
 |
Step 2
With the base of the bottles
resting on a smooth surface, connect them into two pairs using
the stapler. |
 |
|
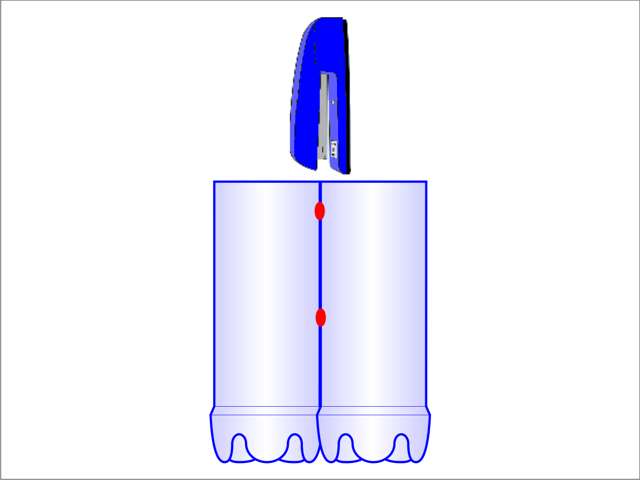
Step 3
Staple the pairs of bottles
together. |
 |
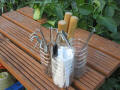
Example
The unit can be used to store
plant labels, pegs, pens and other small tools in a compact and
convenient way. |
 |
|
|
|
|
|
|
|
|
|