|
© Abaroth 2019. Permission is given to reproduce for non-profit
purposes only.
Home
Historic Sites
Models
Heraldry
Puzzles
Garden
Links
Lifting and Storing Gladioli Corms
Why lift gladioli?
1. Reduce losses
Gladioli can be killed off by frosts, and the
corms may rot if left in the soil over winter, especially if the
soil is wet.
2. Improve performance
Over time, gladioli will
propagate by producing small "cormlets" around the original,
resulting in crowded clumps. The plants will perform better if
they are separated and given more space.
3. Free plants
Cormlets can be grown into full-size plants in a
couple of years, increasing your stock for free. |
Step-by-step instructions
Click thumbnails for larger images
|
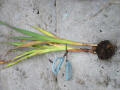
Step 1
Carefully loosen the soil around
the plant using a garden fork and gently lift the plant. Shake
off the soil.
|
|
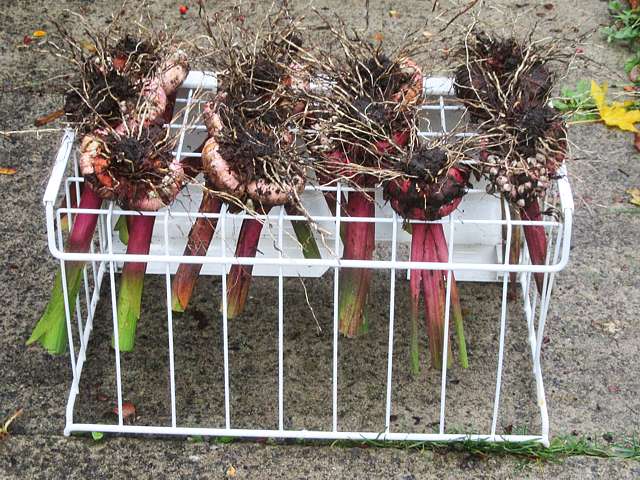
Step 2
Cut the stems leaving a few
inches attached to the corm. This can be done before lifting, if
you wish. |
 |
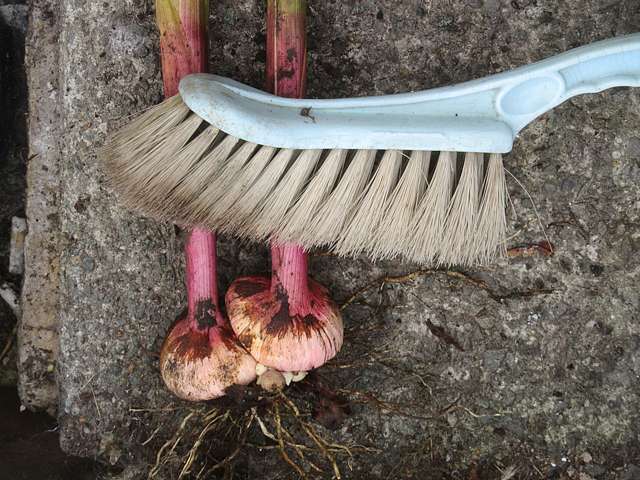
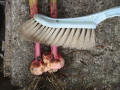
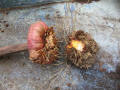
Step 3
Gently brush off any loose soil
and bits of dead skin. |
 |
|
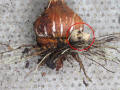
Old Corm
The orangy disk at the base is
the original corm. |
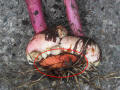 |
Cormlets
These little cormlets will
produce new plants. |
 |
Step 4
Set the corms in a warm place to
dry for a couple of weeks. If possible, position them upside
down as shown, otherwise lay them on their sides.
|
 |
|
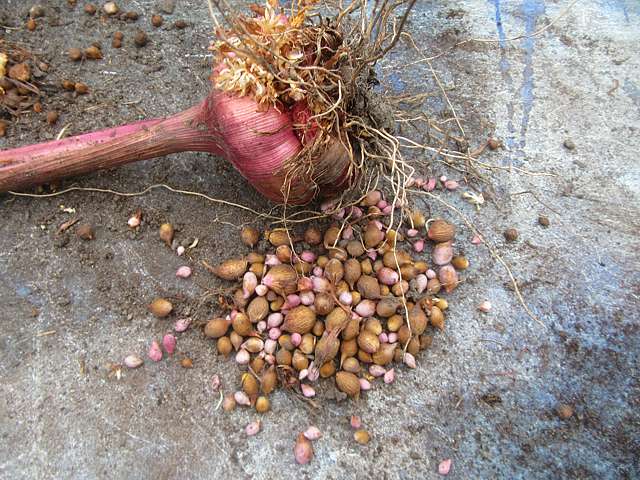
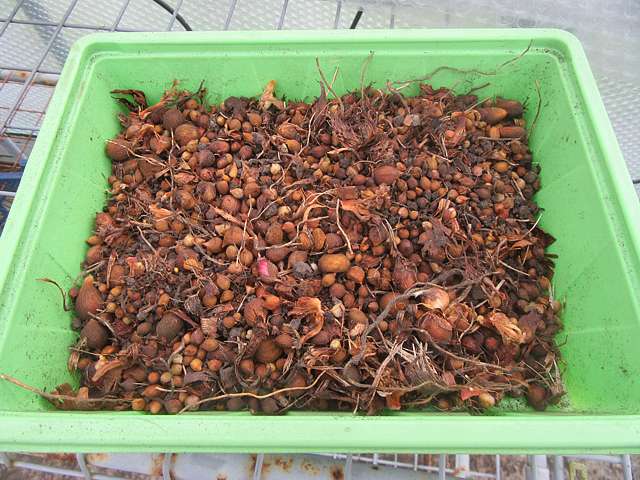
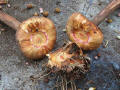
Step 5
Once dry, rub any cormlets off with your
fingers. Set these aside, as they will make new plants in a
couple of years. All these came from the one corm !
|
 |
Step 6
Pry the old corm from the new and
discard it.
|
 |
Step 7
If the plant has made more than
one corm, they will all be attached to the same old corm, which
should be removed and discarded as before.
|
 |
|
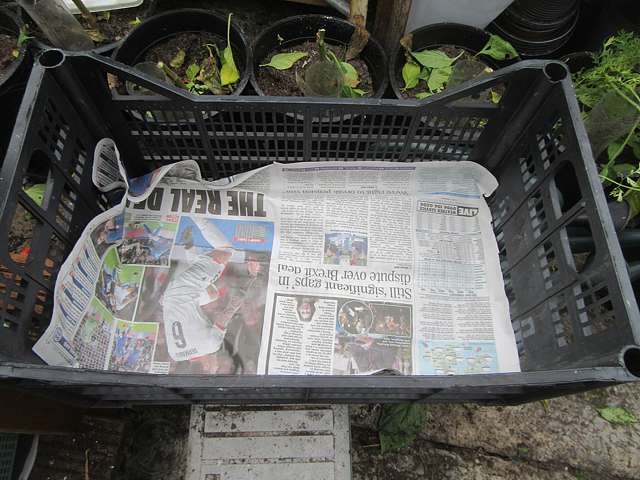
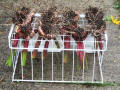
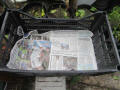
Step 8
Line a crate with newspaper.
|
 |
Step 9
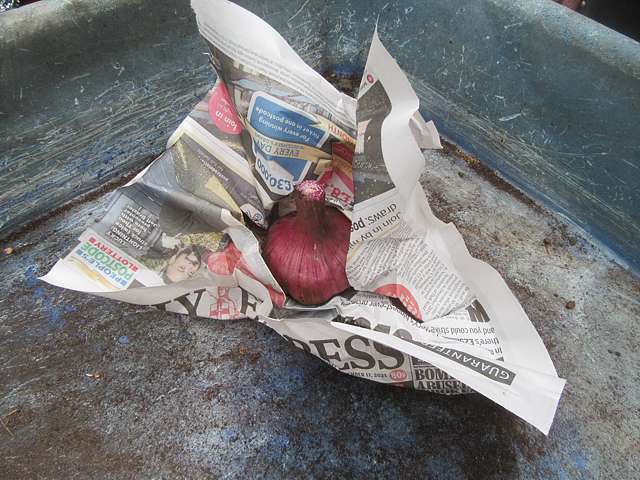
Chop the stem back to about 5cm
length, wrap the corm in newspaper and place it carefully in the
crate. Discard any corms with soft spots.
|
 |
Step 10
Store the crate containing the
corms in the shed or garage until the following March or April.
|
|
Replanting the Cormlets
Click thumbnails for larger images
|
Step 1
Choose the biggest cormlets to
plant. Make sure they are firm.
|
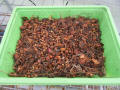 |
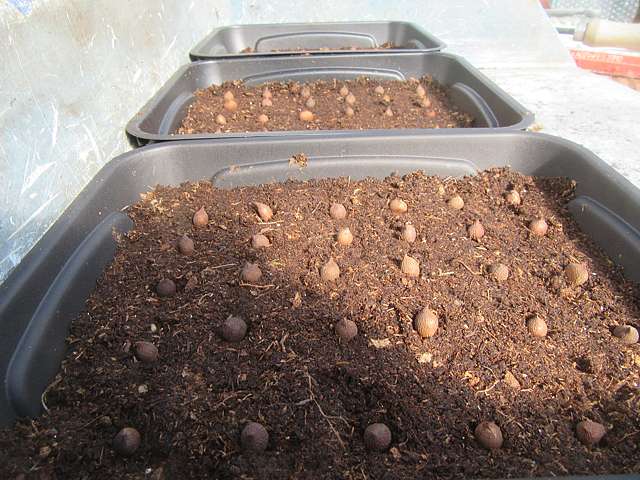
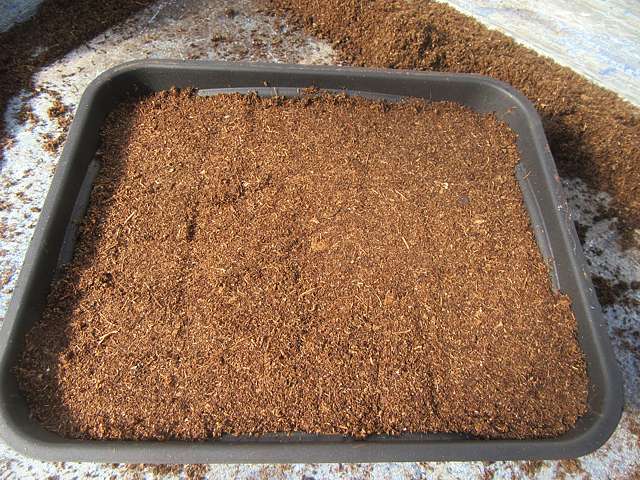
Step 2
Half-fill a seed tray with
sieved compost and firm it down. Plant the cormlets on the surface with
the pointed end facing upwards.
|
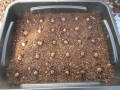 |
Step 3
Plant more if you wish - I
planted 90 in three small seed trays. |
 |
|
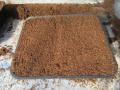
Step 4
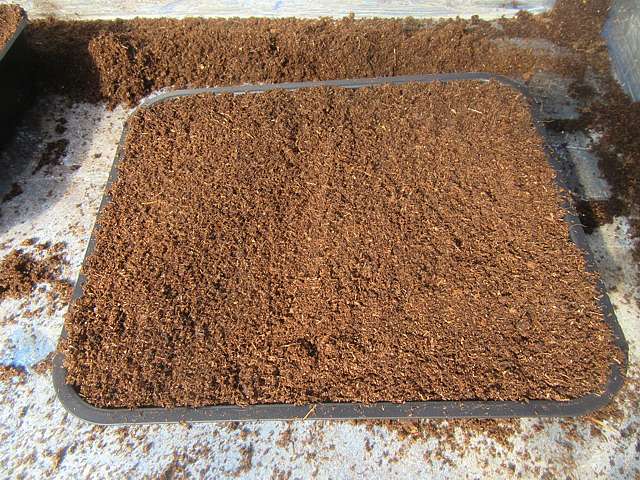
Sieve compost over the cormlets,
filling the seed tray level with the top.
|
 |
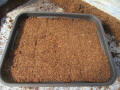
Step 5
Firm down the compost to ensure good contact with
the cormlets.
|
 |
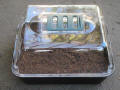
Step 6
Water well, add a propagator lid
and set in a warm place. Note the cormlets will not need any
light until they begin to sprout.
|
 |
Further instructions to follow shortly.
Home
Historic Sites
Models
Heraldry
Puzzles
Garden
Links
Contact me with suggestions, comments or questions.
 |