|
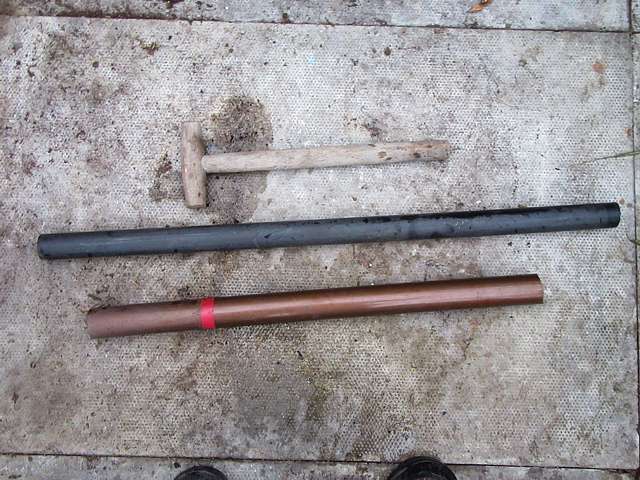
Materials
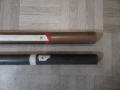
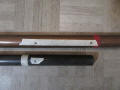
Handle (I think mine came from a
child's spade)
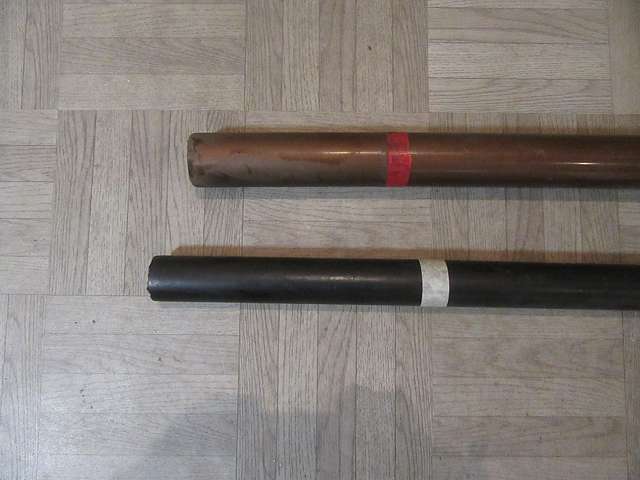
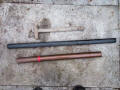
40mm / 1.5" Plastic Drainpipe
32mm / 1.25" Plastic Drainpipe
2 Champagne Corks
1 Wine Cork
2 x 25mm / 1" Screws
1 x 75mm / 3" Screw
1 x Metal Washer
Cocktail Sticks
Electrical Tape
|
 |
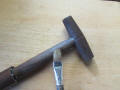
Diagram
Cutaway diagram showing the
piston arrangement which serves to clear the plug of soil from
the tube.
|
 |
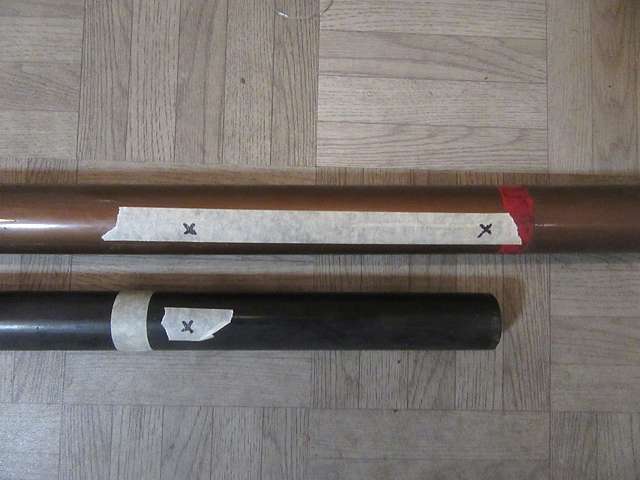
Step 1
Make a mark on the larger, outer
tube 15cm /6" from one end. This will be the maximum hole depth.
Mark the thinner tube at a length of 20cm / 8". This will form
the piston. |
 |
|
Step 2
Mark both pieces at 17.5cm / 7".
This marks the end of the slot in the outer tube and the screw
hole in the inner one. Shown as Xs in the image.
|
 |
Step 3
Move the inner tube till the end
lines up with the X on the outer tube, and make a second mark to
show the other end of the slot. |
 |
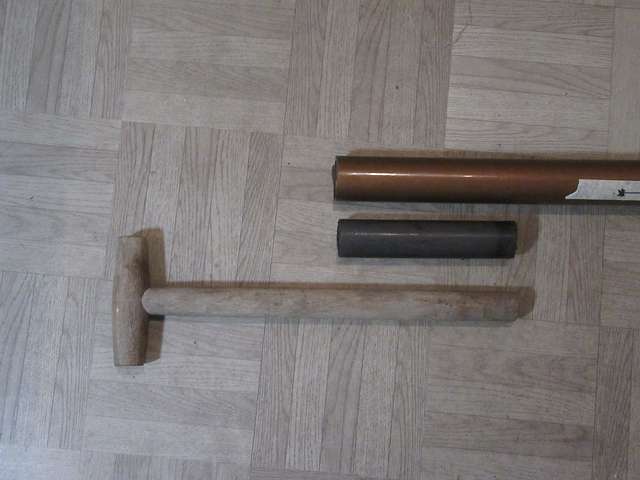
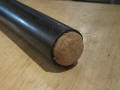
Step 4
Cut a second length of 15cm / 6"
from the thinner tube. This forms a sheath to help hold the
handle in my case, but may not be needed with a larger handle. |
 |
|
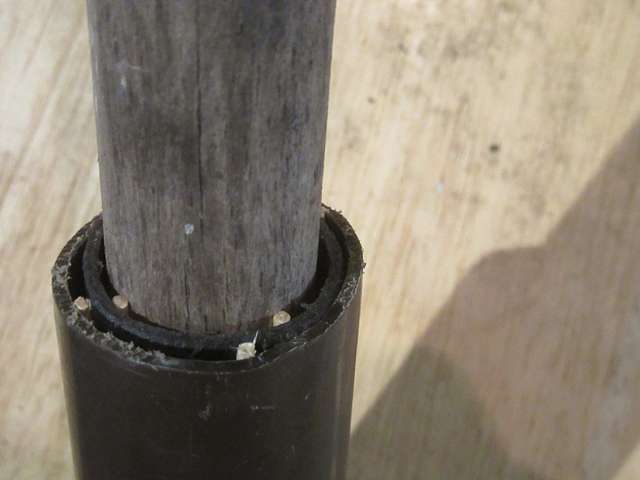
Step 5
The tube had a loose fit around
the handle, and I made it tight by inserting four cocktail
sticks between the two.
|
 |
Step 6
The assembly was then slid inside
the outer tube, and made secure using more cocktail sticks. |
 |
Step 7
Drill a hole through both plastic
pipes. |
 |
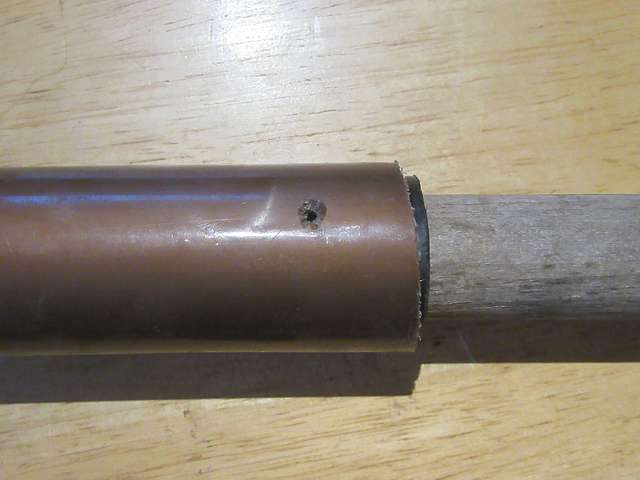
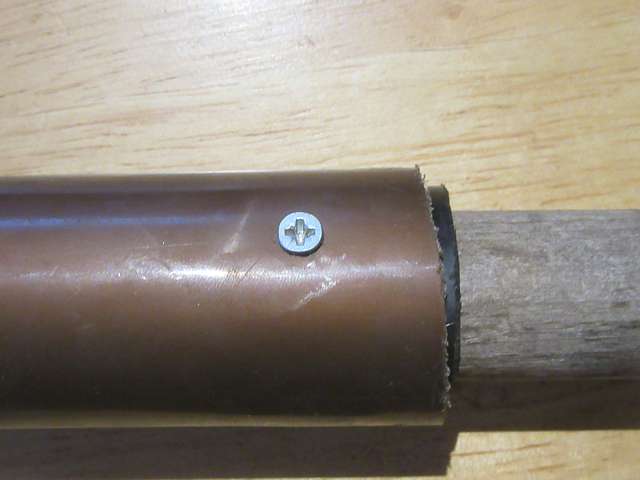
|
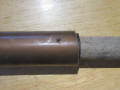
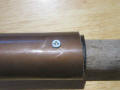
Step 8
Insert a 2.5cm / 1" screw. Turn
the piece over, and add a second screw near the other end of the
handle. |
 |
Step 9
Cut the slot in the outer tube
using a circular saw or angle grinder on slow speed. |
 |
Step 10
Insert a champagne cork in each
end of the piston, and secure with more cocktail sticks. The
lower cork will push out the soil plug, and the upper one will
help secure the sliding handle.
|
 |
|
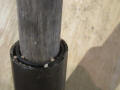
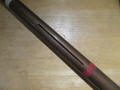
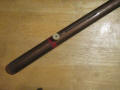
Step 11
Insert a 75mm / 3" screw through
the wine cork. Add a metal washer, then screw it through the
slot and into the piston. |
 |
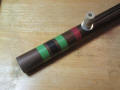
Step 12
Add bands of electrical tape to
mark depths - I chose 5, 7.5, 10 and 15cm / 2, 3, 4 and 6" as
these seem to be the most common depths for planting bulbs. |
 |
Step 13
Apply a couple of coats of
furniture or decking oil to the wooden handle (if necessary). |
 |
|
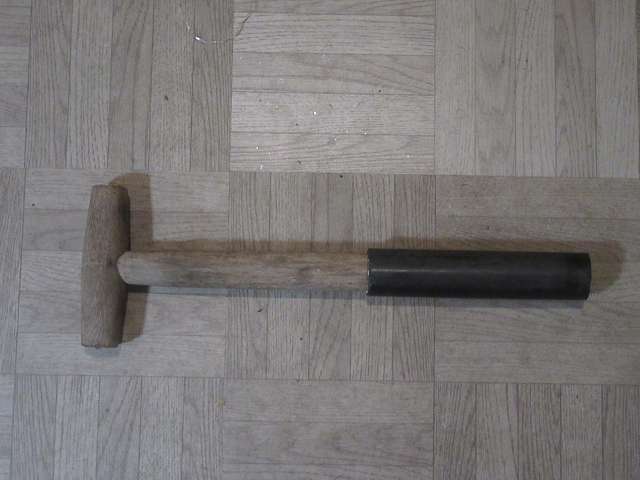
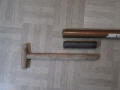
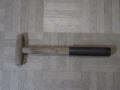
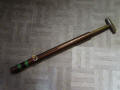
Example
The finished tool. |
 |
Video
The first test using the planter:
YouTube Video |
 |
|
|