|
 |
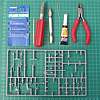
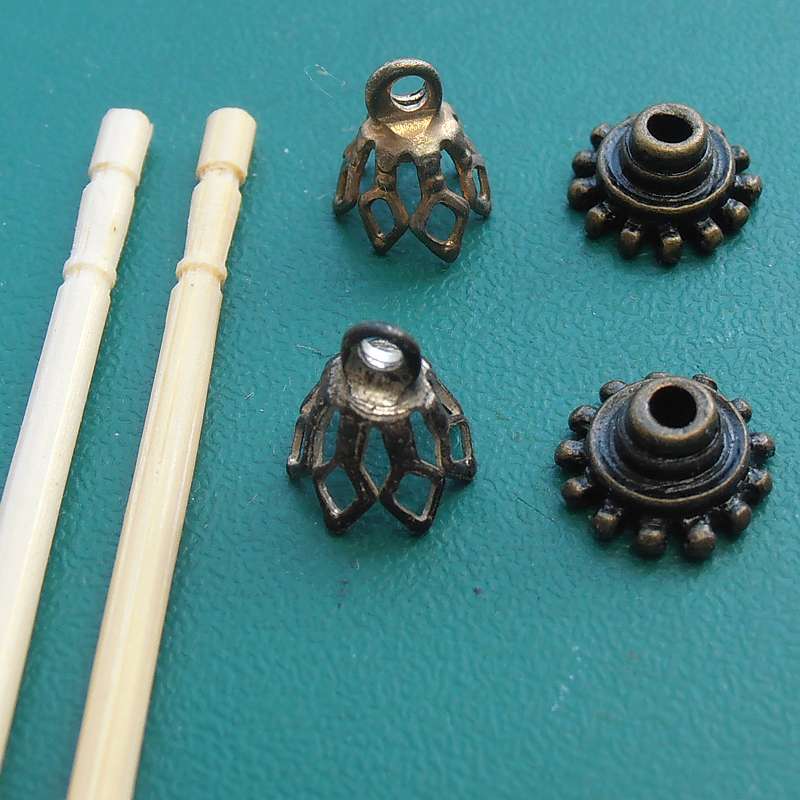
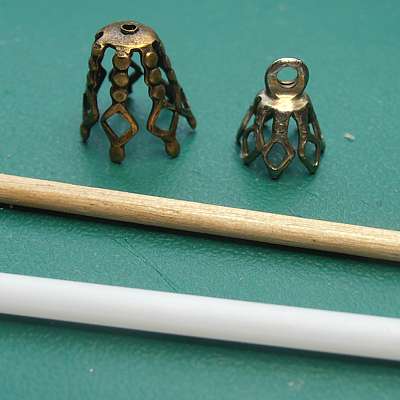
Materials & Tools:
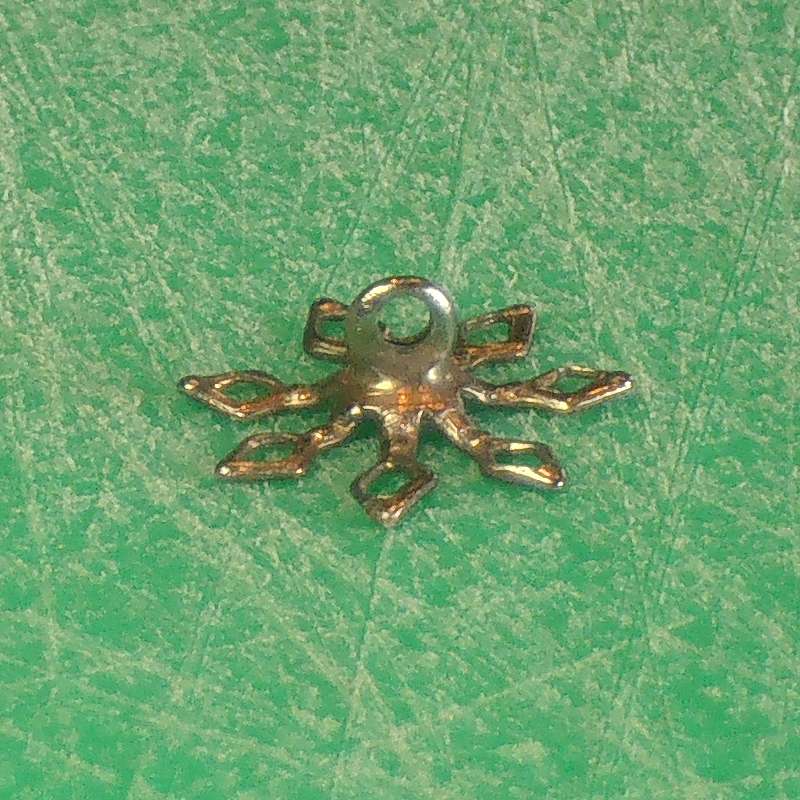
Pendant Clasps aka 'bails' or 'bead caps'
Kebab Skewers
Plastic Tube
Superglue
Craft Knife
Pliers
Paint &
Brushes
|
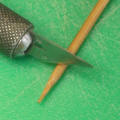 |
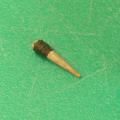
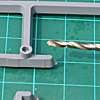
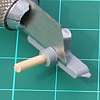
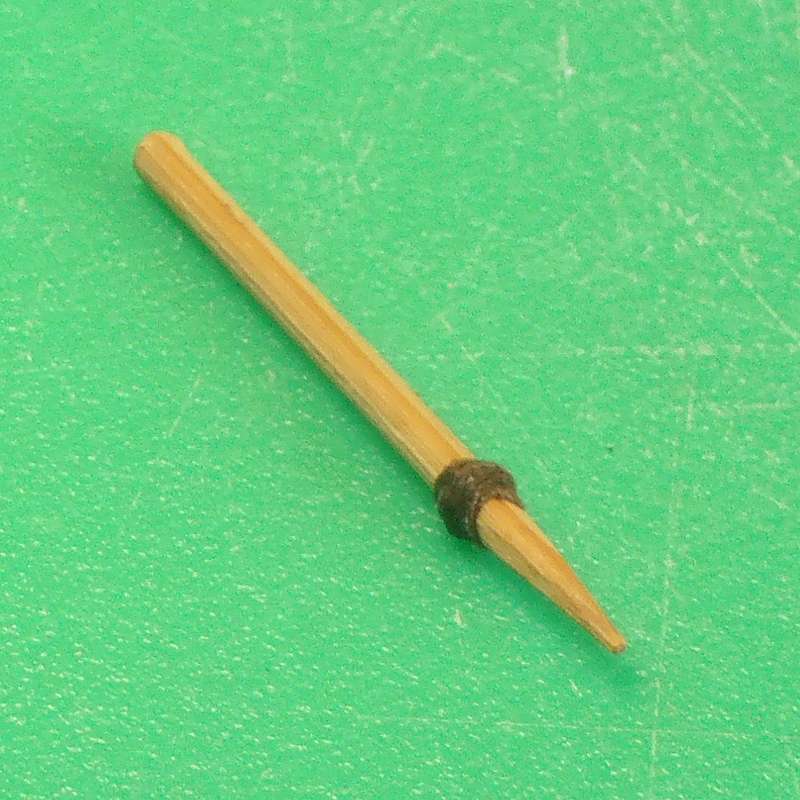
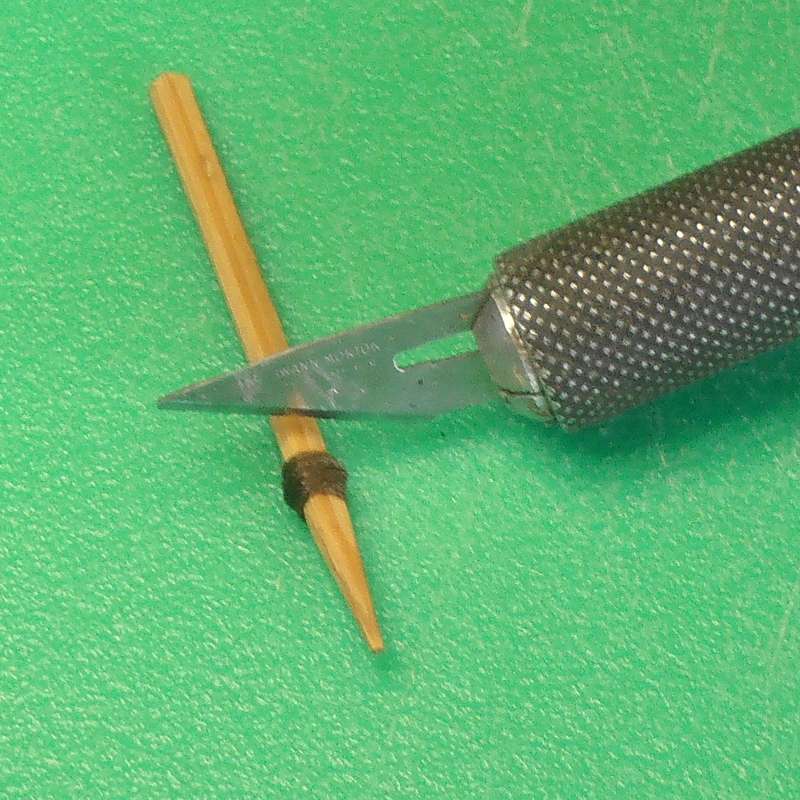
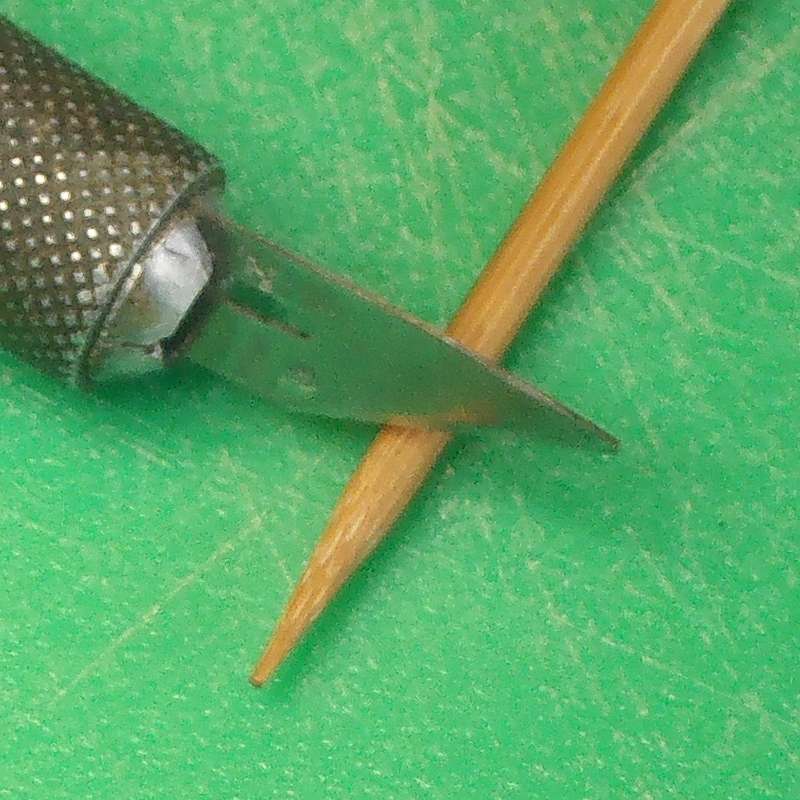
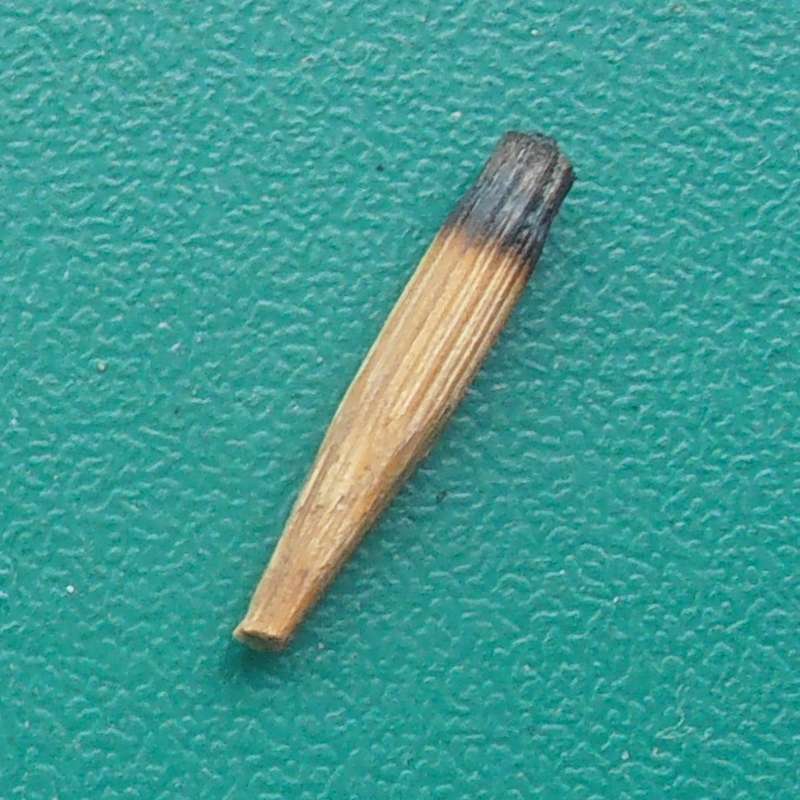
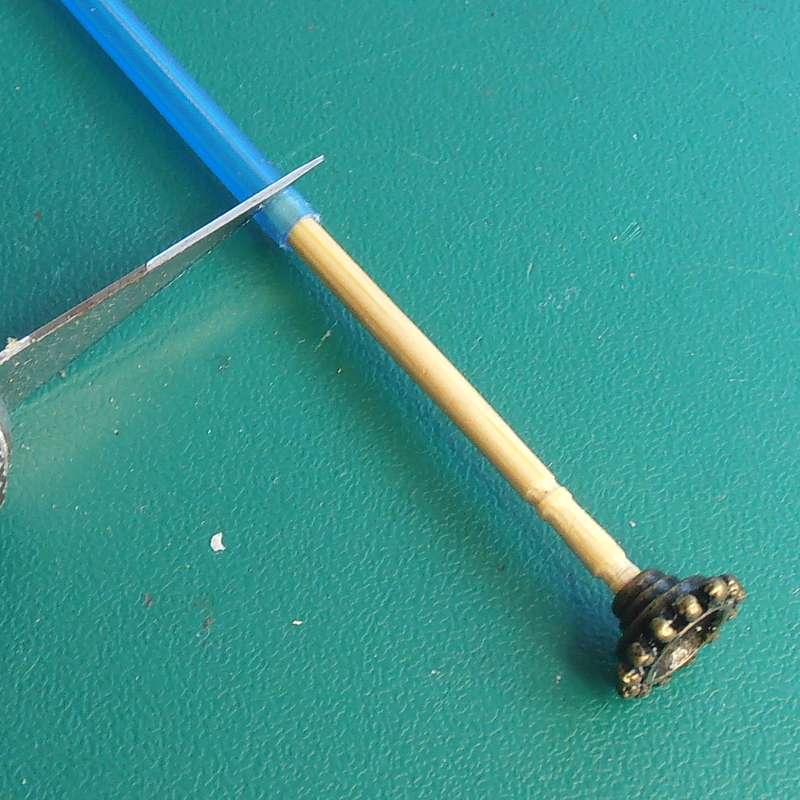
Stage 1
With a sharp
craft knife, trim the skewer about 19mm / 3/4" from the sharp end.
Rotate the skewer as you cut - do NOT try to cut right through in one
go. |
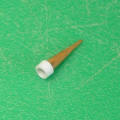 |
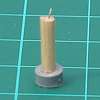
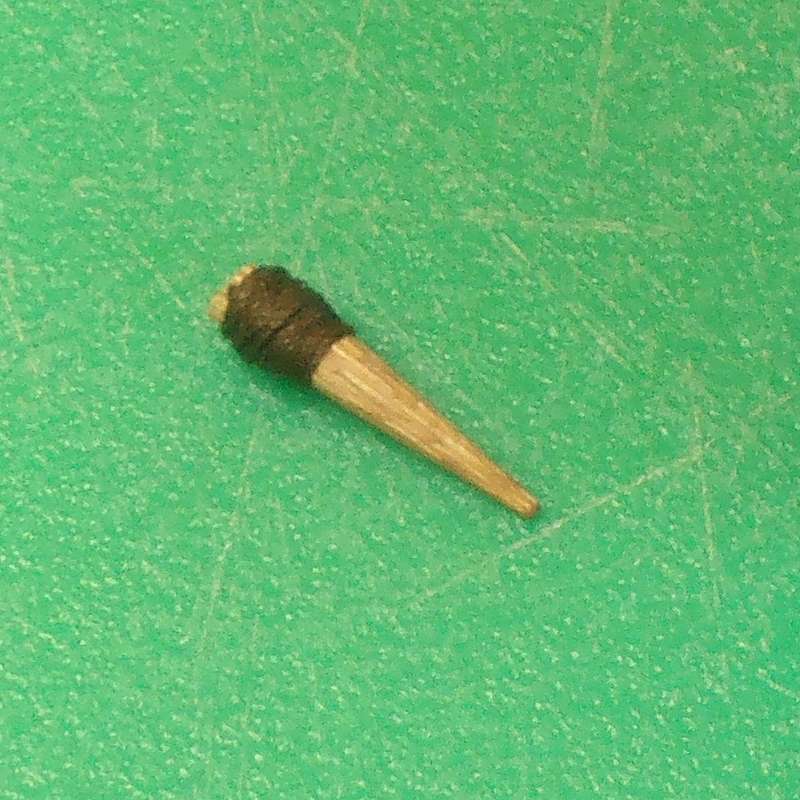
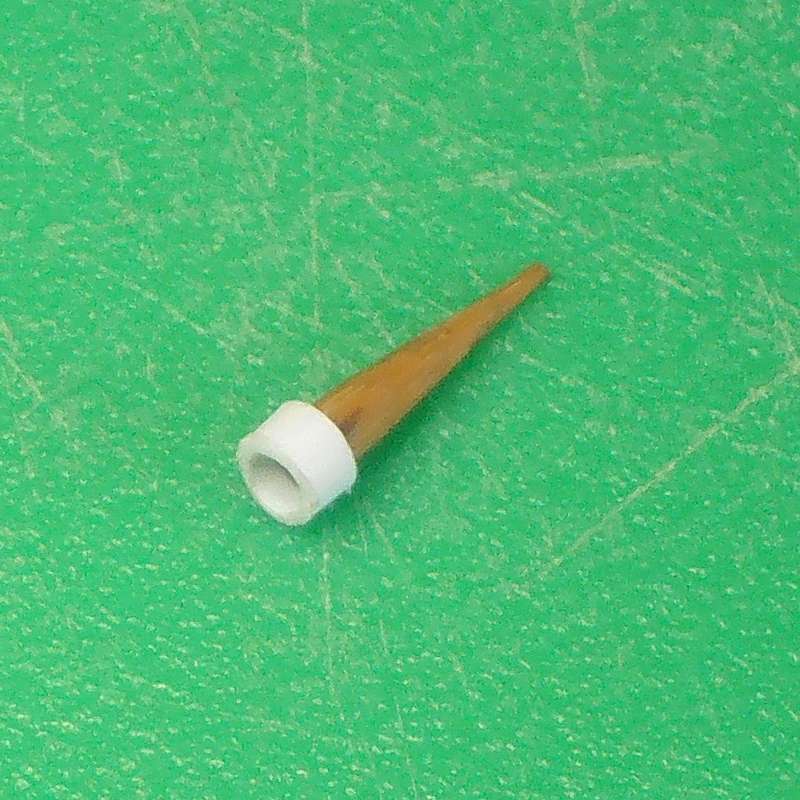
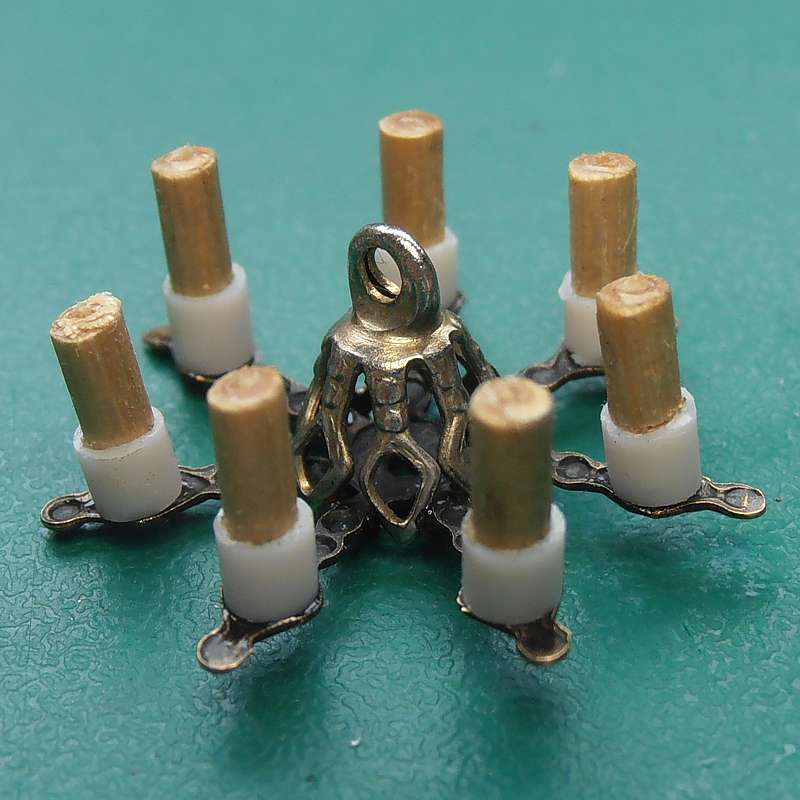
Stage 2
Now cut a 3mm
/ 1/8" cylinder from the plastic tube, and slide it onto the skewer.
Slide it to the thick end, with only about half of it overlapping the
skewer, leaving a small hollow. Don't glue it in place just yet. |
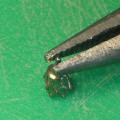 |
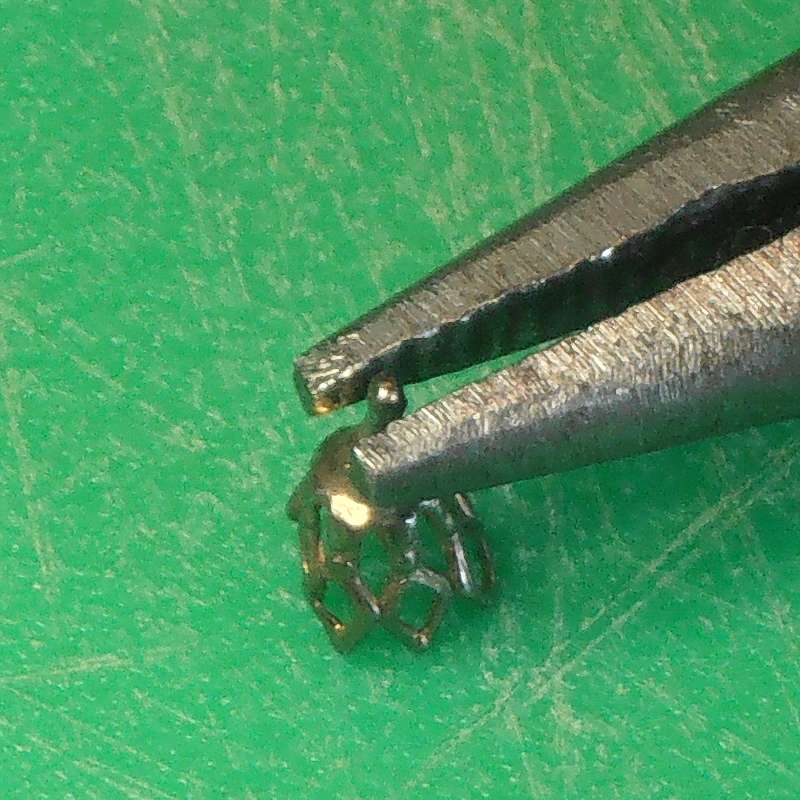
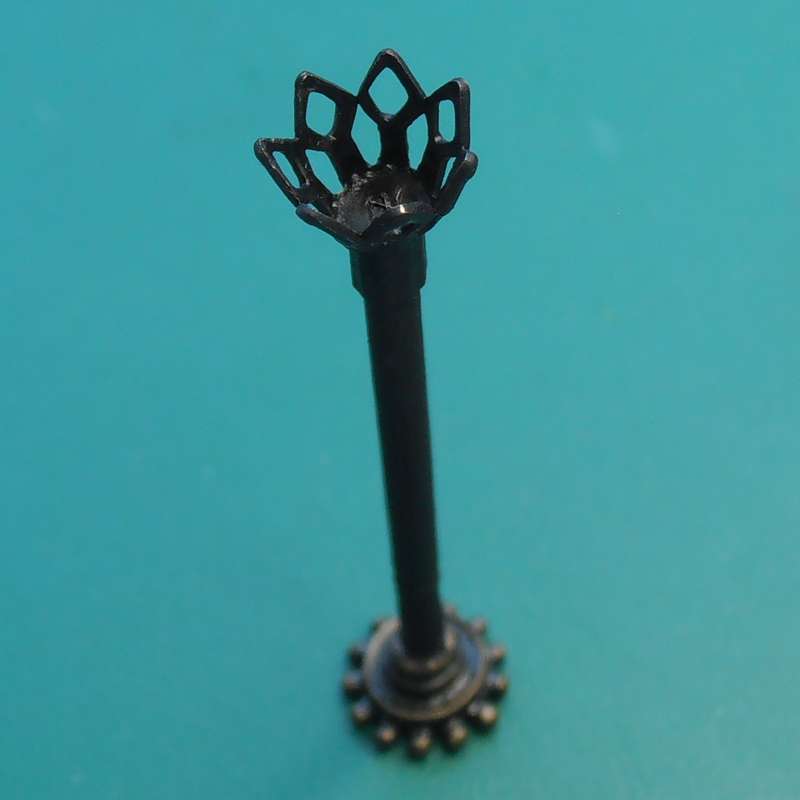
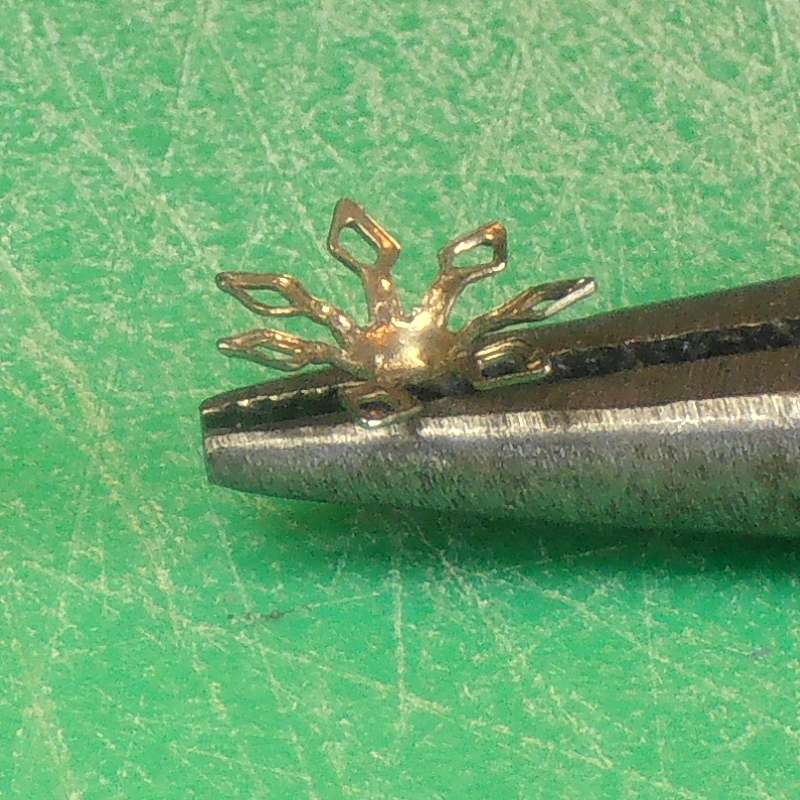
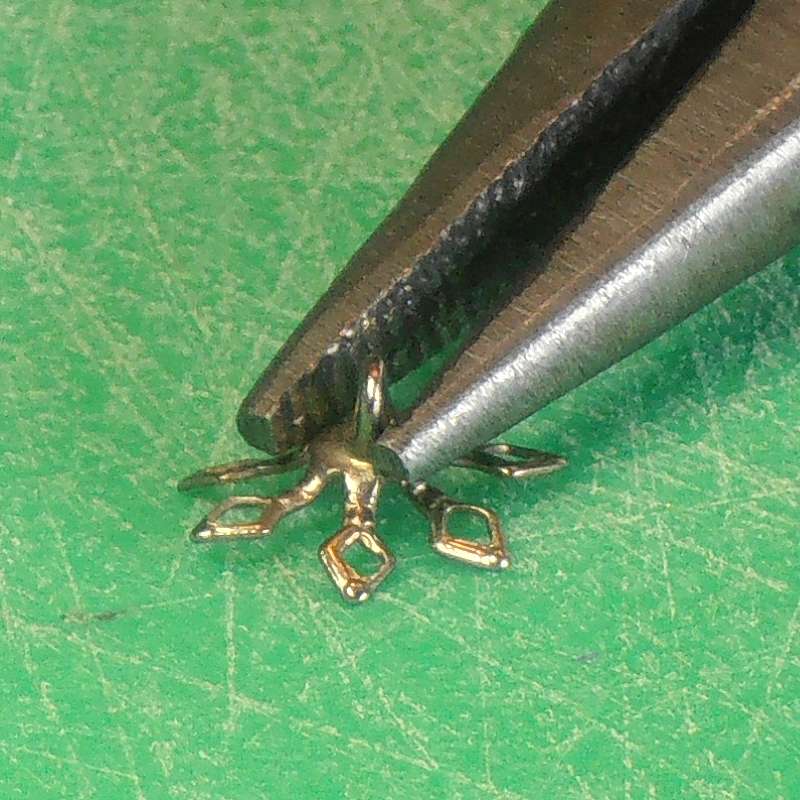
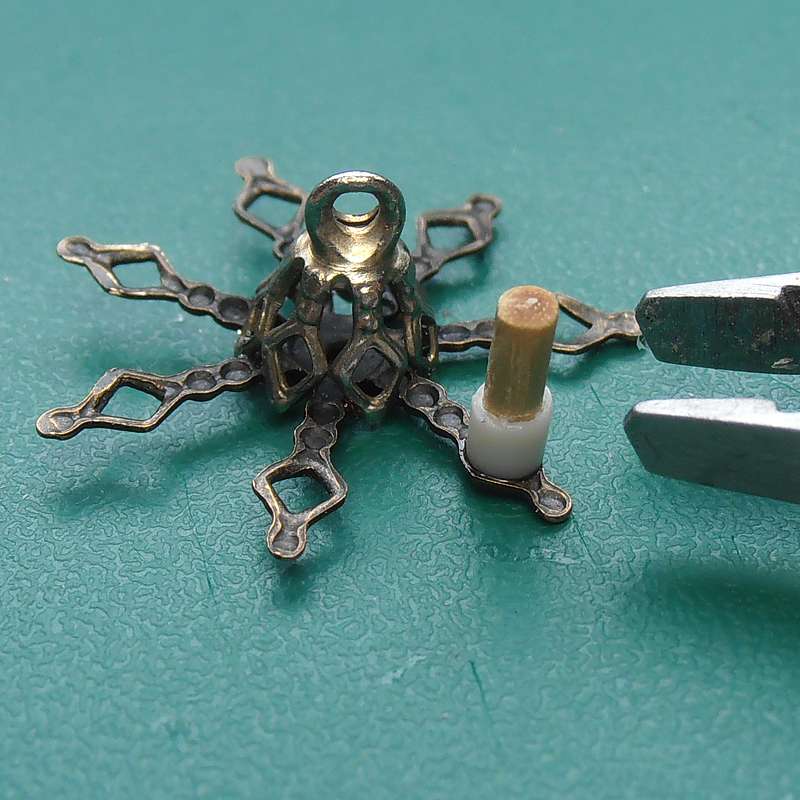
Stage 3
With the
pliers, crimp the attachment loop on the base of the clasp so that it
will fit inside the plastic tube. |
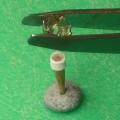 |
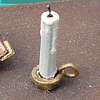
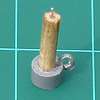
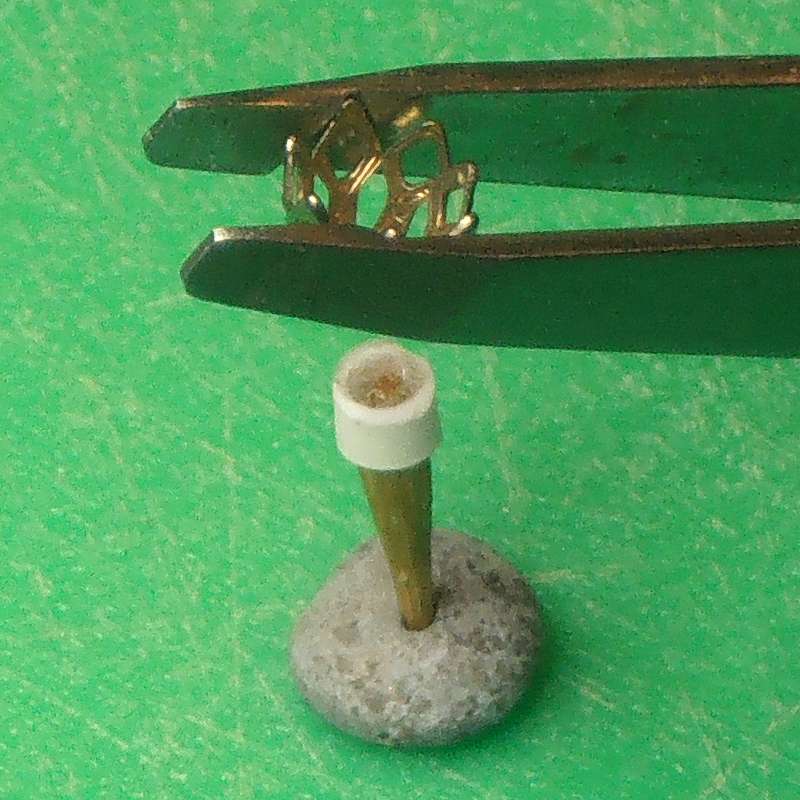
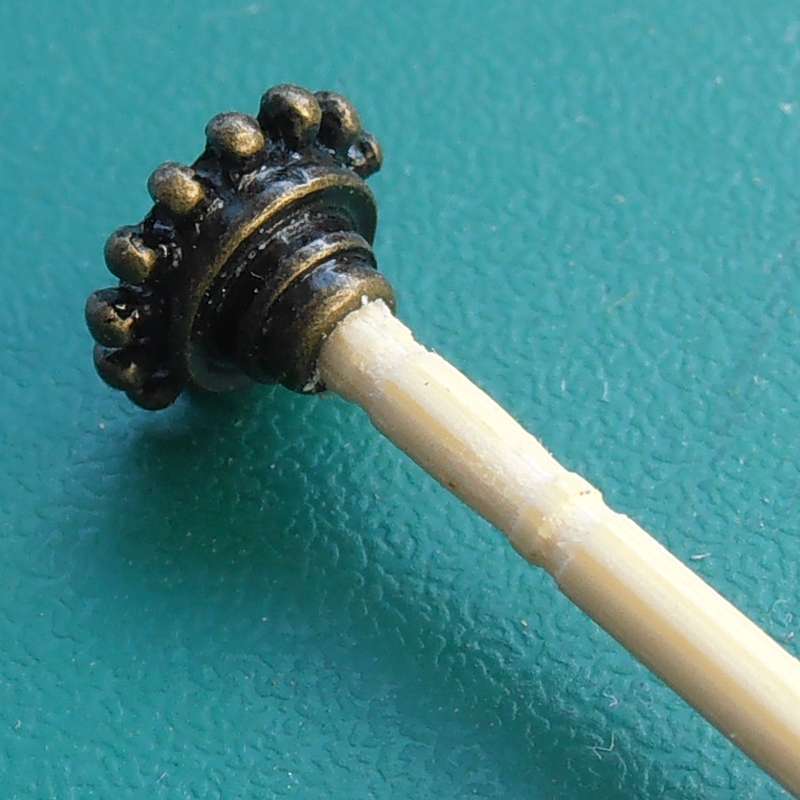
Stage 4
Put a small
blob of superglue into the hollow end of the tube, and place the crimped
part of the clasp into the glue.
Tweezers are a
good idea at this stage and a blob of blu-tack or clothes peg to hold
the skewer. |
 |
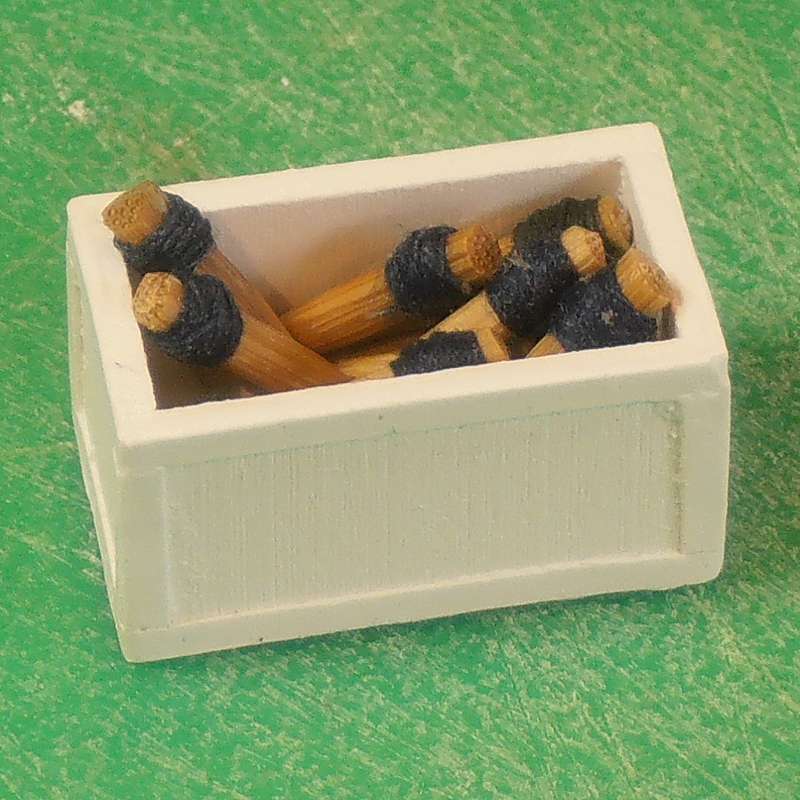
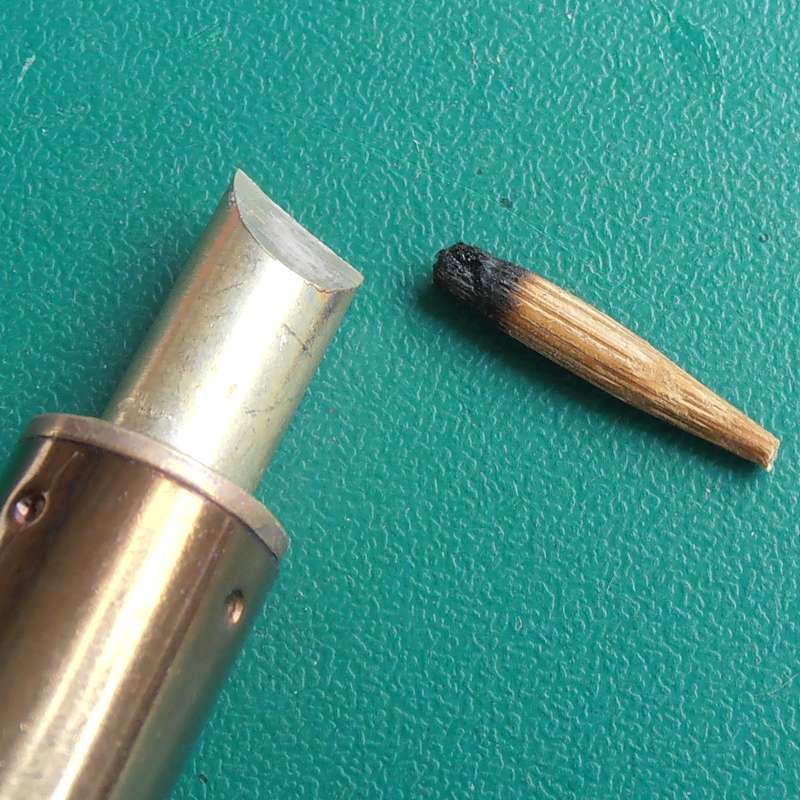
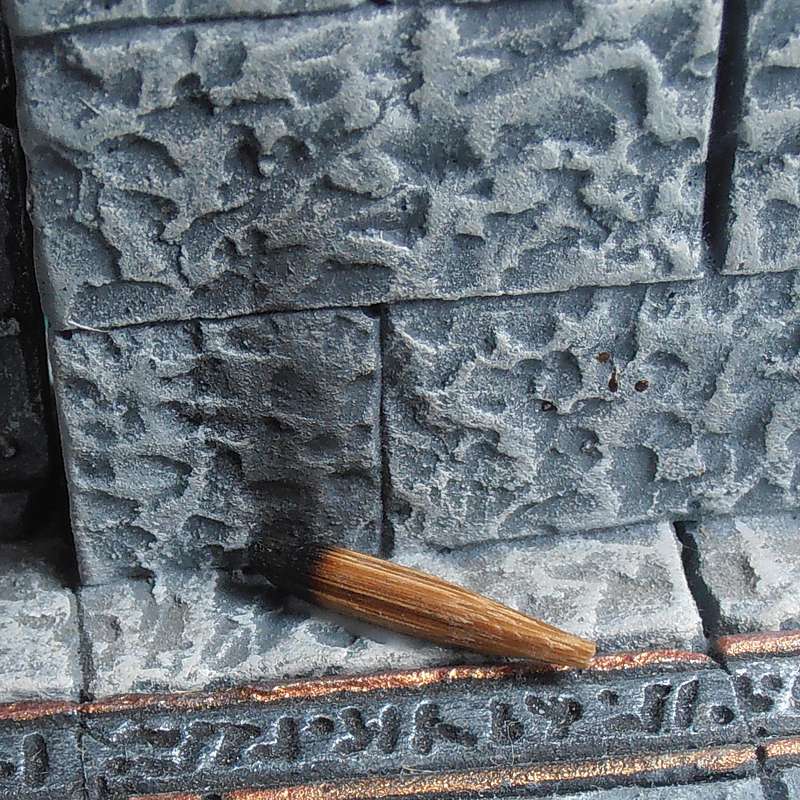
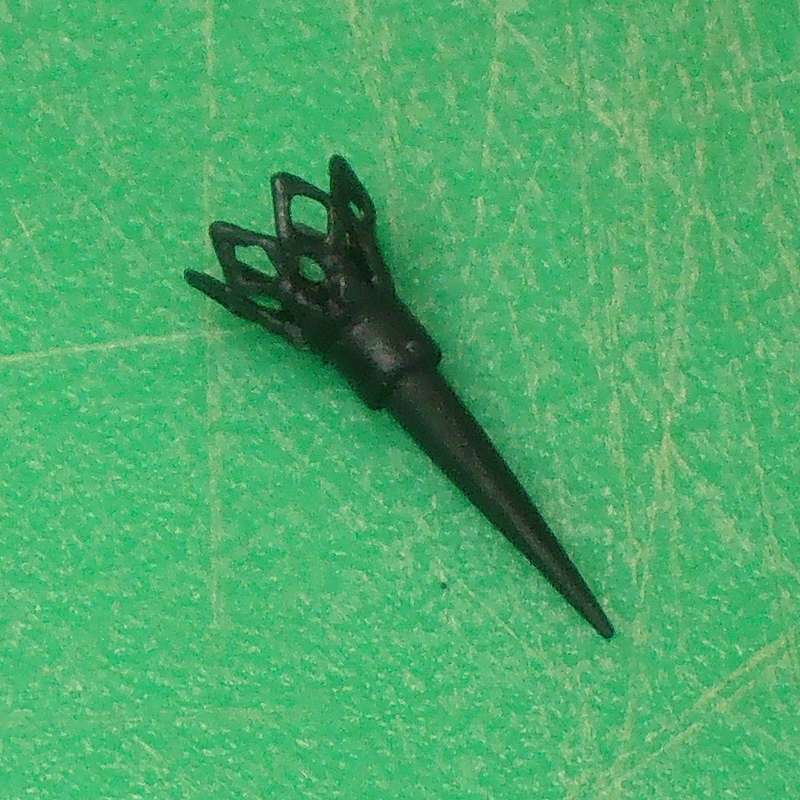
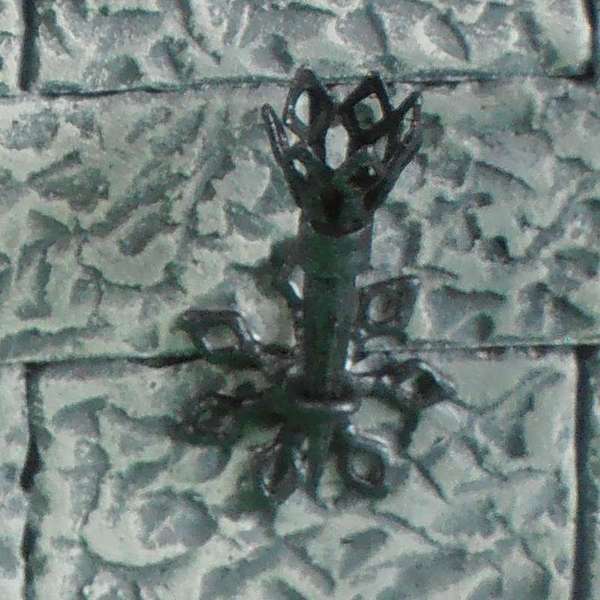
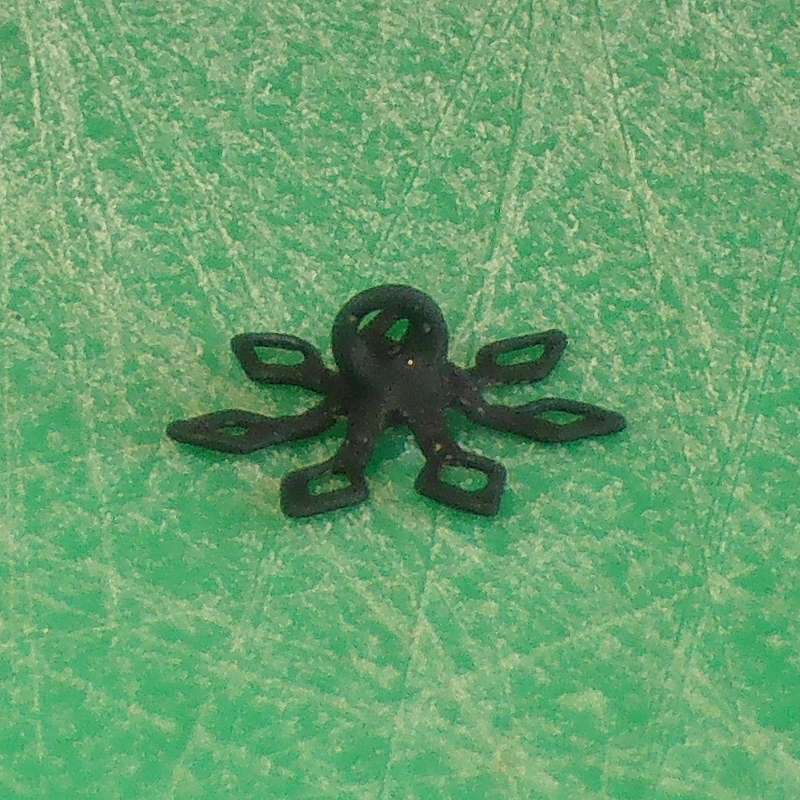
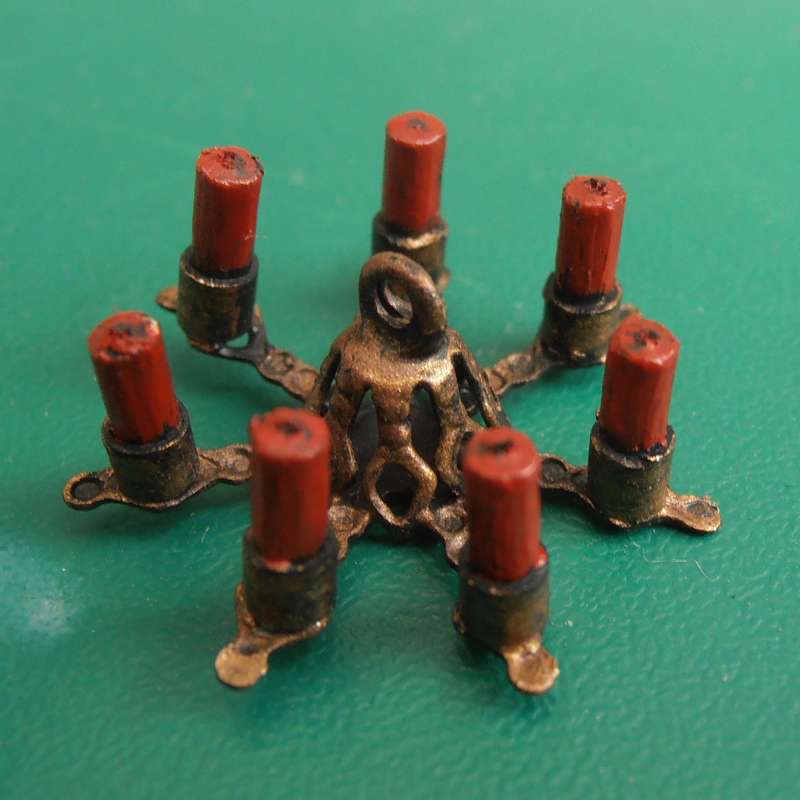
Stage 5
When dry, spray the
piece with black primer. |
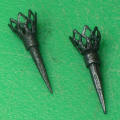 |
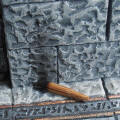
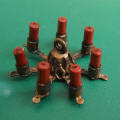
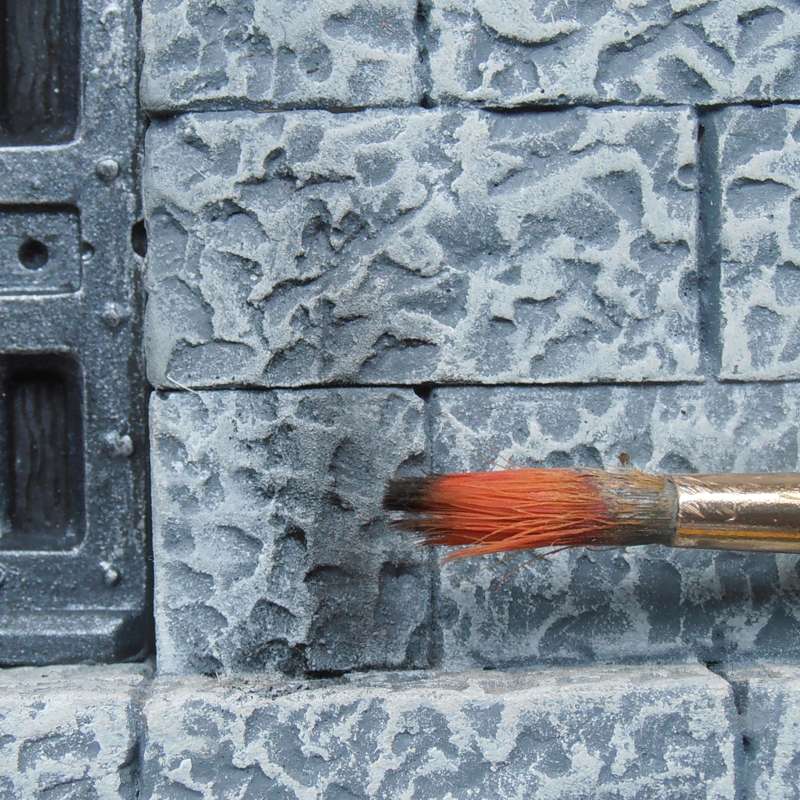
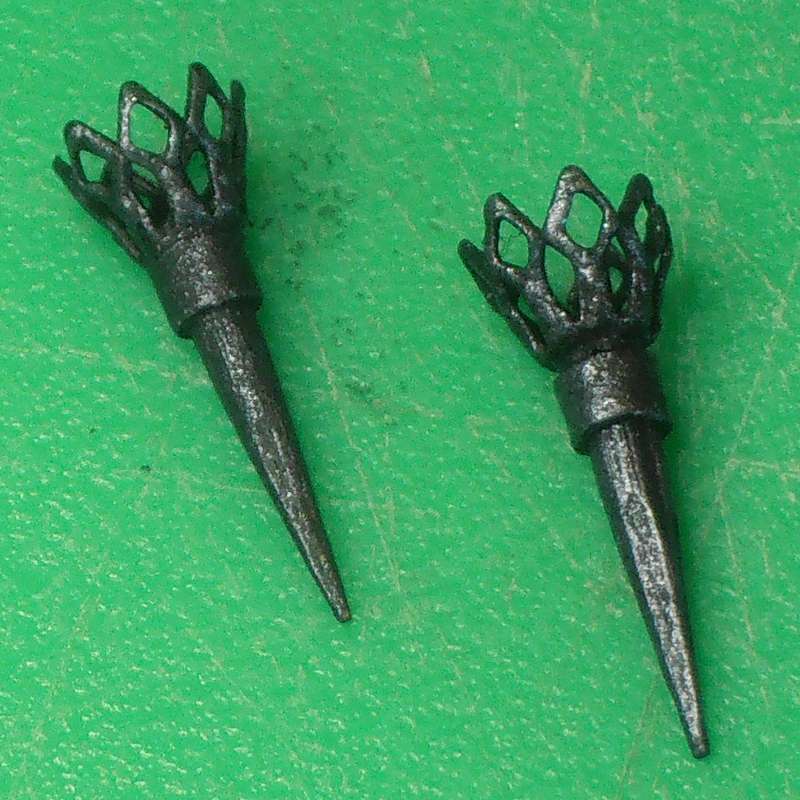
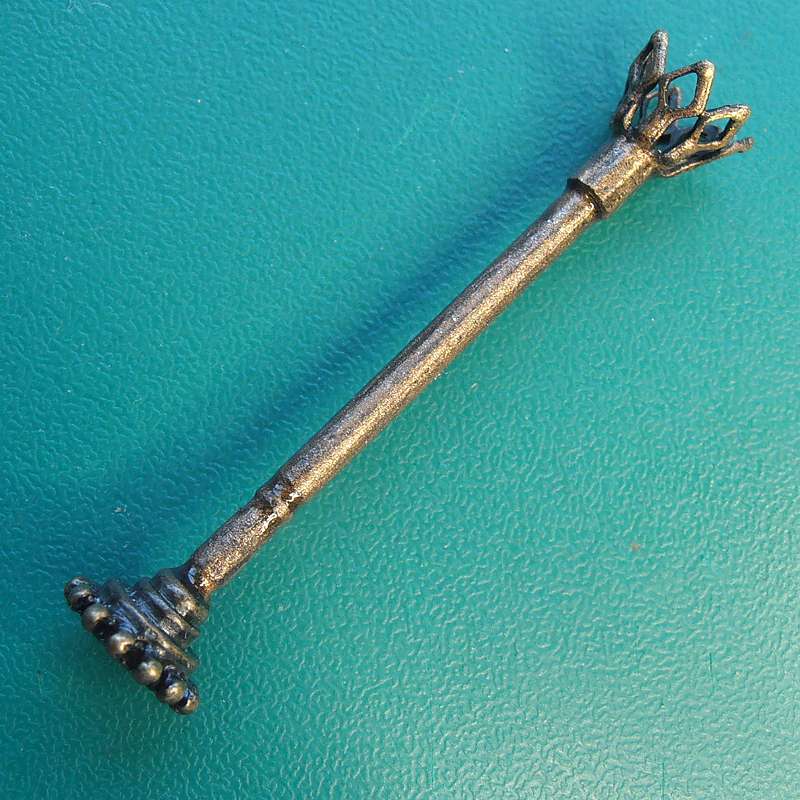
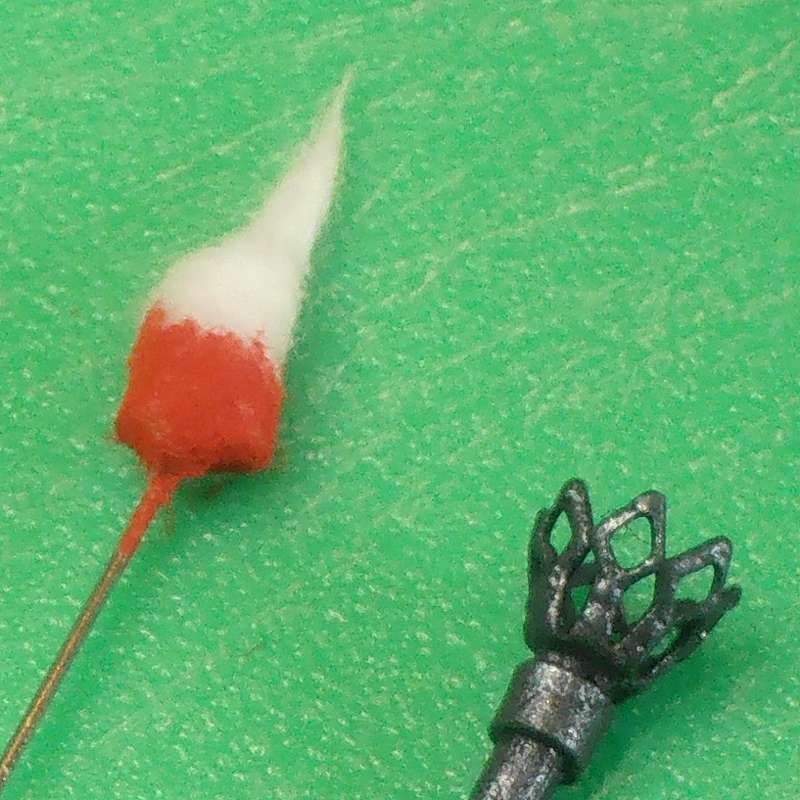
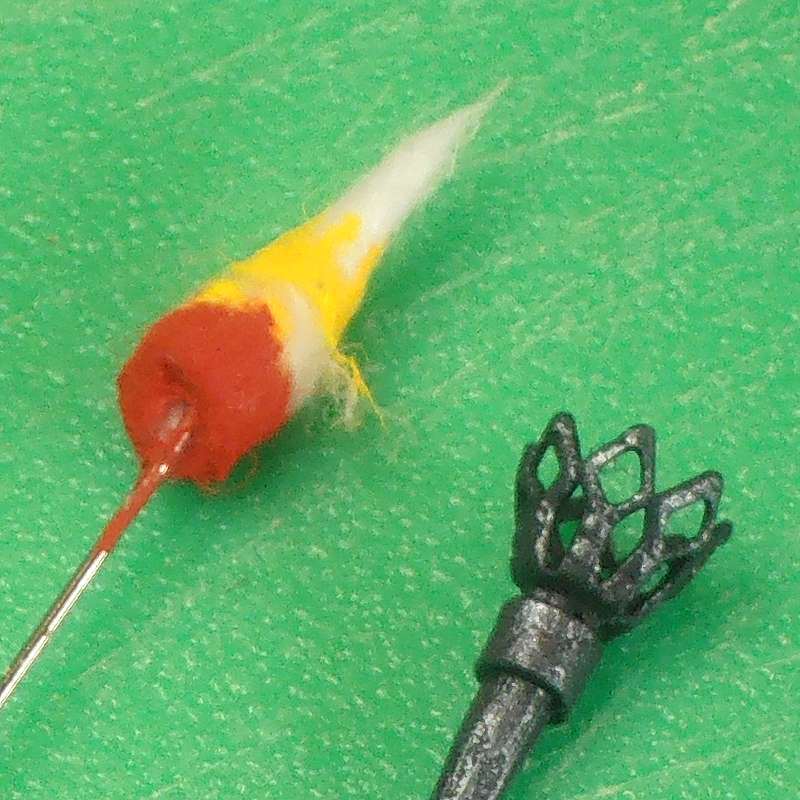
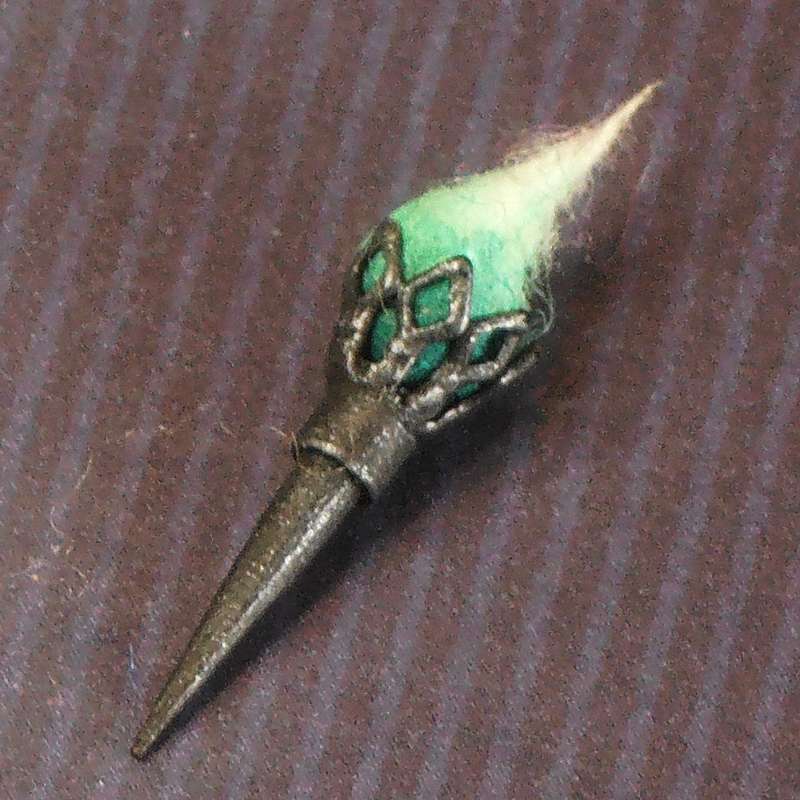
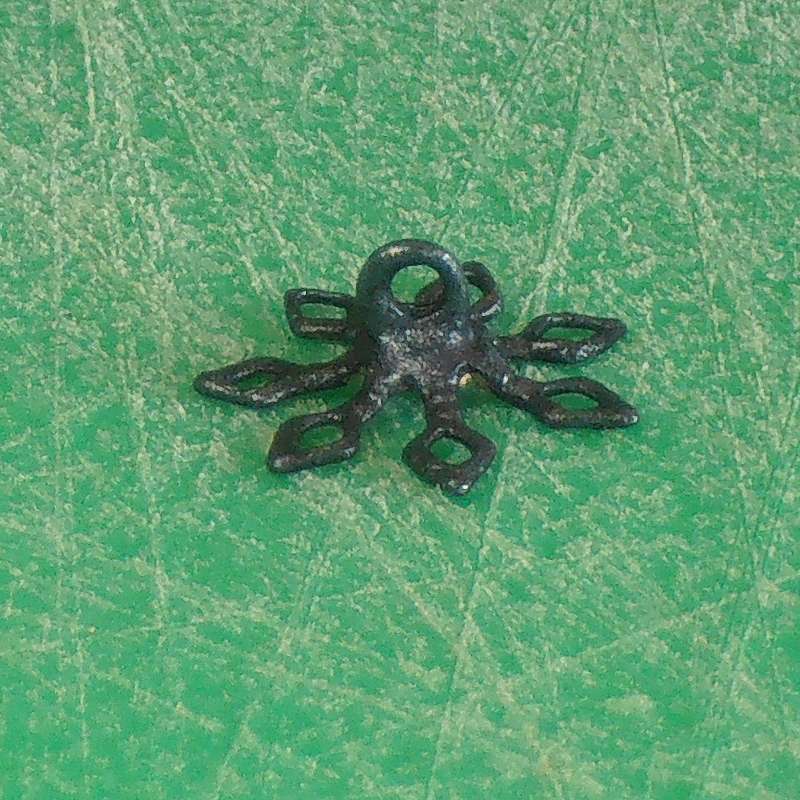
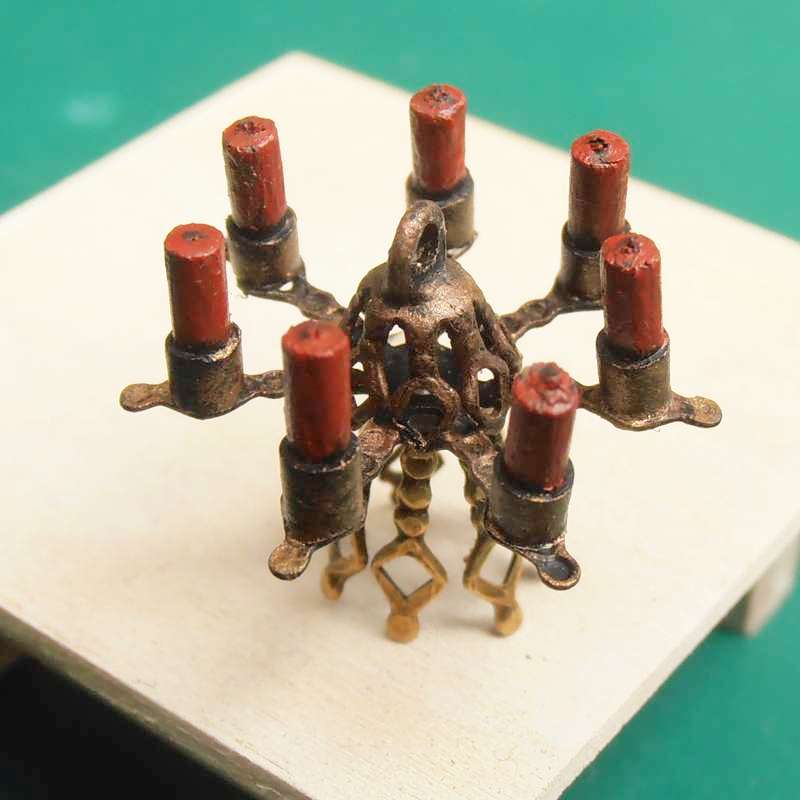
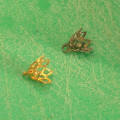
Stage 6
For a simple
effect, dry-brush with a metallic colour - these two were done in
pewter. |
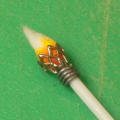 |
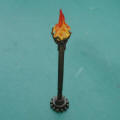
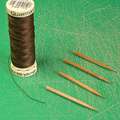
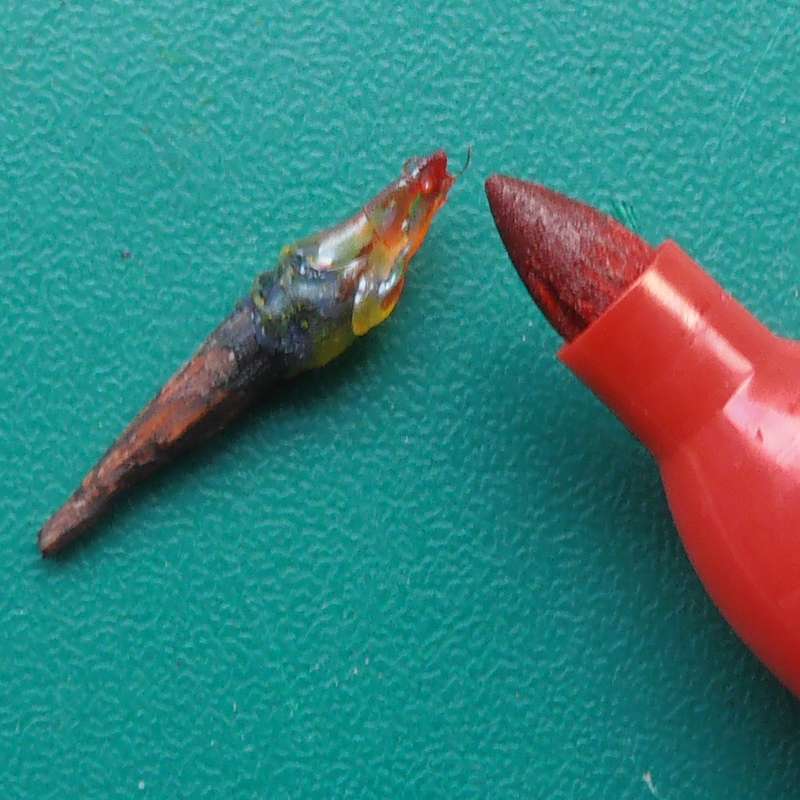
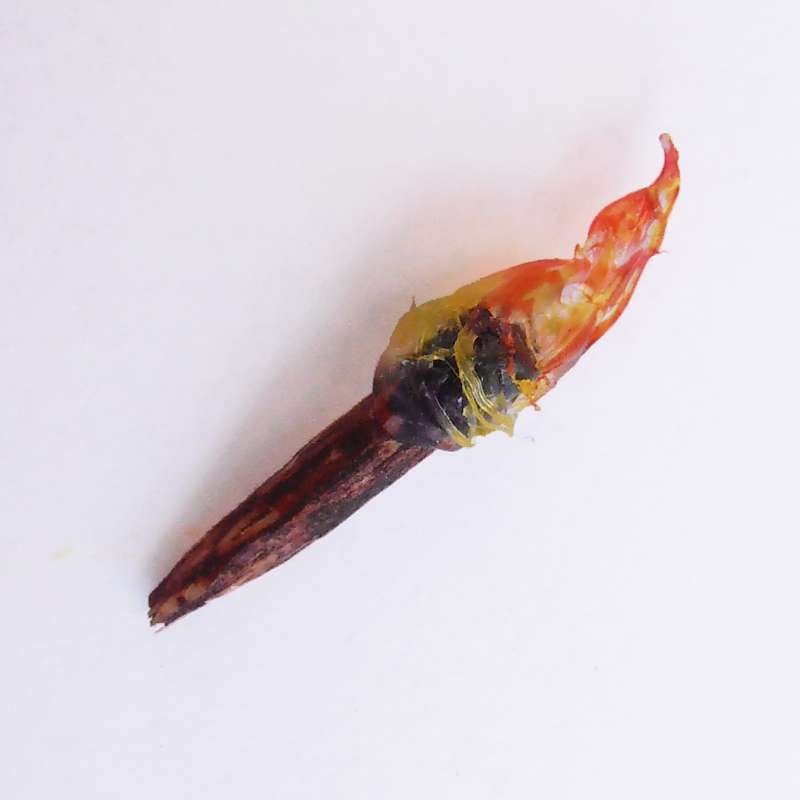
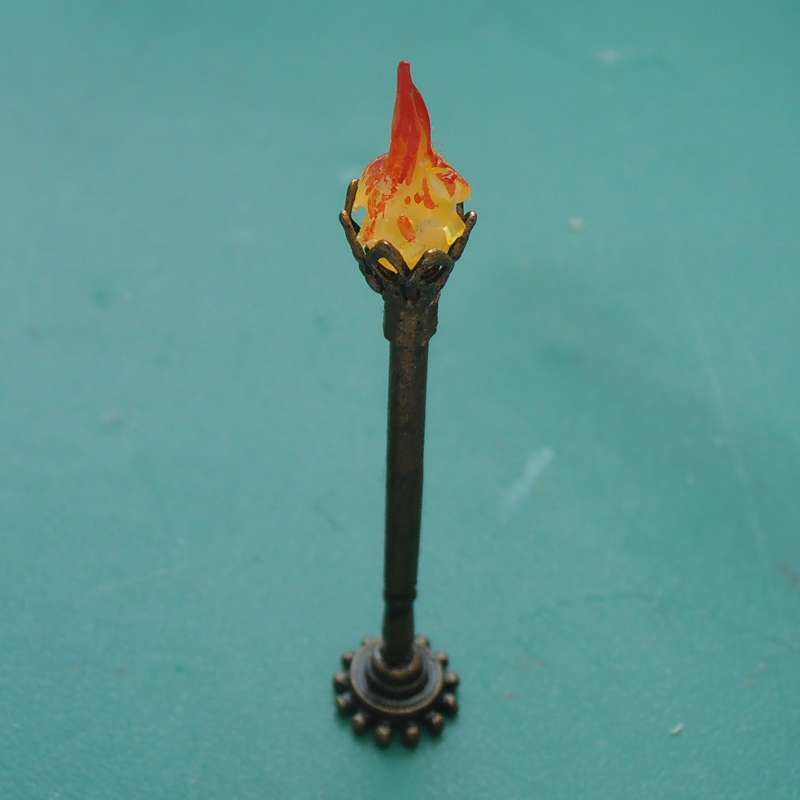
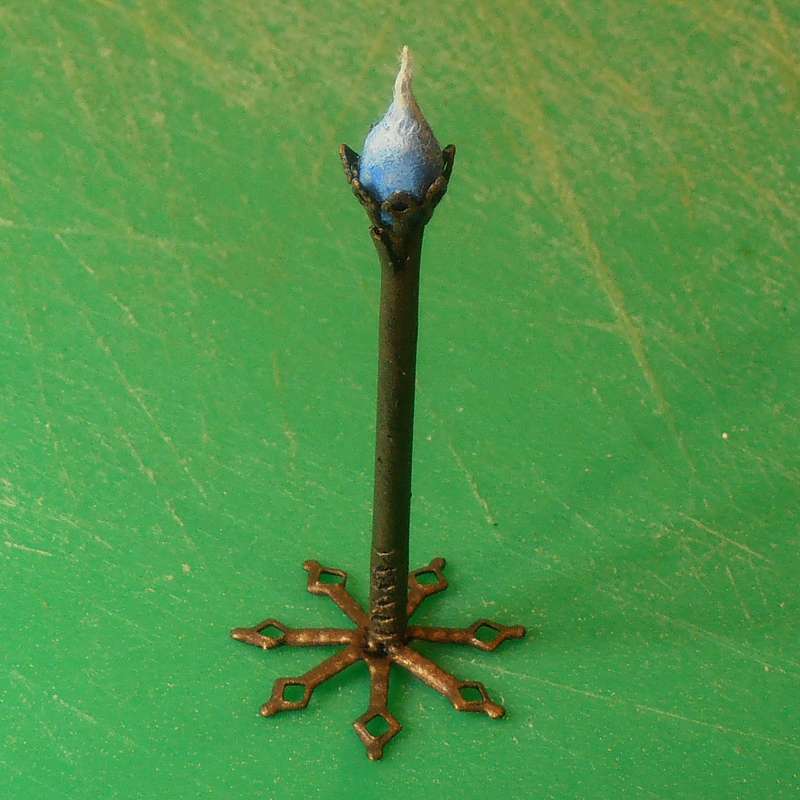
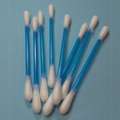
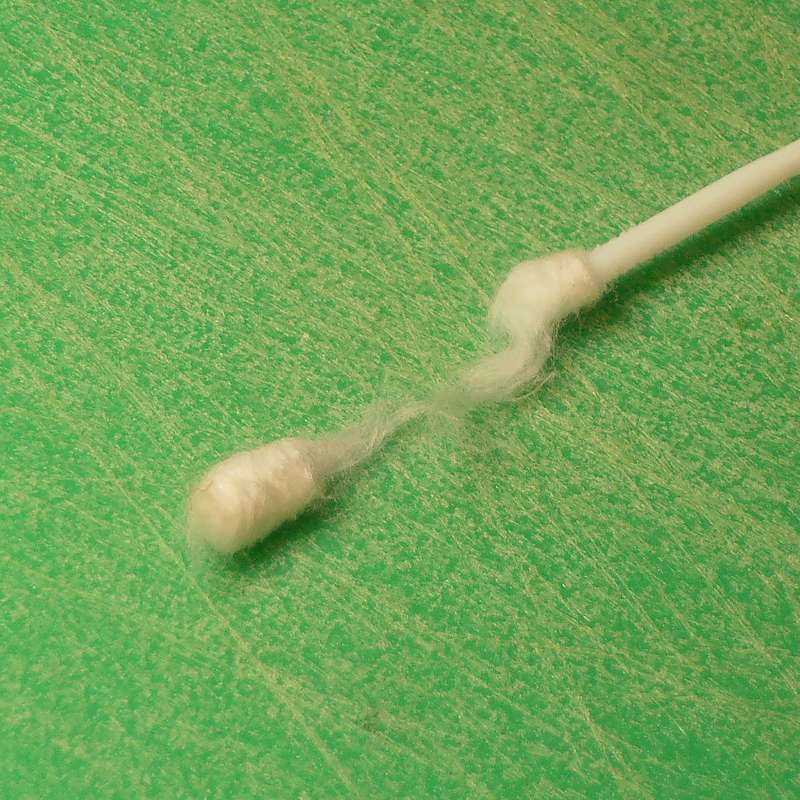
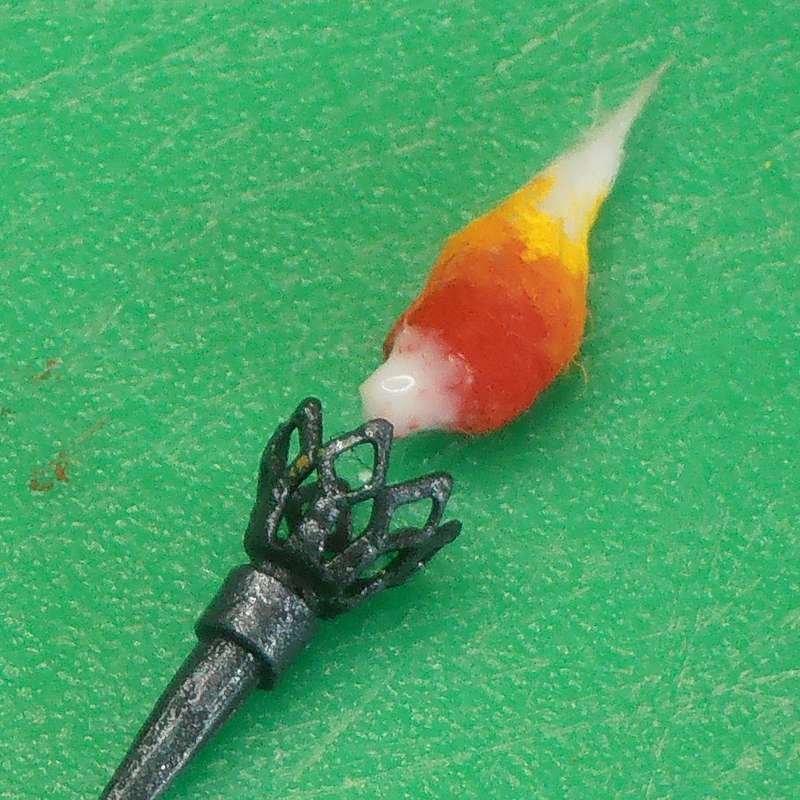
Stage 7
To add flames
to the model, see here:
Cotton Bud Flames |
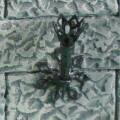 |
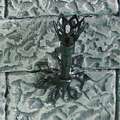
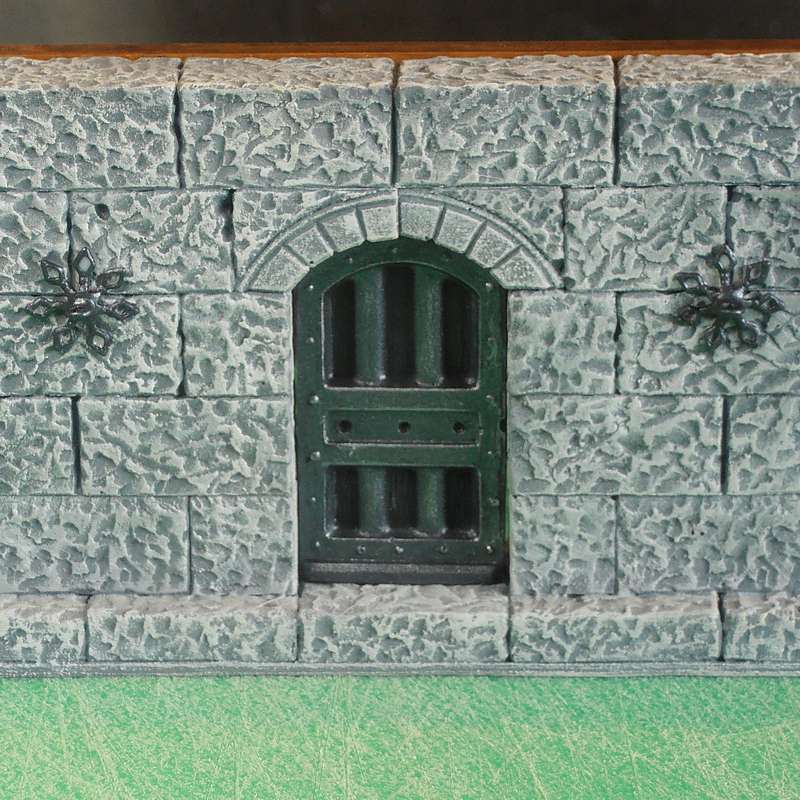
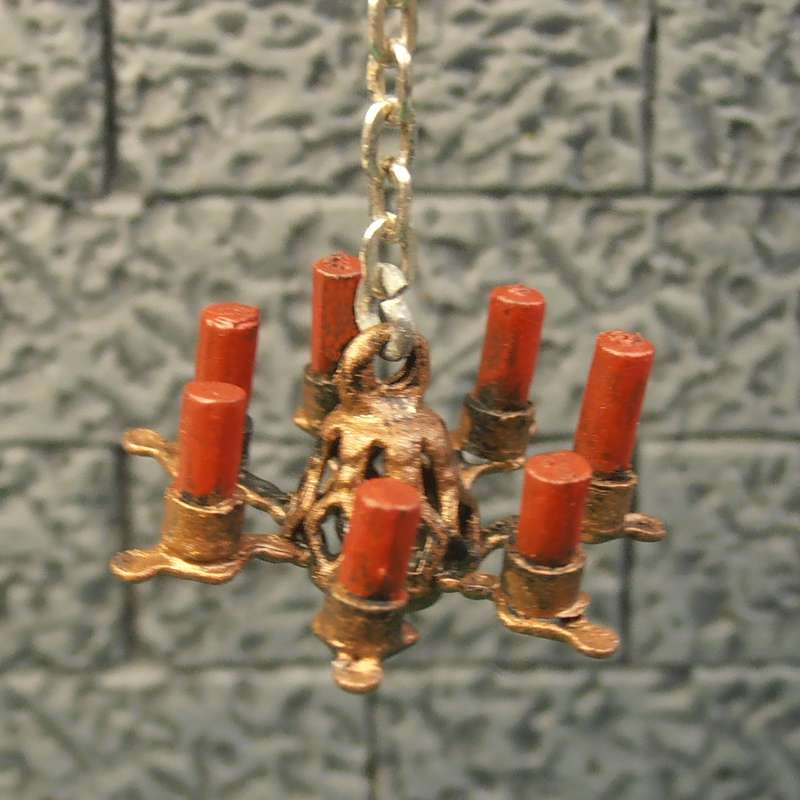
Stage 8
For a fancy
sconce to hold the torch on a wall, see here:
Sconces |