|
© Abaroth 2022. Permission is given to reproduce for non-profit
purposes only.
Home
Historic Sites
Models
Heraldry
Puzzles
Garden
Links
Getting a greenhouse ready for
winter
#1 Preparing the glasshouse
Click thumbnails for larger images
|
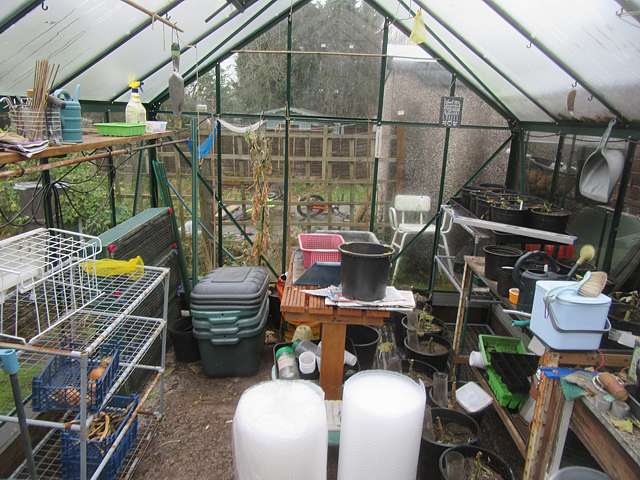
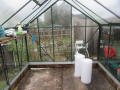
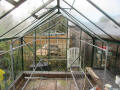
Step 1
Clear out as much clutter as
possible.
|
 |
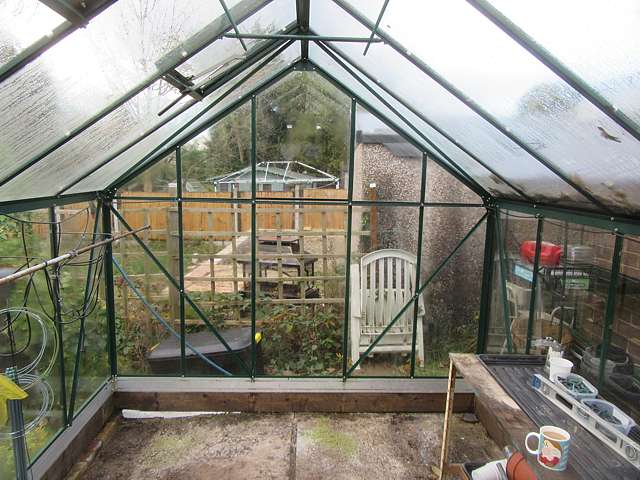
Step 2
Sweep the floor. |
 |
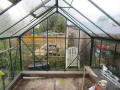
Step 3
Wash the glass and frame with a solution of Jeyes fluid to disinfect it.
|
 |
|
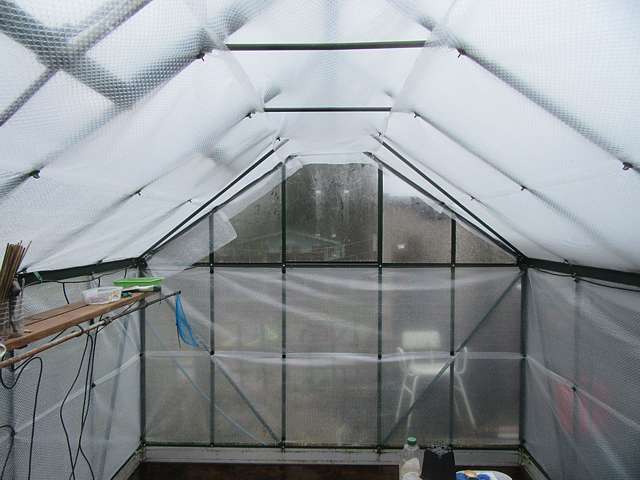
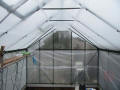
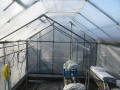
Step 4
Attach bubble wrap to the frame.
Start at one side of the door, and fit a strip all the way
around to the other side. Add a second strip to completely cover
the walls. |
 |
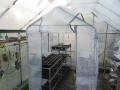
Step 5
Beginning at the eaves, add
strips to insulate the roof. Add more bubble wrap to fill the
gaps at either end. |
 |
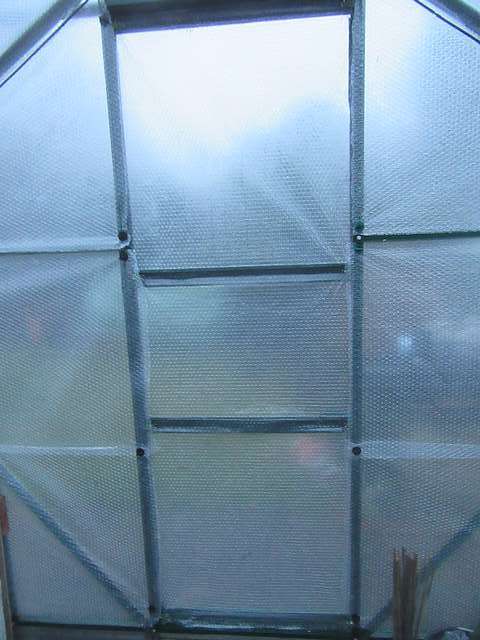
Step 6
Attach a strip to the door. I had
to use small bulldog clips for this piece as there are no
channels to accept the standard twist clips.
|
 |
|
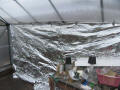
Step 7
Attach a reflective sheet to the
north wall - I use an emergency blanket. This will greatly
increase the amount of heat and light from the sun. |
 |
Step 8
Label each piece of bubble wrap
with a permanent marker, so you can easily store them till next
year and refit them. |
 |
|
|
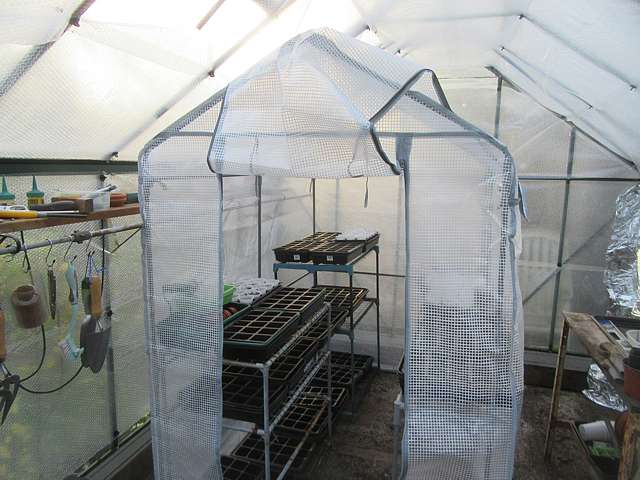
#2 Nested plastic greenhouse
|
Step 1
To add another layer of
insulation, I erect a plastic greenhouse inside the glasshouse. |
 |
Step 2
Assemble the frame. |
 |
Step 3
Fit the cover. |
 |
The nested greenhouse achieves
two things. Firstly it acts as another layer of insulation,
which keeps the temperature inside even warmer - typically 5°C
warmer than outdoor temperatures overnight. Secondly, if I do
need to add extra heat on very cold nights, I'm heating a much
smaller volume of air, reducing the costs further. With the cost
of paraffin at over £13 a gallon at the time of writing, the
plastic greenhouse will very soon pay for itself. |
Home
Historic Sites
Models
Heraldry
Puzzles
Garden
Links
Contact me with suggestions, comments or questions.
 |