The linked .PDF
file contains a 1cm grid, and symbols for "standard" size
objects like polytunnels, greenhouses, sheds, etc. These will
produce a plan at 1:100 scale, or 1cm on the plan equates to 1
metre on the ground. Note that it is best practice to site
buildings on the highest ground on your plot, allowing water to be
collected where it can then be moved via gravity to other areas. Sheds should also be sited so as not to shade
growing space on adjacent plots.
|
|
Download
Click the image to open the
.PDF file. You can either print it, or save a copy on your computer
using icons at the top right of the page.
|
 |
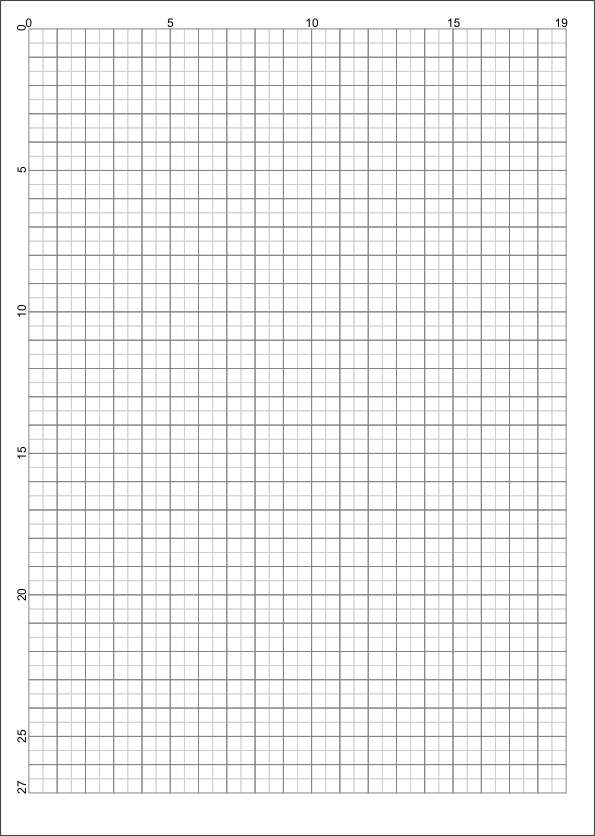
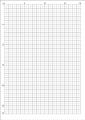
Page 1
Consists of a 1cm grid,
subdivided into 5mm squares. |
 |
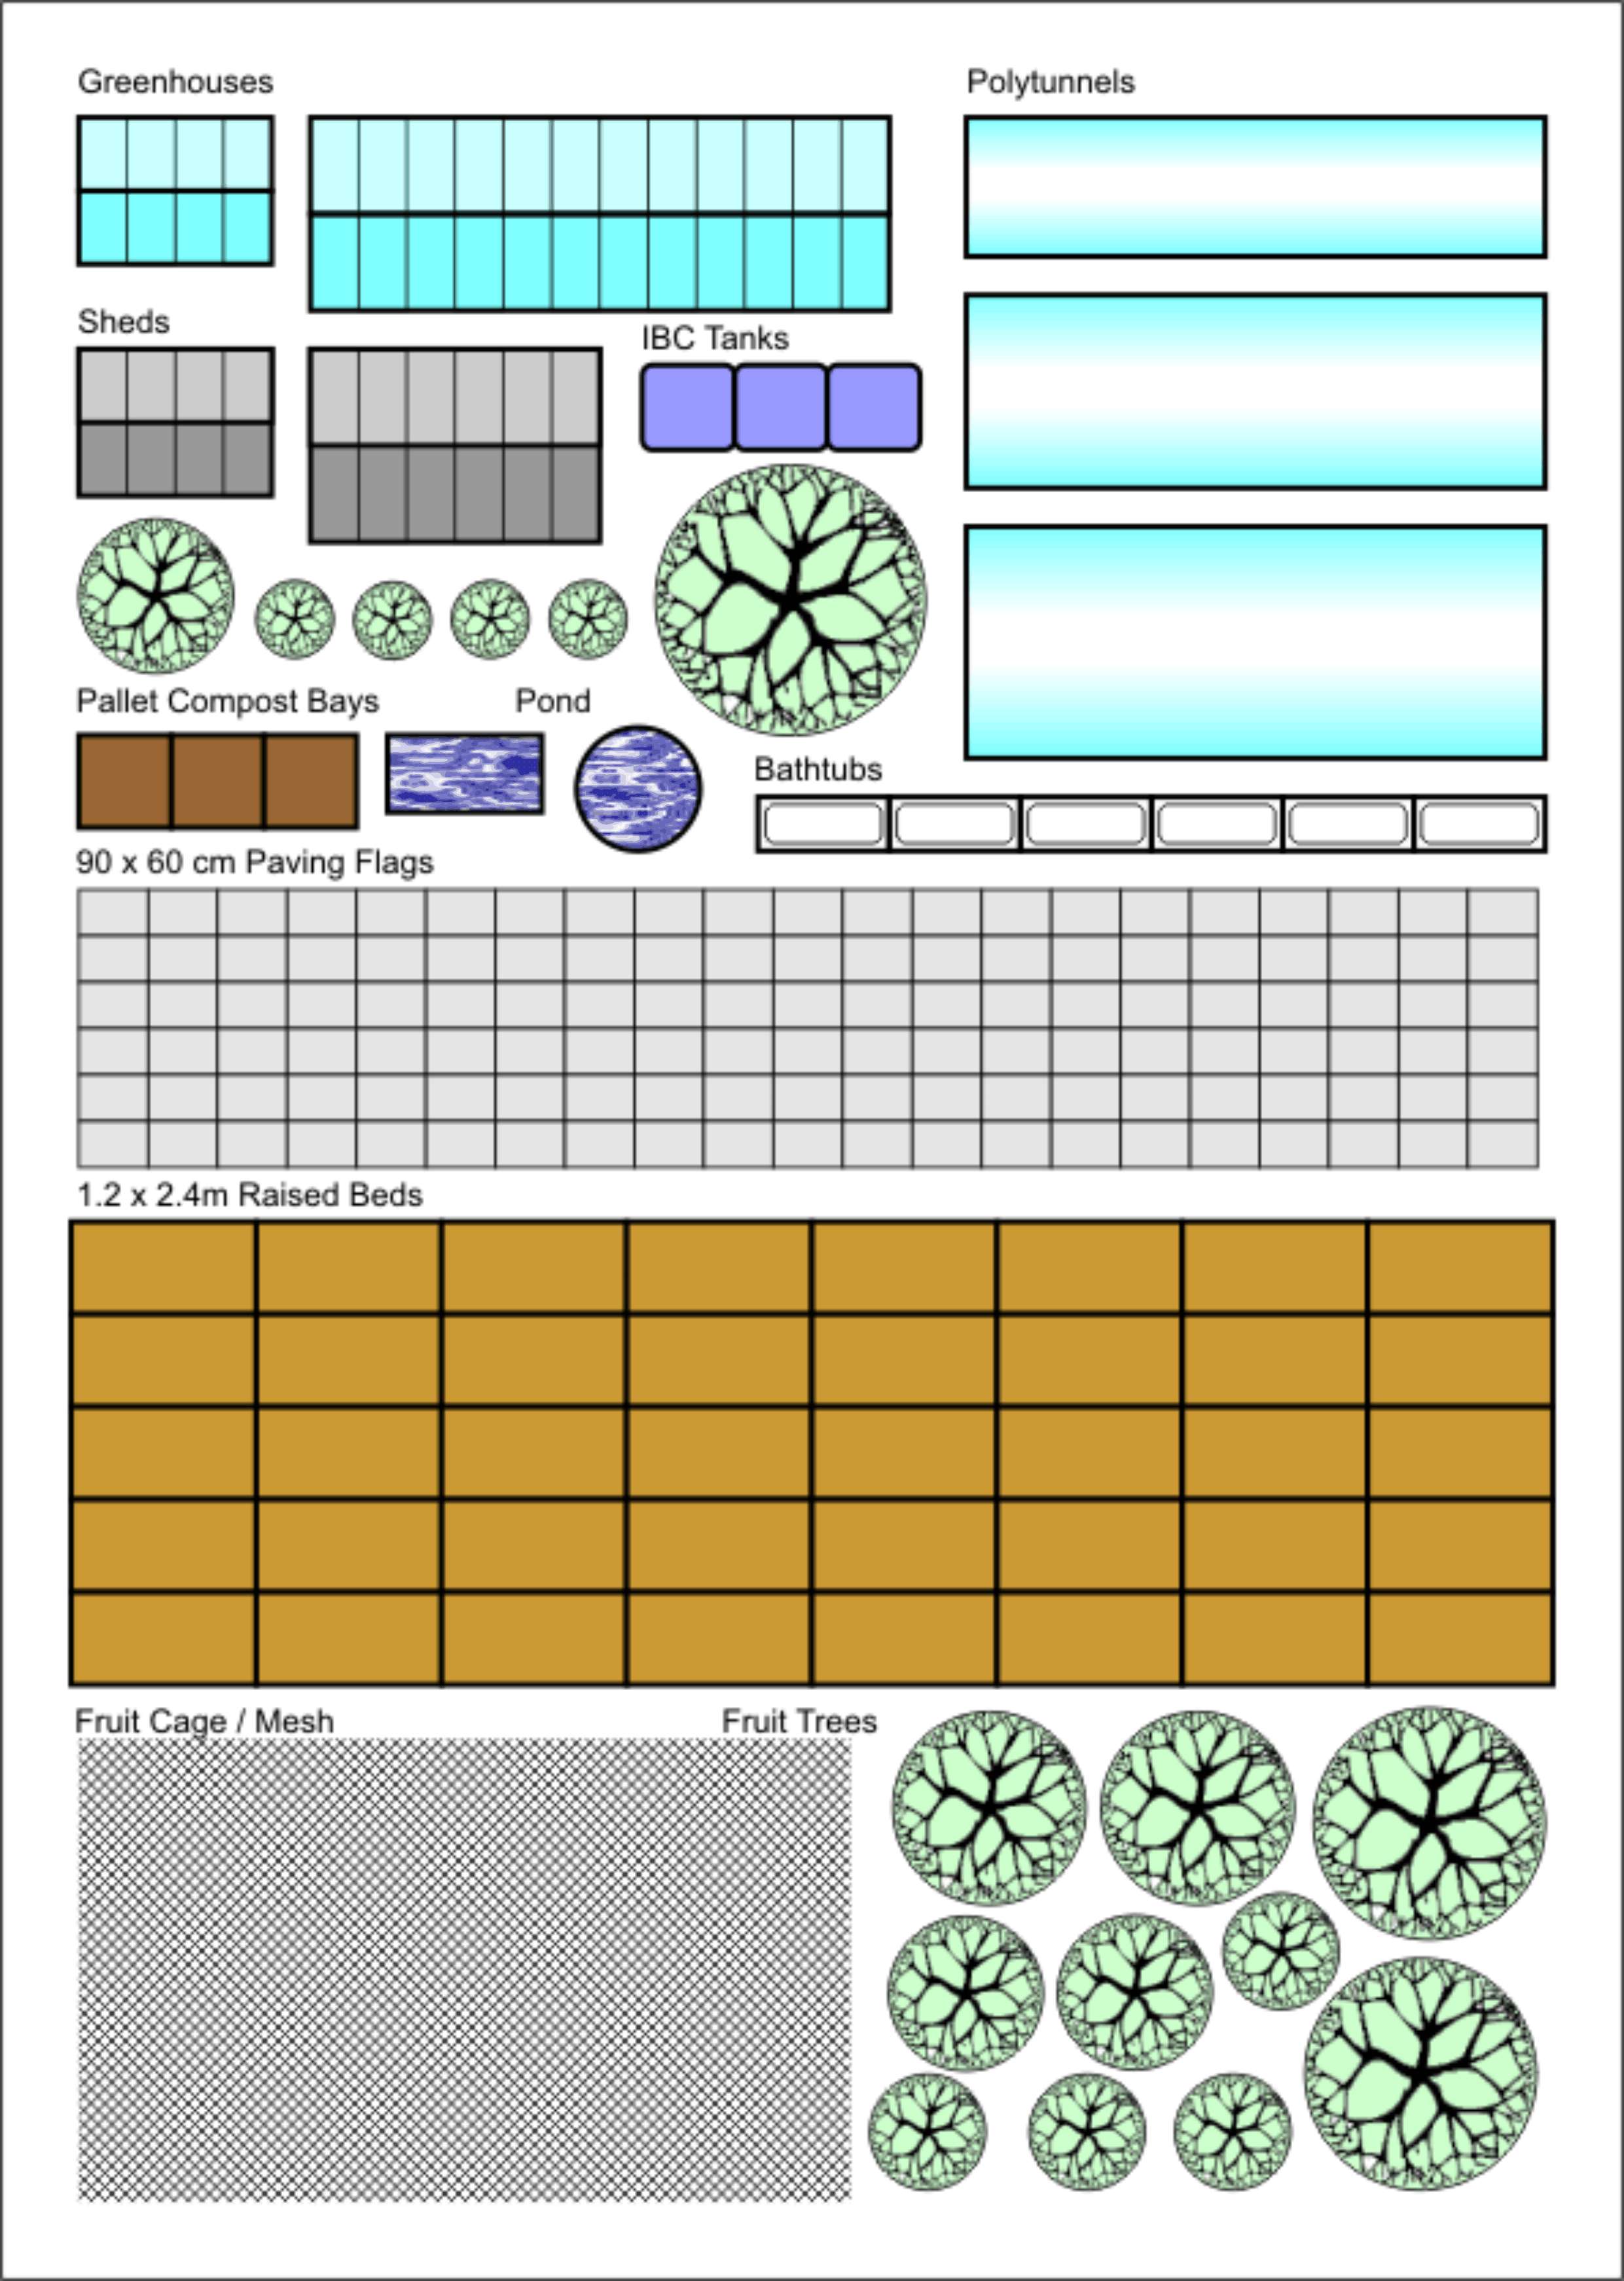
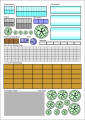
Page 2
Contains symbols for common
garden or allotment features at "standard" sizes. |
 |
|
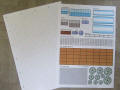
Step 1
Either print both pages of the
.PDF file or if you prefer to use pre-printed squared paper,
just print the second page. |
 |
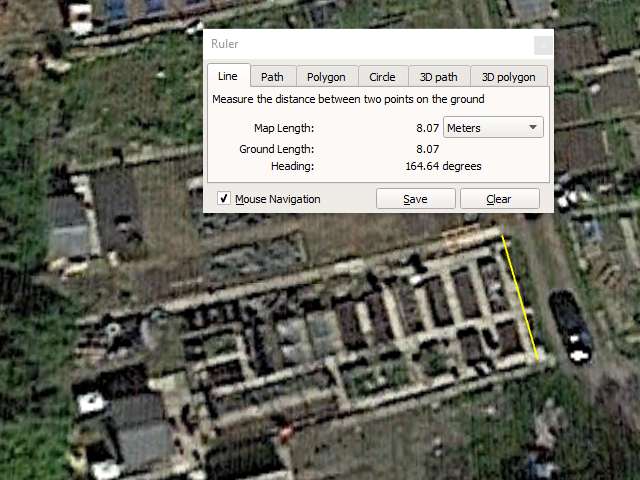
Step 2
Measure your plot - either in
reality, or you can take measurements from the aerial
photographs on Google Earth.
Image © Google. |
 |
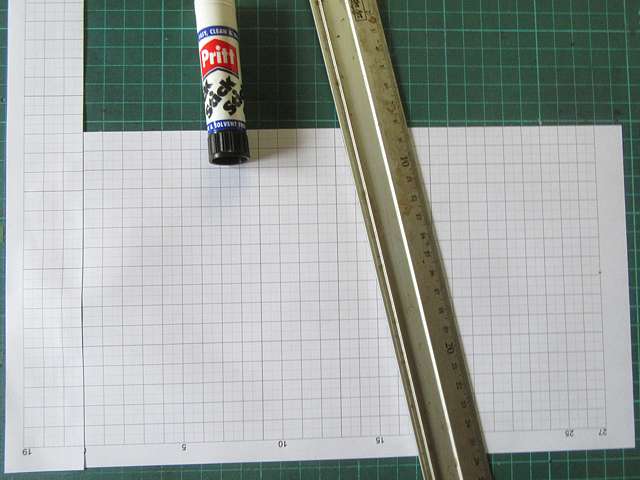
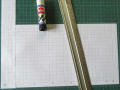
Step 3
My own plot is 30 metres long, so
I needed to cut and paste some of the gridded paper. |
 |
|
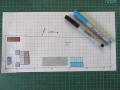
Step 4
Draw out the shape of your plot.
Mark the direction of the slope and the direction for north,
which shows where the sun will be in relation to the plan. Also
mark any problem areas like boggy ground, severe slopes etc.
|
 |
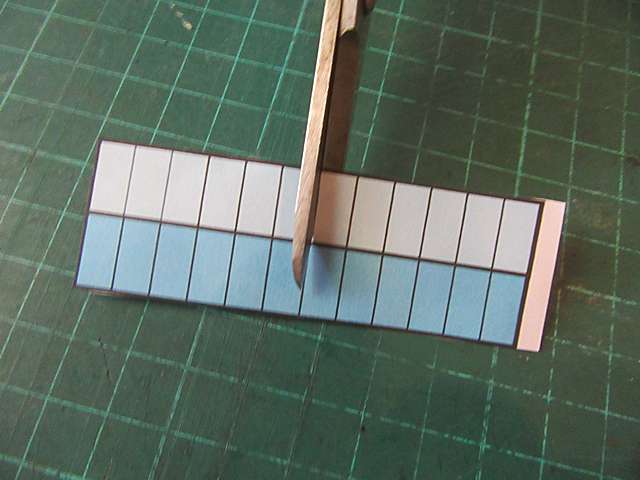
Step 5
Either draw or cut out the
symbols for any existing structures. My greenhouse is
approximately 2.4m x 3.8m which is 6 sections of the wider
greenhouse graphic.
|
 |
Step 6
Cut out as many symbols as you
wish, and move them around the plan as desired - it's a lot
easier to move pieces of paper than the actual structures, once
built.
|
 |
Step 7
If you have a hole punch like this, you can punch
circles from coloured paper to represent plastic compost bins,
water barrels or large pots, though it may be easier to draw
these directly onto the plan.
|
 |
Step 8
Take photos of your plan before making changes,
so you have a permanent record. |
|
|
|
|
|
|
|
|
|
|
|
|
|
|
|
|
|
|
|
|
|
|
|
|
|