|
© Abaroth 2019. Permission is given to reproduce for non-profit
purposes only.
Home
Historic Sites
Models
Heraldry
Puzzles
Garden
Links
How to Grow Shallots from Sets
| This is how I grow shallots
on my allotment. I make no claims that is the best method or
that it will produce the largest crops, but it has worked well
for me. |
Planting
| |
Jan |
Feb |
Mar |
Apr |
May |
Jun |
Jul |
Aug |
Sep |
Oct |
Nov |
Dec |
| Plant in pots |
|
|
|
|
|
|
|
|
|
|
|
|
| Plant Out |
|
|
|
|
|
|
|
|
|
|
|
|
| Harvest |
|
|
|
|
|
|
|
|
|
|
|
|
Click thumbnails for larger images
How to Save Your Own
Shallots for Sets
|
Step 1
Pass fresh multipurpose compost
through a fine riddle to remove any lumps - I use this cheap
plastic crate.
|
 |
Step 2
Fill pots with the finely sieved
compost and firm it down. |
 |
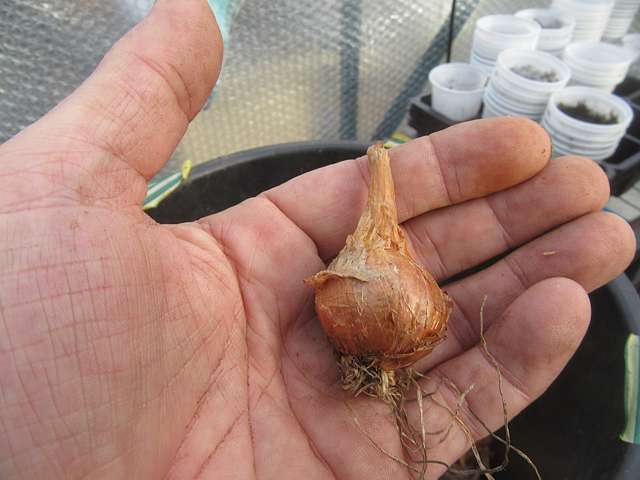
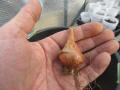
Step 3
Check through your bulbs, also
known as sets.
|
 |
|
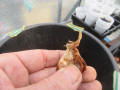
Step 4
Discard any which are soft or
look diseased. |
 |
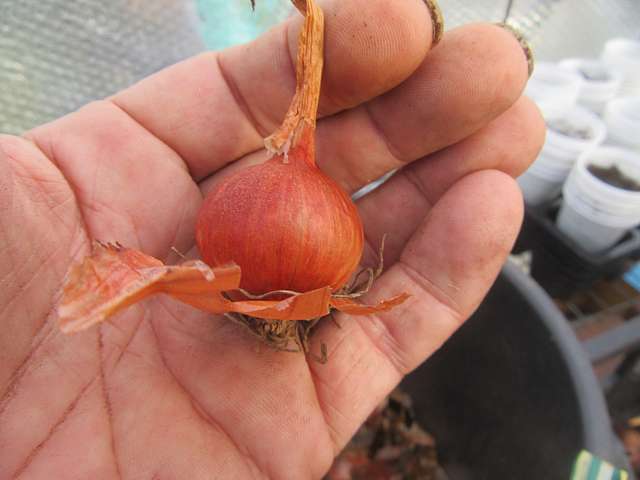
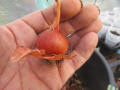
Step 5
Having selected a nice firm bulb,
remove any loose skins. |
 |
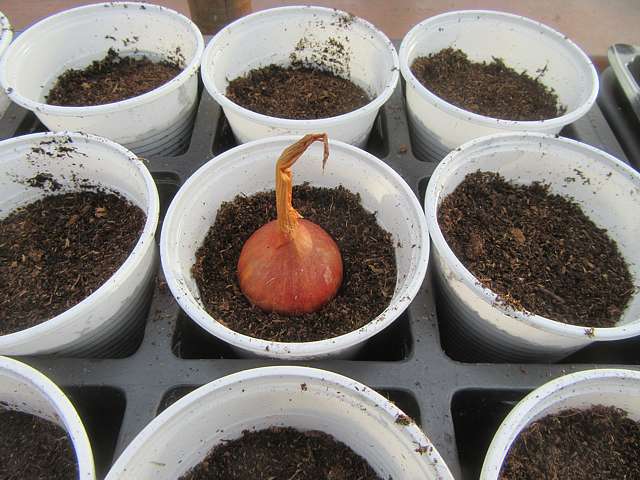
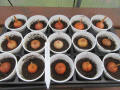
Step 6
Place the bulb in firm contact
with the compost - do not bury more than a few millimetres. |
 |
|
Step 7
Continue until you have planted
all your sets. |
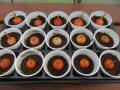 |
Step 8
Water well and add a label. |
 |
|
|
|
Note: Shallots can be planted
directly into the soil. However, I have found that the birds
often scatter the bulbs whilst looking for worms, before the
plants have had chance to root. |
Planting Out
|
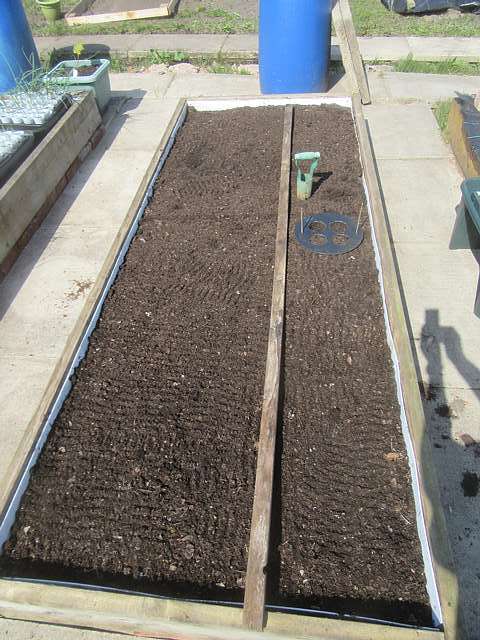
Step 1
Set out a straight line where you want the plants
using a piece of wood or a string-line. |
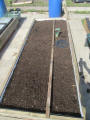 |
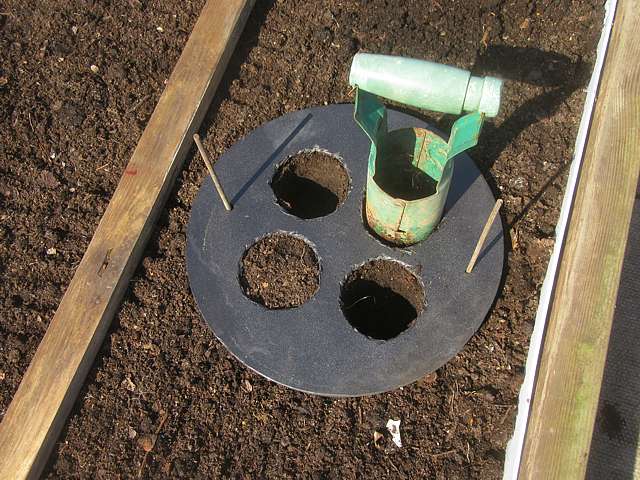
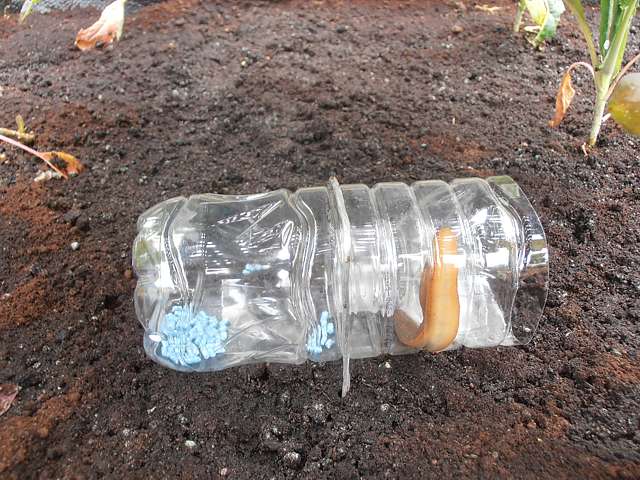
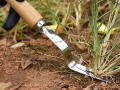
Step 2
Using a bulb-planter, create a suitable hole for
each plant. Add a small amount of fertiliser to the bottom of
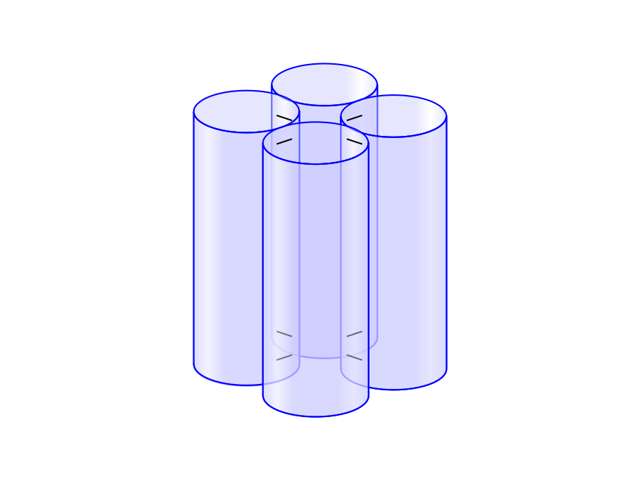
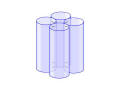
the hole and mix it into the soil. I plant in groups of 4 to
accommodate
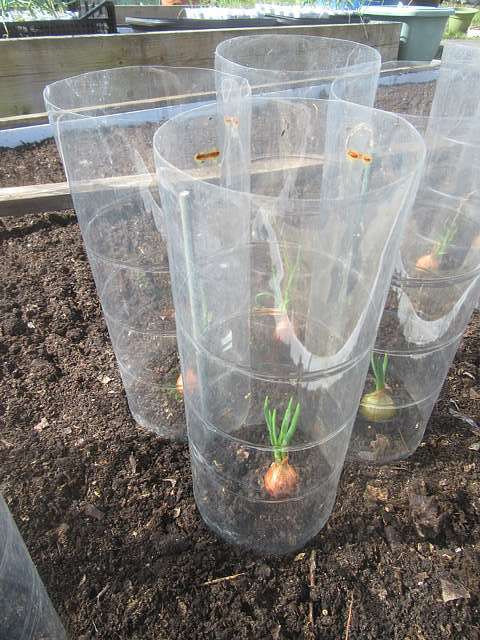
Pop-bottle Plant Protectors,
leaving at least 15cm /6" between groups.
|
 |
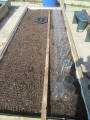
Step 3
Remove each plant from its pot,
place it into the hole so the top of the compost is level with
the soil.
Fill around the plant with soil and firm in. |
|
|
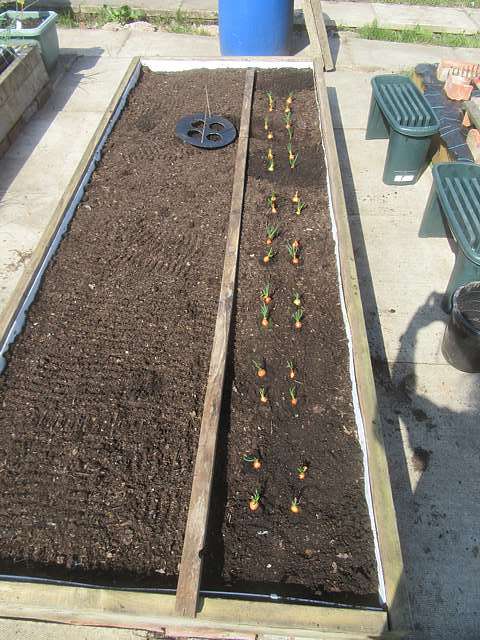
Step 4
Continue the process until you have completed the
row. |
 |
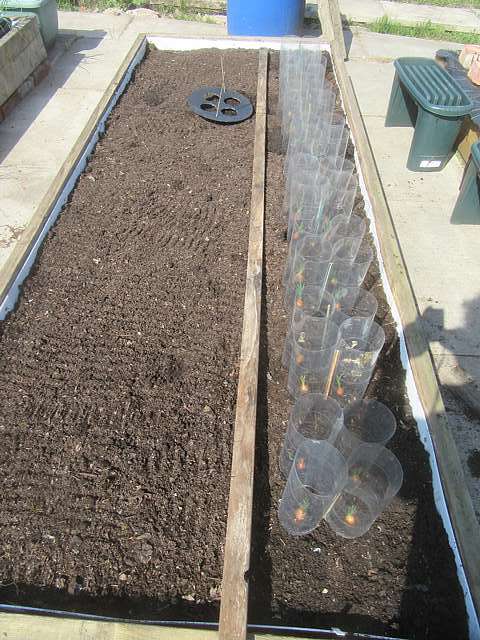
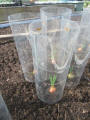
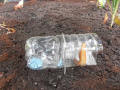
Step 5
If desired, set
Plant
Protectors in place to prevent birds, rodents and
wind damage. |
 |
Step 6
Water the plants thoroughly to ensure there are
no air pockets in the soil. |
 |
Maintenance
|
Step 1
Water in dry weather. |
 |
Step 2
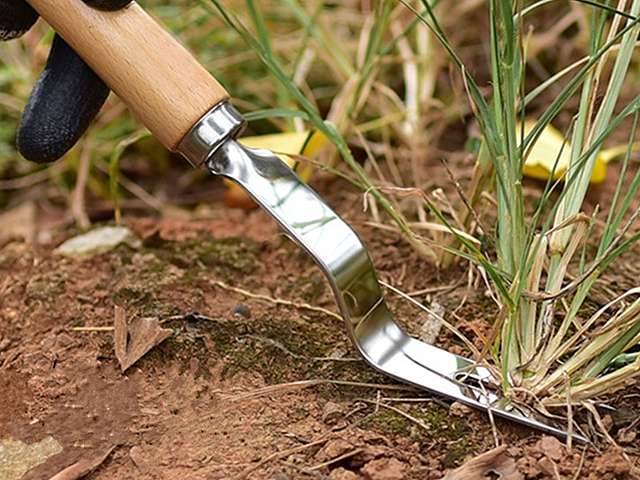
Keep the area free of weeds to
eliminate any competition for water and nutrients. |
 |
Step 3
Check regularly for signs of pests and disease,
and take appropriate action. |
 |
|
Step 4
Remove the pop bottles when the seedlings are
well established - it gets difficult to do this if the plants
have grown taller than the bottles. |
 |
|
|
|
|
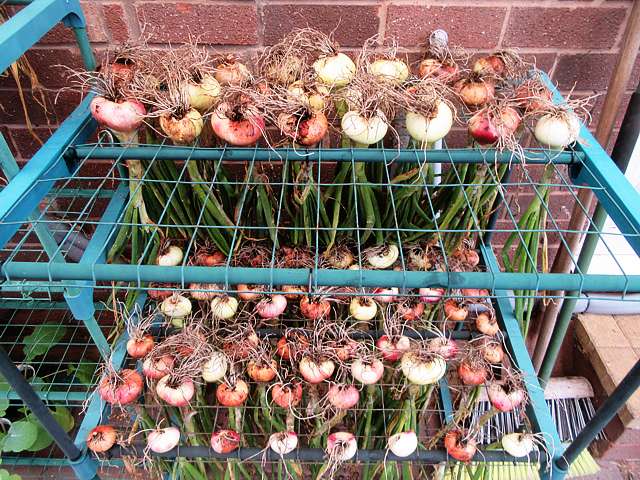
Harvesting
|
|
|
COMING SOON |
|
|
|
|
|
|
 |
|
|
|
Home
Historic Sites
Models
Heraldry
Puzzles
Garden
Links
Contact me with suggestions, comments or questions.
 |