|
December 10 |
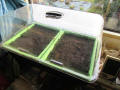
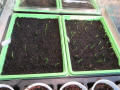
Fill some seed trays with finely
sieved compost and bring it indoors for a few days to warm
through. |
|
|
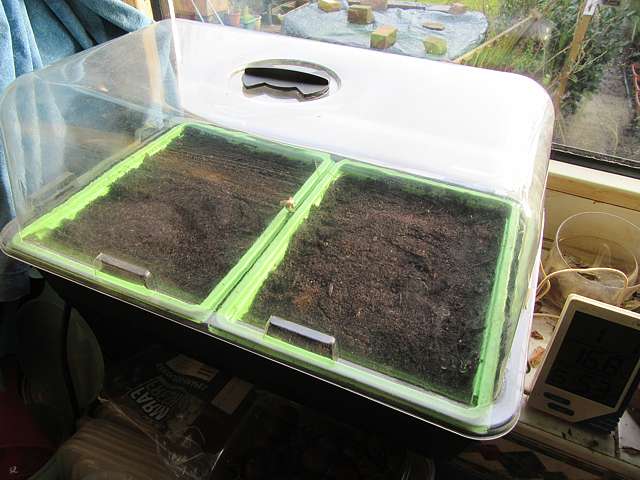
December 16 |
Sow individual seeds in rows.
This makes it much easier to prick out the seedlings later.
Water with a spray bottle, cover with a propagator lid and stand
on a warm windowsill. |
 |
|
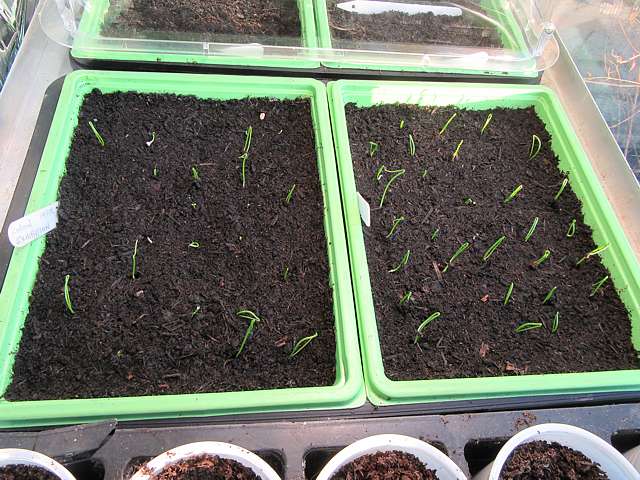
December 31 |
Once the seedlings have
sprouted, remove the propagator lid. Fit an LED grow-light above
the seedlings. Set the timer to give them 12 hours of "sunlight"
per day. Keep the seedlings well watered. |
 |
|
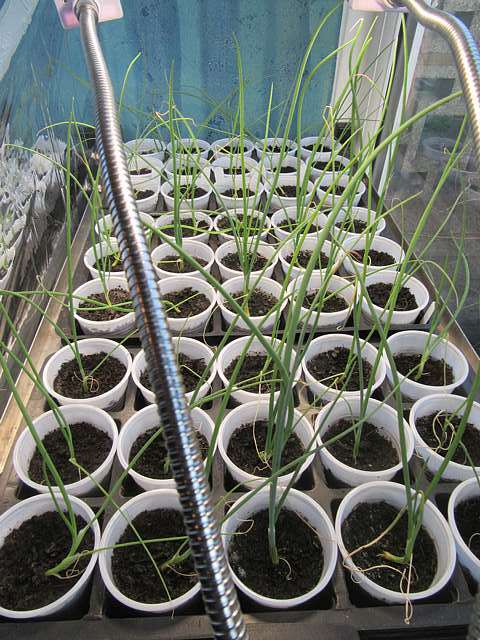
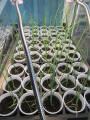
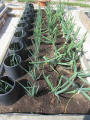
January 6 |
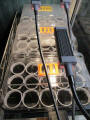
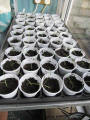
When large enough to handle,
prick out the seedlings into individual pots or cell trays.
These are 7cm (7oz) plastic drink cups with a drainage hole
melted in the bottom using a soldering iron. They cost a
fraction of the price of plant pots, and fit perfectly in a
15-segment cell tray. |
 |
|
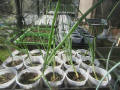
January 27 |
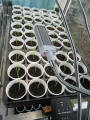
On the left, the top layer of
seedlings with the grow-light, and on the right the layer below
with no extra lighting. I have a board which is covered with
reflective material from an emergency blanket (aluminium foil
would also work). I fix this to the back of the rack to reflect
as much light as possible onto the seedlings. |
 |
|
March 2 |
The difference between the
two layers is even more obvious. |
 |
|
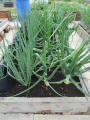
March 23 |
Place the seedlings in an
(unheated) greenhouse. I felt that after the spring equinox,
they should get enough natural light, and the plants were
getting a bit too big to stay in the dining room. |
 |
|
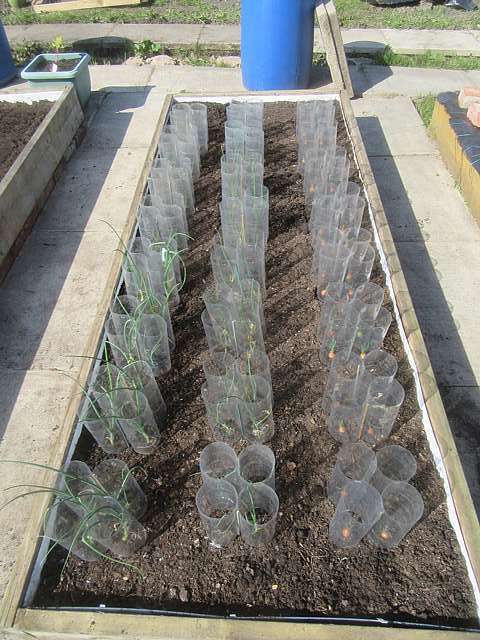
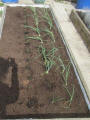
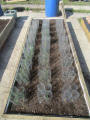
April 8 |
Thoroughly weed the bed and
add a good layer of compost on top. I used some spent compost
that I grew potatoes in the previous year. Remove a plug of soil
with a bulb planter, add an eggcup of Growmore fertiliser into
the planting hole and mix it in. Transfer the onion plant, firm
well and water in. The Kelsae onions I spaced at about 23 cm
(9"). The others were planted in groups of four inside
pop-bottle wind breaks, along with some shallots.
Click for instructions
Click for video
|
 |
|
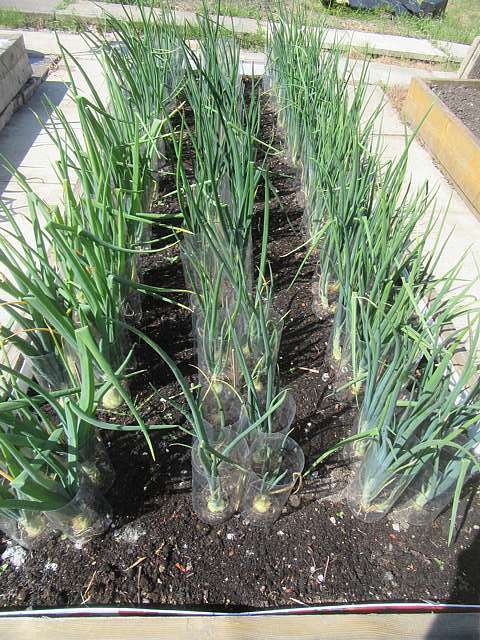
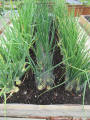
May 30 |
Remove the wind breaks before
the plants get too large. |
 |
|
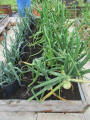
Jun 20 |
I left the windbreaks on too
long, and they were very difficult to remove without damaging
the plants. |
 |
|
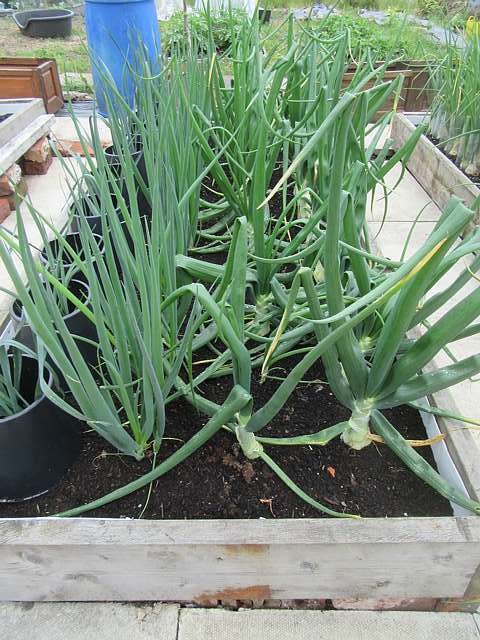
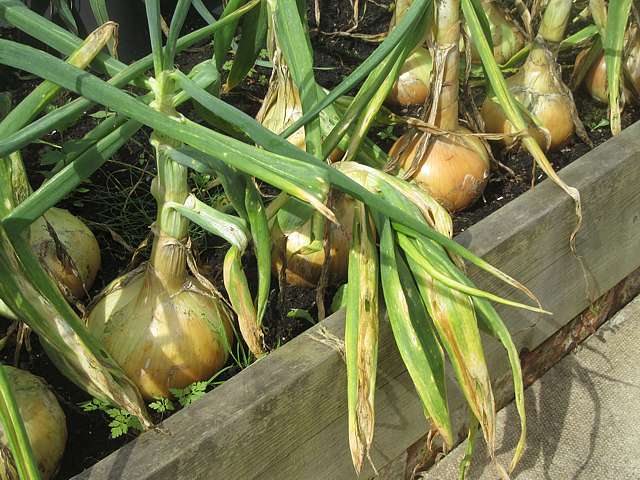
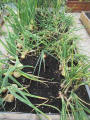
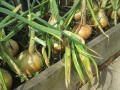
July 16 |
The Kelsaes are still growing
well, but a few of the others are starting to flop. |
 |
|
|
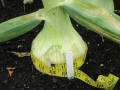
The largest Kelsae now
measures 38cm (15") around |
 |
|
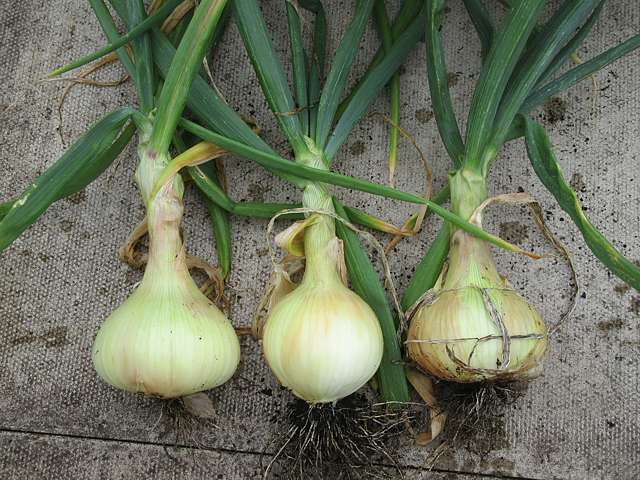
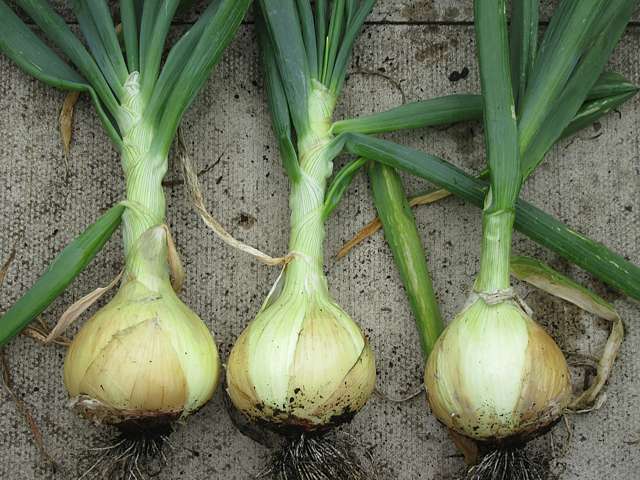
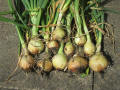
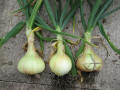
July 19 |
Cropped some of the
Exhibition (left), and Ailsa Craig (right). Several of these had
signs of white rot, which attacks the roots, and the plants were
loose in the soil. This bed cannot be used to grow alliums again
for 10 years. I will check the others regularly, and pull any
that start to feel loose. |
 |
|
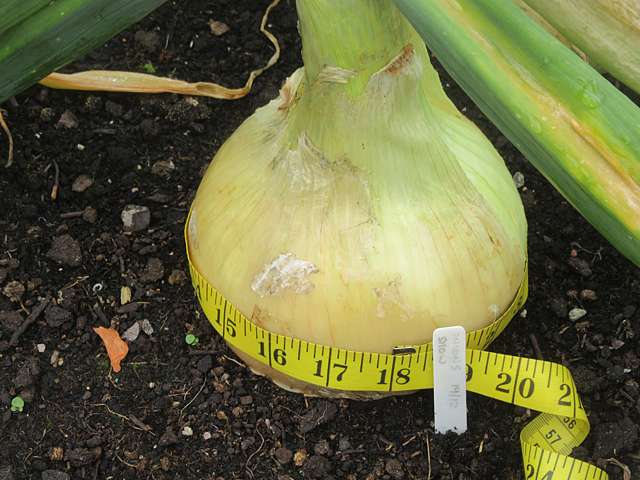
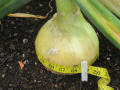
August 1 |
The largest Kelsae now
measures 46cm (18") around |
 |
|
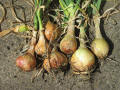
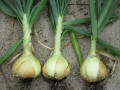
August 6 |
Cropped three more
Exhibitions and three more Ailsa Craigs with signs of white rot.
|
 |
|
|
Even so, they have made
good-sized onions and are much larger than any I ever grew from
sets. |
 |
|
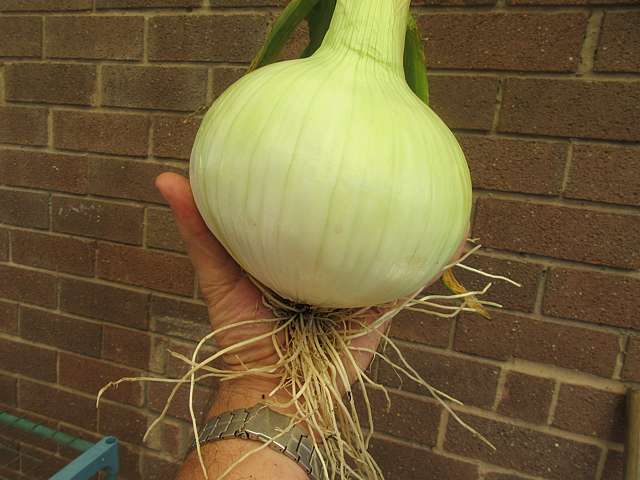
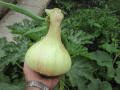
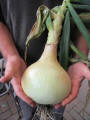
August 24 |
The first of the Kelsaes has
flopped. This one measured 46cm (18") around and weighed in at
1.25kg (2lb 12oz). |
 |
|
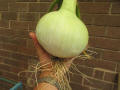
August 29 |
The largest of my show onions
measured 51cm (20") around and weighed 1.96kg / 4lb 5oz |
 |
|
|
|
|