Veg Crates (Click thumbnails for larger images)
Materials & Equipment
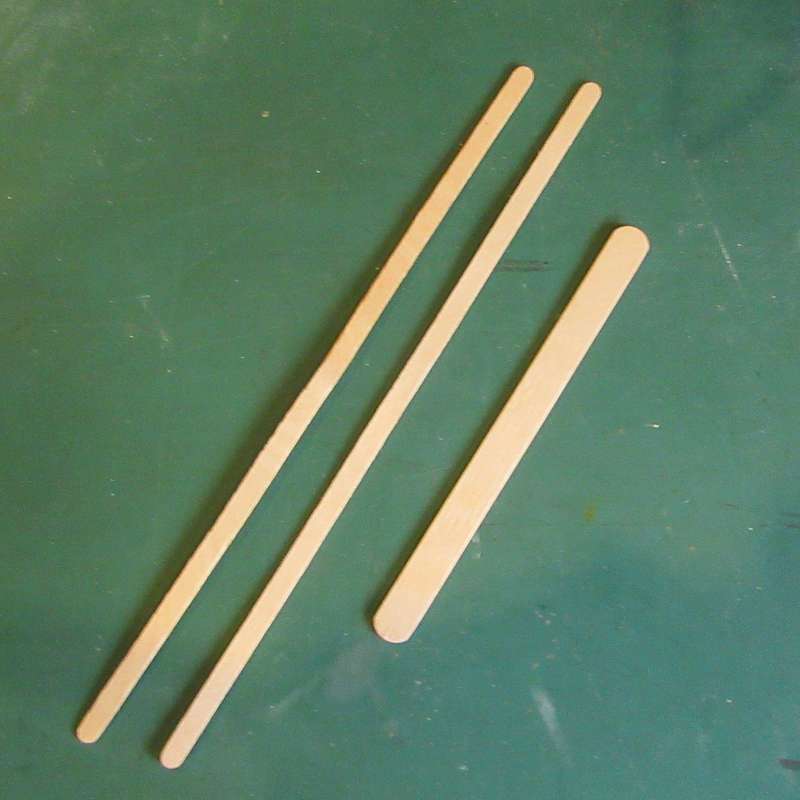
Coffee stirrers
Craft / ice-lolly sticks
PVA
Razor saw and mitre box
Clamps, Sandpaper
Ink wash, or paint
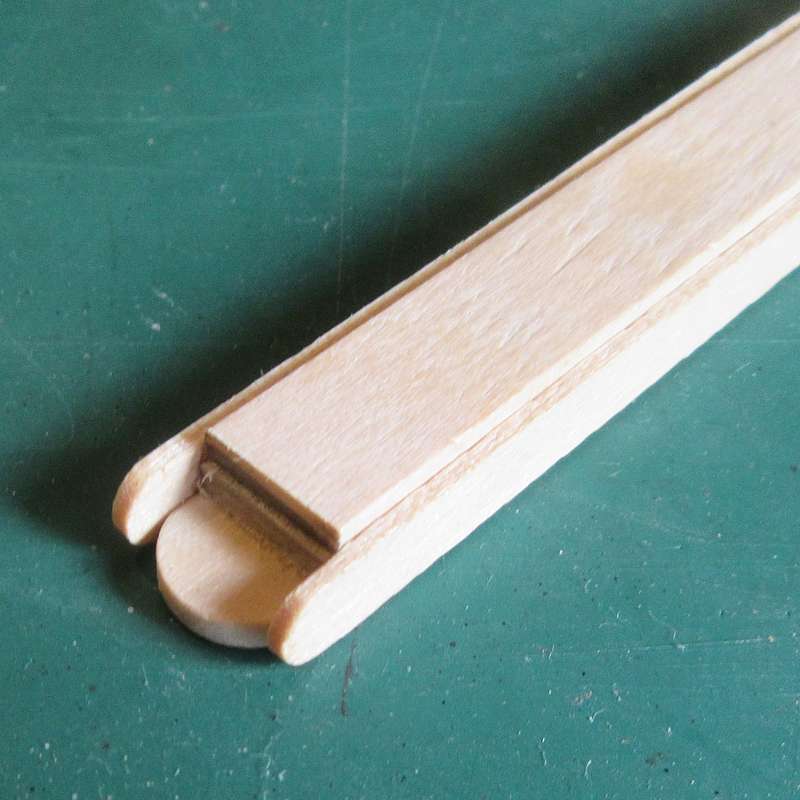
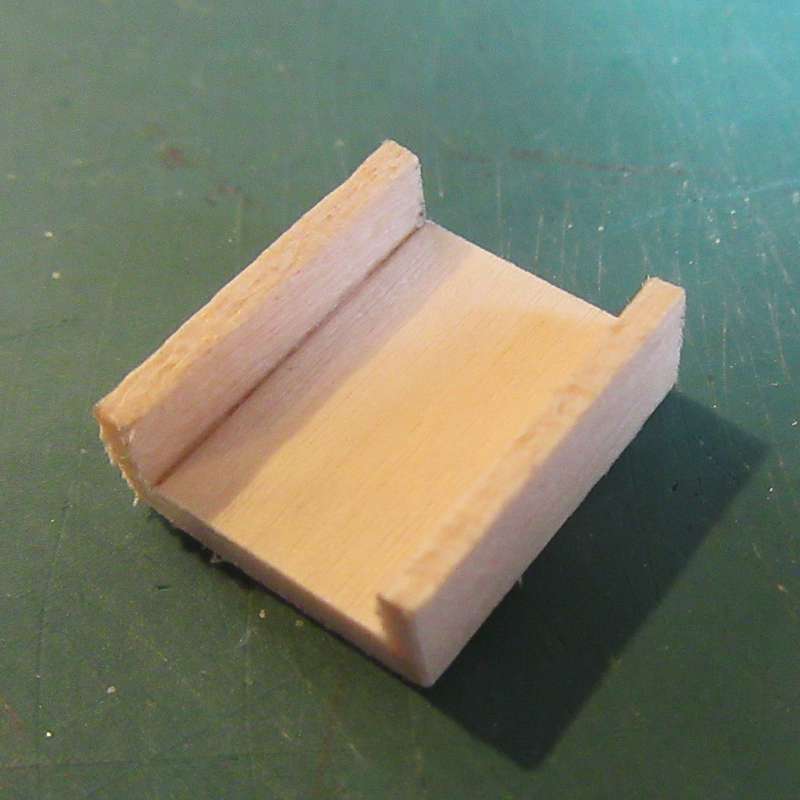
Stage 1
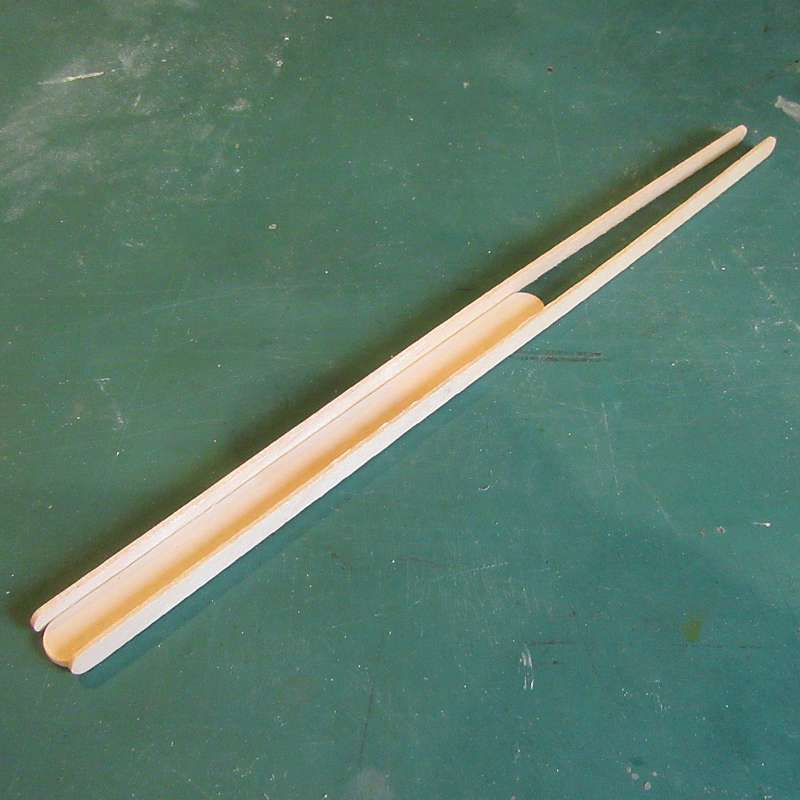
Glue a coffee stirrer on each side of the craft stick using PVA glue. Allow to dry thoroughly.
Stage 2
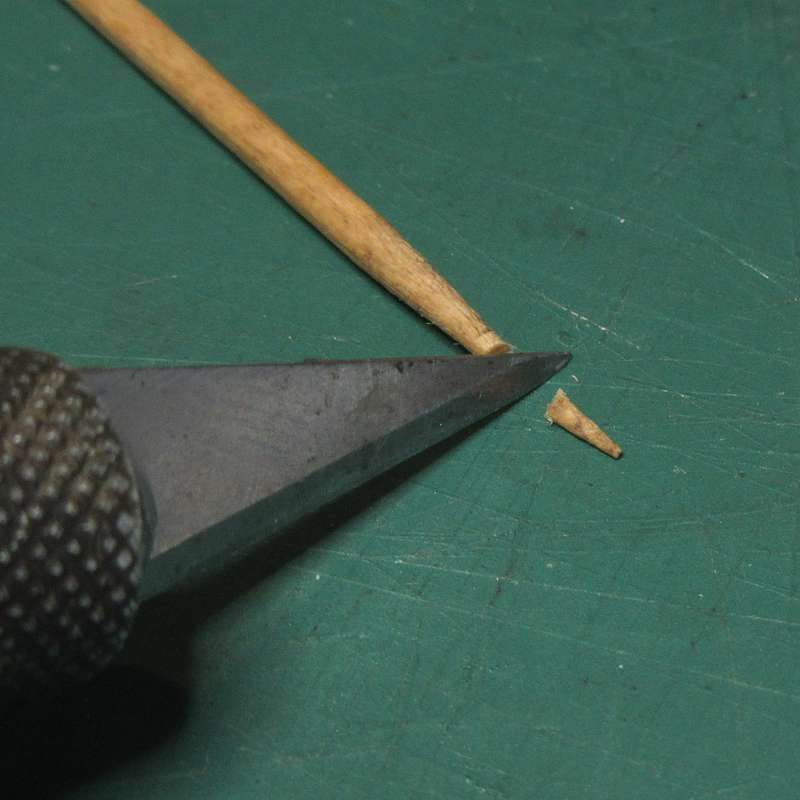
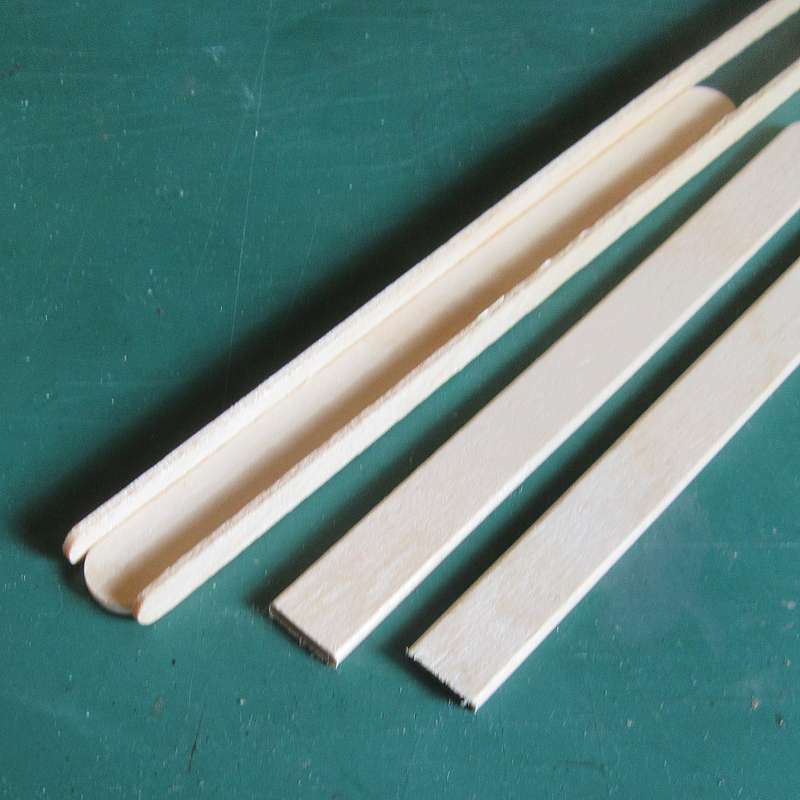
Cut the rounded ends from a couple more craft sticks to act as packing.
Stage 3
Slip the packing pieces inside the channel and position them just past the rounded ends of the sticks. These will allow you to clamp the piece firmly and hold the sides in position whilst you saw.
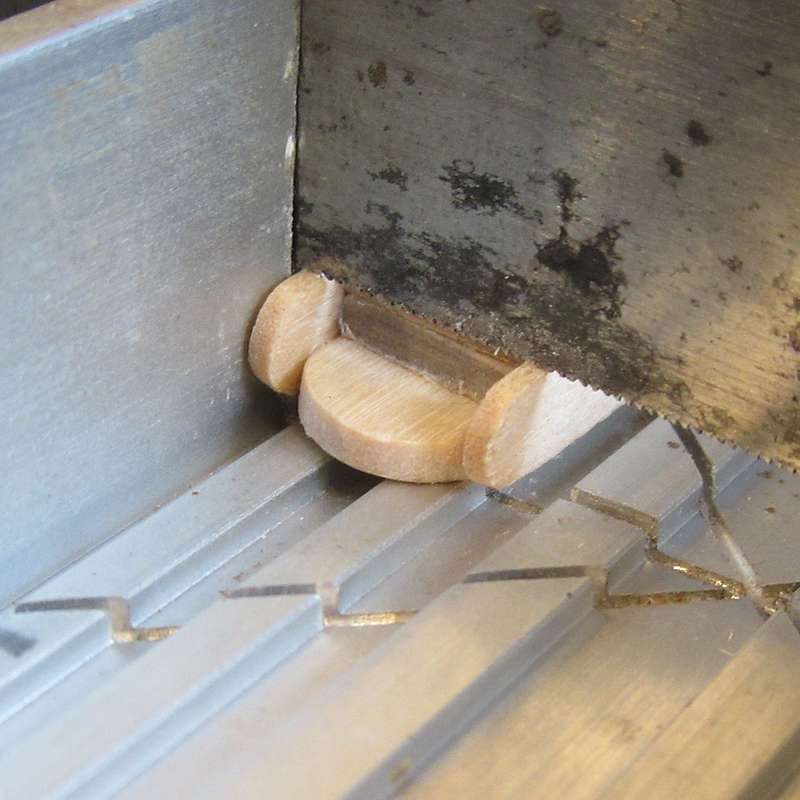
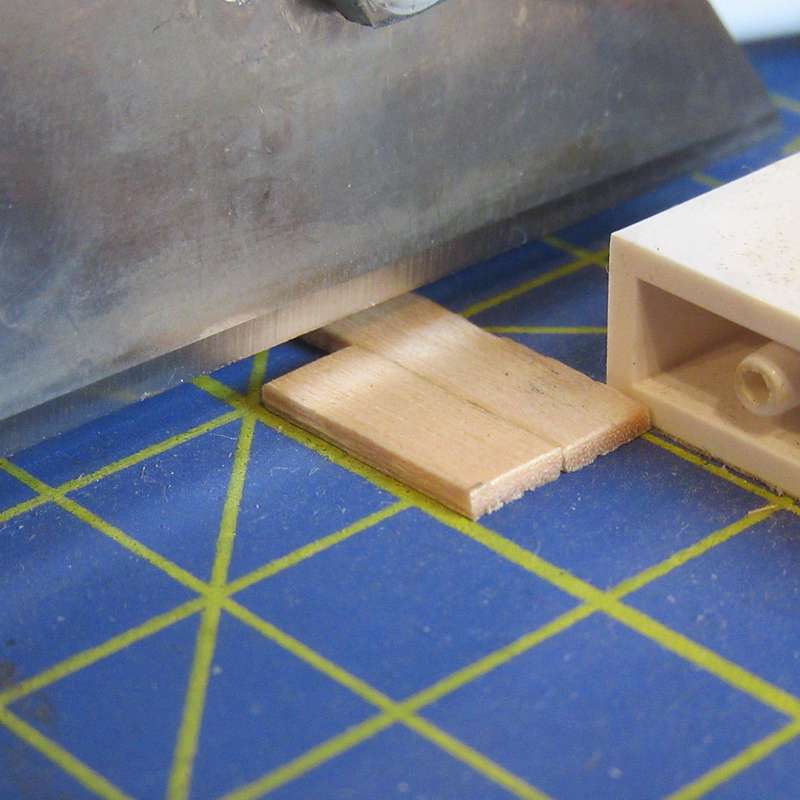
Stage 4
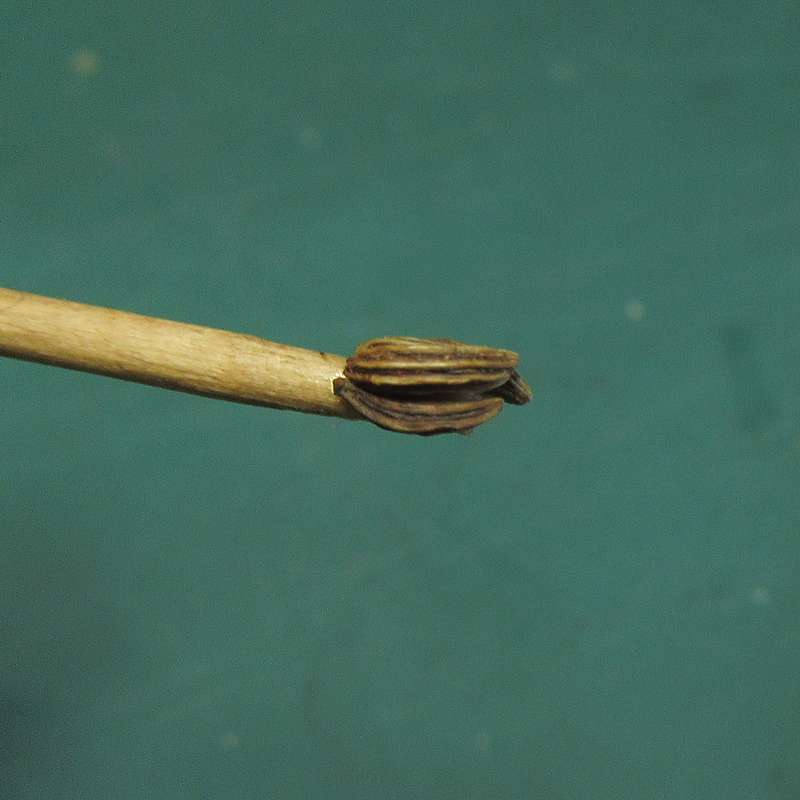
Clamp the pieces in position in the mitre box, and cut the end with the razor saw.
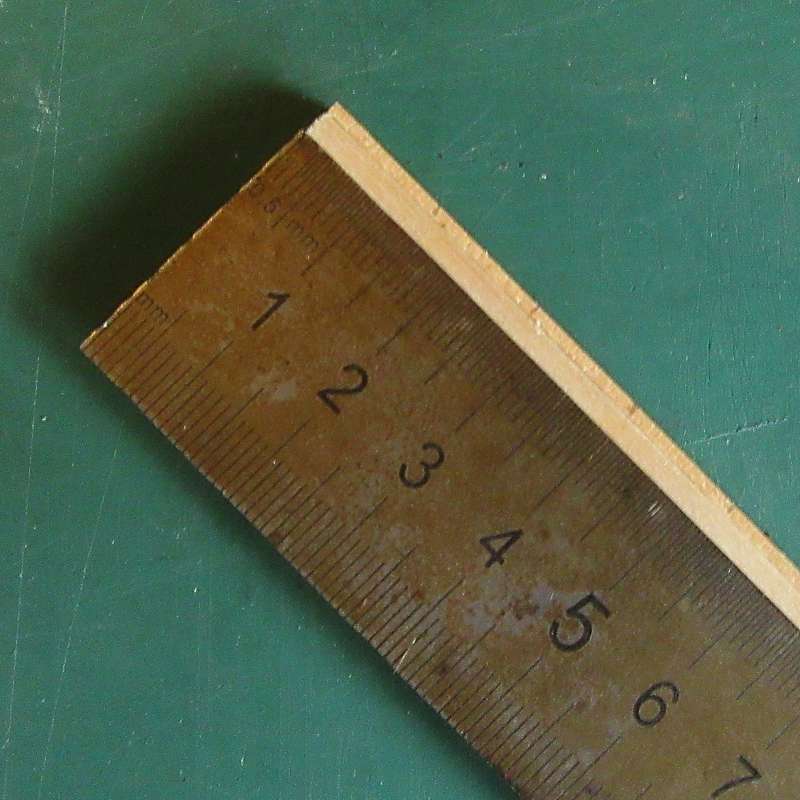
Stage 5
Mark the positions of the other cuts. Remember that the overall length of the finished crate will be longer by the width of the two end panels - approximately 2mm for the coffee stirrers I used.
Stage 6
Remove the clamp and slide the packing pieces to a position just beyond the cut mark, then repeat Stage 4 until you have as many crates as needed.
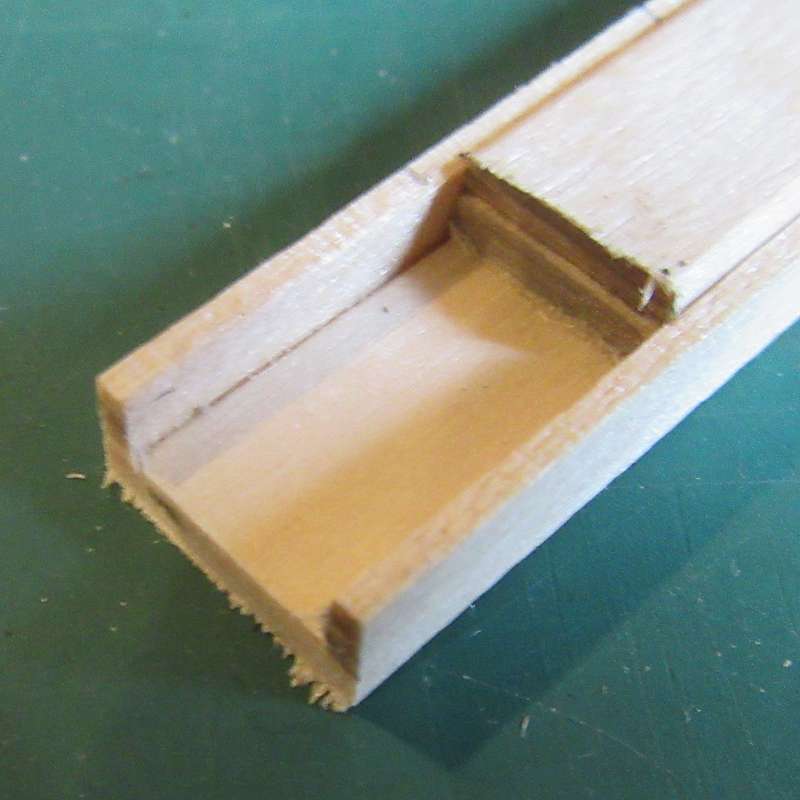
Stage 7
You may wish to sand any rough ends before continuing, or leave them for a more rustic appearance.
Stage 8
Cut two end panels for each crate, making them a fraction wider than needed. I used my home-made Cleaver Guillotine for ease. Instructions here:
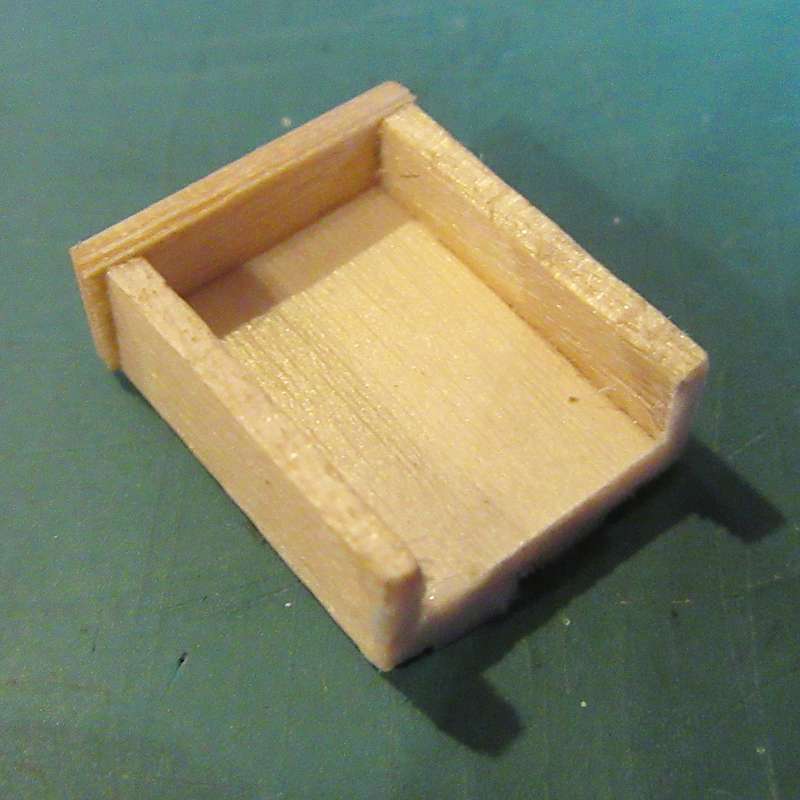
Stage 9
Attach the end panels with PVA. You can see I made the end panels slightly oversize to be sanded later.
Stage 10
Clamp the pieces in place and leave to dry thoroughly.
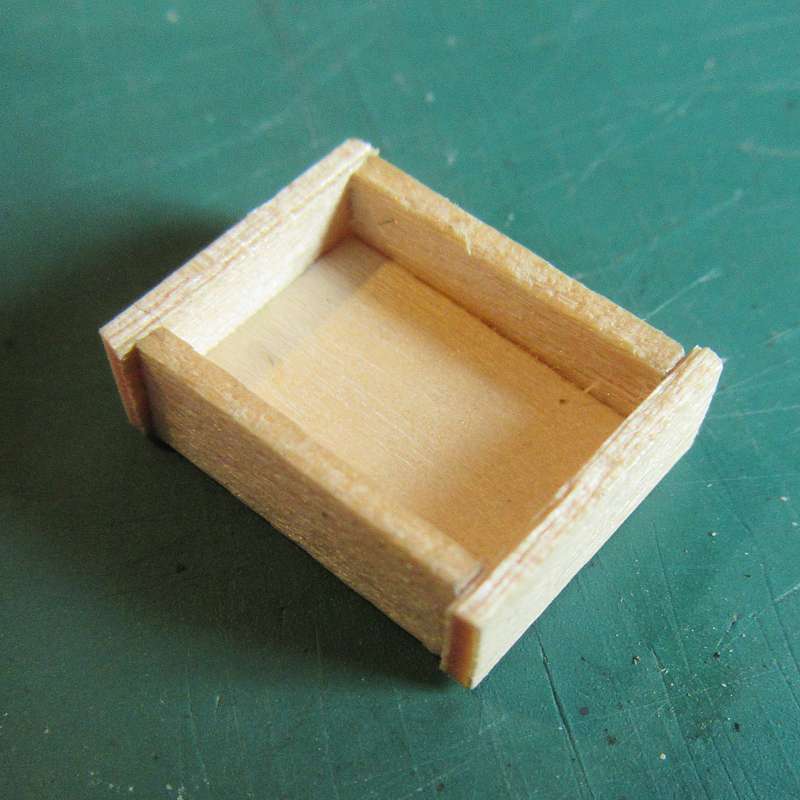
Stage 11
Remove the excess from the end panels with sandpaper. If you want a more rustic appearance, then you can simply omit this stage.
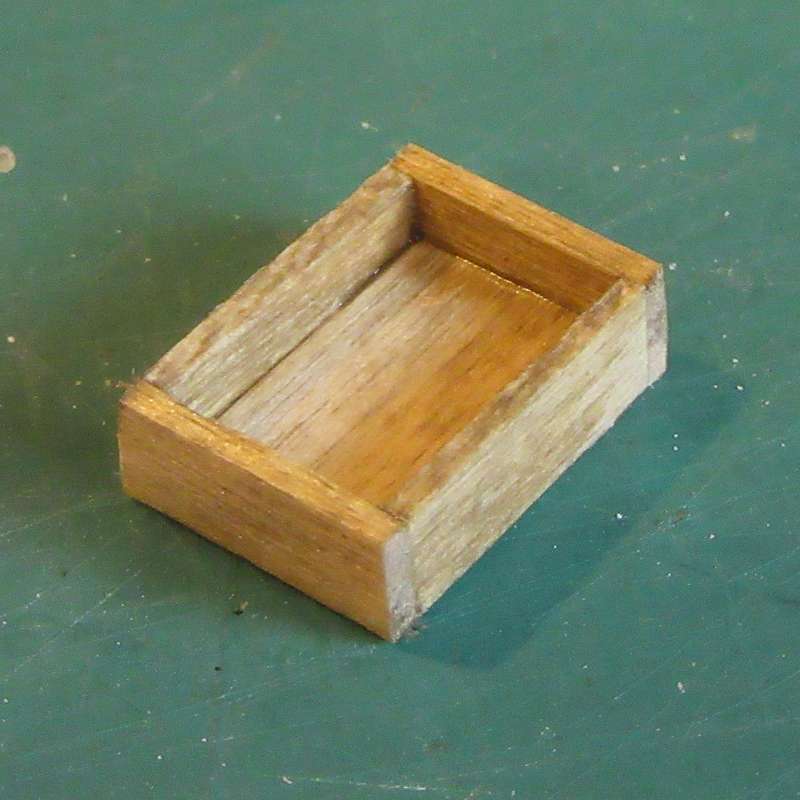
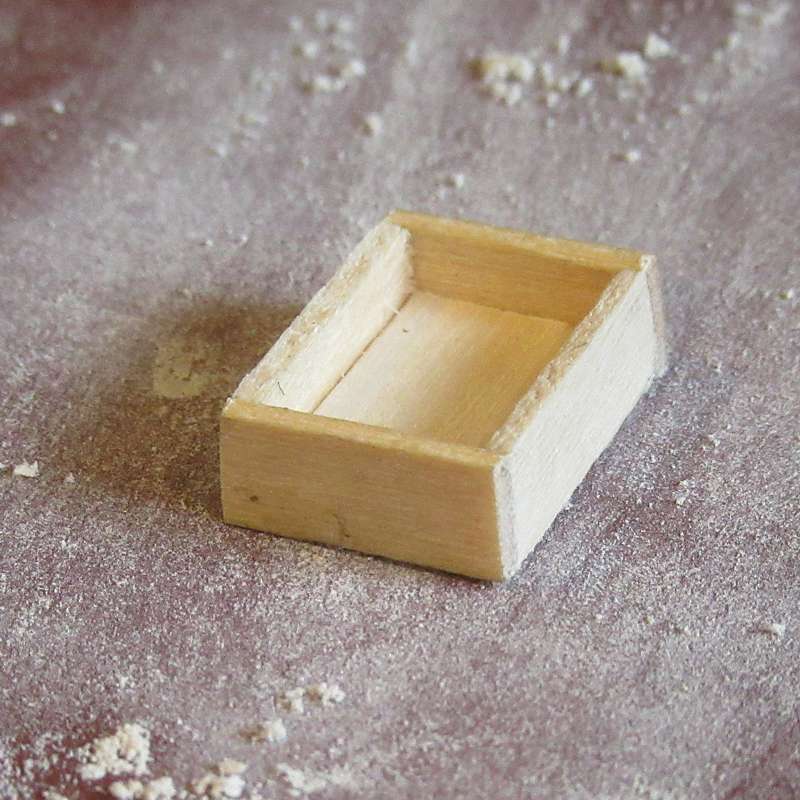
Stage 12
Stain with an ink wash, or paint them if you prefer.
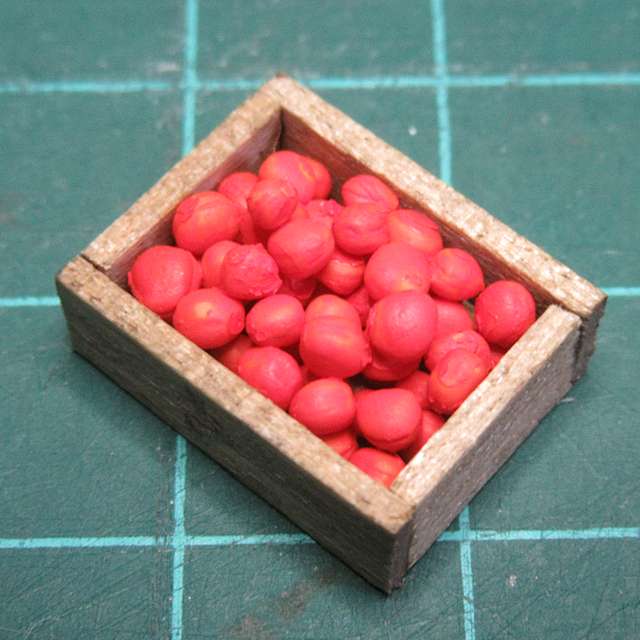
Example 1
A finished crate full of tomatoes.
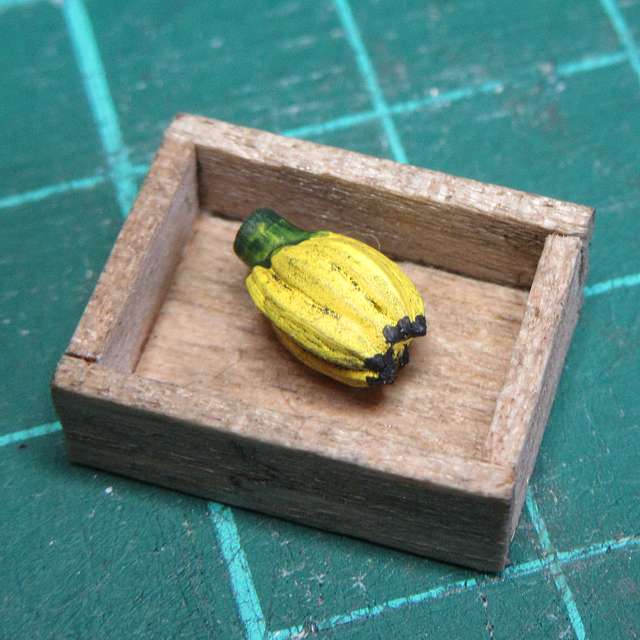
Example 2
A crate with a bunch of bananas.