Photography

All images and text © Abaroth. Permission is given to reproduce for non-profit purposes only.  

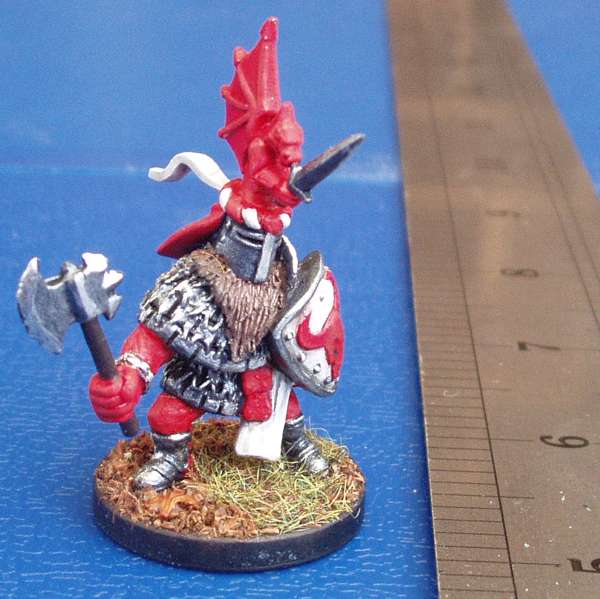
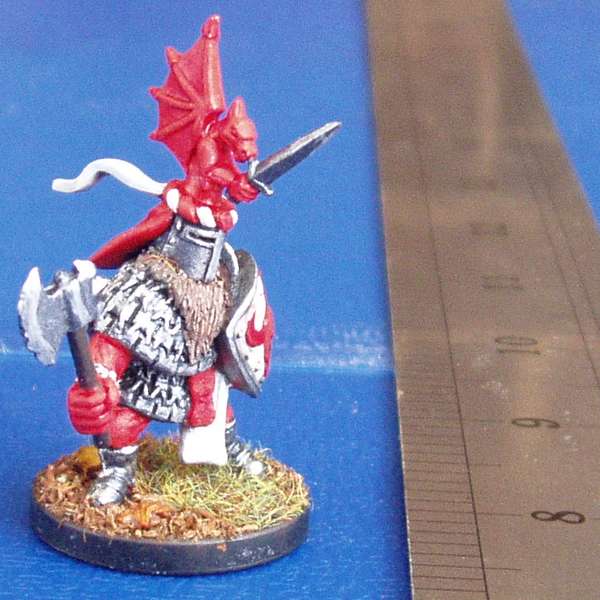
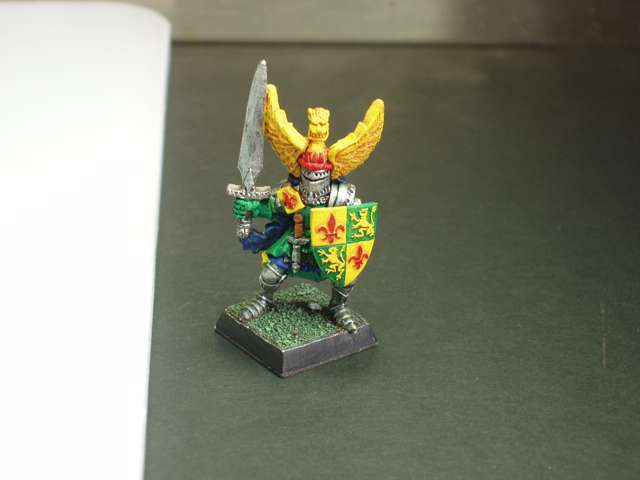
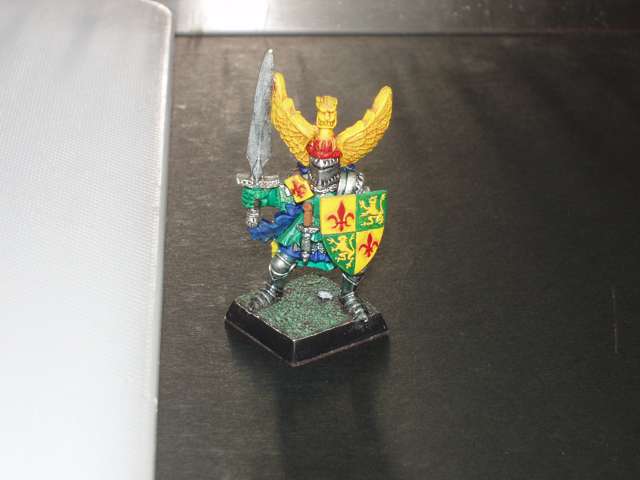
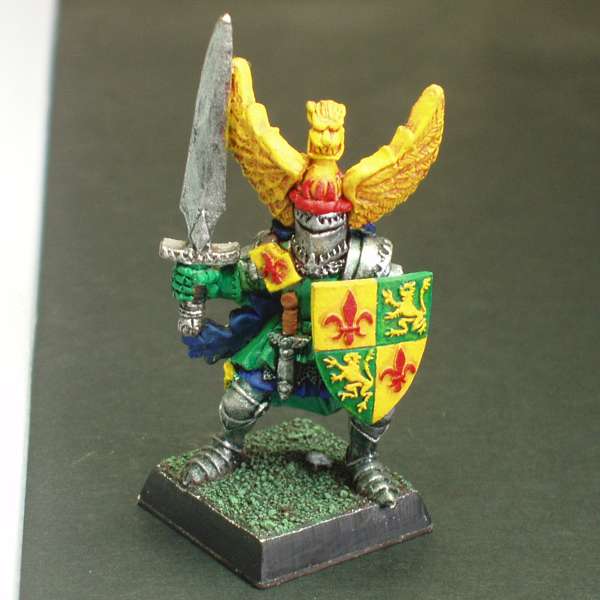
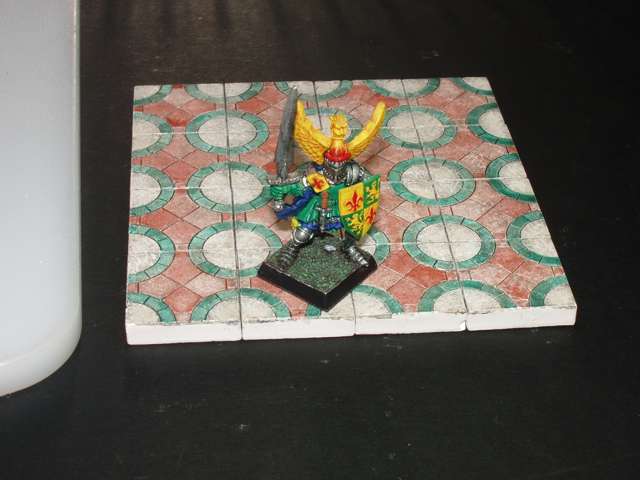
FOREWORD

All the pictures on this page were taken with a 5 megapixel camera with 3x optical zoom, so nothing special or expensive. The only changes made to the original images was resizing the entire image, and cropping in and resizing a close-up of each.


1. FOCUS

The most important factor when it comes to taking a digital photograph is focus. Many other errors can be adjusted later using image manipulation in a paint program, but a fuzzy image will stay fuzzy. There are two main causes of fuzzy images. Firstly the subject being too close to the camera, and secondly camera shake. Most cameras will focus down to 2 or 3 feet from the lens on automatic setting, but you can get closer in if your camera has a macro, or super macro function. The method for selecting these settings varies, but will usually be found on the selector dial on the top, a button on the back, or through a menu system - if all else fails, read the manual !

Whatever mode you are using, always ensure the subject of the picture is in the centre of the frame, as that is where the auto-focus concentrates.


2. MACRO SETTING

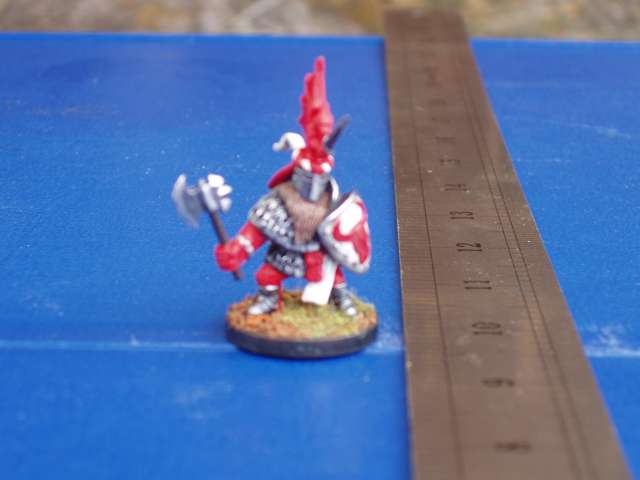
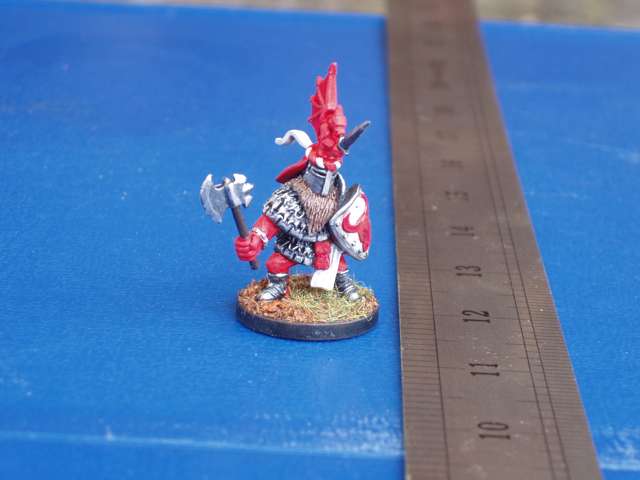
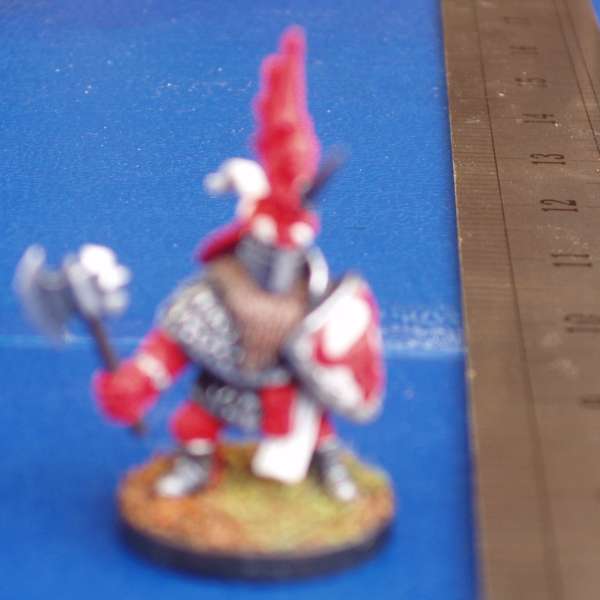
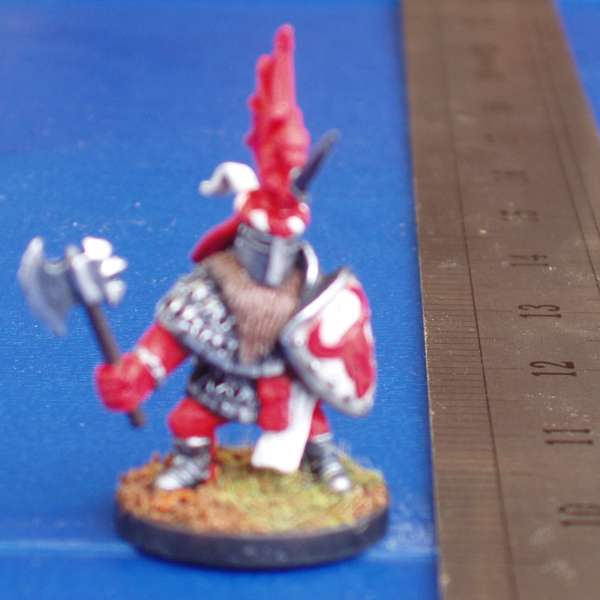
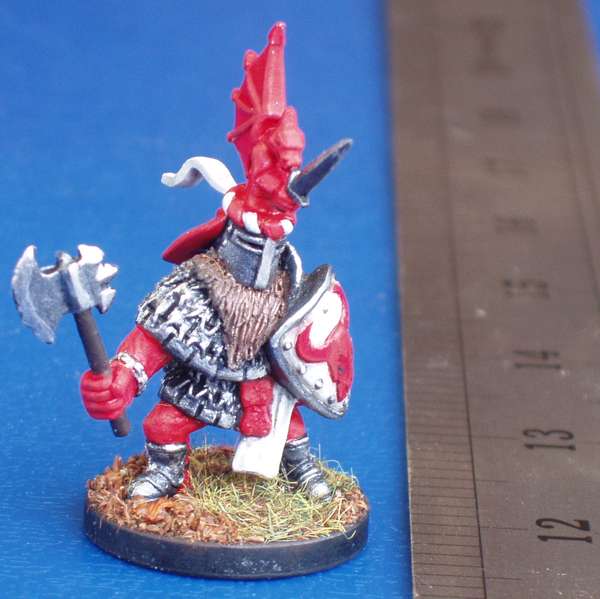
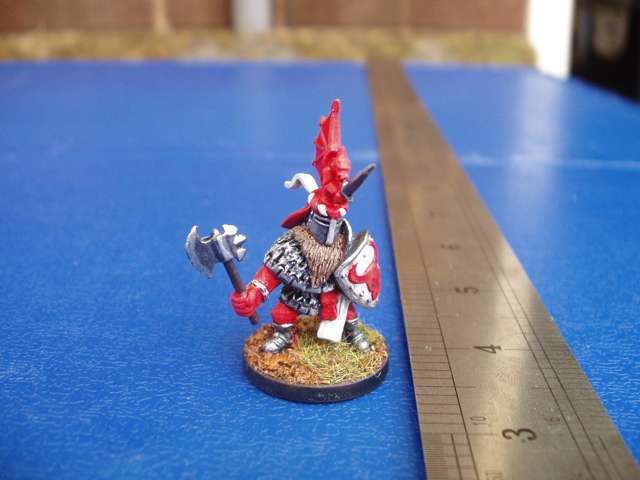
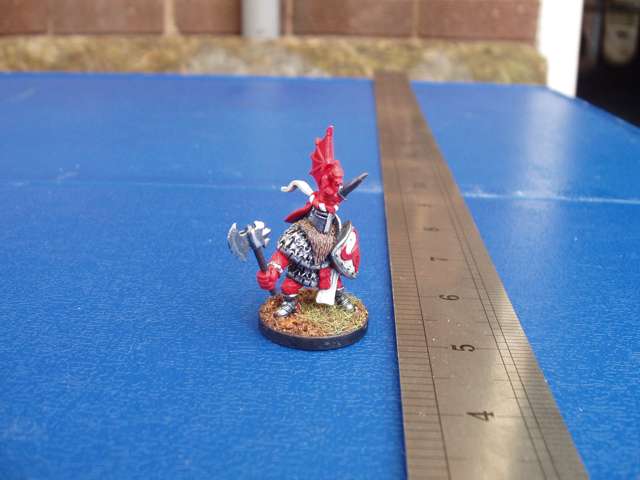
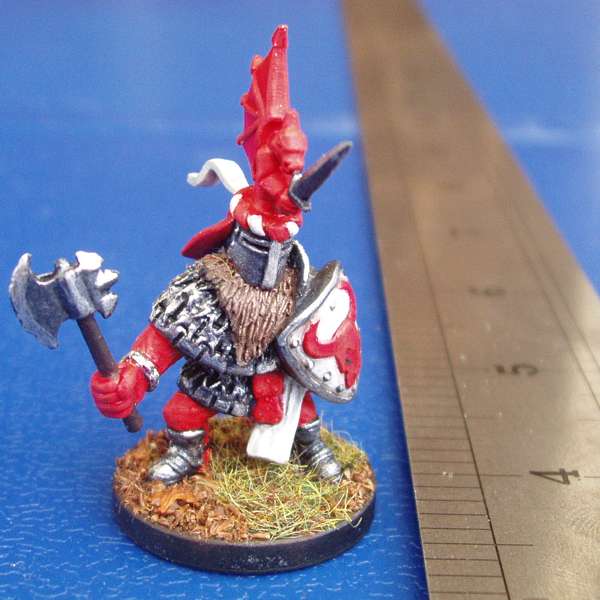
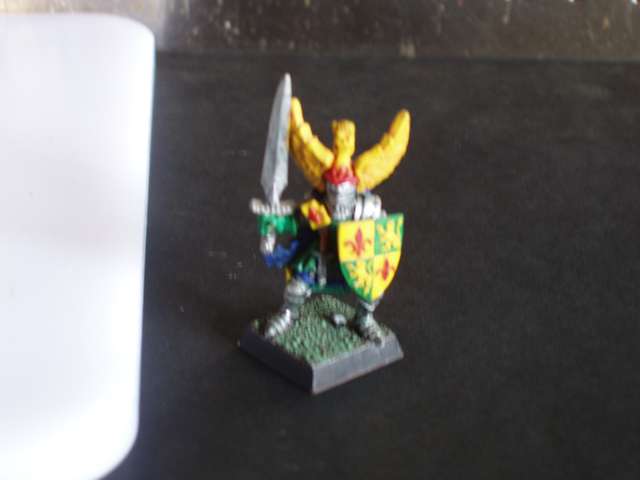
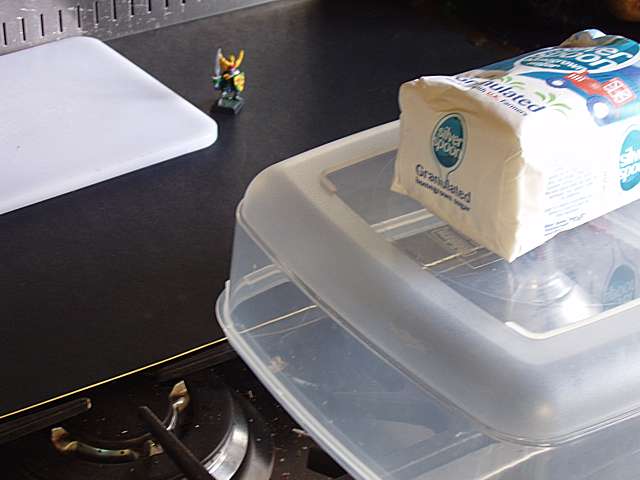
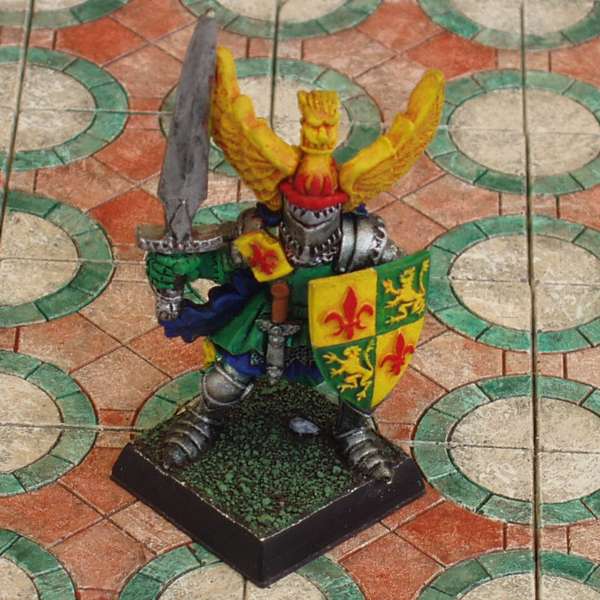
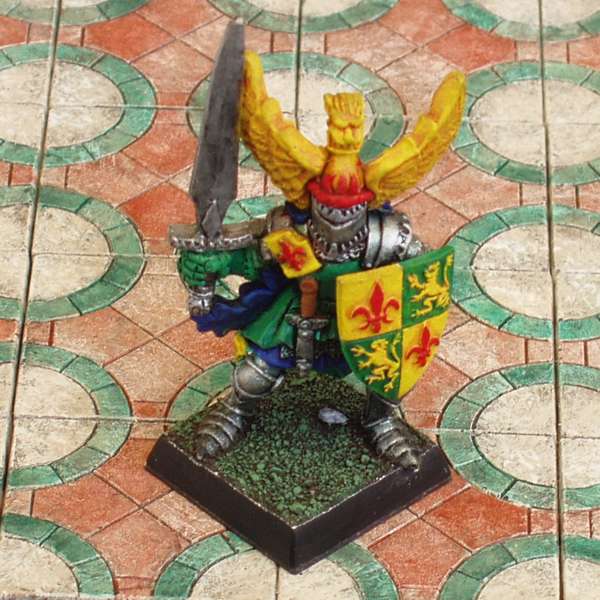
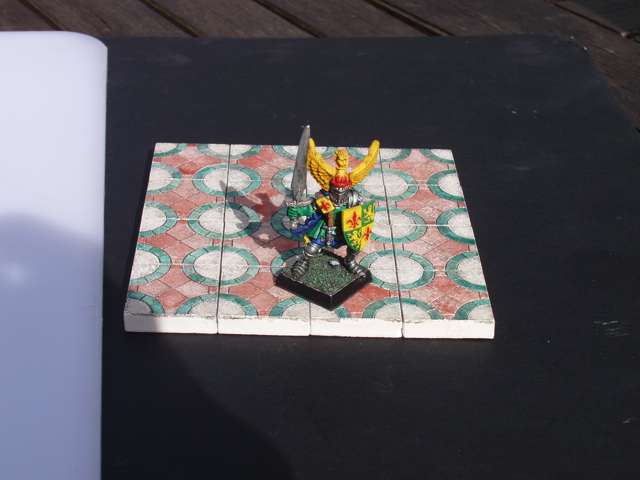
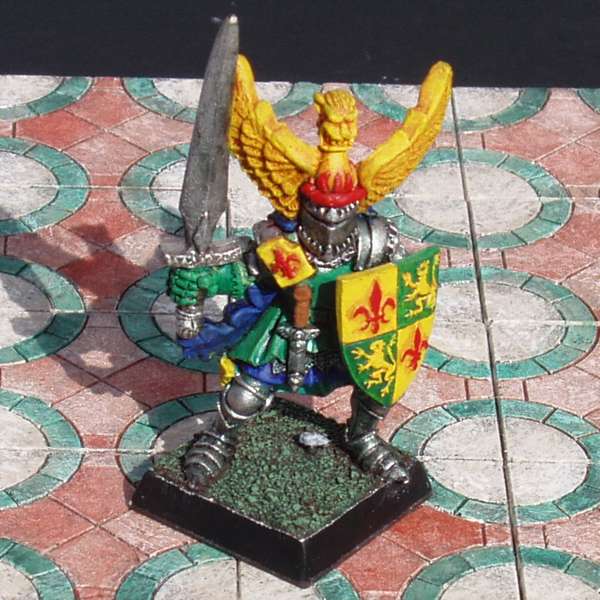
To determine how close you can photograph an object in focus in macro setting:

a) Place a ruler or tape measure on the table and set up the camera with the front of the lens at zero.

b) Place a miniature next to the ruler.

c) Take a series of pictures, moving the miniature back a little each time.

The images below show the process, starting at 8" and moving back 2" at a time. The image at 12" distance is in focus, so you have determined that your camera must be 12" away from the subject in macro mode. The upper row shows the entire picture, the lower row has a cropped down close-up of each image.

Note: although the miniature does not fill the frame by any means, the cropped down close-up is more than adequate for web purposes.

Mini at 8" distance - very fuzzy ! Getting better at 10" ...and good focus at 12"


3. SUPER MACRO SETTING

A similar method will work in super macro setting:

a) Place a ruler or tape measure on the table and set up the camera with the front of the lens at zero.

b) Place a miniature next to the ruler.

c) Take a series of pictures, moving the miniature back a little each time.

The images below show the process, starting at 4" and moving back 2" at a time. When the subject is vey close to the lens, the focal plane is very small. If you look at the first image, the face is in focus, but the sword is too close, and the trailing ribbon is too far away. This is called the depth of field.

4" - some focus 6" - more depth of field 8" - and still more depth


4. CAMERA SHAKE

With the best will in the world, you cannot hold a camera dead steady for more than a fraction of a second. For most pictures this doesn't matter much - either you take pictures outside in daylight, or you use flash. This is not always possible or desirable when photographing models. The best solution is a tripod, or a mini-tripod. Although these need not be expensive, I appreciate that you may not have one. The next best thing is to make your own temporary support for the camera.


   A simple camera support consisting of a plastic box with a bag of sugar placed on top. (A bag of rice or a bean bag will also work well.) By nestling the camera into the bag, it is possible to hold the camera much steadier, allowing for a longer exposure and much improved results. As long as they provide a steady base, many things can be used to improvise a support - a chair seat with the model on the floor, or the back of the chair with the model on a table. Bracing the camera against a wall or doorway can also be useful.

Hand-held camera, and yes,

I was trying to hold it steady!

  Same shot using the support


5. WHITE BALANCE

Whether your camera has specific settings for white balance or not, it probably makes use of it. What this means, is that the camera will take the lightest thing it sees as pure white. It then uses this information to try to expose the image correctly. I generally use a piece of white card and a piece of black card somewhere in the image where they can be cropped out later. This should give the camera a good chance of seeing the image something like your eye sees it. The effect shown below is quite subtle, but less vivid subjects can show much more pronounced differences.


Black background

Notice the light areas on the floor and mini are a little over-exposed

White background

Now the shadows are a little too dark, and the highlights on the armour are muted.

Black and White background

Much better contrast - the armour looks nice and shiny and the floor details show up.


6. LIGHTING

Light direction is very important in obtaining a good photograph. The light source should be in front of, or slightly to one side of the subject. Even in diffuse daylight, ensure the sun is somewhere behind you. With the light behind the subject you will get duller colours, unwanted shadows and a silhouette effect.

The best lighting condition for most models is diffuse daylight. This means taking the picture outside, either on an overcast day, or in the shade out of direct sunlight. If you must take pictures indoors, try to give yourself the best chance. Site the model near a window, with the camera to one side to get as much daylight as possible. If you have a painting lamp (or a table lamp), aim it at the front of the model on the opposite side from the window to help minimise any harsh shadows.


Diffuse daylight outdoors

Good overall colour balance and contrast.

Direct sunlight

High contrast and pronounced shadows


Diffuse daylight indoors

Note that the window is on the right of the

picture, making shadows on the left.


Diffuse daylight and fluorescent daylight tube (painting light) indoors

Less shadows and better colour balance.

Diffuse daylight and flash indoors

On camera flash gives a very "flat" image


Artificial lights (room lighting) indoors

A little too much contrast

Room lighting and flash indoors

Once again, the image is "flat" with no

pronounced shadows on the knight.


free page counter

Contact me with suggestions, comments or questions.

This article is provided under this Creative Commons Licence: