
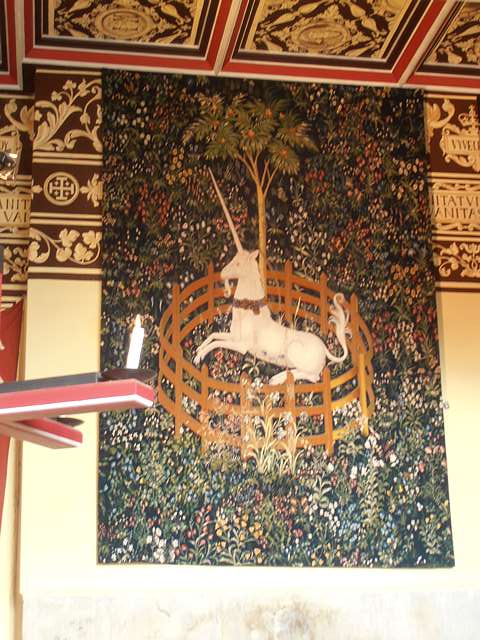
Unicorn tapestry in the Queen's Inner Hall.
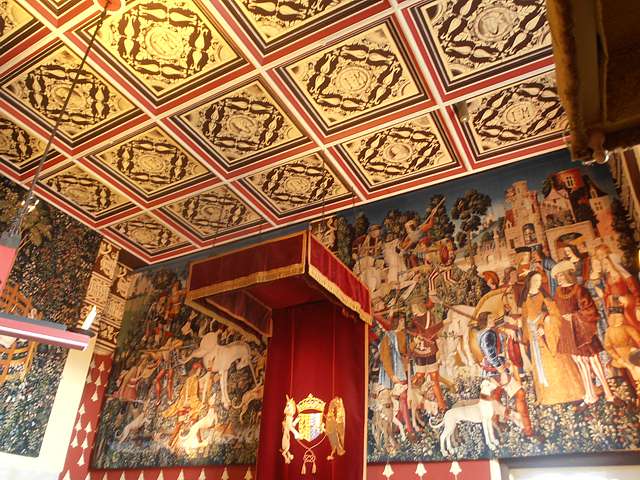
 Tapestry and ceiling of the Queen's Inner Hall.
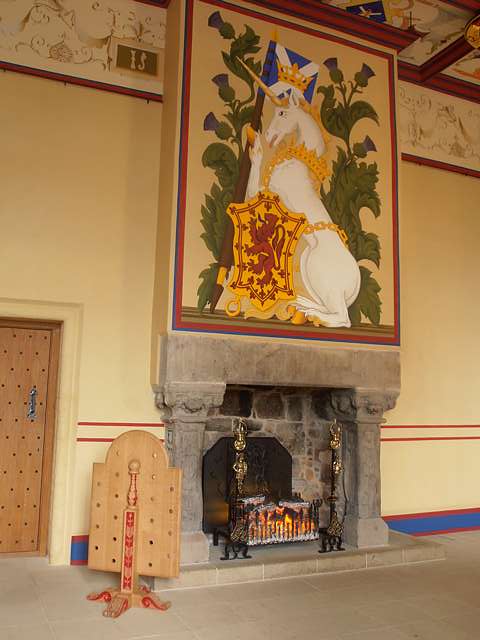
 Fireplace in the King's Bedchamber.
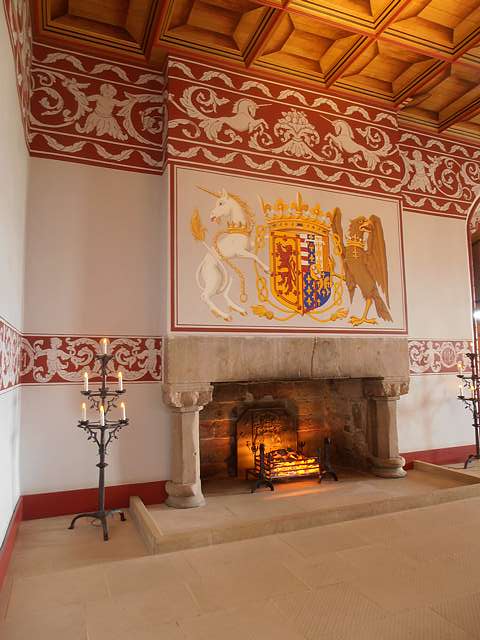
 Another painted fireplacein the Palace.
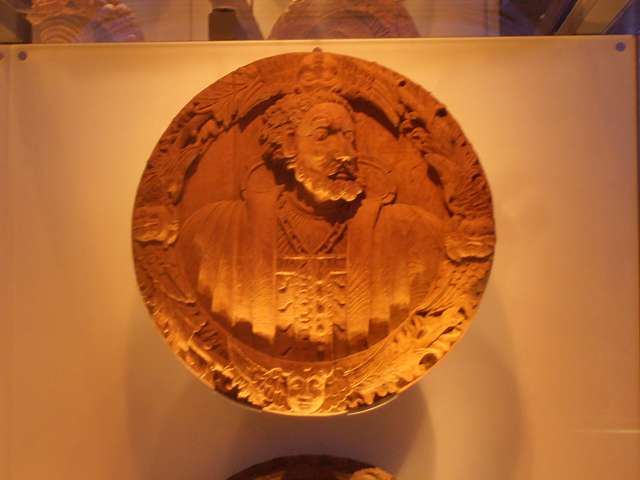
 The orginal ceiling boss depicting Charles V on display at the castle.
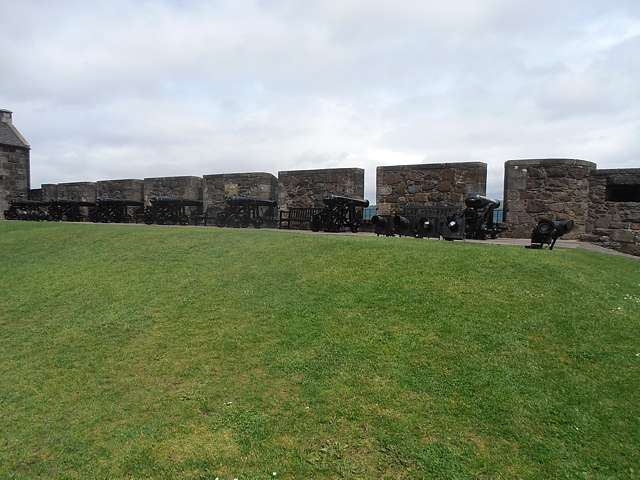
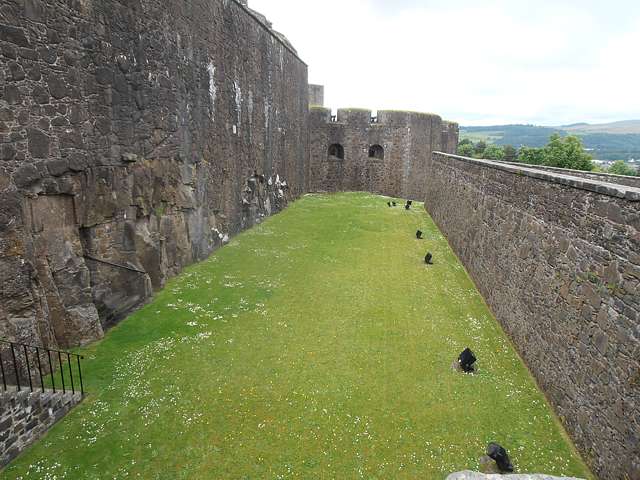
 The battery of cannon along the east wall of the castle.
 The Great Hall seen from the south-east.
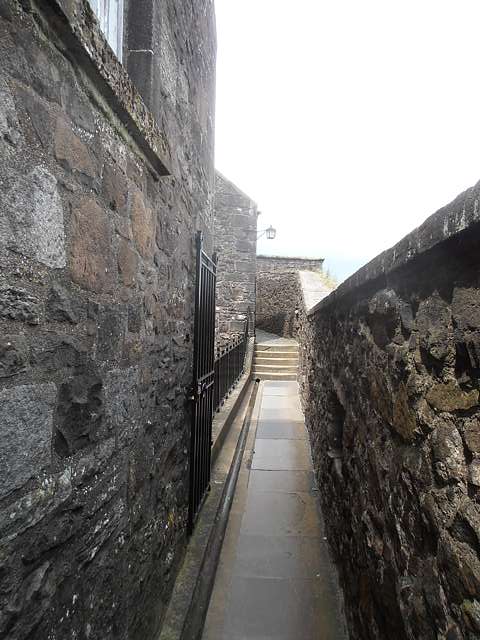
 Looking north on the west wall-walk.
 The Great Hall seen from the wall-walk between the north gate and the kitchens.
 Looking from the wall-walk over the Nether Bailey to the north-west.
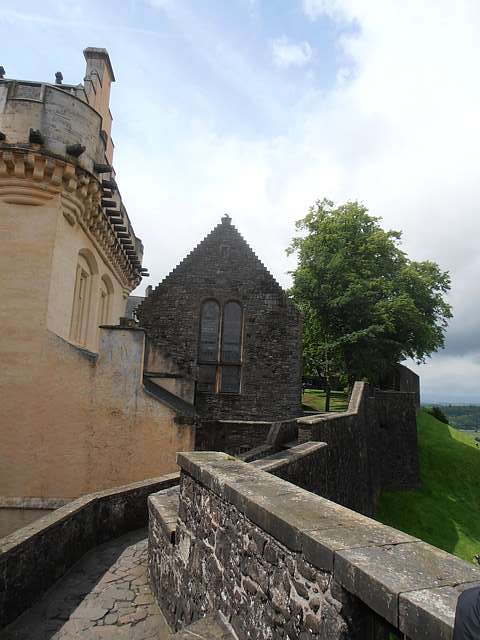
 The Great Hall and Chapel Royal from the west wall-walk.
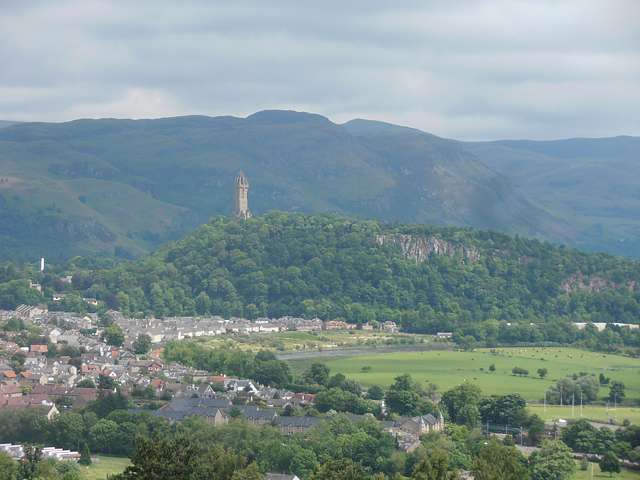
 Looking north-west to Wallace's Monument.
 The north end of the Great Hall.
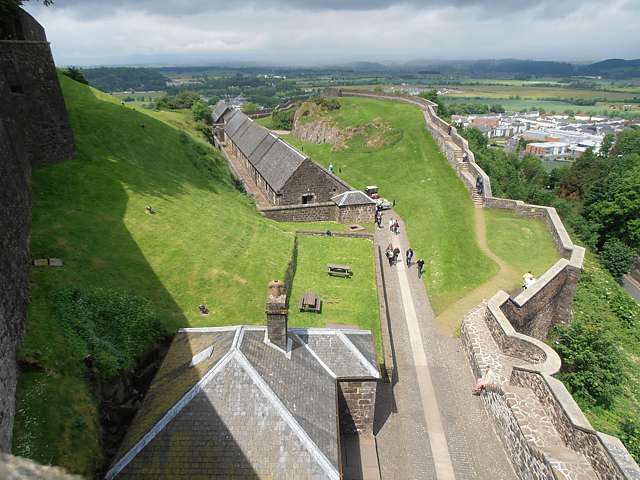
 Looking north over the Nether Bailey.
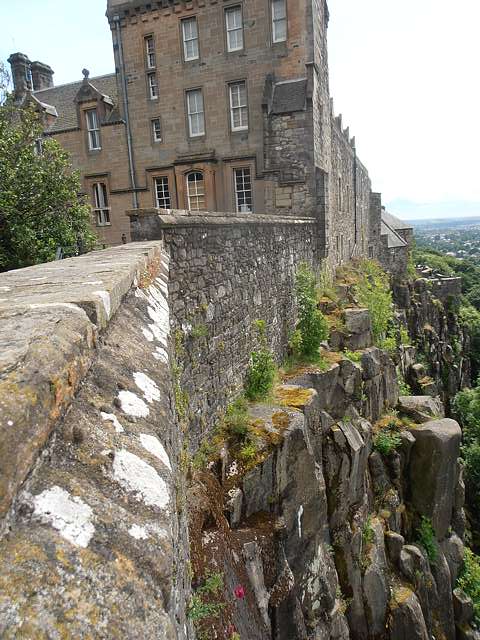
 View along the west walls from the north-west corner of the wall-walk.
 The King's Old Building range seen from the north-west wall-walk.
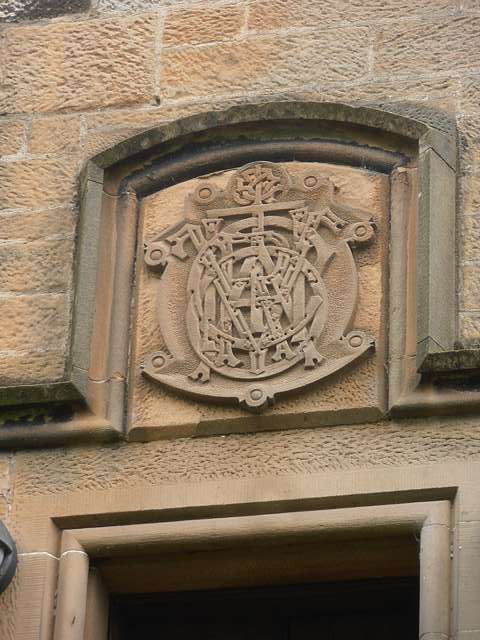
 Carving above the doorway in the north wall of the King's Old Building.
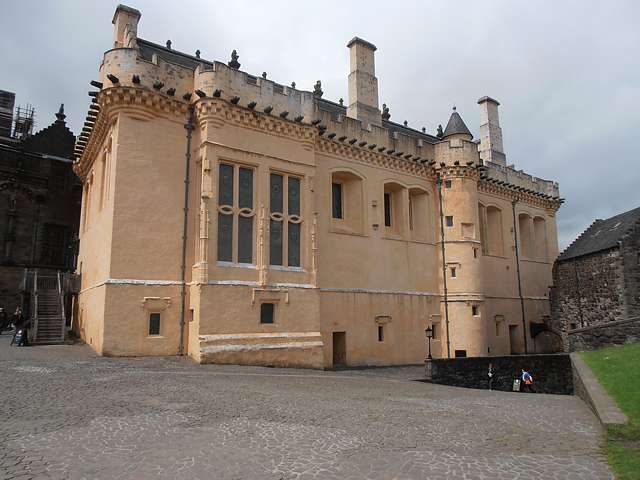
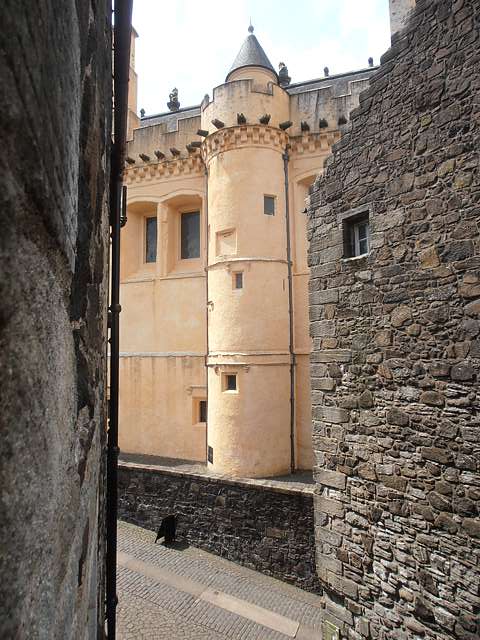
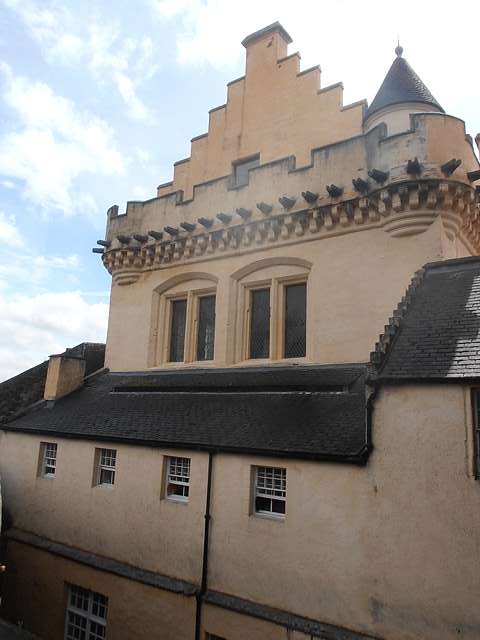
 The west side of the palace from the Inner Close.
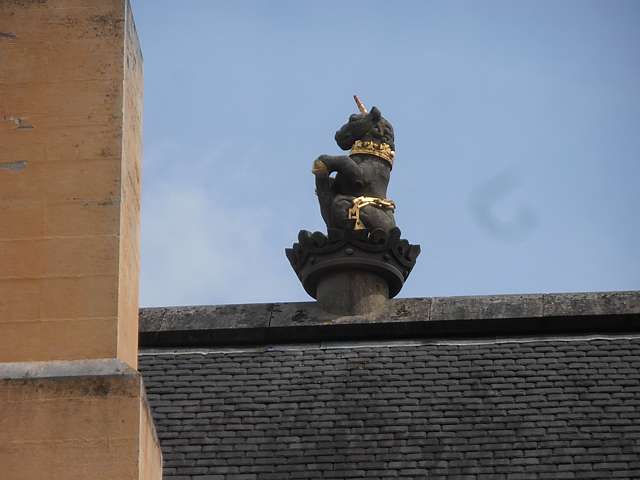
 The unicorn on the roof of the Great Hall.
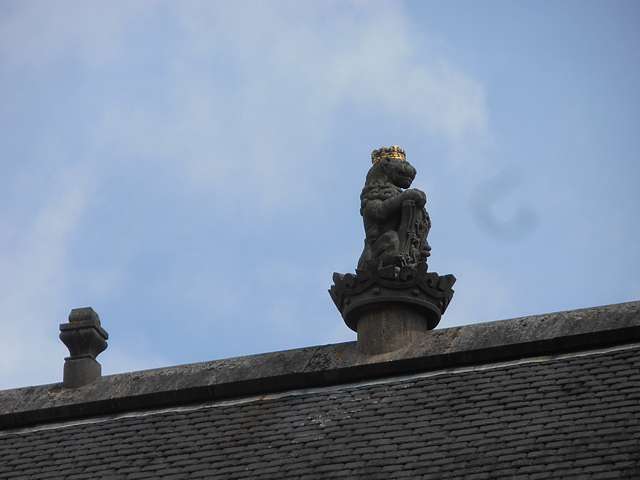
 The lion on the roof of the Great Hall.
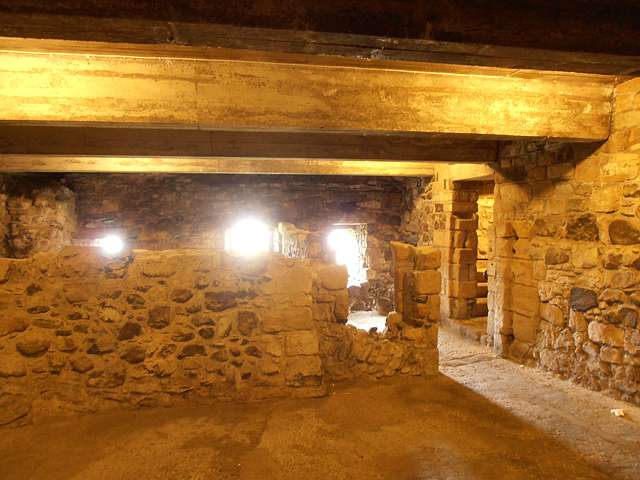
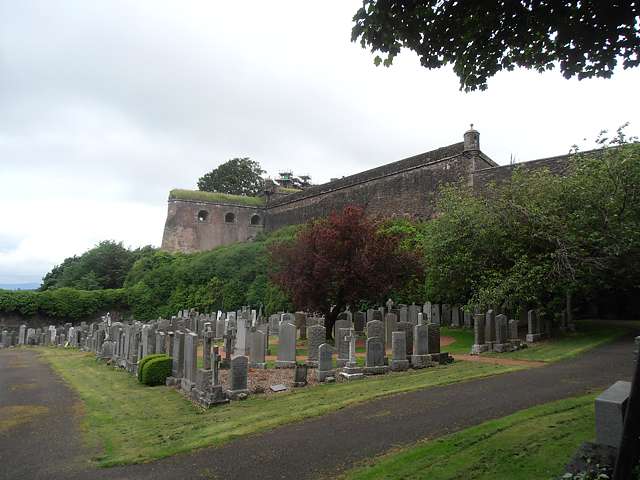
 Inside the outer defences of the castle near the entrance.
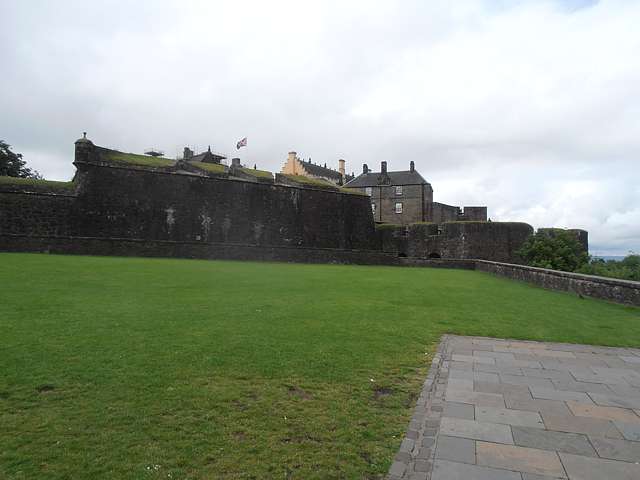
 The outer defences at the south-east.
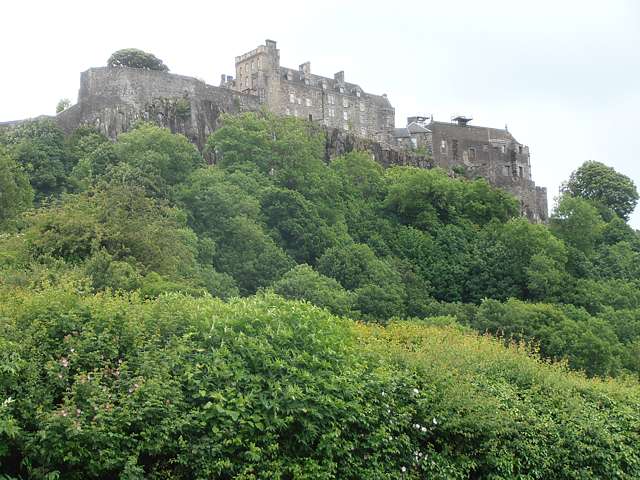
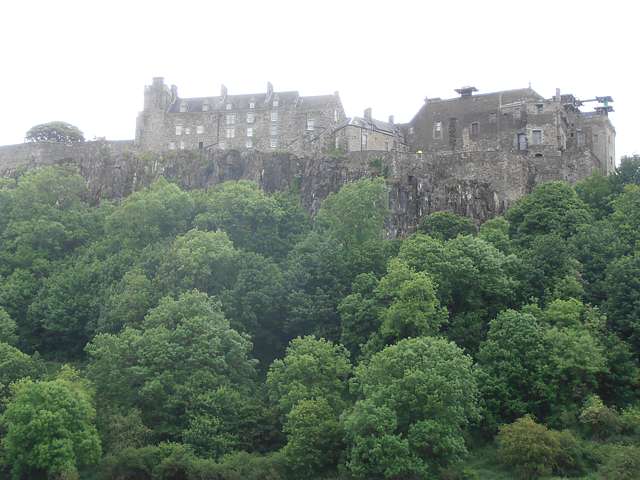
 Stirling Castle seen from the south-east.
 Looking west along the outer defences at the south of the castle.
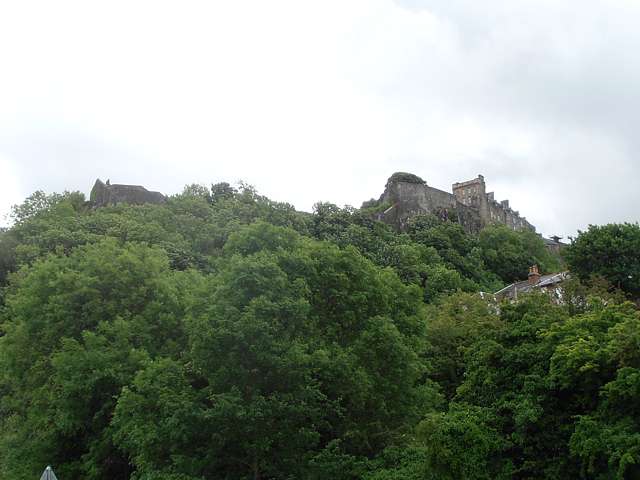
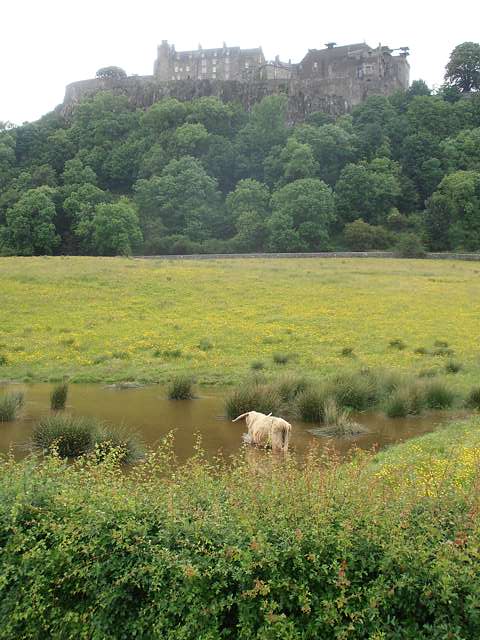
 View of the castle from the north-west.
 Stirling Castle seen from the west on Raploch Road.
 Another view from the west on Raploch Road.
 Closer view.
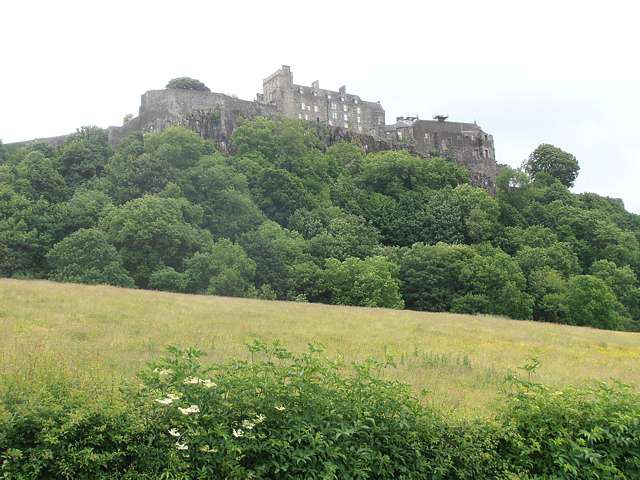
 Further south along Raploch Road.
 Further south along Raploch Road.
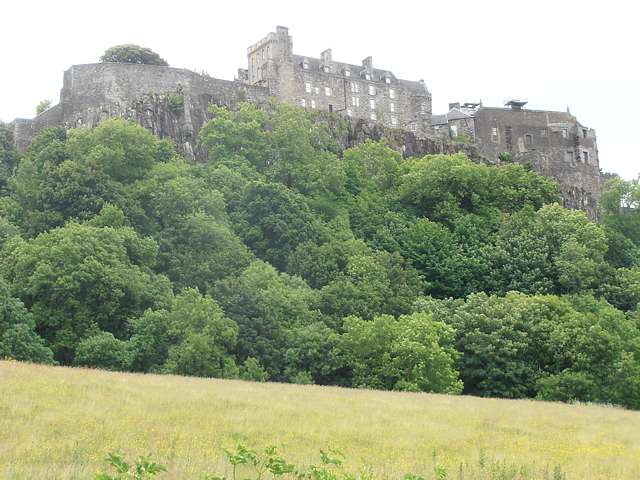
 Nearing the south end of Raploch Road.
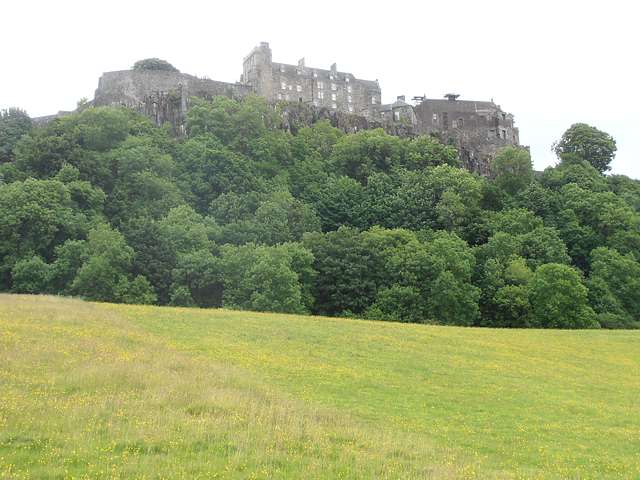
 Closer view.
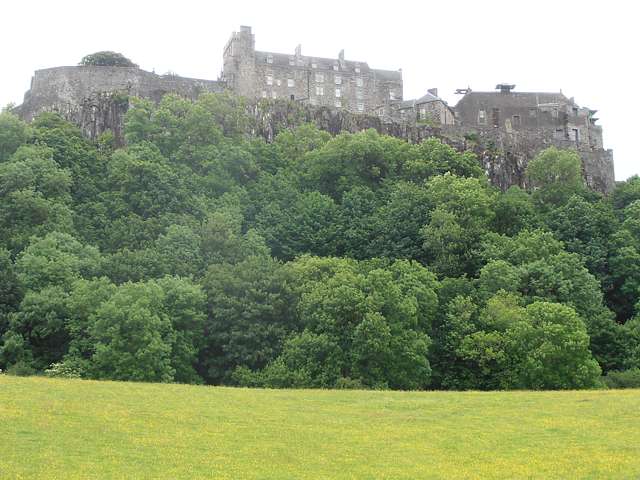
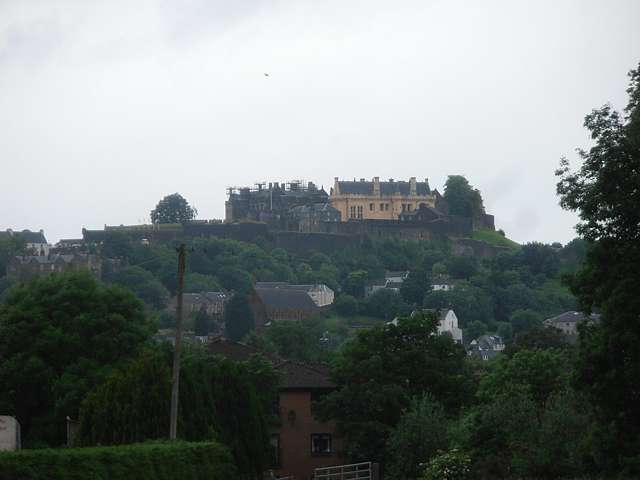
 Stirling Castle seen from the east at Cambuskenneth Abbey.
Tapestry and ceiling of the Queen's Inner Hall.
Fireplace in the King's Bedchamber.
Another painted fireplacein the Palace.
The orginal ceiling boss depicting Charles V on display at the castle.
The battery of cannon along the east wall of the castle.
The Great Hall seen from the south-east.
Looking north on the west wall-walk.
The Great Hall seen from the wall-walk between the north gate and the kitchens.
Looking from the wall-walk over the Nether Bailey to the north-west.
The Great Hall and Chapel Royal from the west wall-walk.
Looking north-west to Wallace's Monument.
The north end of the Great Hall.
Looking north over the Nether Bailey.
View along the west walls from the north-west corner of the wall-walk.
The King's Old Building range seen from the north-west wall-walk.
Carving above the doorway in the north wall of the King's Old Building.
The west side of the palace from the Inner Close.
The unicorn on the roof of the Great Hall.
The lion on the roof of the Great Hall.
Inside the outer defences of the castle near the entrance.
The outer defences at the south-east.
Stirling Castle seen from the south-east.
Looking west along the outer defences at the south of the castle.
View of the castle from the north-west.
Stirling Castle seen from the west on Raploch Road.
Another view from the west on Raploch Road.
Closer view.
Further south along Raploch Road.
Further south along Raploch Road.
Nearing the south end of Raploch Road.
Closer view.
Stirling Castle seen from the east at Cambuskenneth Abbey.
Click a thumbnail to hold the image on screen.
Stirling Castle #1